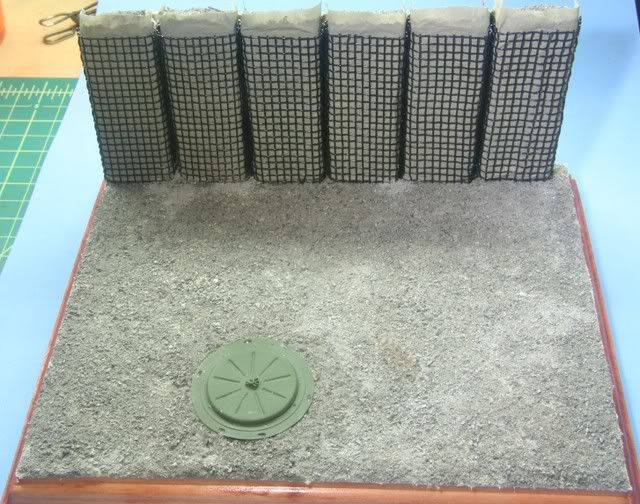
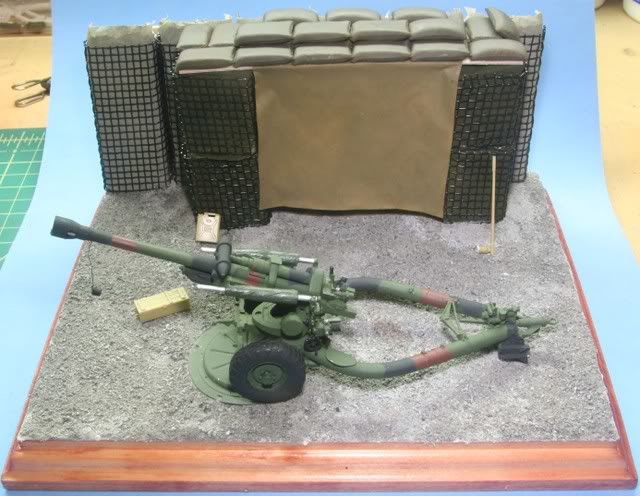
With the base made, stained and coated, I put down a thin coat of Celluclay for a base. After a trip to my local garden shop, I picked up some rock dust which is used as a bed for paving stones. I strained the big chunks using window screen material and used the screened dust for the ground base.
Going back to the barrier wall, I covered each section with airplane tissue and landscape cement, leaving some excess at the top to form the open top bag. After drying, the back walls (tall bags) were painted a light grey while the short bags for the ammo storage were painted Olive Green.
While I was out getting dust, I stopped at Michael's and picked up some mesh material which was close to the proper opening space. The wire is slightly thicker than desired but I was more interested in the proper grid sizing the wire thickness.
The mesh was cut and bent around each section to form the bag cage. To hold the wall sections together, I glued each section to popsicle sticks to form the wall. Once the assembly was dry, I drilled three wire pins into the base then fit and glued the wall to the base.
Lastly, I filled the top of the bag with the same screened material used for the ground. Note the M119 base fitted into the groundwork.

After the wall set up in place I glued the short bags in a stack of two. Once they set up using wire pins, I pinned them to the back wall and glued them to the base.
Over the top of the ammo area, I used some 1/64 basswood to span the bags and a sprue of Tamiya sandbags to cover the basswood.. The cover is made from airplane tissue painted and glued to the basswood before the sandbags were installed.
Now it was time to do a fit check. Some detail items just laid in, water can, crow bar, chest.

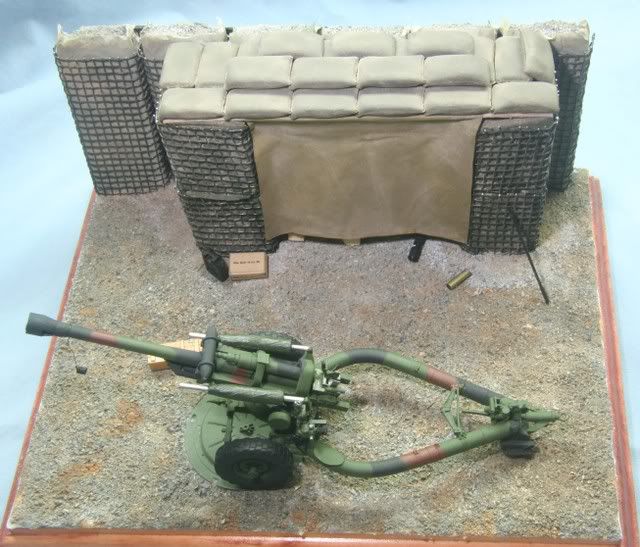
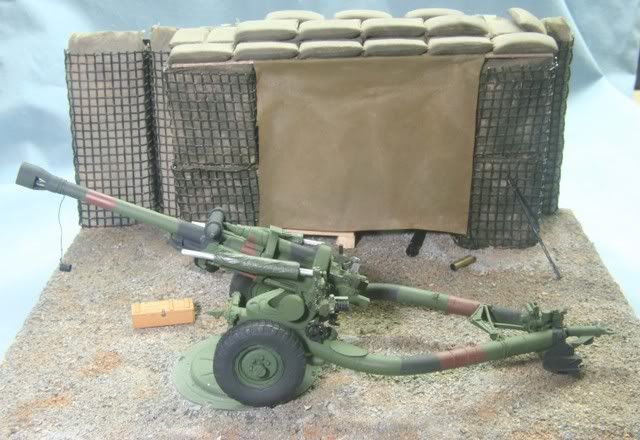
I weathered the bags, sandbags and cover with a mix of MIG pigments, both dried mud and city rubble. The ground work was washed with some burnt sienna oil to give the look of soil and rock mixed.
With the little details painted, I also added a pallet made from balsa wood and some crates, ammo fiber and empty casing as dunnage, a box of MREs and a water can, the crow bar and the finished section crate.


Well that's where I am at. The howitzer needs some barrel art and marking numbers after which it needs to be weathered. Then I can attaché it to the base permanently. That should go quickly this week.
At this point let me give a big thanks to Gino (Heavy Arty) who gave me the information on the barrier walls used in Iraq and Afghanistan....Thanks little brother!
The last question is figures or no figures. I kept the overall base small and the howitzer is closer to the wall than scale so I am thinking no figures. What do you think.
That's it for now. Thanks for looking. All comments welcome.
Rounds Complete!!