OK, here's a little tutorial with pics on how to apply Mr. Surfacer to create texture on a kit. Be advised that I do not claim to be an expert in these methods! This is just a compilation of things I've learned over the last couple of years. If anyone wants to add to this or present better methods please feel free!
For this I'm going to use a leftover gun manlet from a Tamiya M4A3 kit. I left it on the sprue to make it easier to take photos. In this pic I've already masked off the screw heads with some blue tac and one of the larger holes is plugged with a piece of stretched sprue. The mantlet is molded with a little texture, but it leaves something to be desired.

I use Mr. Surfacer 500 for texturing as it goes on thicker than 1000 or 1200. Also shown are some of the stiff bristle brushes I use. The natural bristles on the top two were cut down to make them shorter/stiffer.

Just dip the brush into the Surfacer making sure all the tips are saturated, but you don't want it dripping with Surfacer. BTW, make sure the Surfacer isn't too thick, which can happen with an older bottle. If its too thick just add some laquer thinner to thin it down. A brand new bottle has the right consistency.

In this photo you can see the beginning of the texturing process. I stippled the surfacer about 10-12 times to get this far. I just dab and stab the brush with the Surfacer onto the mantlet surface, just straight up & down, with no lateral motion, no brushing back and forth. This is called "stippling". Don't worry if you don't cover the entire surface at first. I repeat this process 2-3 times depending on how much texture and coverage I want.

Here's the mantlet after 2 full applications. The Surfacer dries pretty quickly, but subsequent applications cause it to become somewhat tacky and this tackiness helps create the texture. I made this texture pretty coarse so that it can be seen in the photos. If the texture becomes too coarse don't worry. You can smooth out the texture after its fully dried with some extra fine sandpaper or even some fine steel wool. In fact, this smoothing of the texture can create a more realistic representation of certain cast surfaces! I left the texture unsanded for the photos.

I applied one more light coat with the smallest brush and then removed the blue tac and sprue plug.

Lastly I quick coat of lightened Tamiya O. D. with the AB. You can see some roughness in the texture. Again, you can knock down these rough spots with some sandpaper or steel wool if necessary.

That's it! The whole process took about 10 minutes (not counting the quick paint job).
I hope it helps!
Ernest
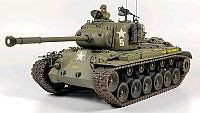
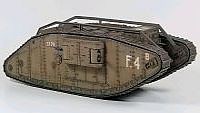
Last Armor Build - 1/35 Dragon M-26A1, 1/35 Emhar Mk.IV Female


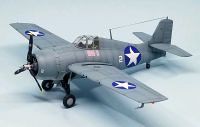
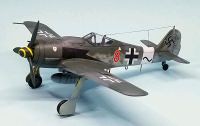
Last Aircraft Builds - Hobby Boss 1/72 F4F Wildcat & FW-190A8

