Hello everybody,
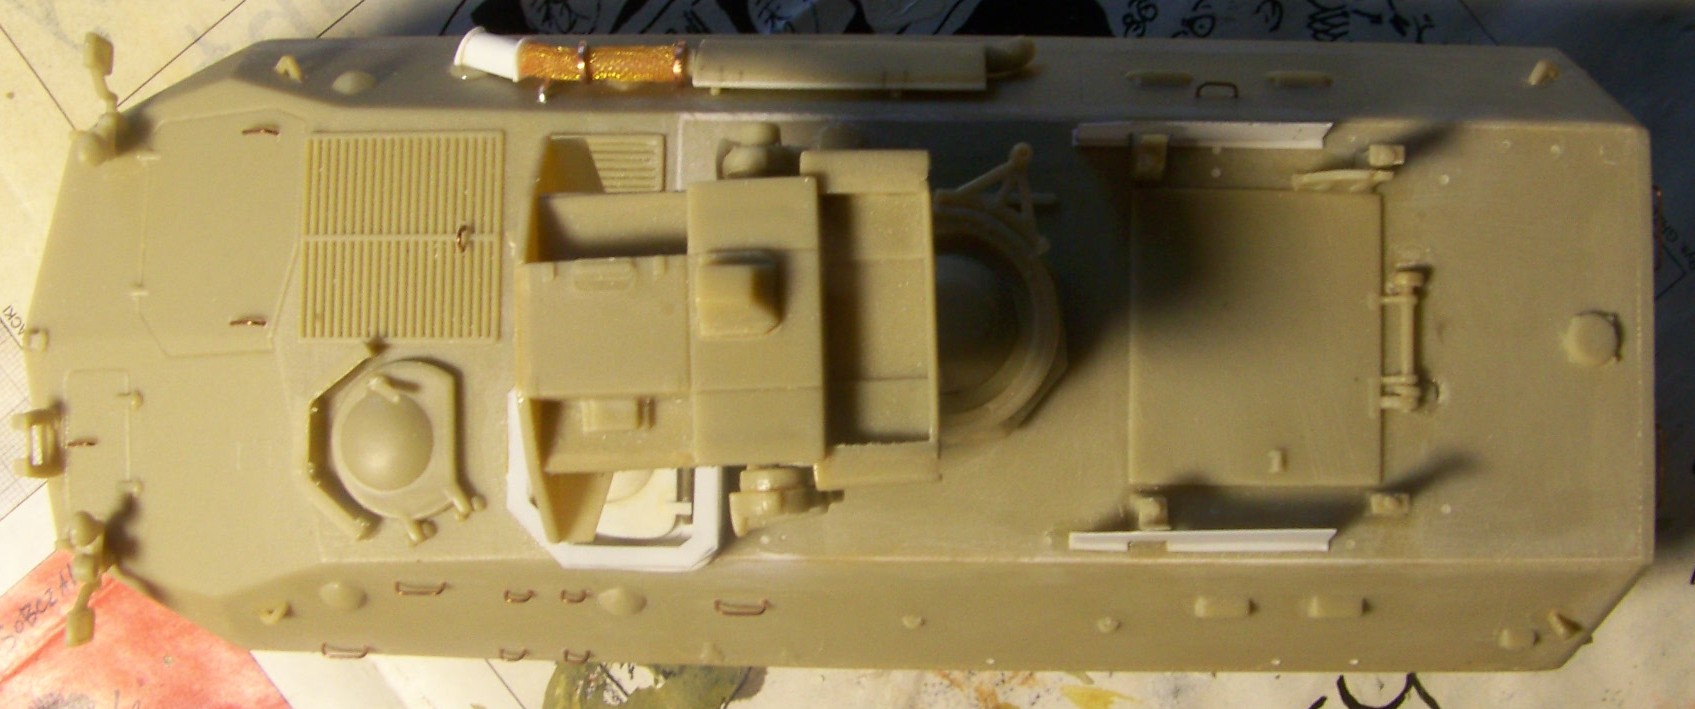
recently I finished a KITECH 1/48 LAV-AT model, see the review here. I thought I'd share the painting procedure with you, maybe somebody can learn something? Well here it comes. This is what it looked like before painting:
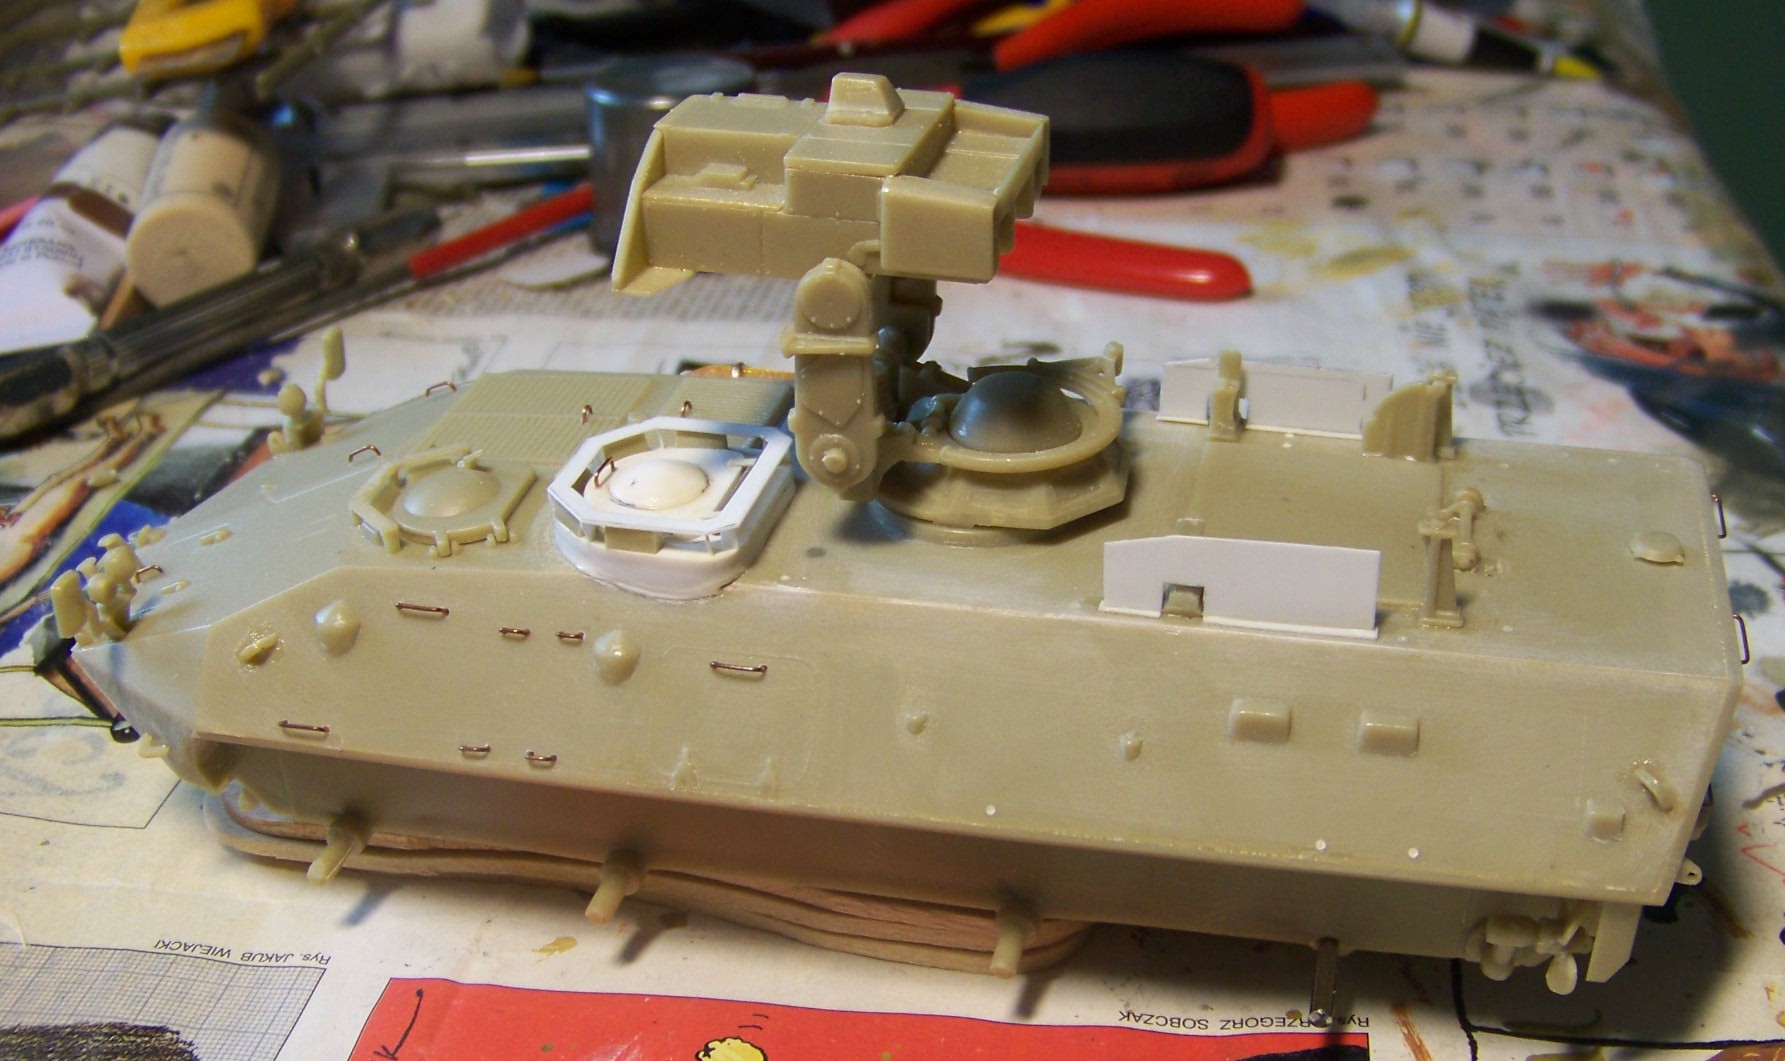
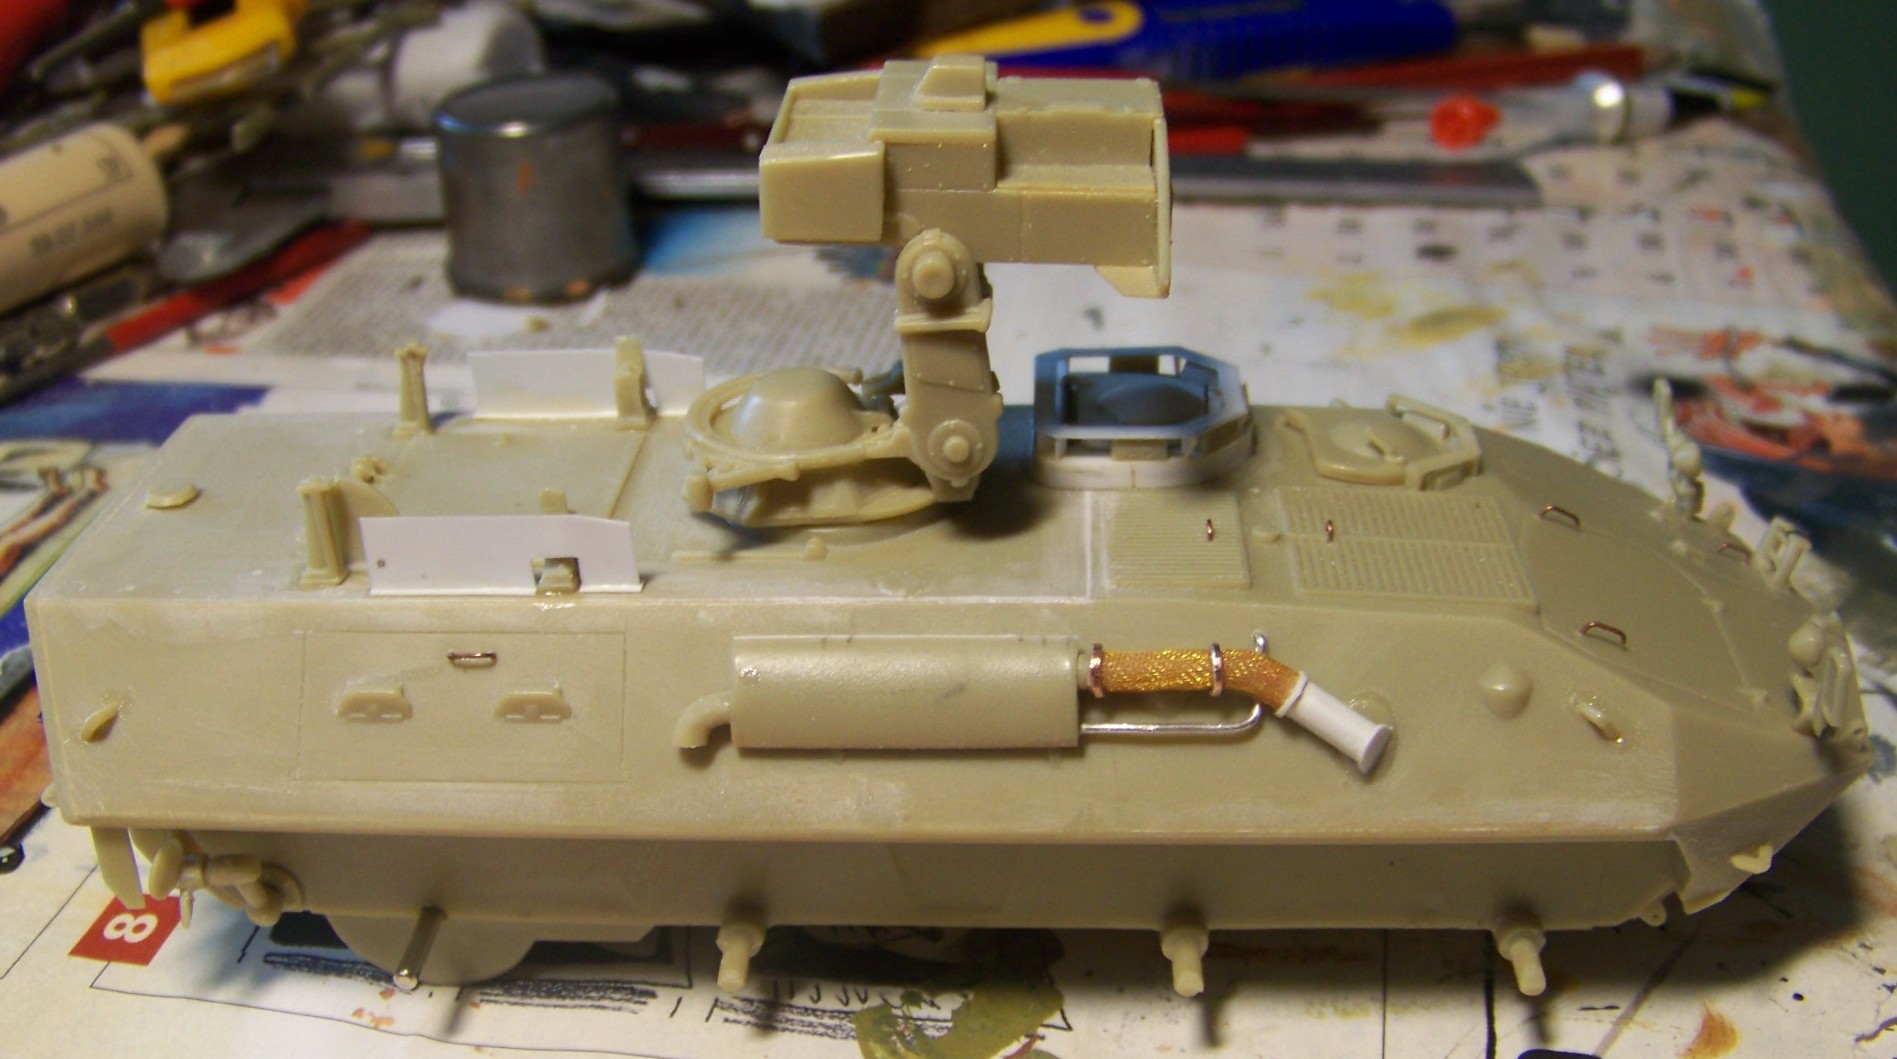
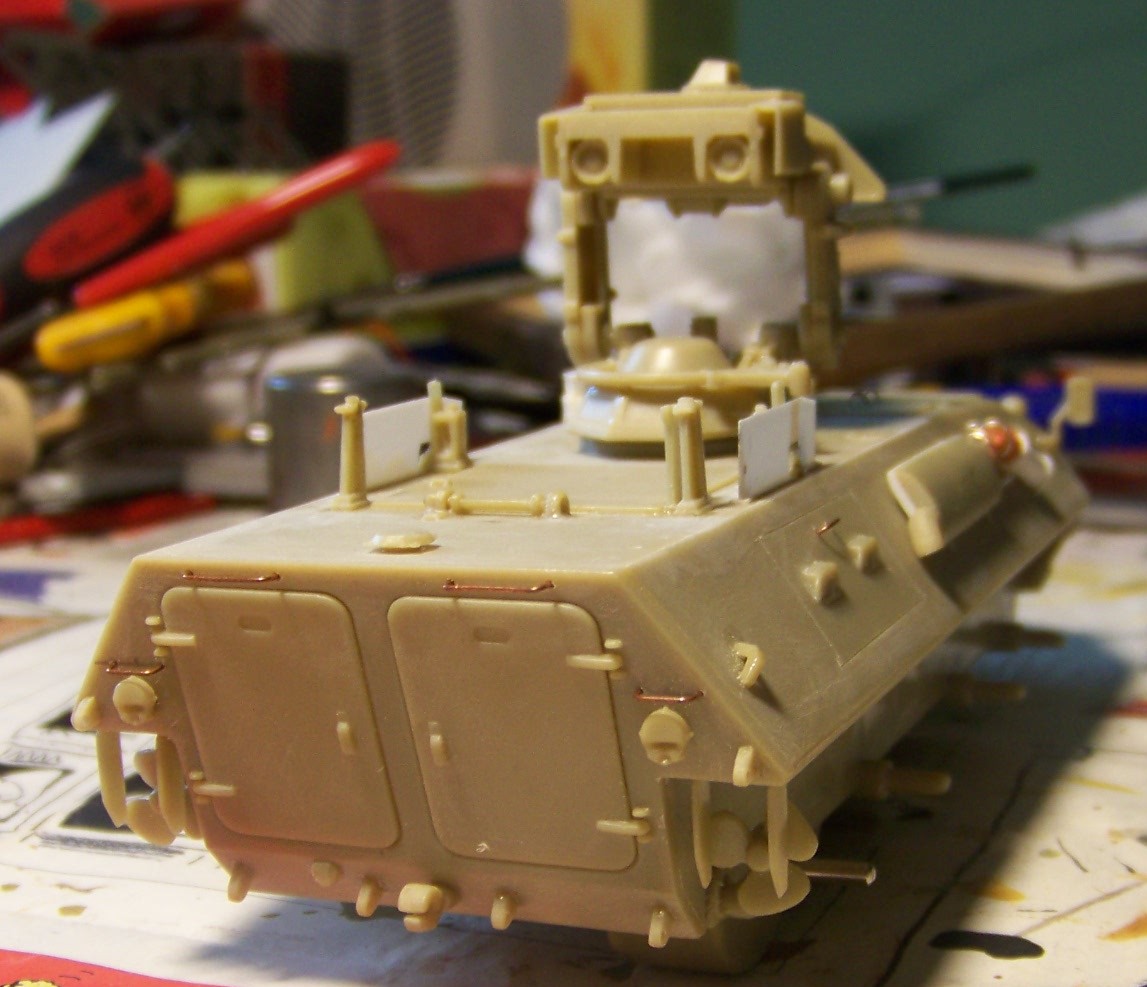
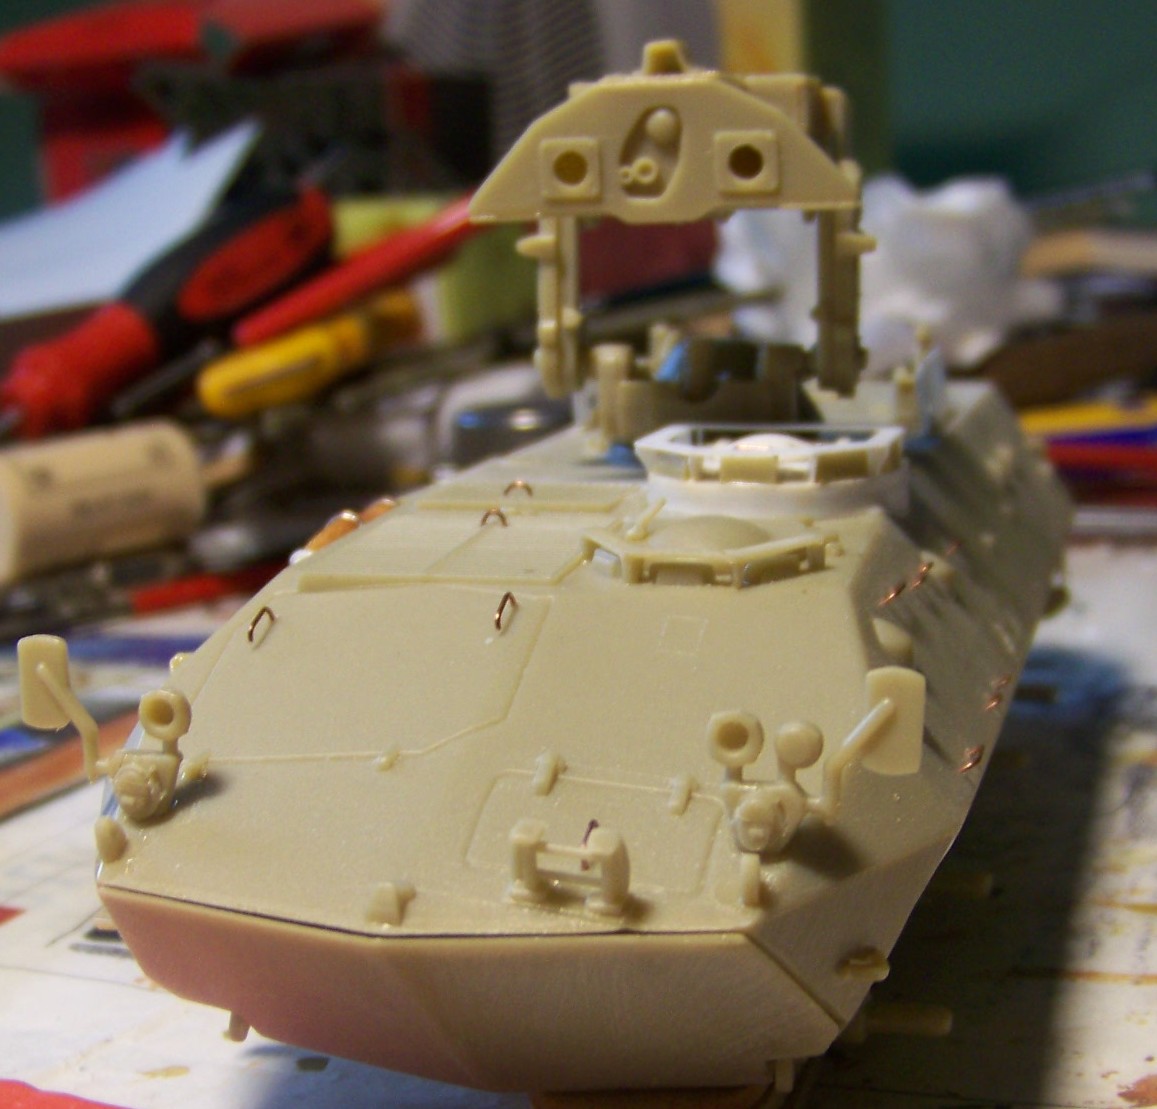
First I painted the whole thing with Tamiya primer from a spray can.
Next came the preshading with Humbrol 32, dark grey. It will constitute base for the green color. I recommend doing the first color all over the vehicle, as it's easy to miss some spots and have to do it twice. Normally the colors should be applied from the lightest to darkest. With shading this rule is reversed some.
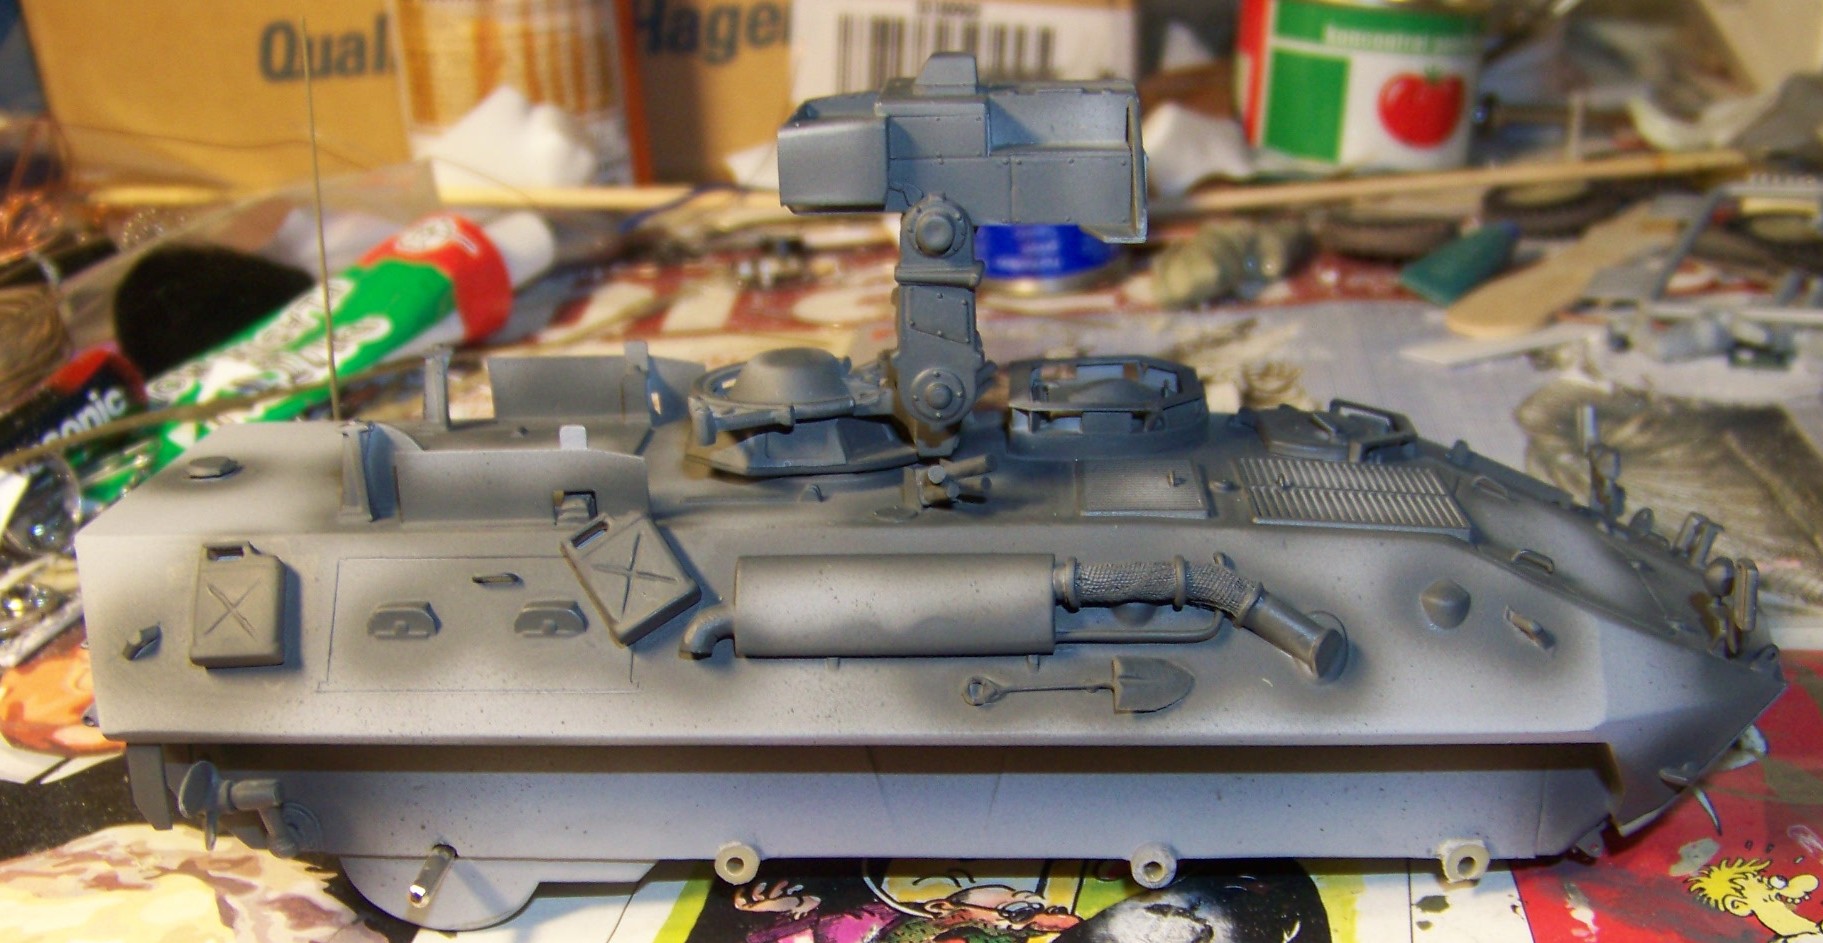
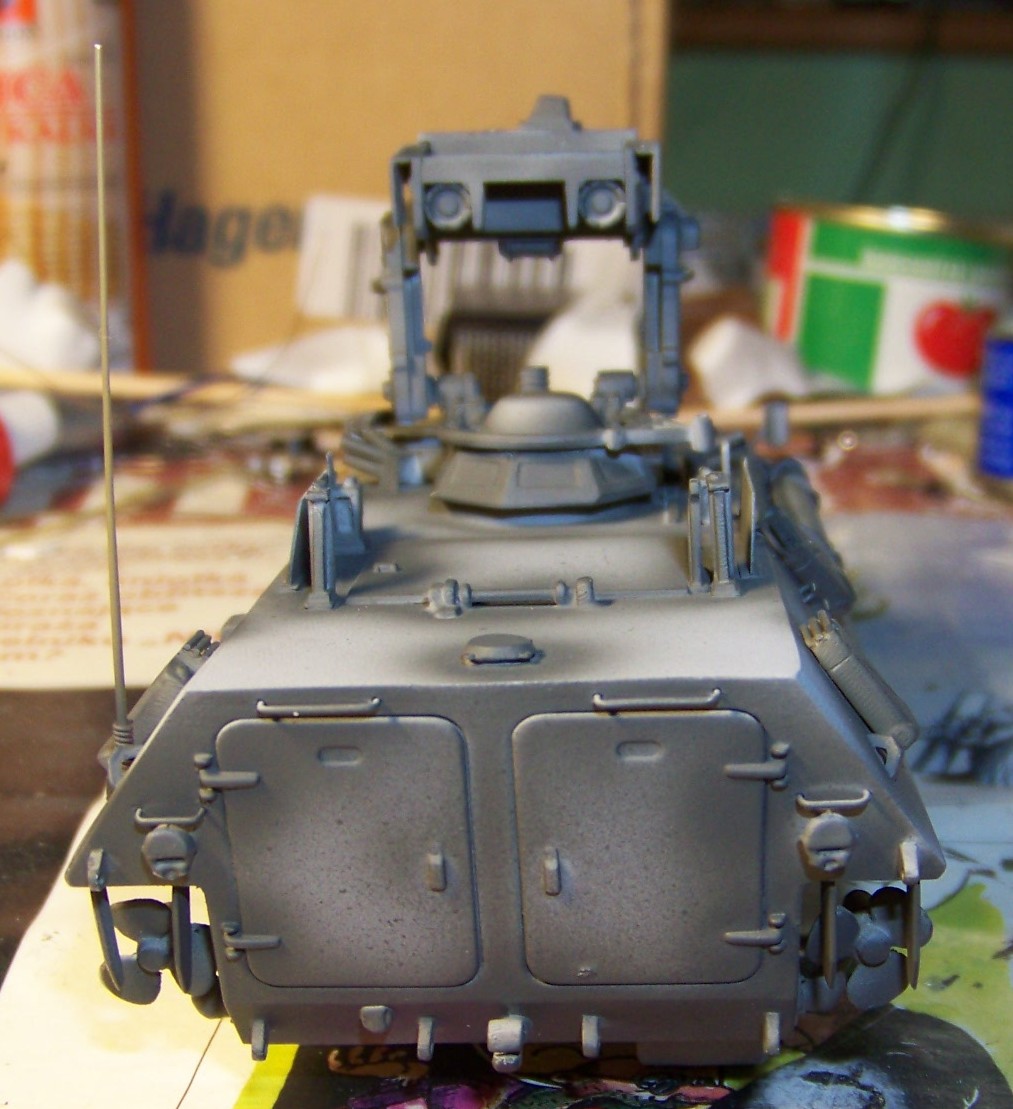
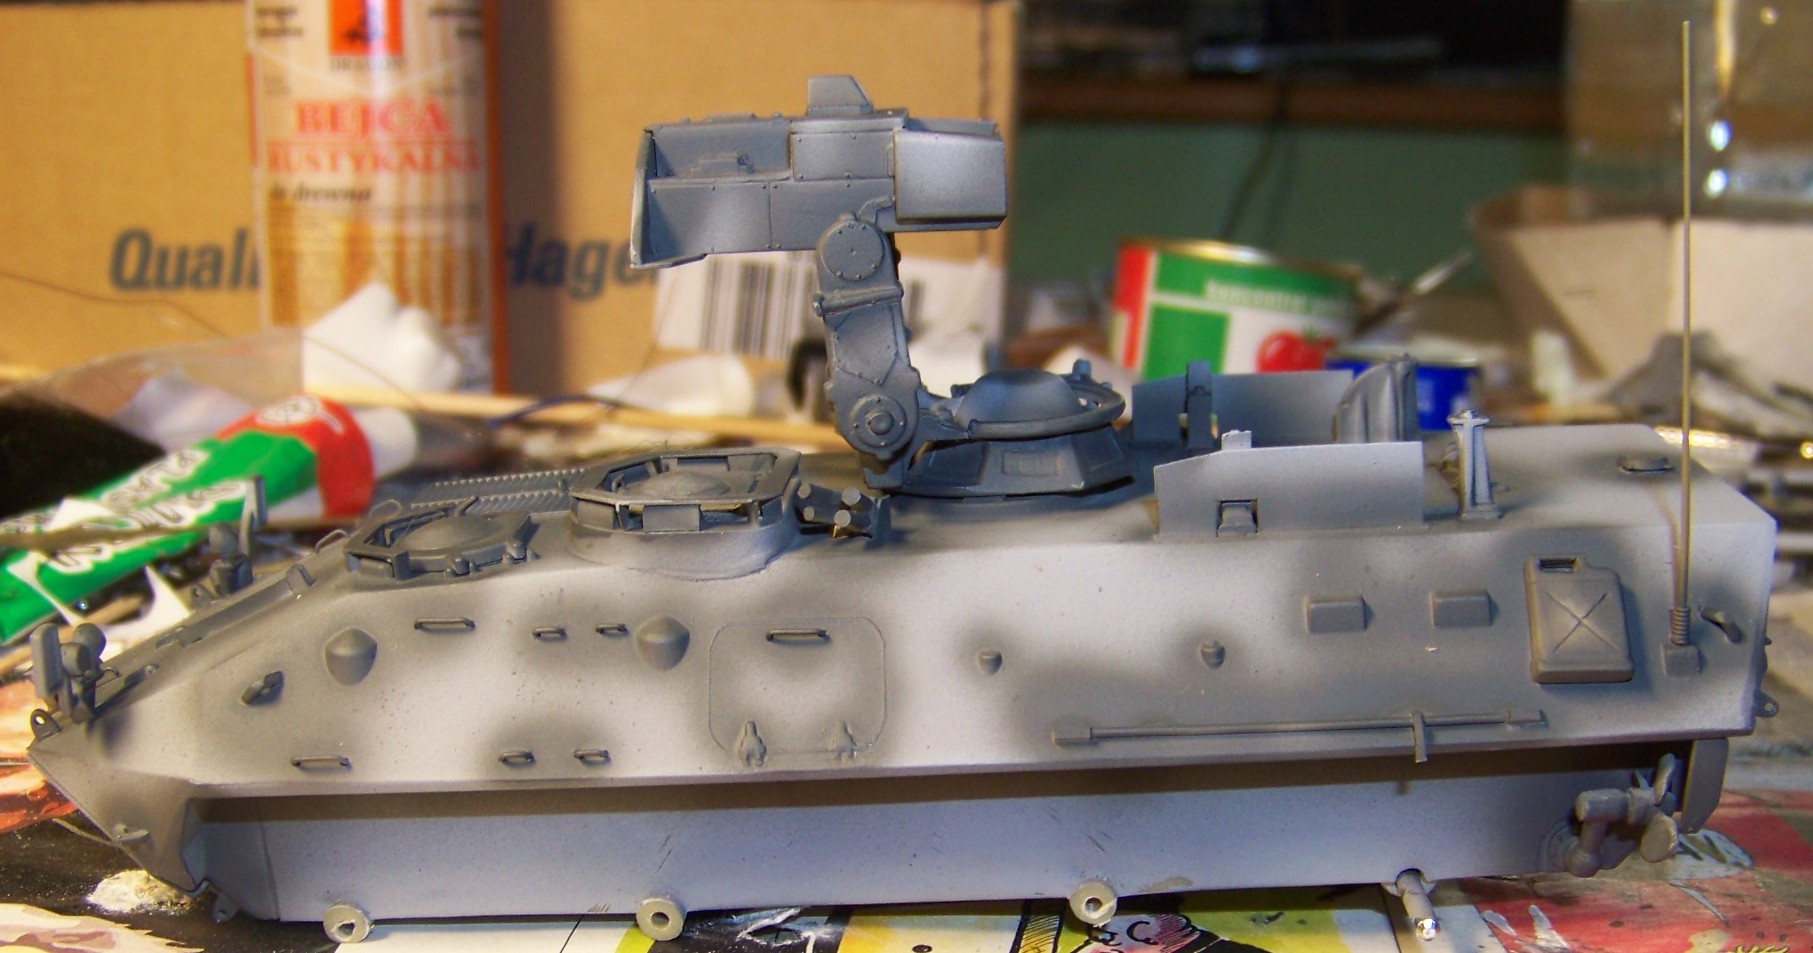
The green color comes in. While doing it you shold concentrate on spraying it on the centres of panels and flat surfaces, leaving the edges considerably darker.
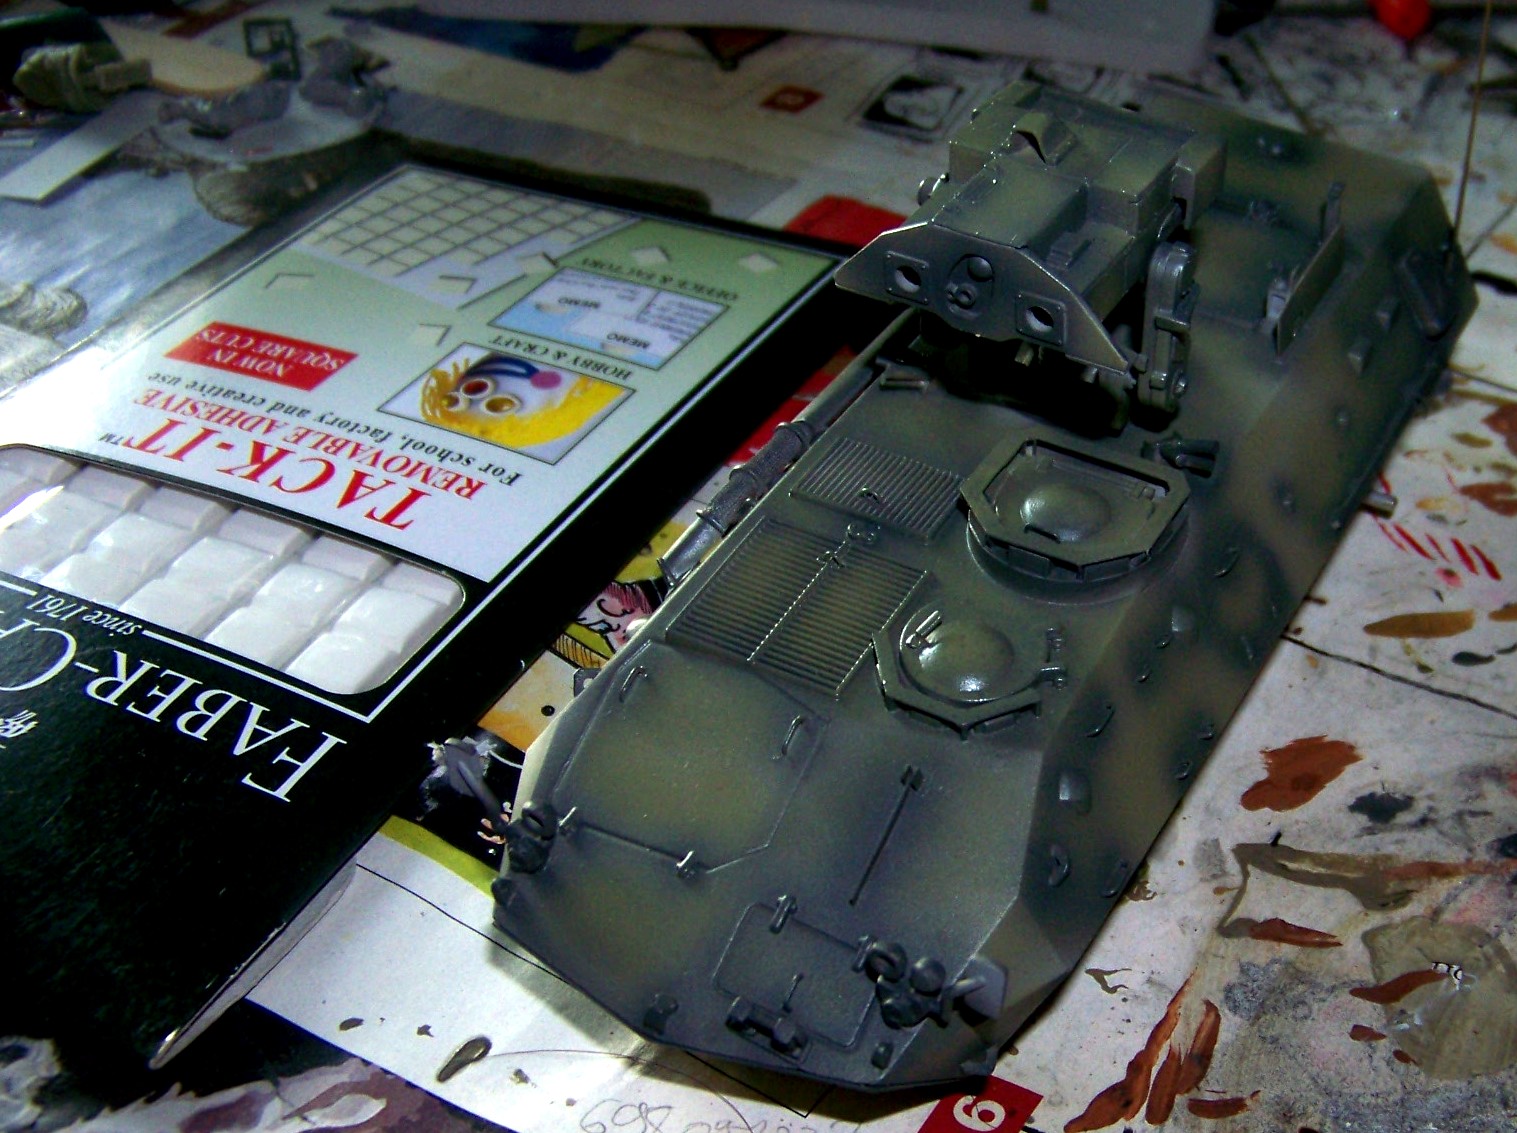
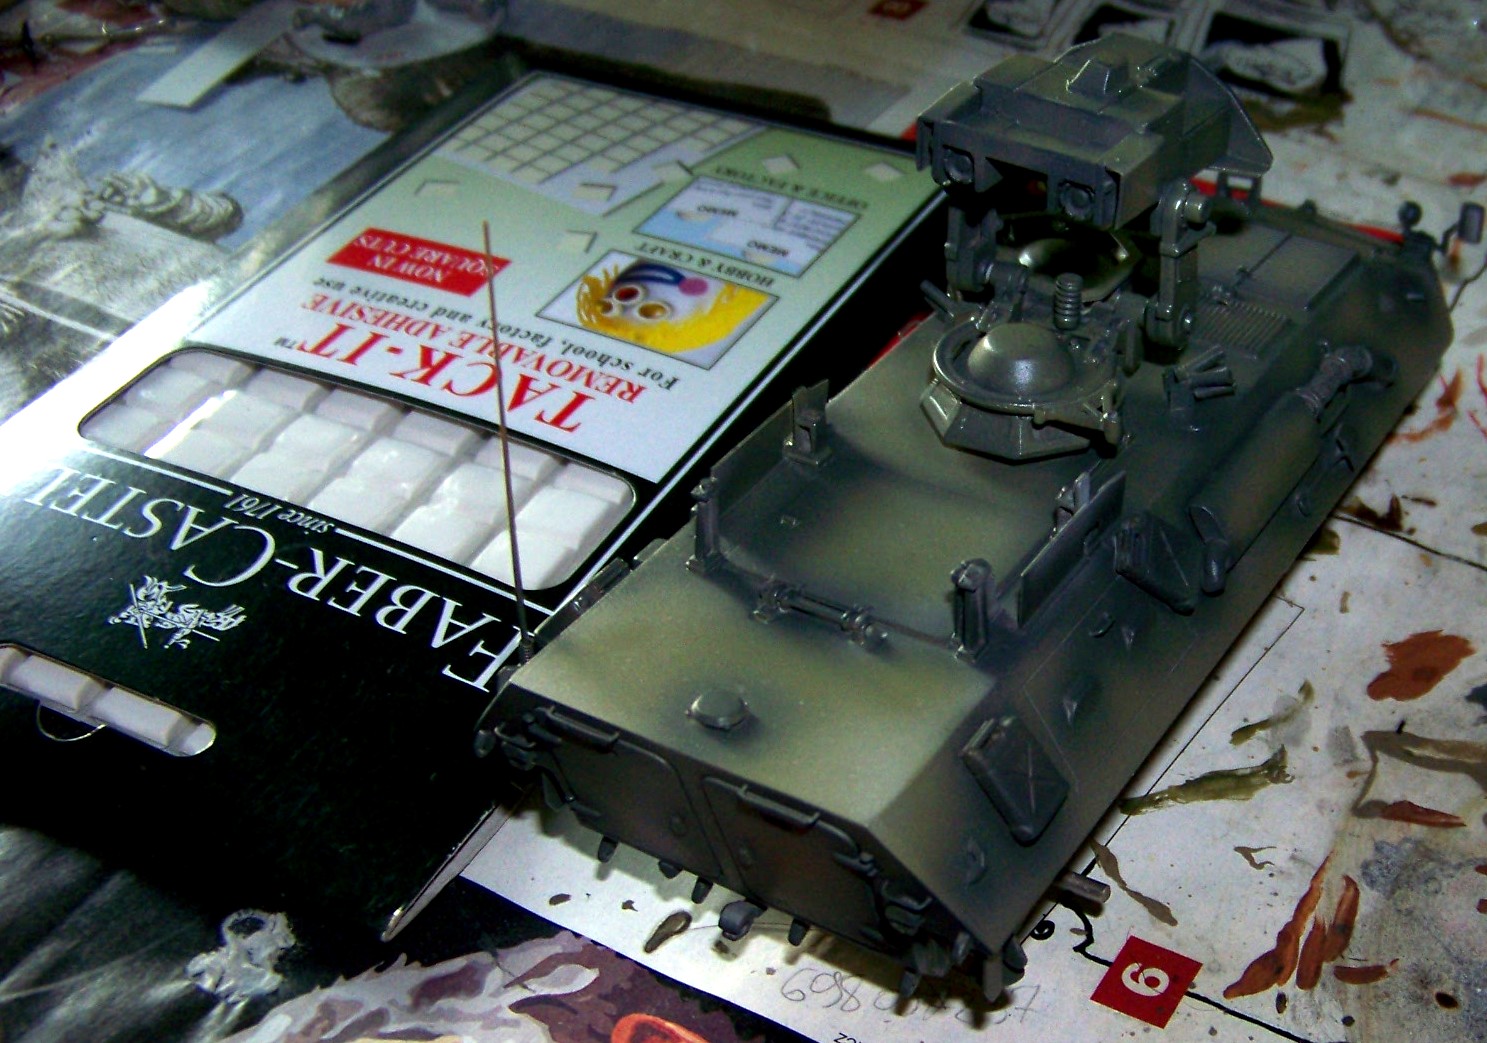
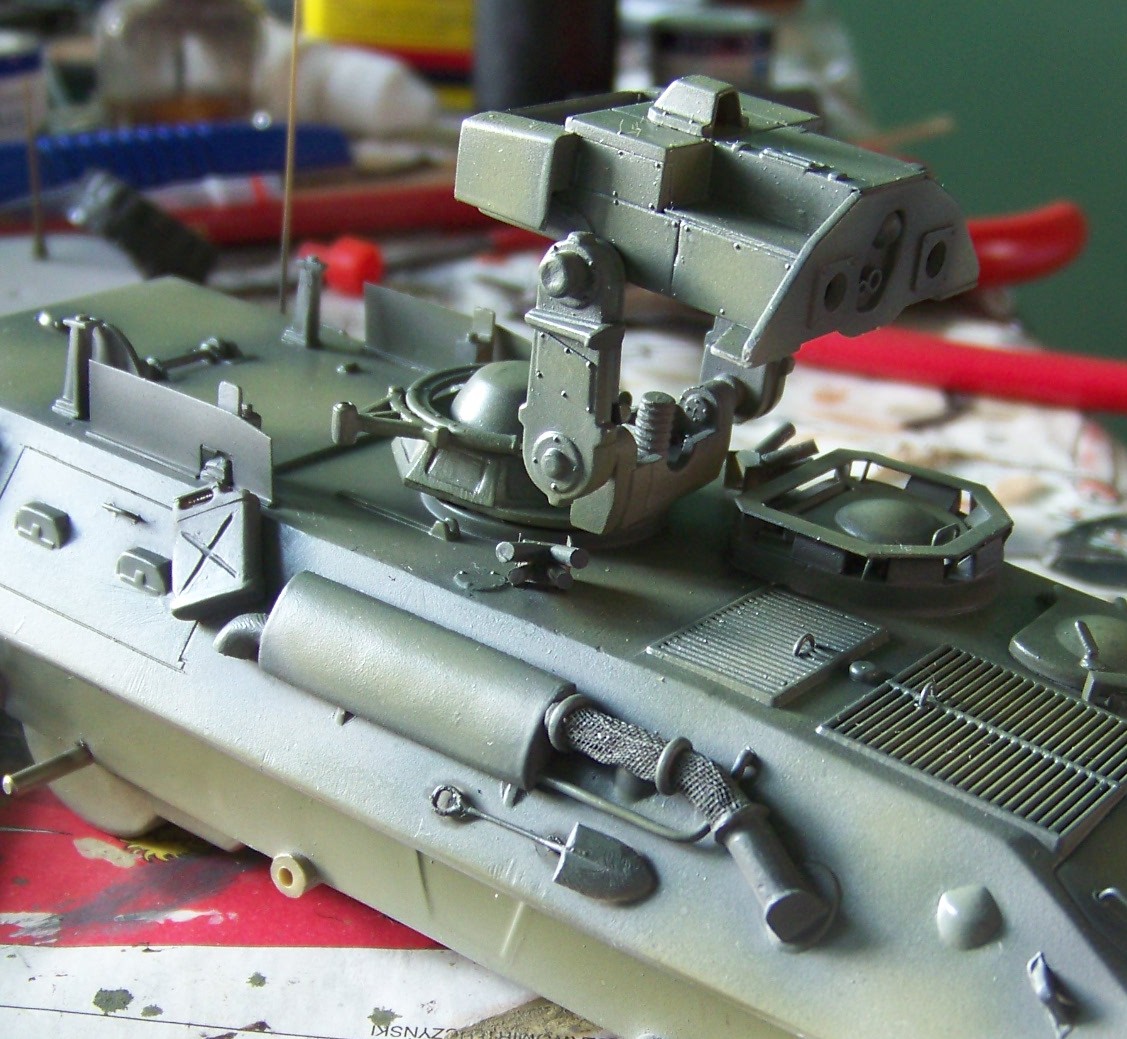
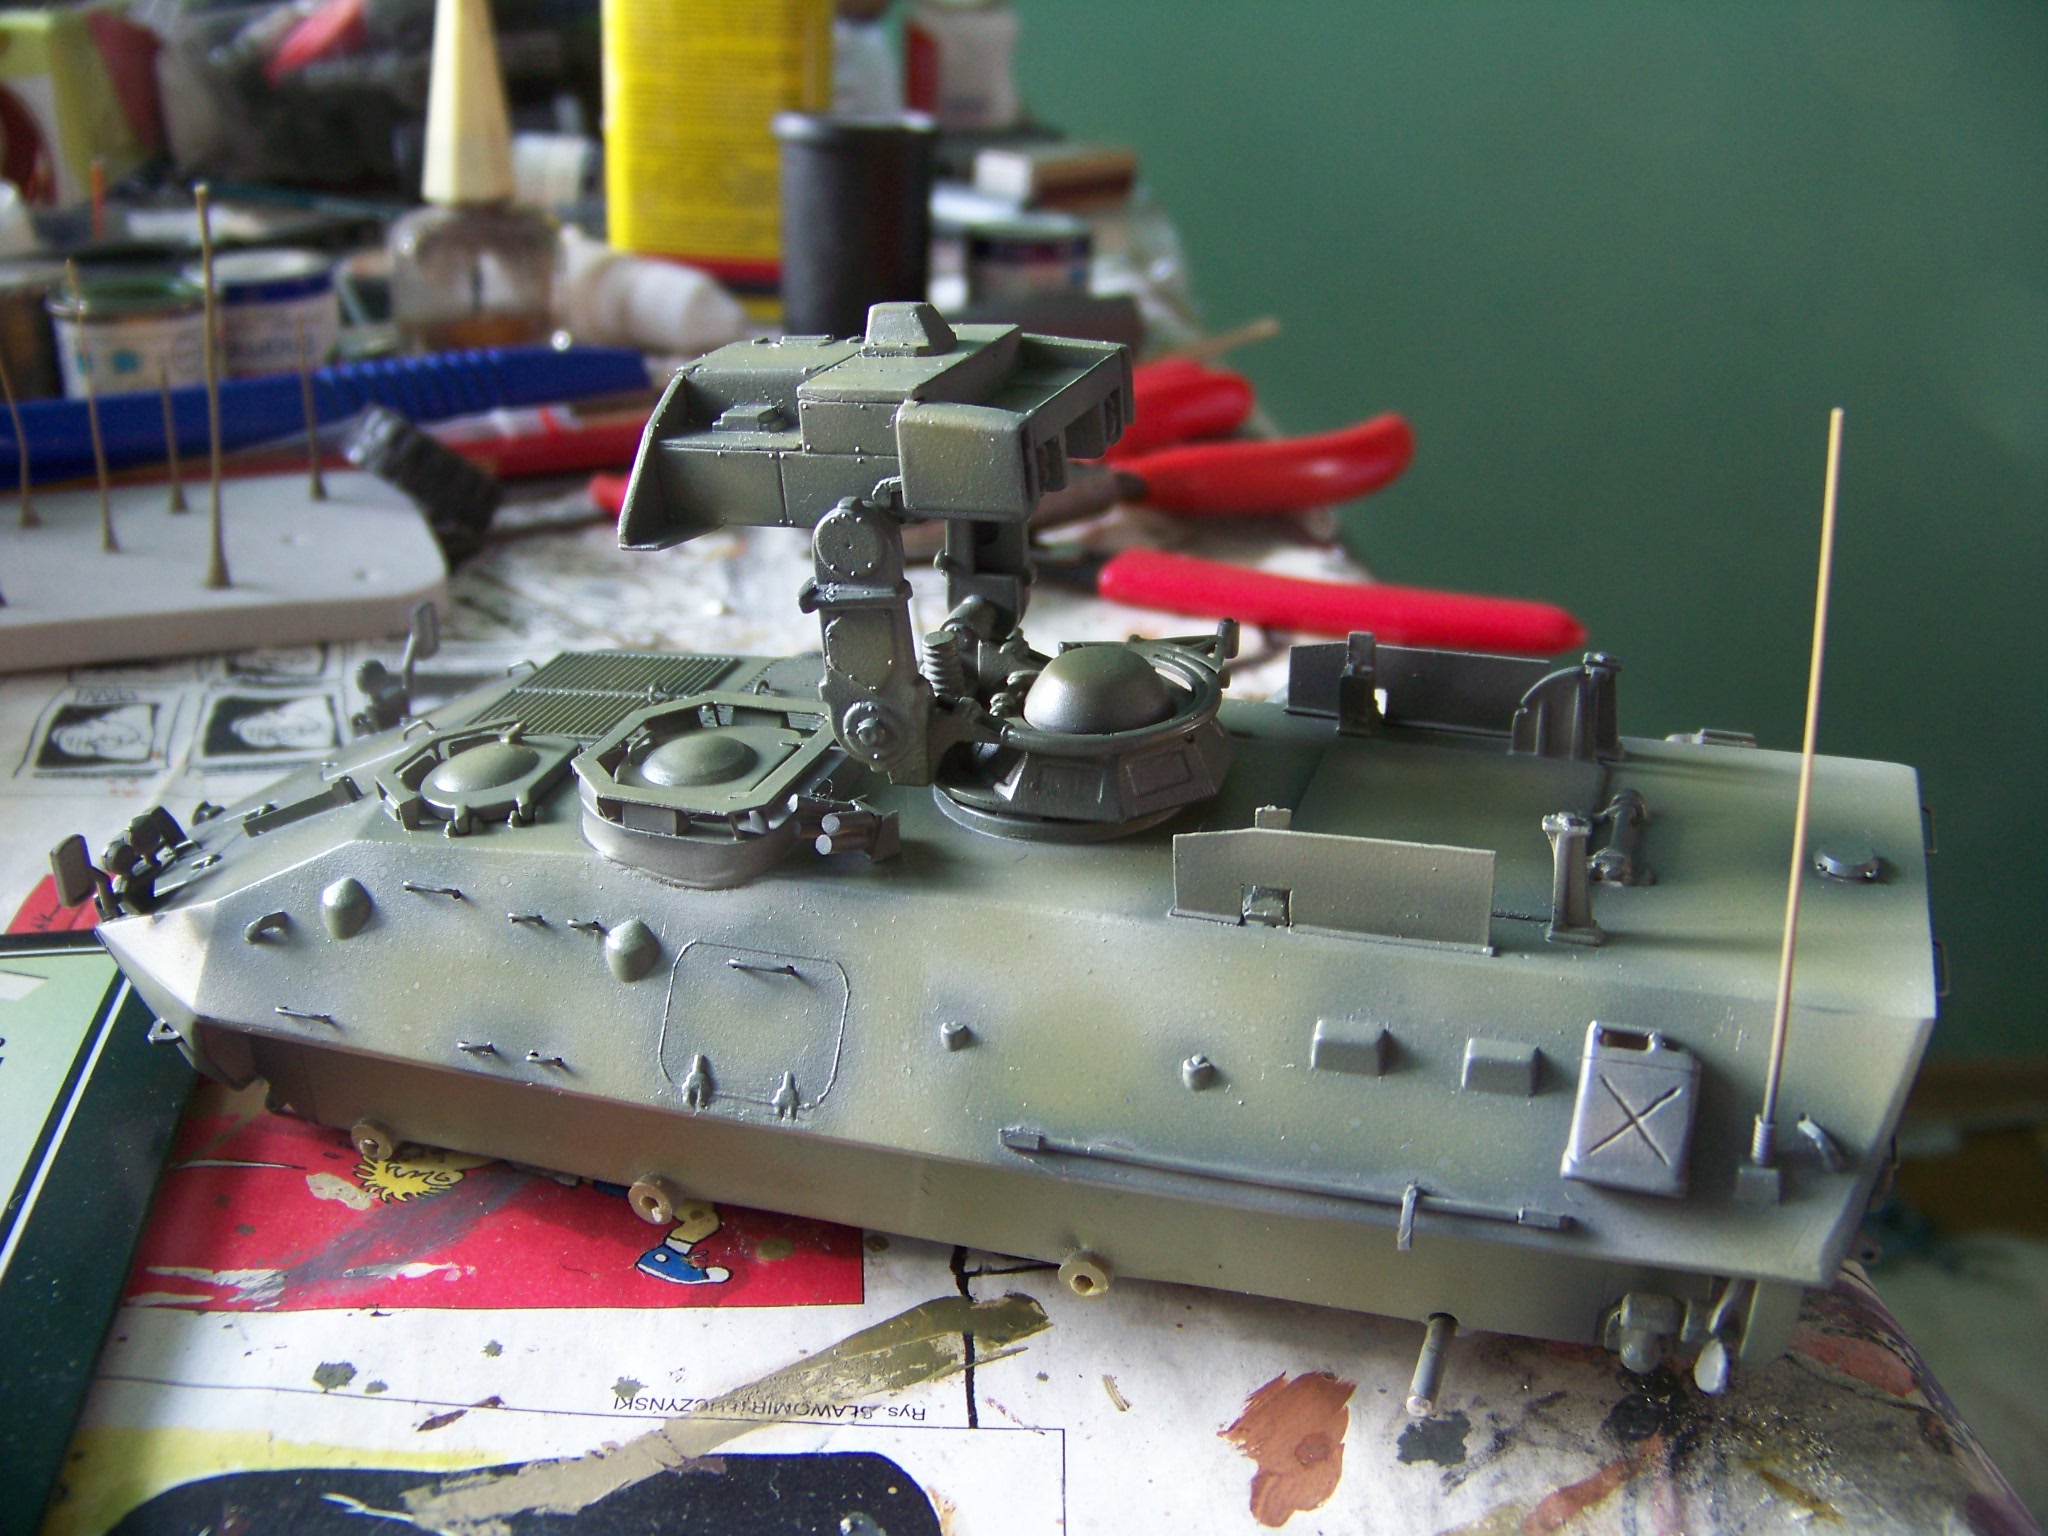
Then my cool trick comes in: after the green paint dries completely, take the removable glue and mask the spots that are supposed to remain green. Well I normally use UHU Patafix (german brand), this time I went for Faber-Castell Tack-It (similar product, also german). What we talk about here is a kind of putty/glue, that can be shaped, is tacky, but you can remove it from the surface without it leaving any residue. It can normally be found in stores selling art and draftsman supplies, it's household uses include temporarily glueing a poster to the wall and stuss like that. What I did was to shape the removable glue in long thin rolls, about 2-4mm thick, put them along the outline of the intended green spots and masing the inner surface with masking tape.
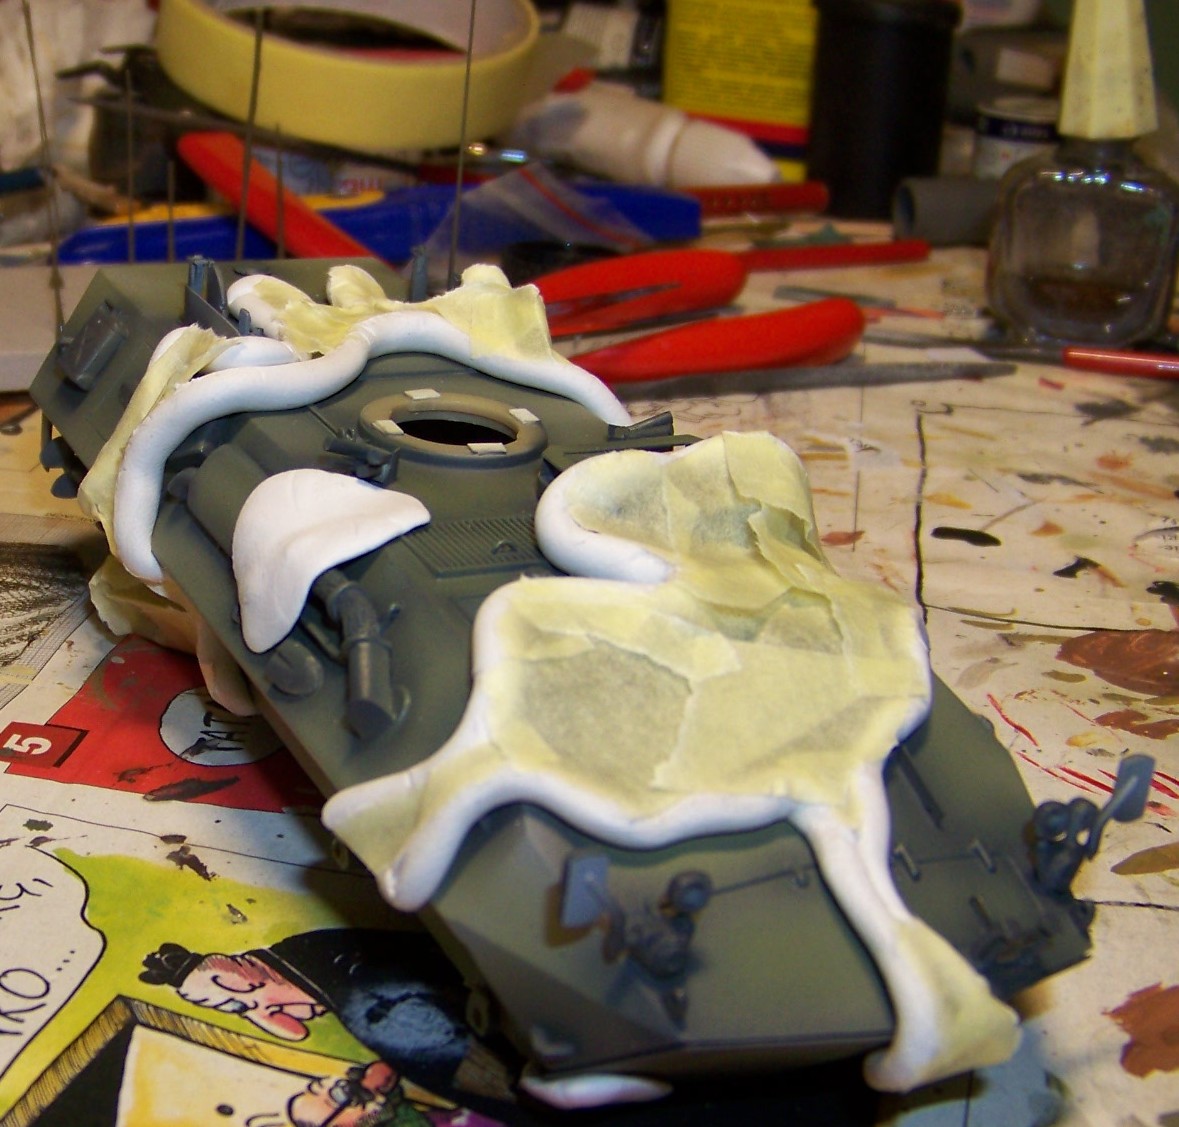
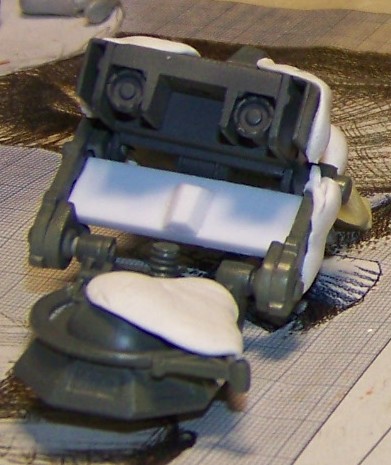
After this was done I pre-shaded for black color with Humbrol flat black 33. You should try to keep the airbrush perpendicular to the surface all the time and not spray under the mask, but this isn't as critical as keeping the coats light.
Then came the black spots, painted with Humbrol dark grey 32, which is a much better camouflage black than black.
After the black dried it was time for masking again.
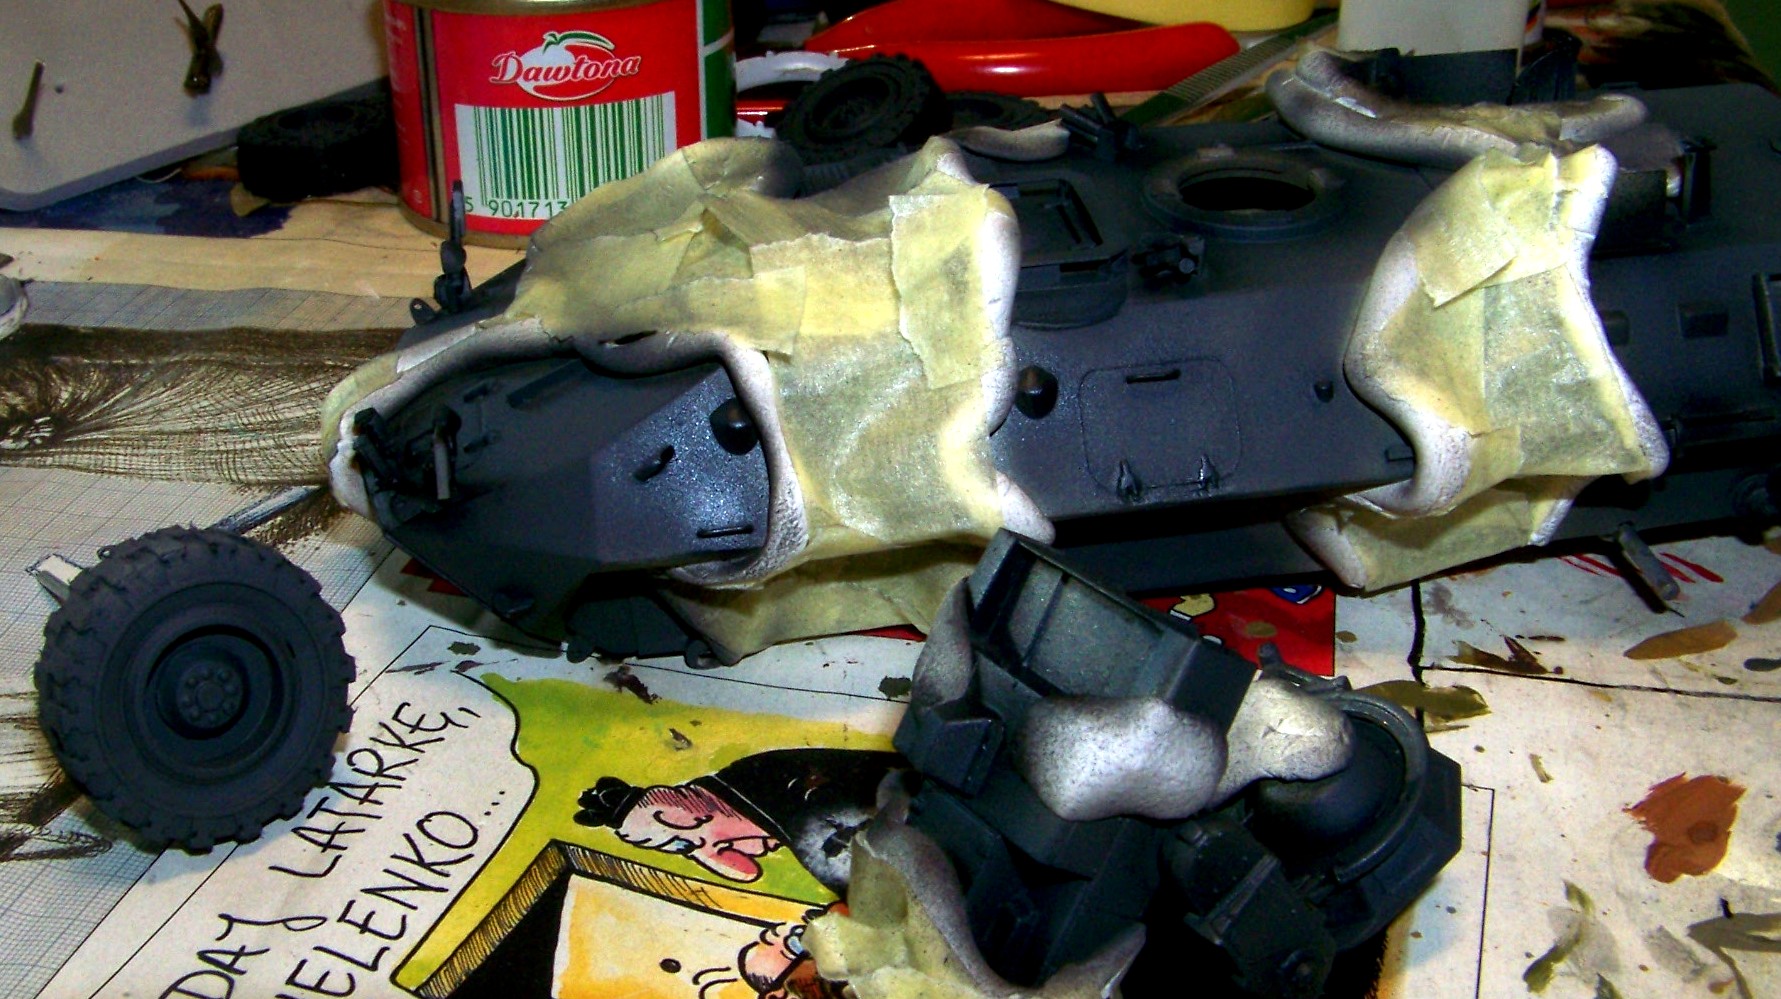
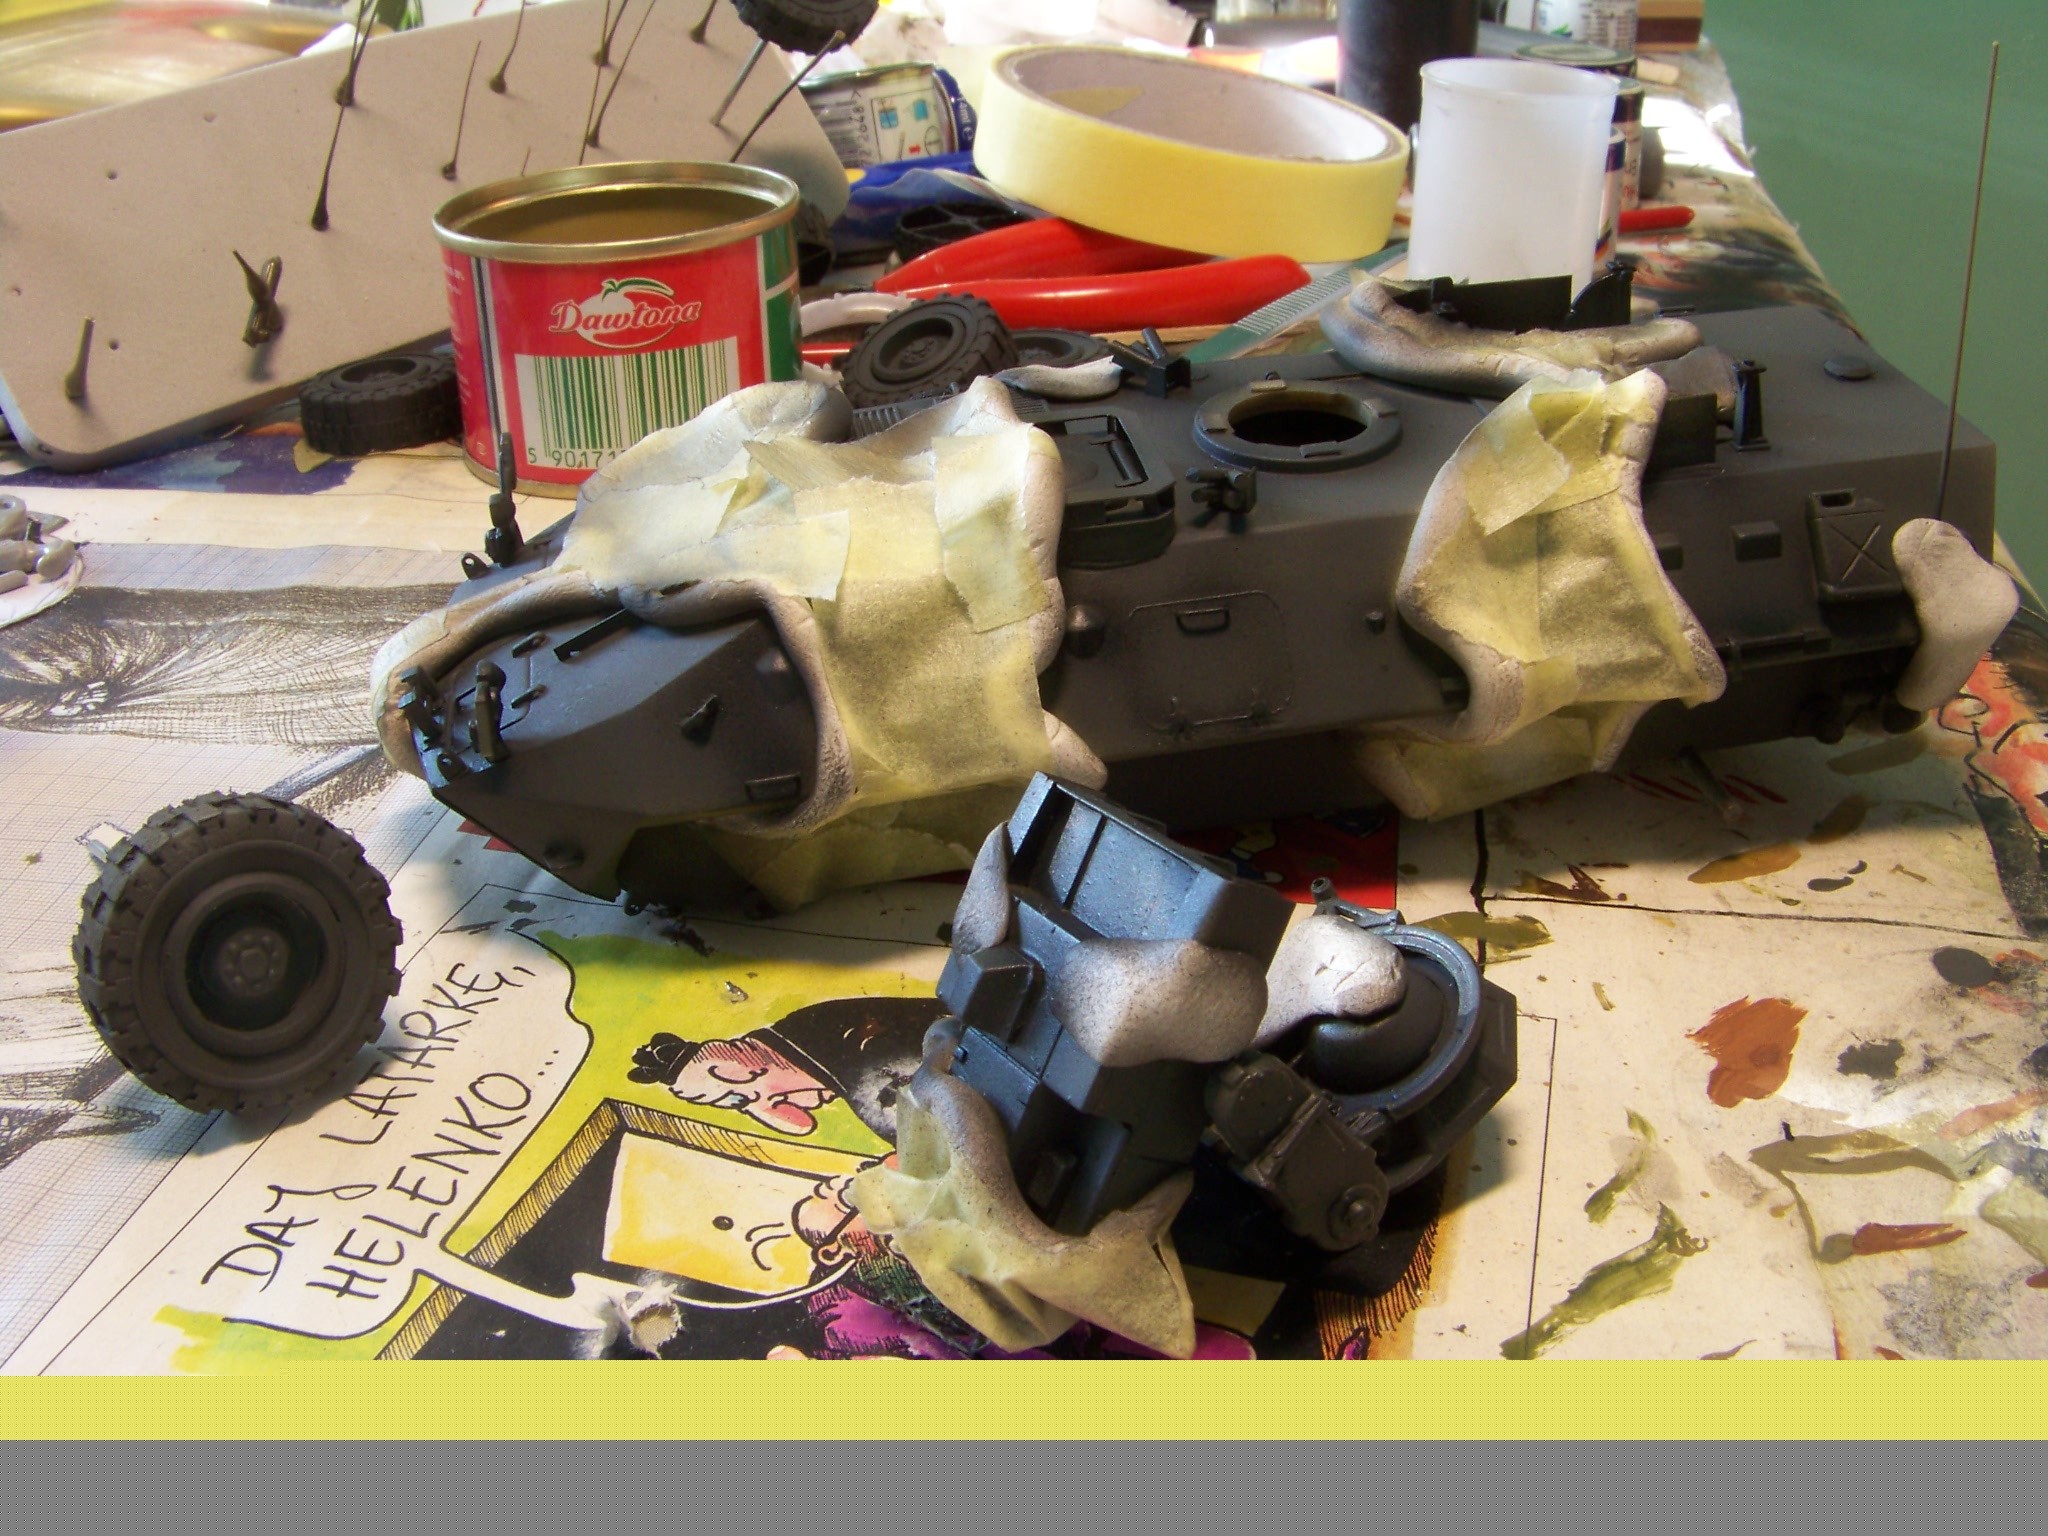
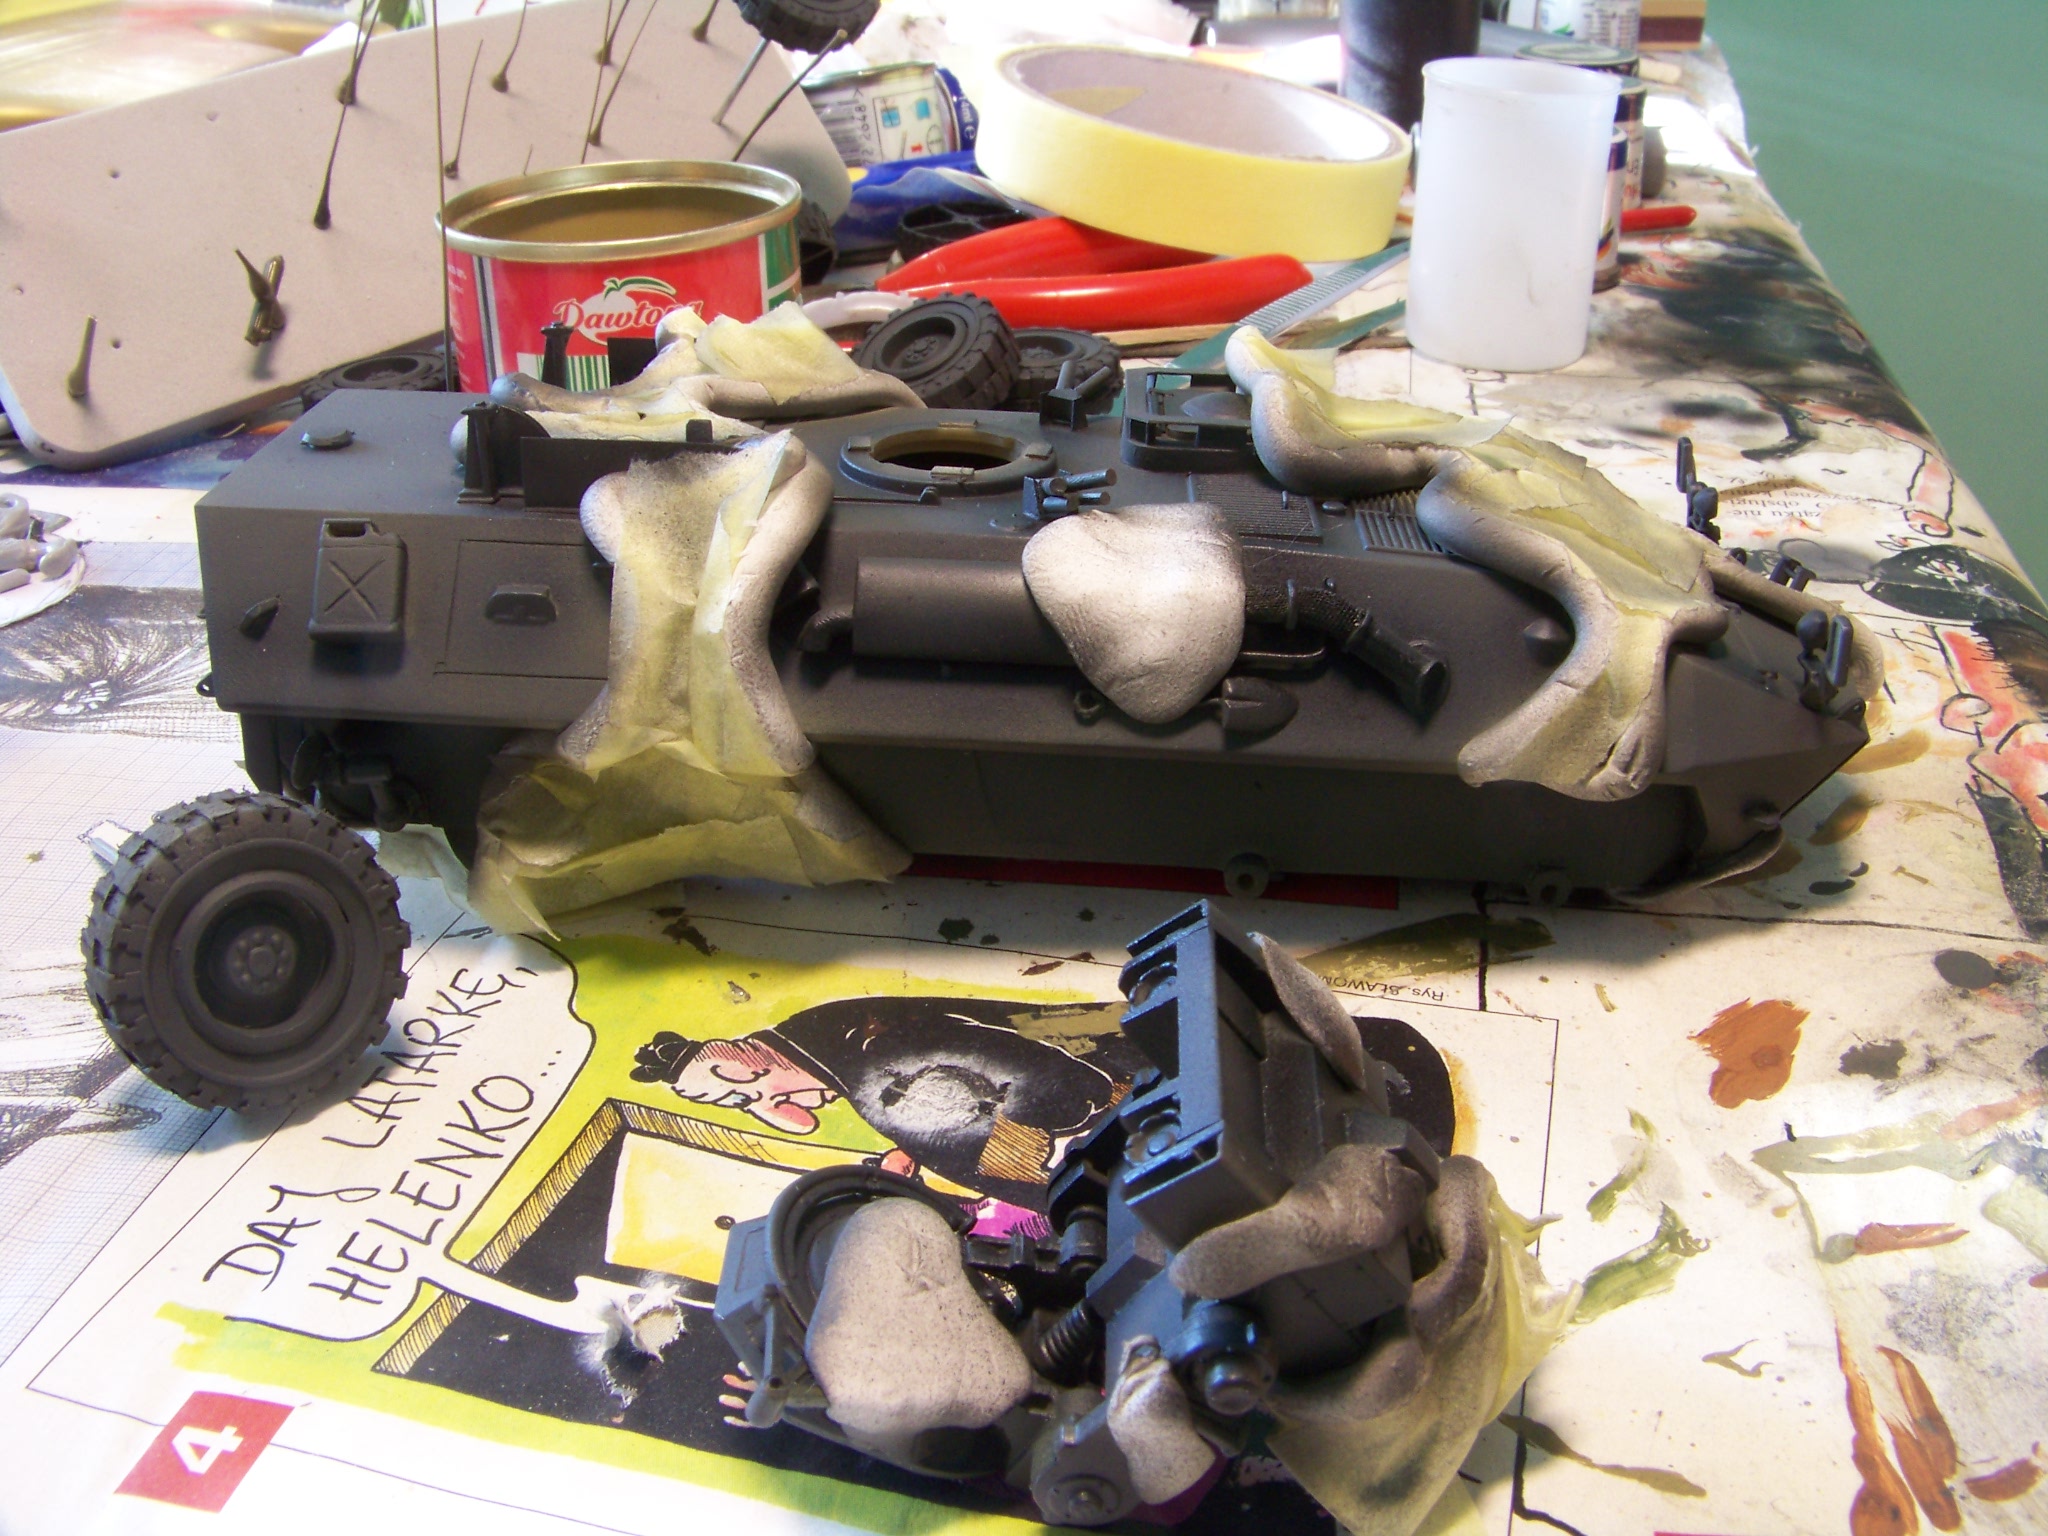
The next color would be brown.
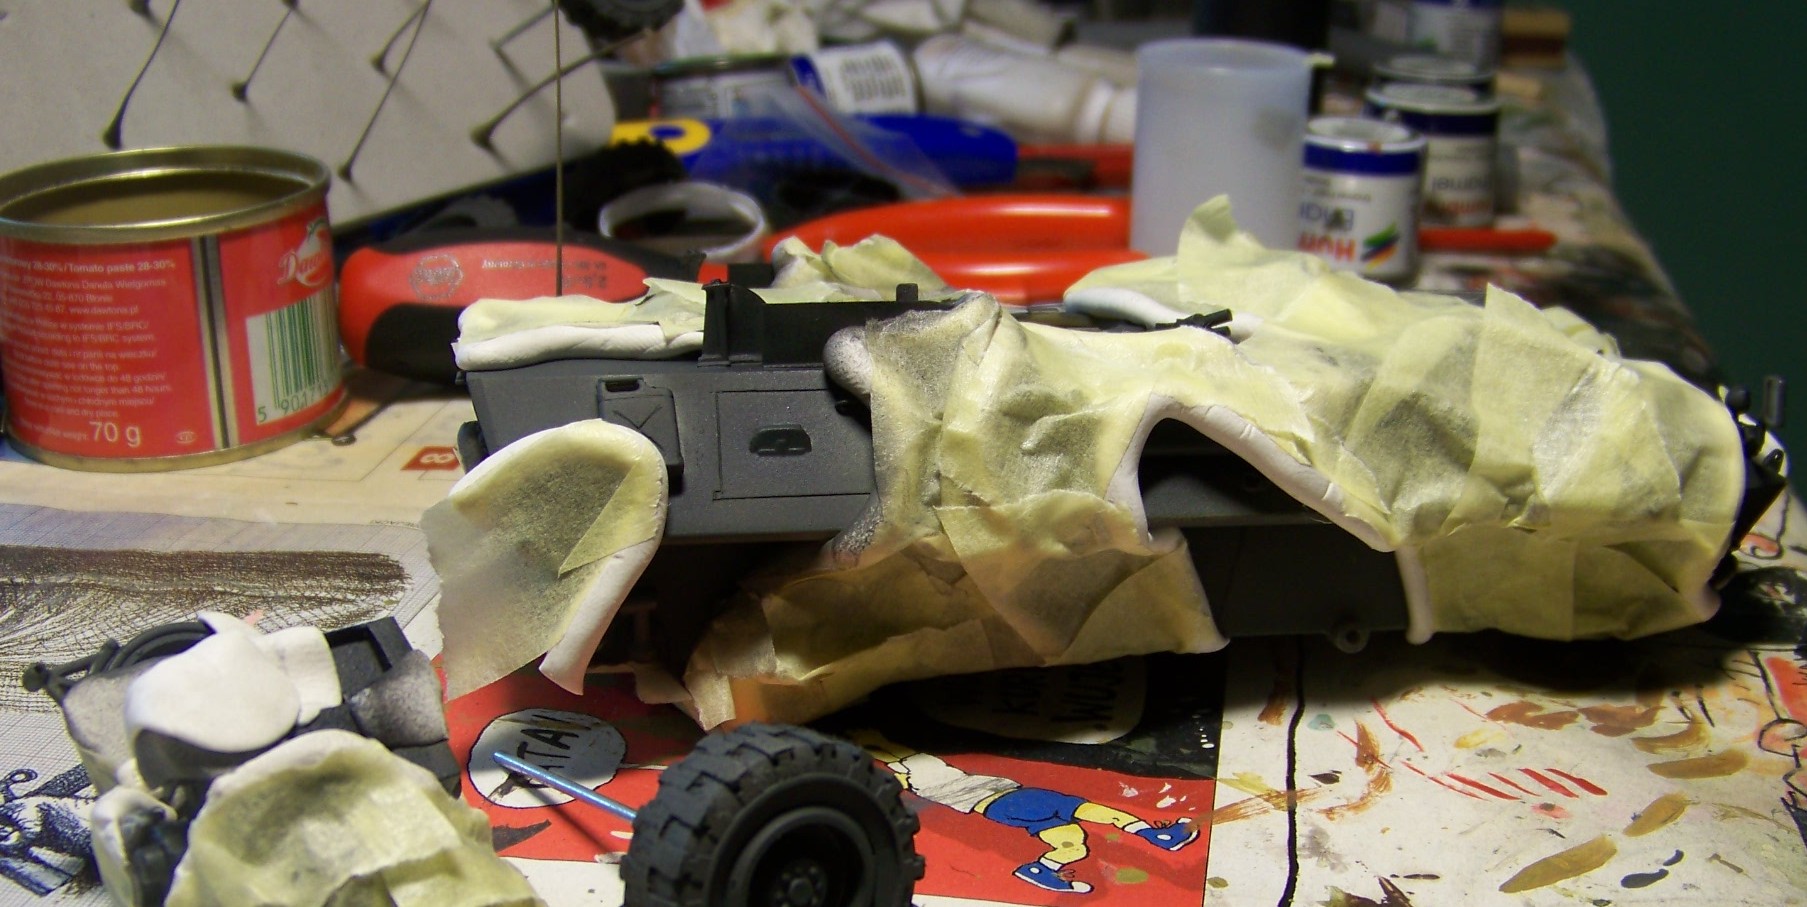
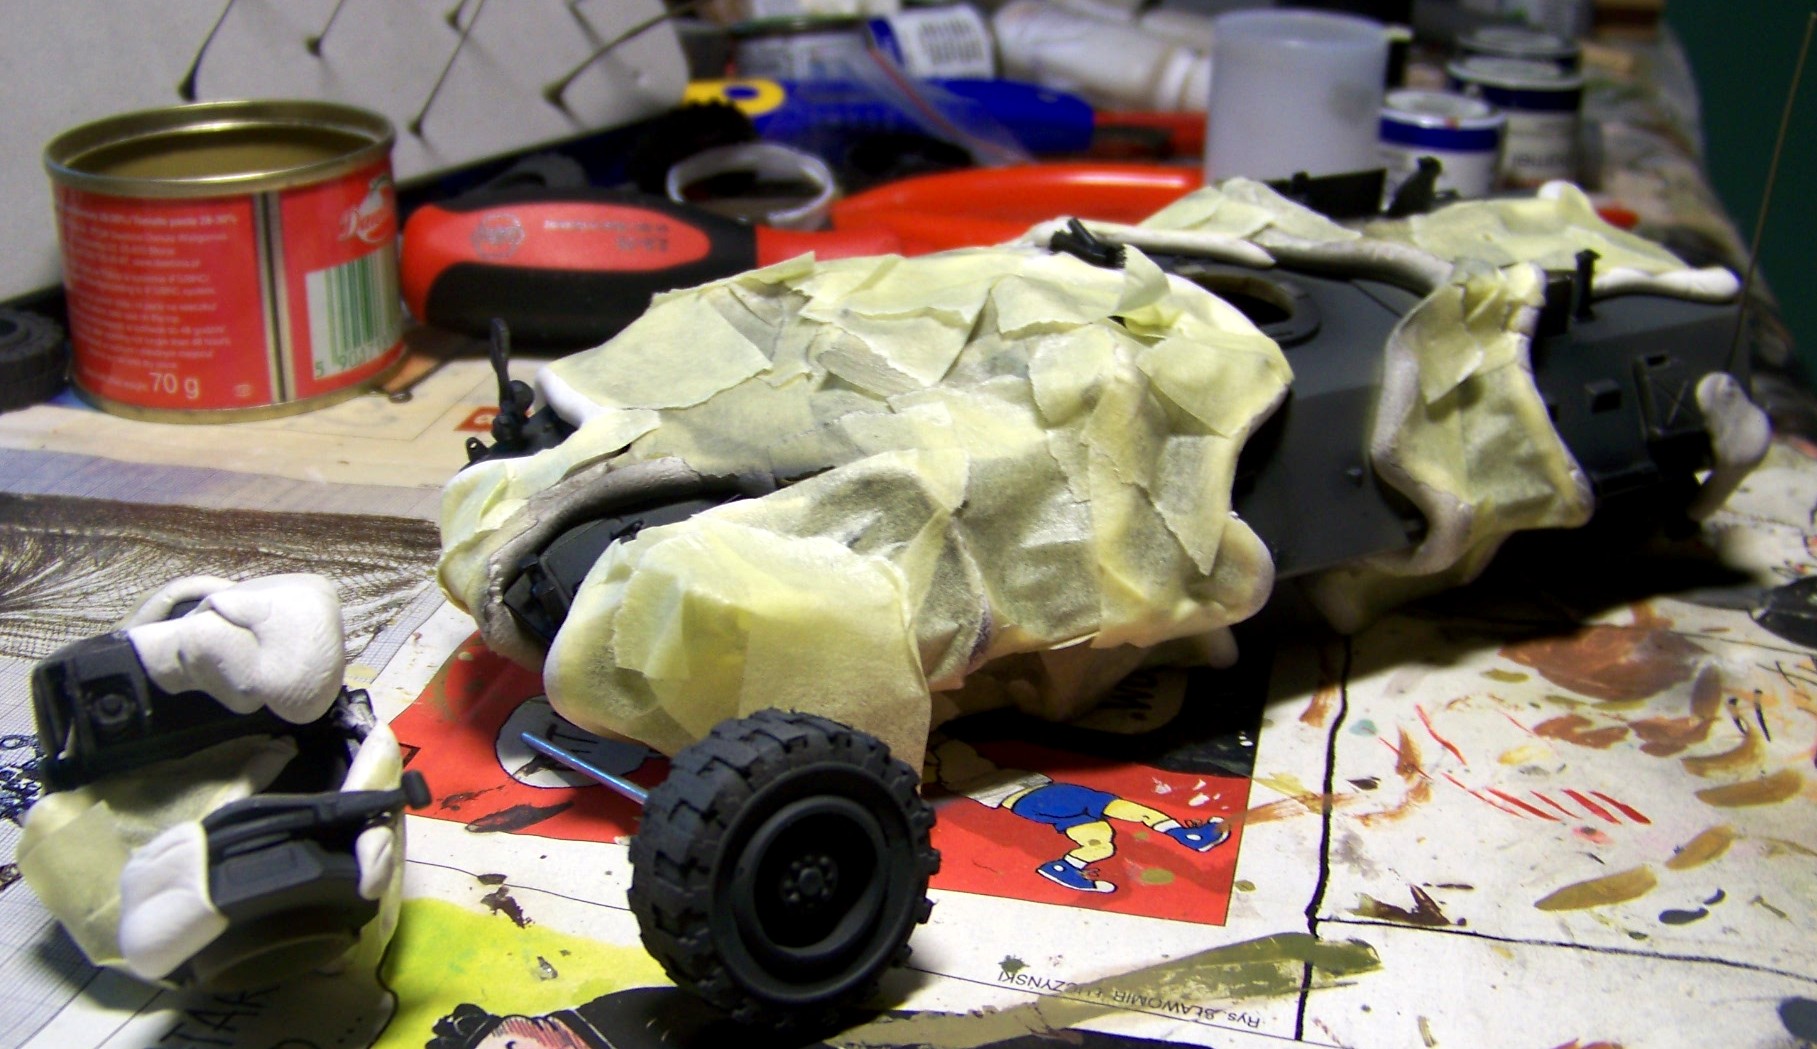
As the backgroung was dark already, I didn't see the need to preshade. I just painted the centers of the panels and flat surfaces with Humbrol tan 118.
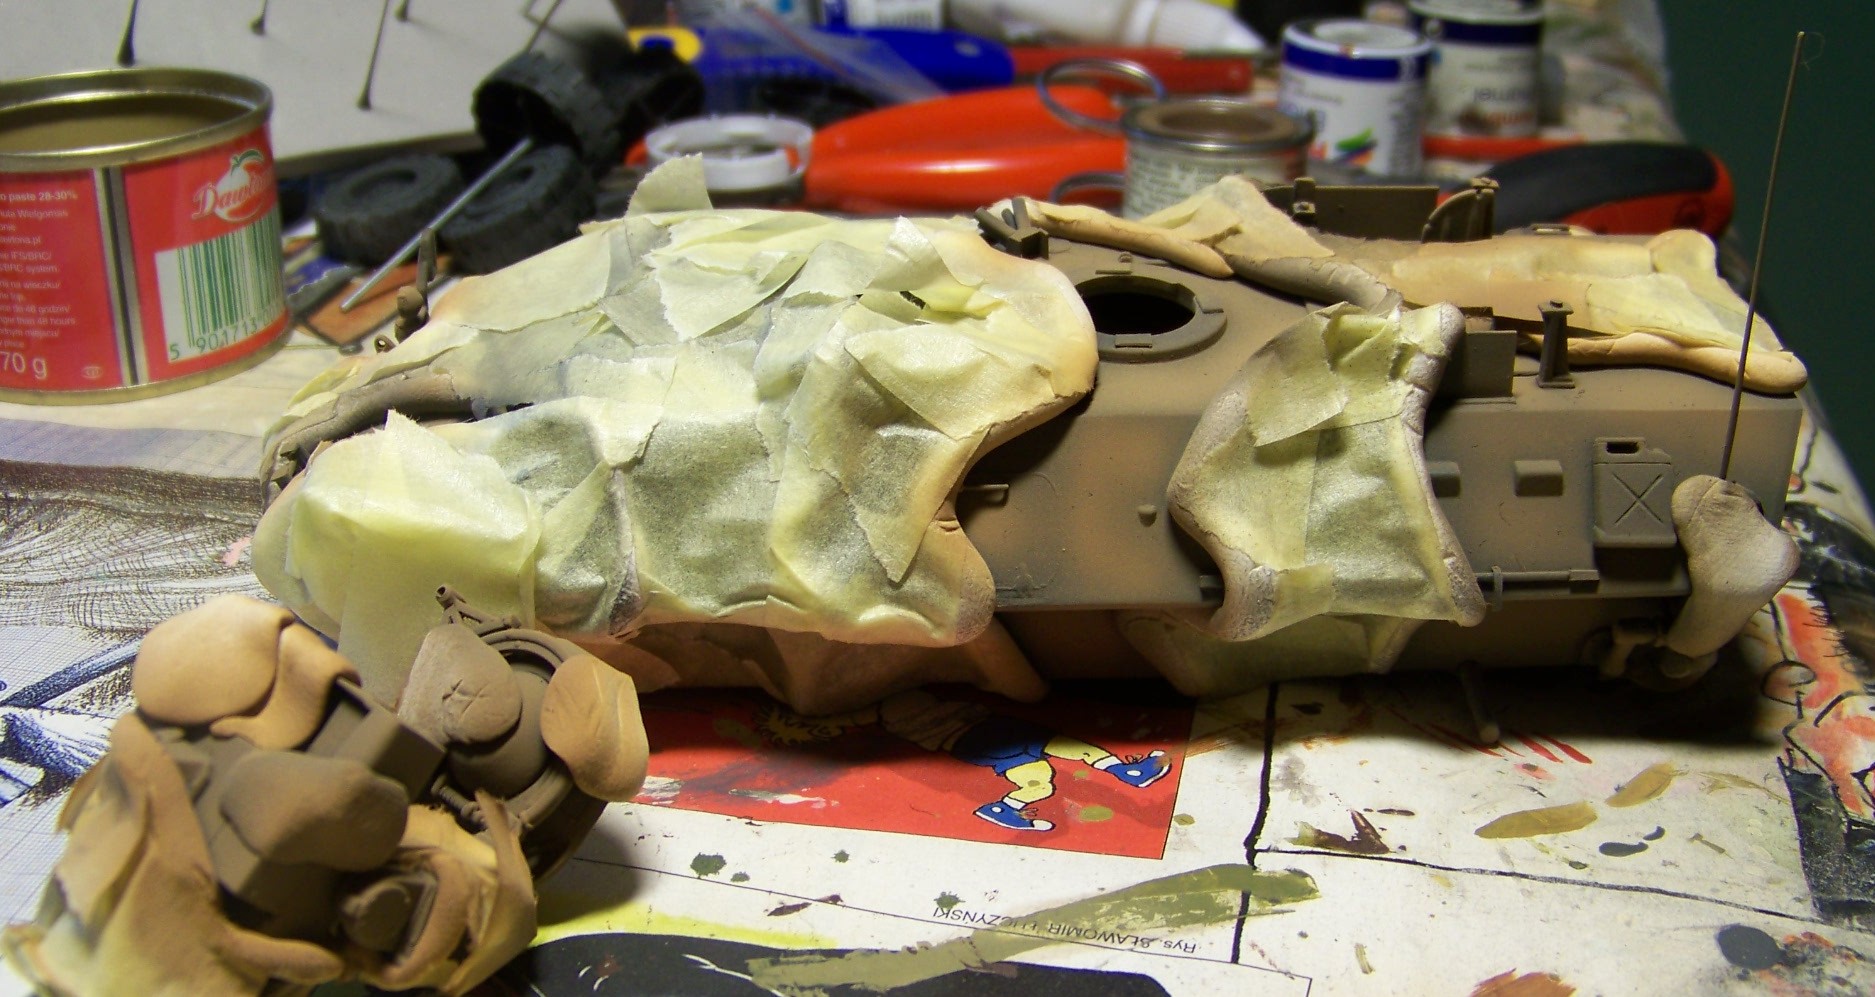
After the paint dried, I removed the masks. My favourite step! Here's what it looked like:
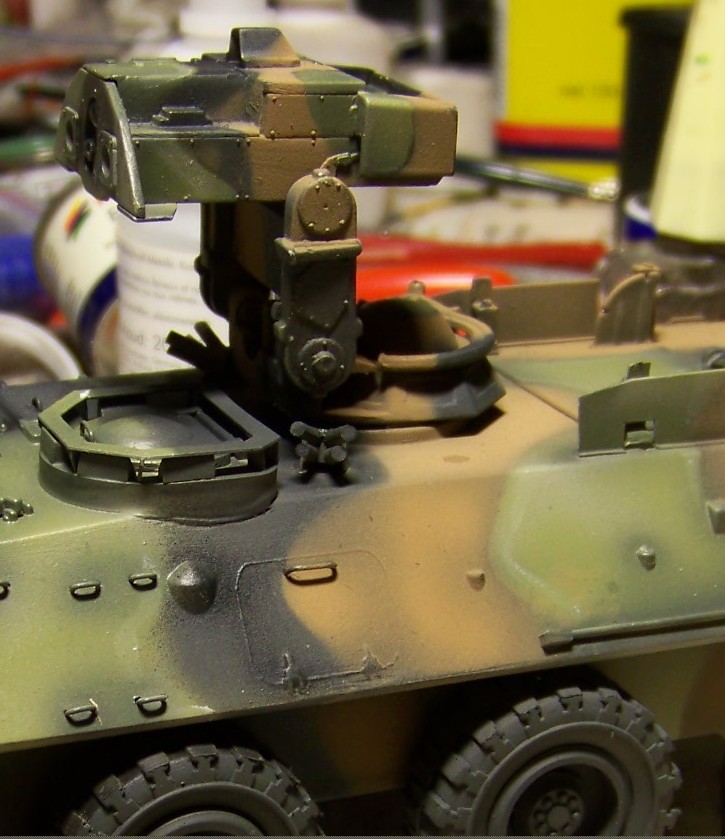
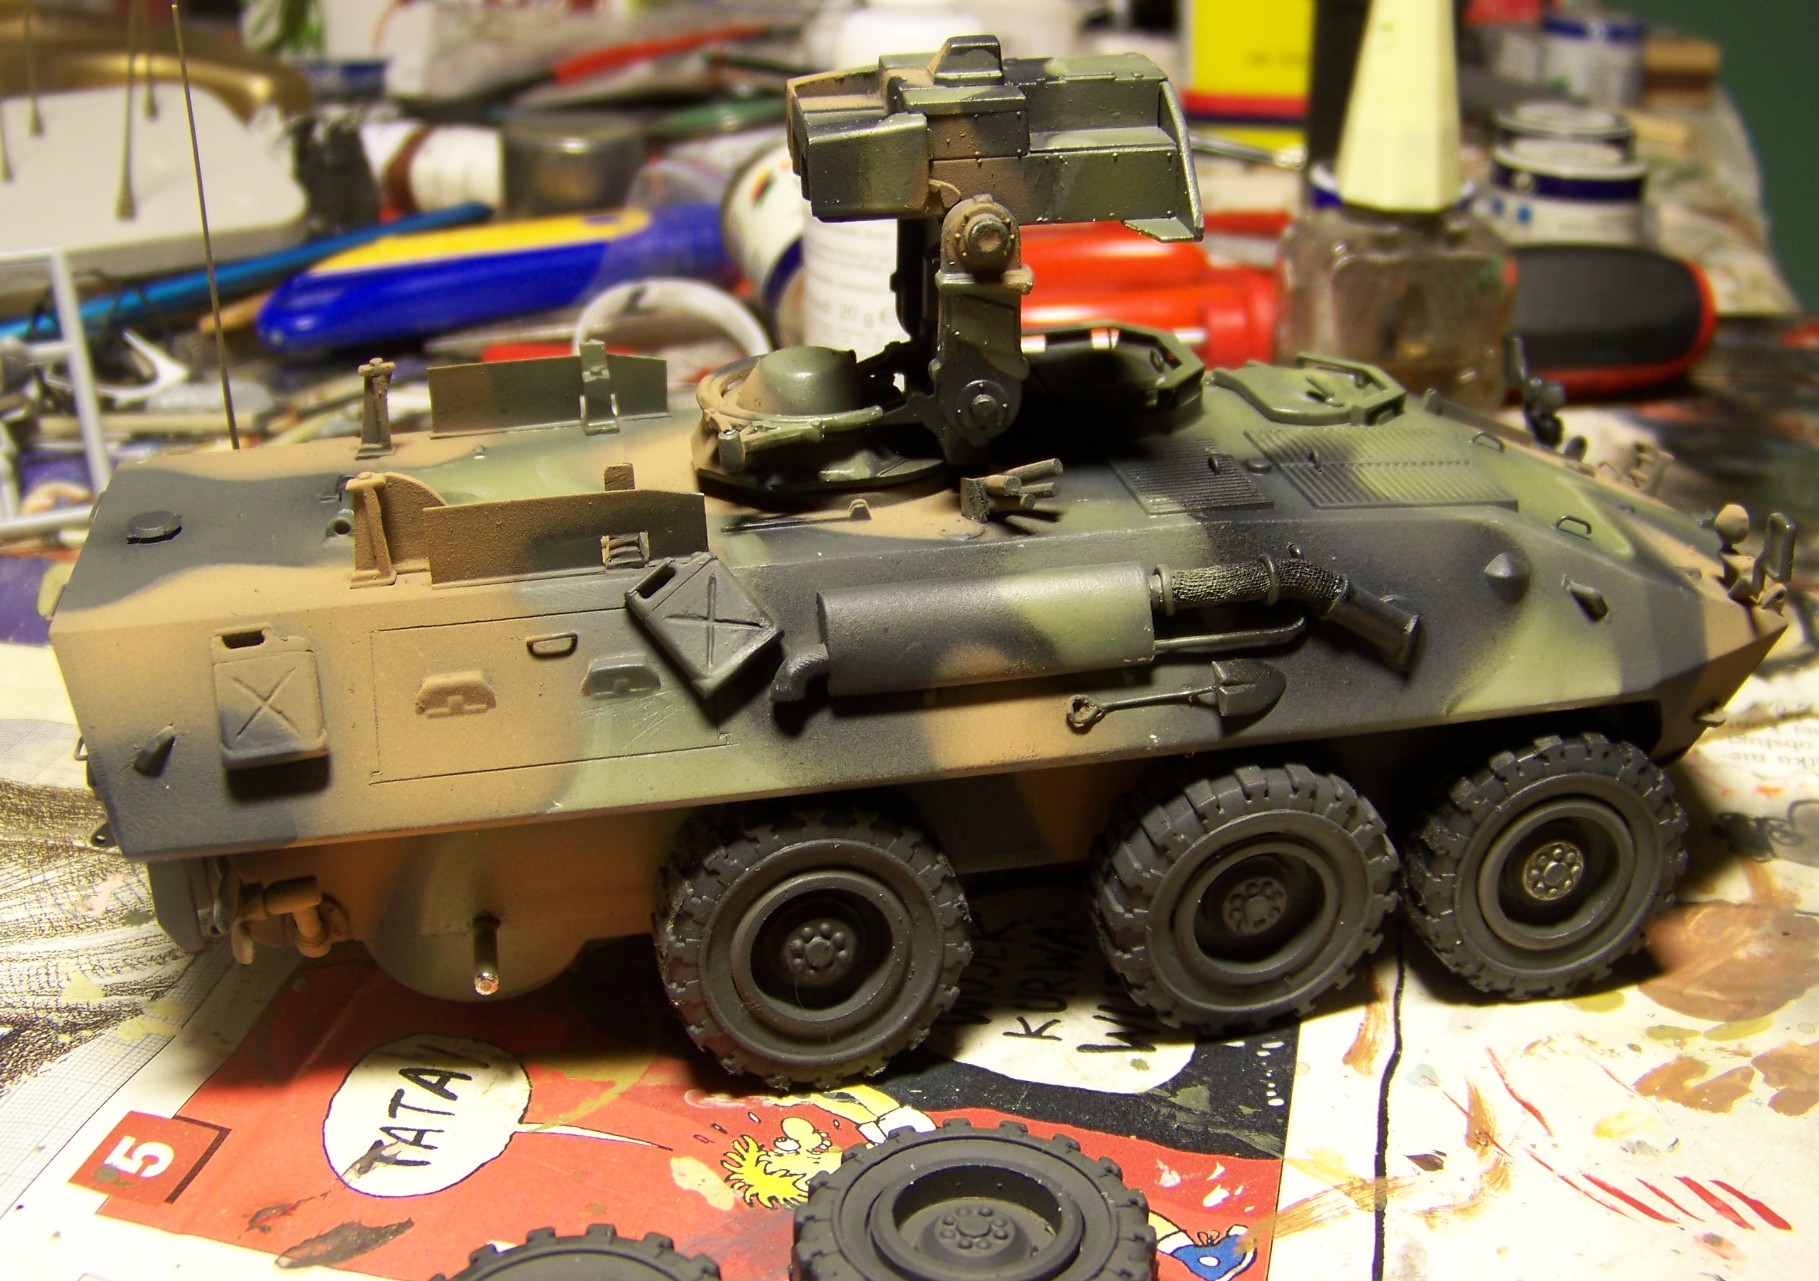
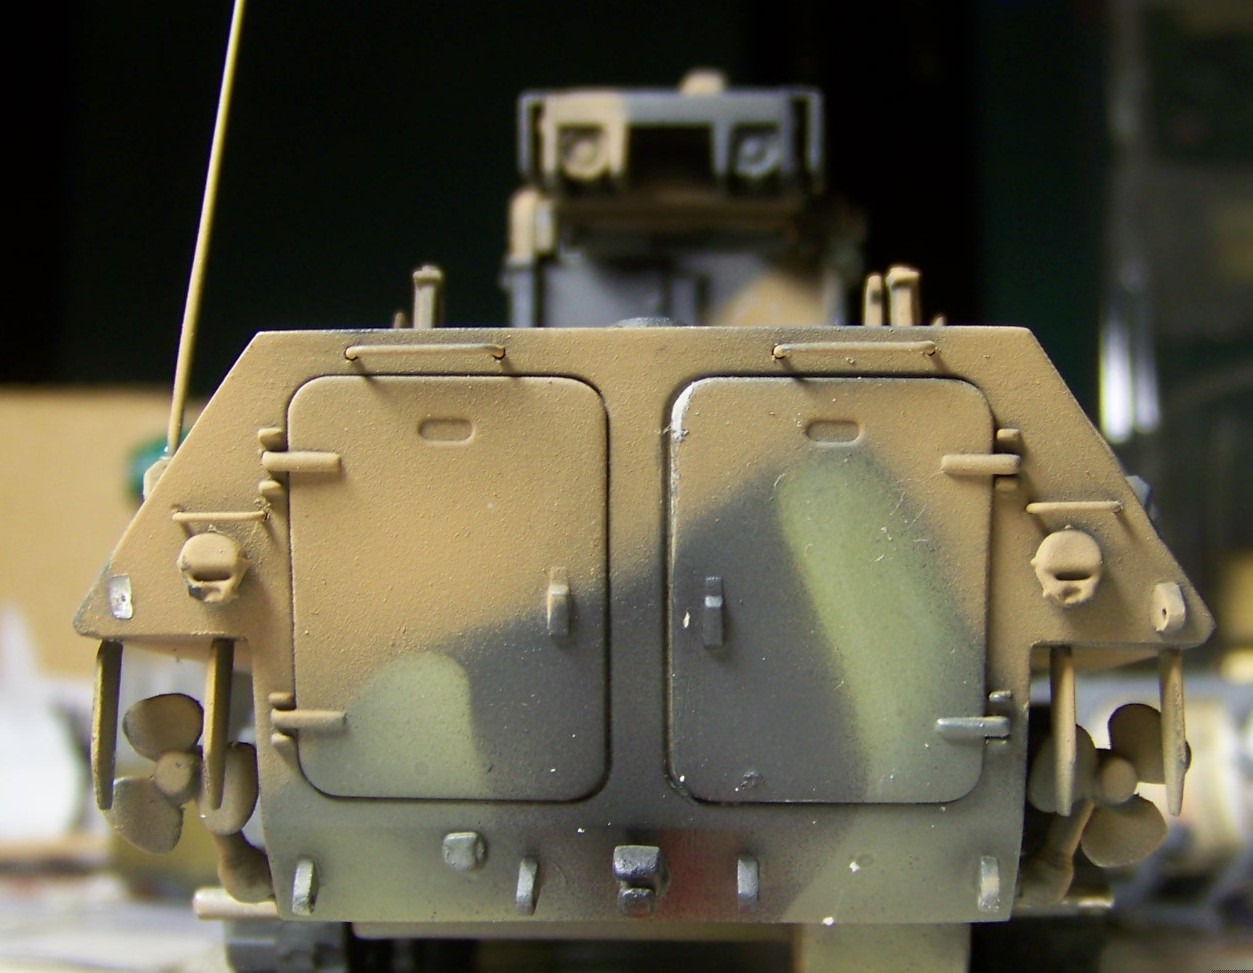
Now for weathering. First came a wash of dilluted future (well polish variant of it) with some wood stain for color (I took it because it was just sitting on my workbench - any nice dark water-based color would do). Then my girlfriend mixed some sand color for me and I applied a wash with this color to the wheels and sprayed/dusted it on the vehicle hull, heavier coat in the wheel well area, lighter on the sides, almost none on the top. While the paint is still fresh, you can take a fine pointed brush, dip it in some compatible thinner and paint very realistic water runs, as if the rain washed some of the dust down.
Then I just picked up the details (reflectors, periscopes) with a fine-pointed brush and dry-brushed the tires dark grey and called it a day.
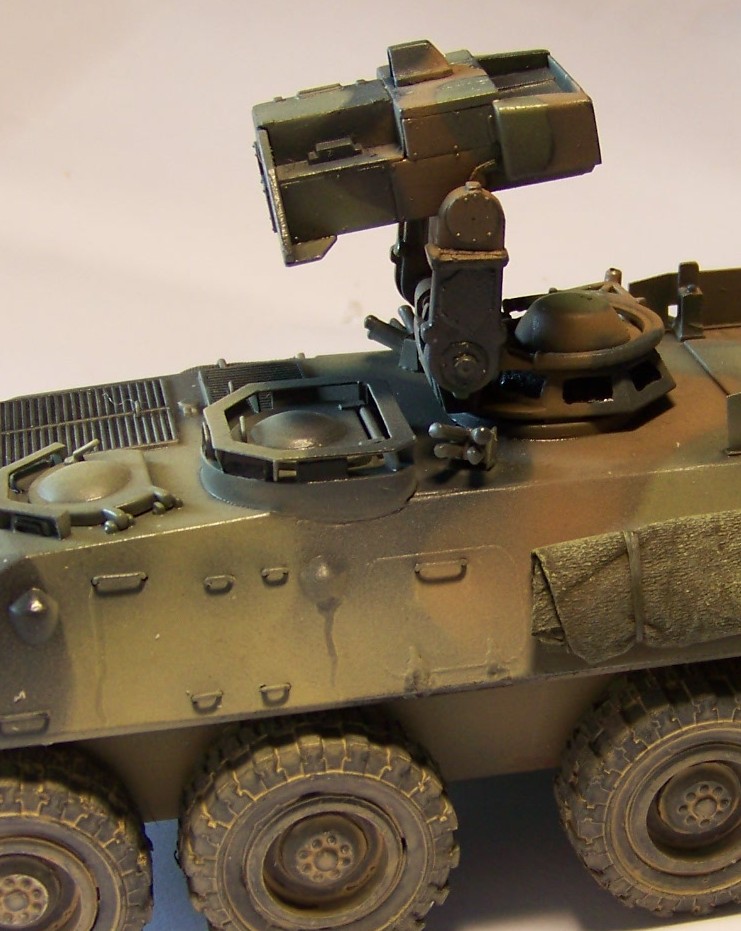
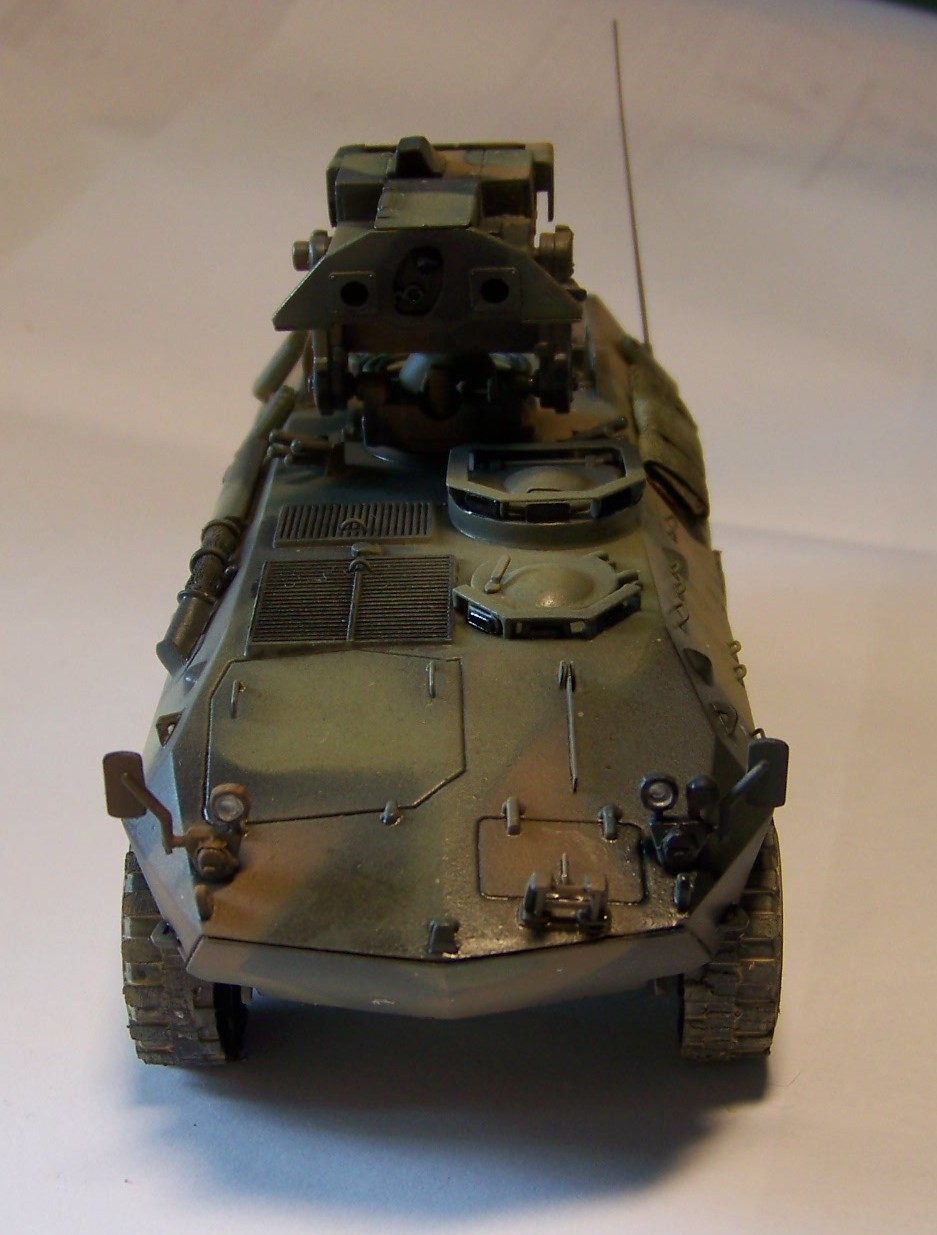
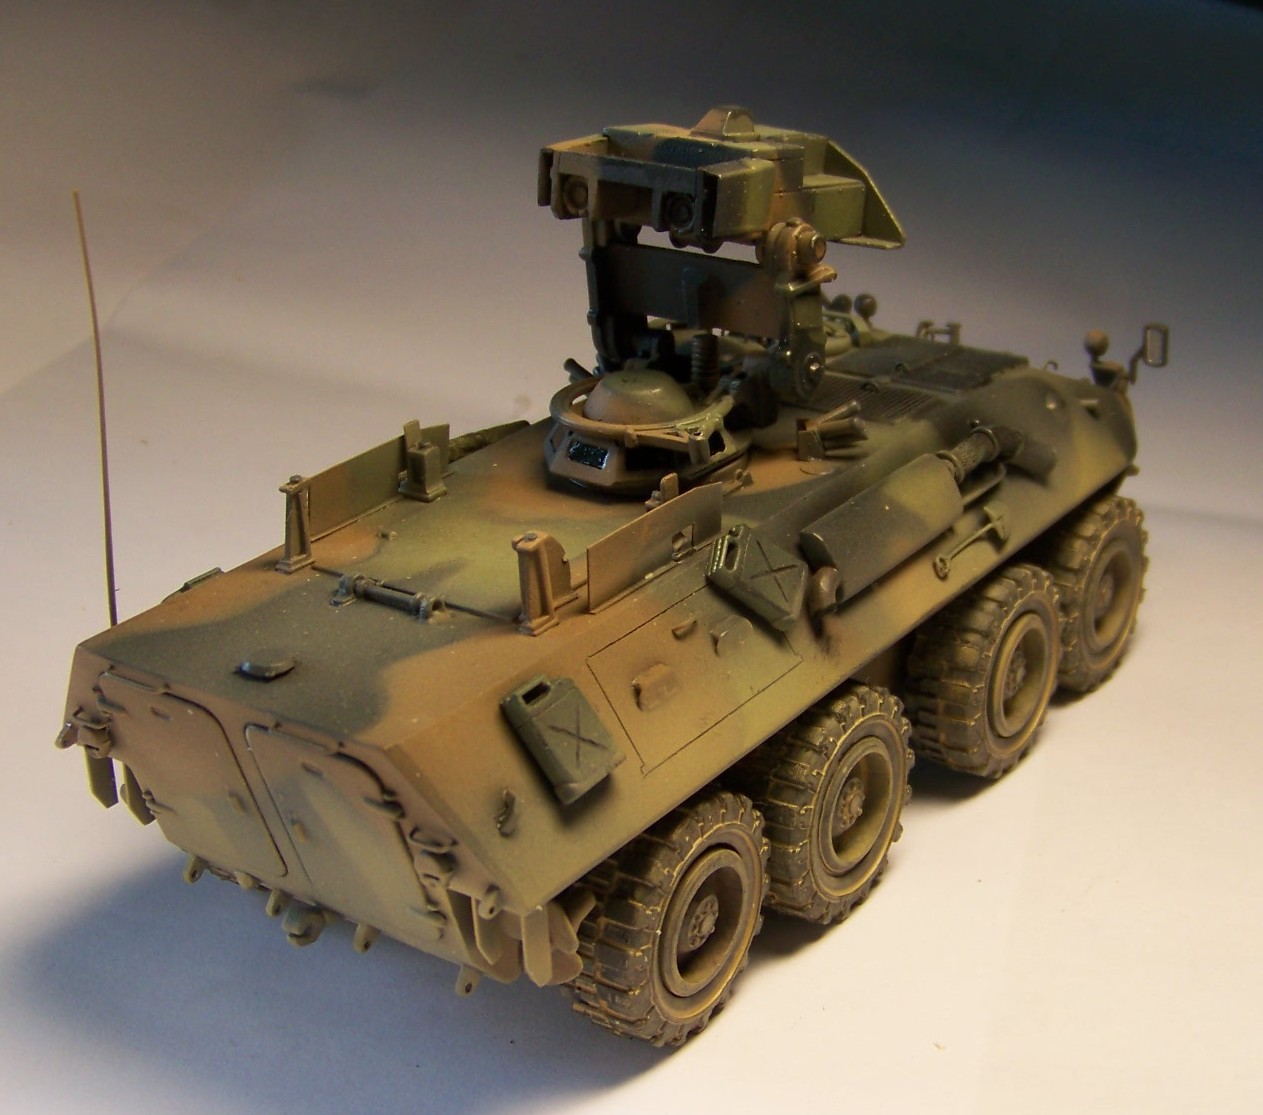
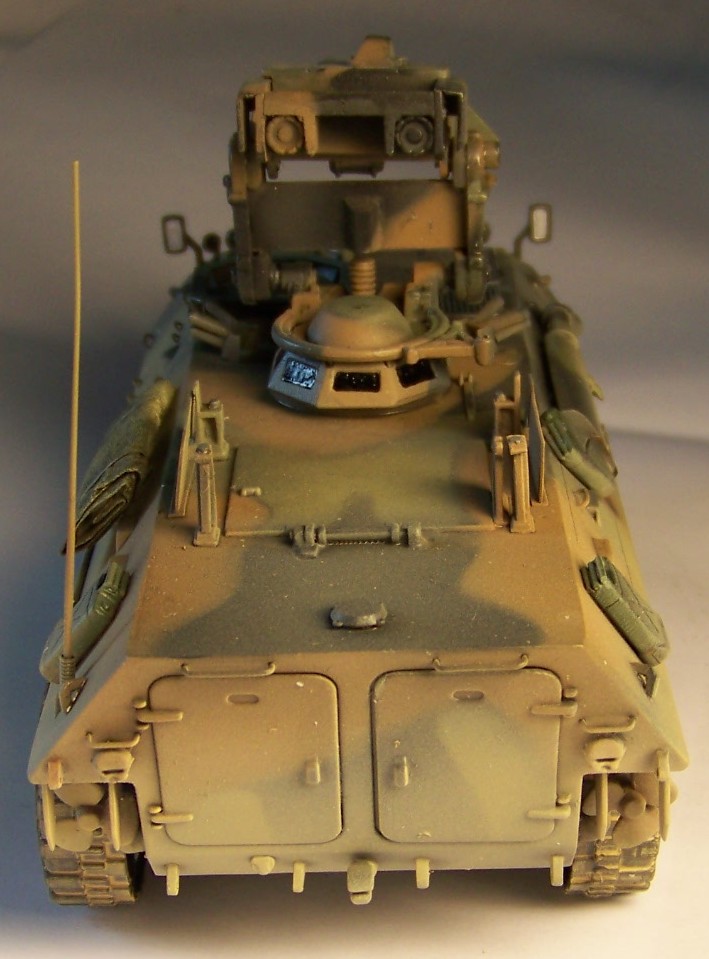
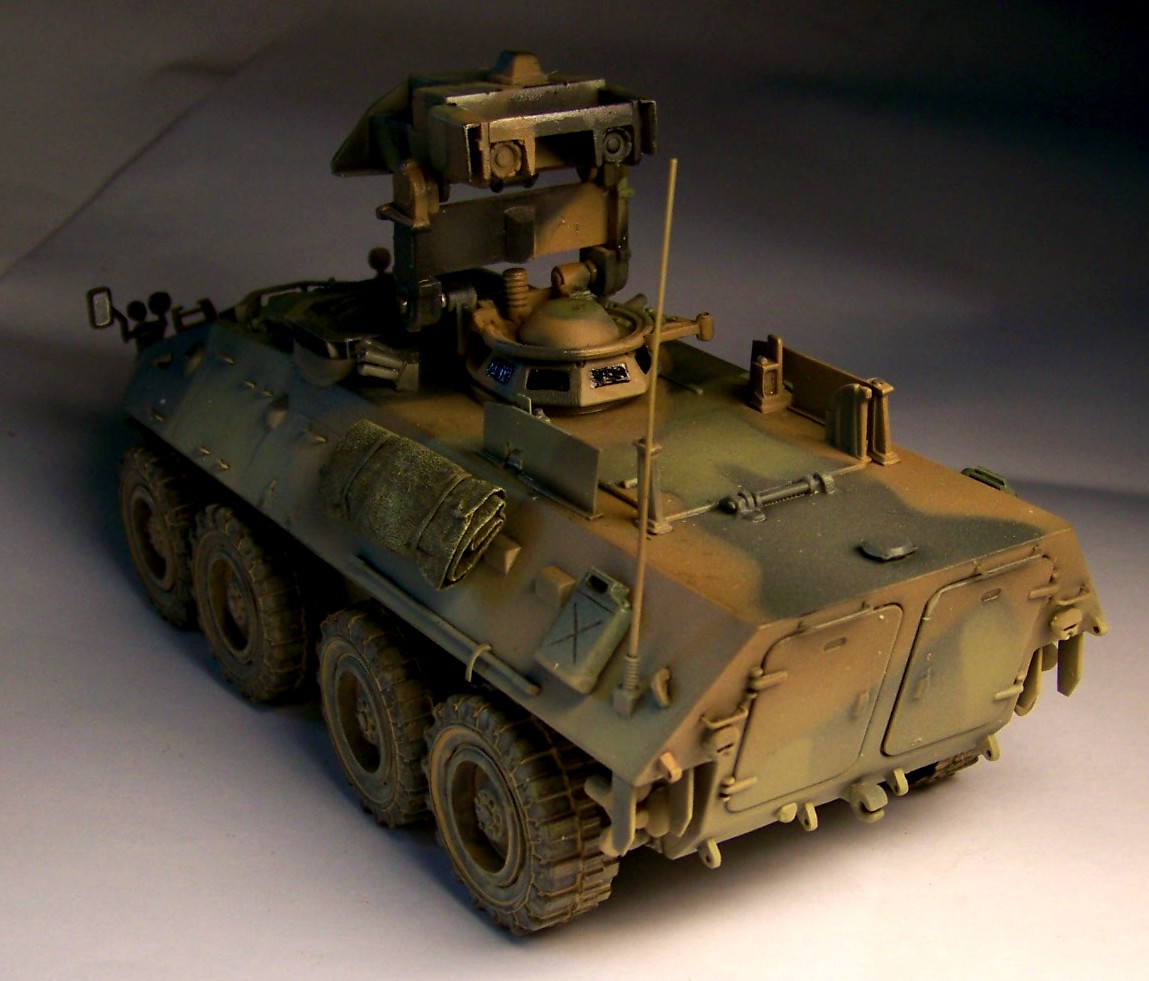
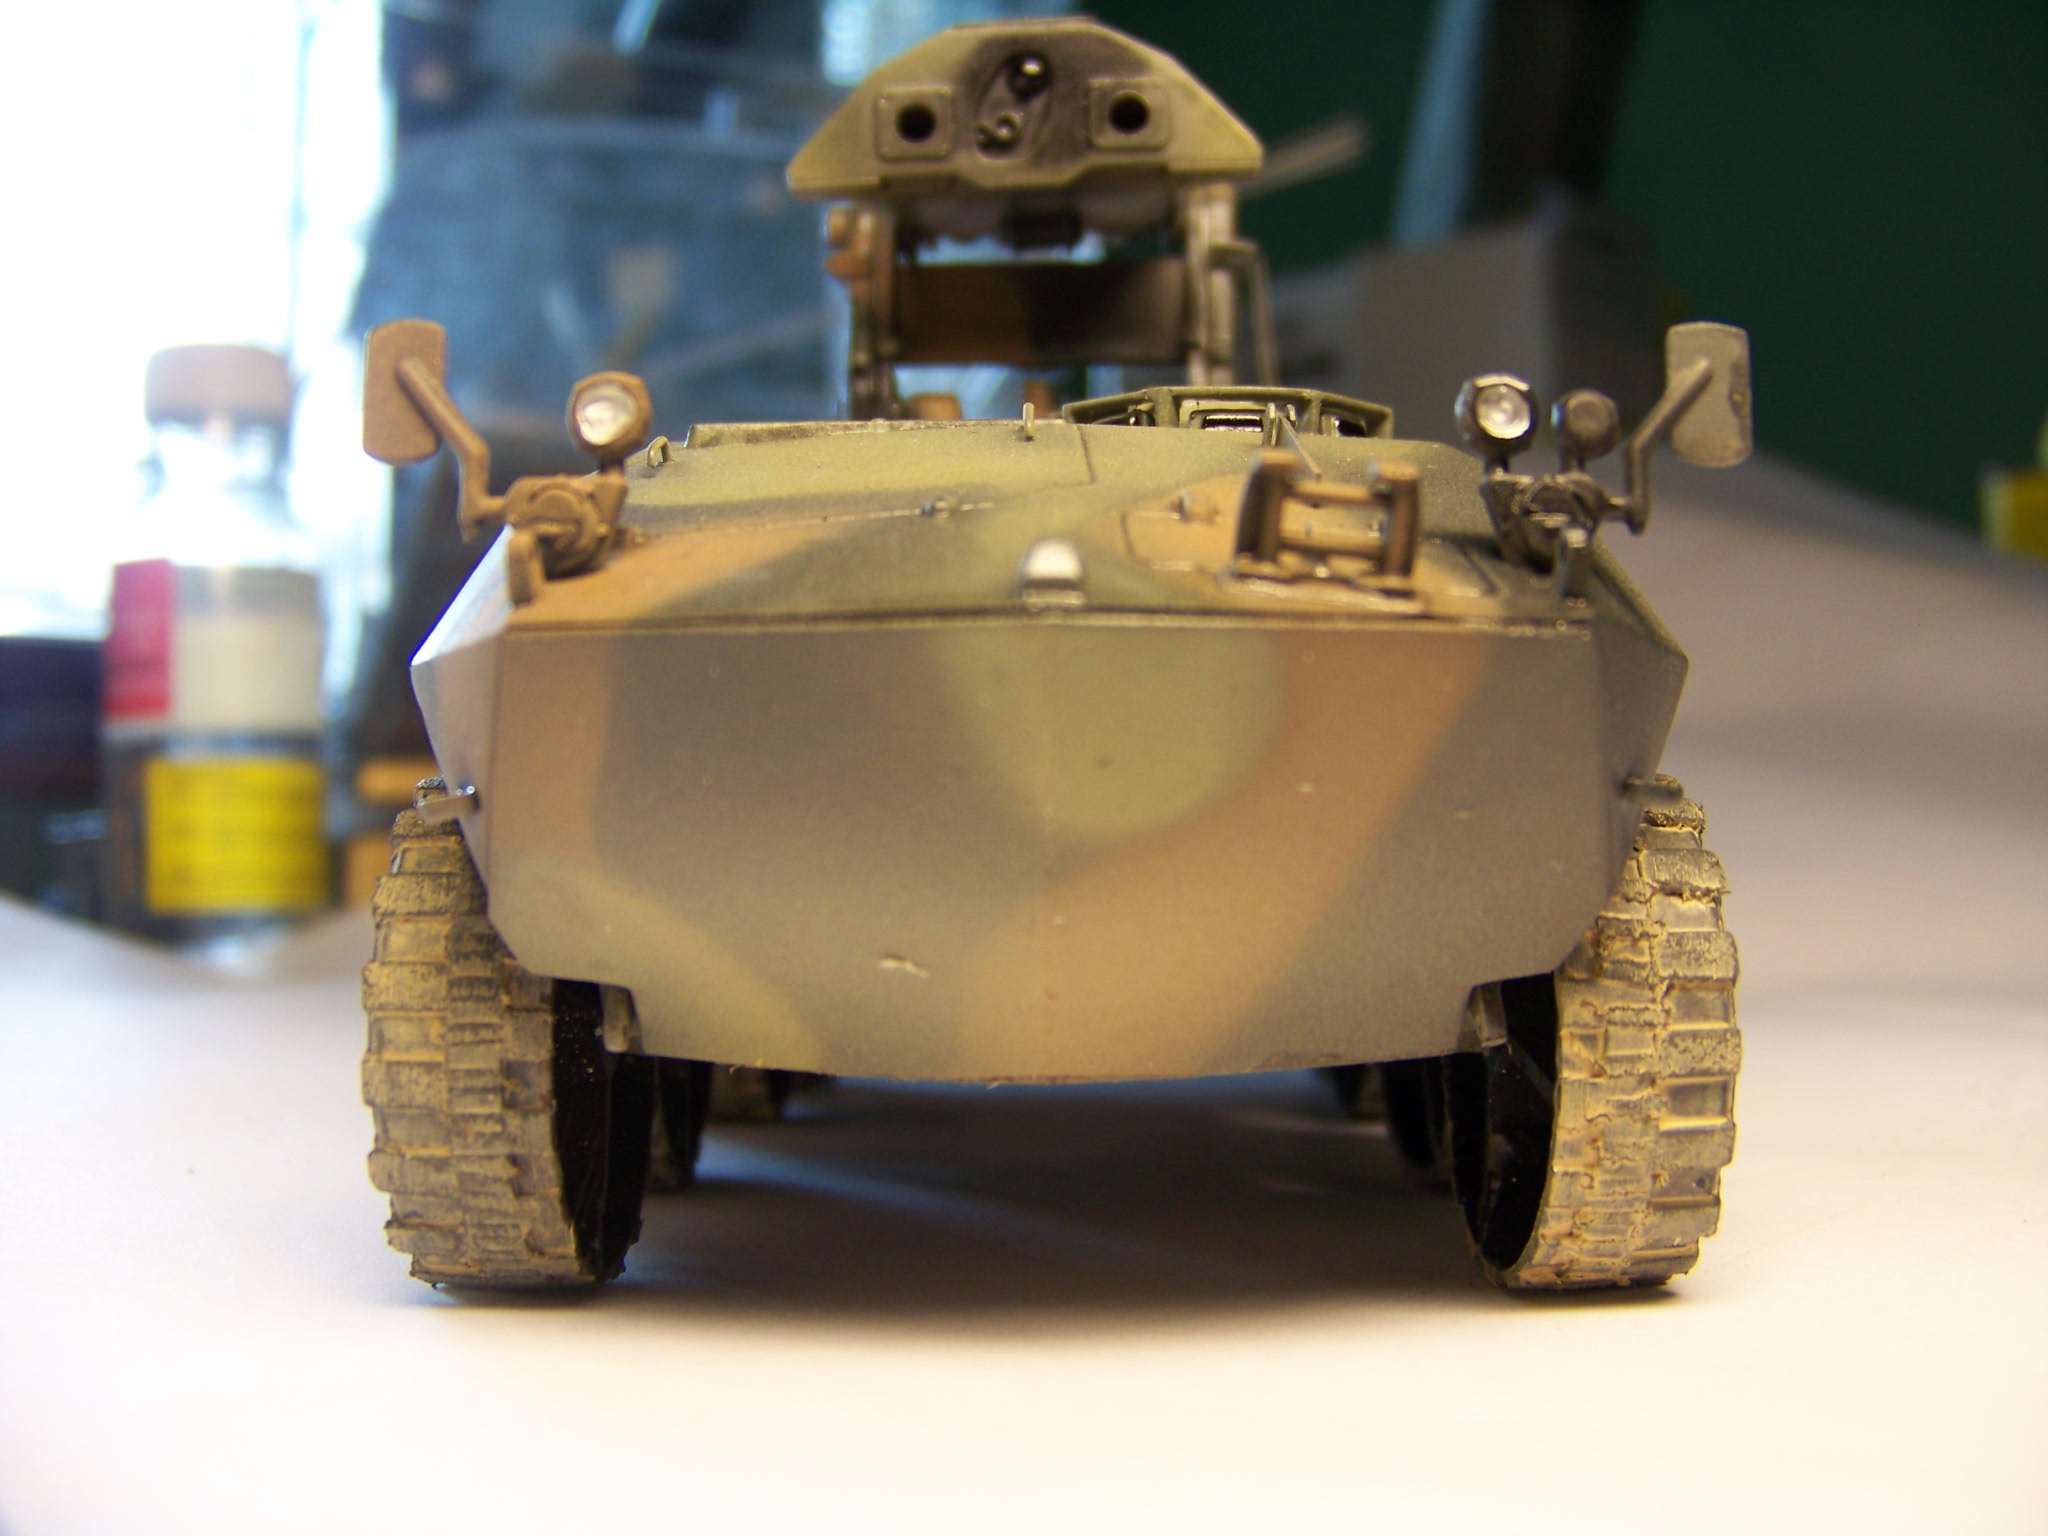
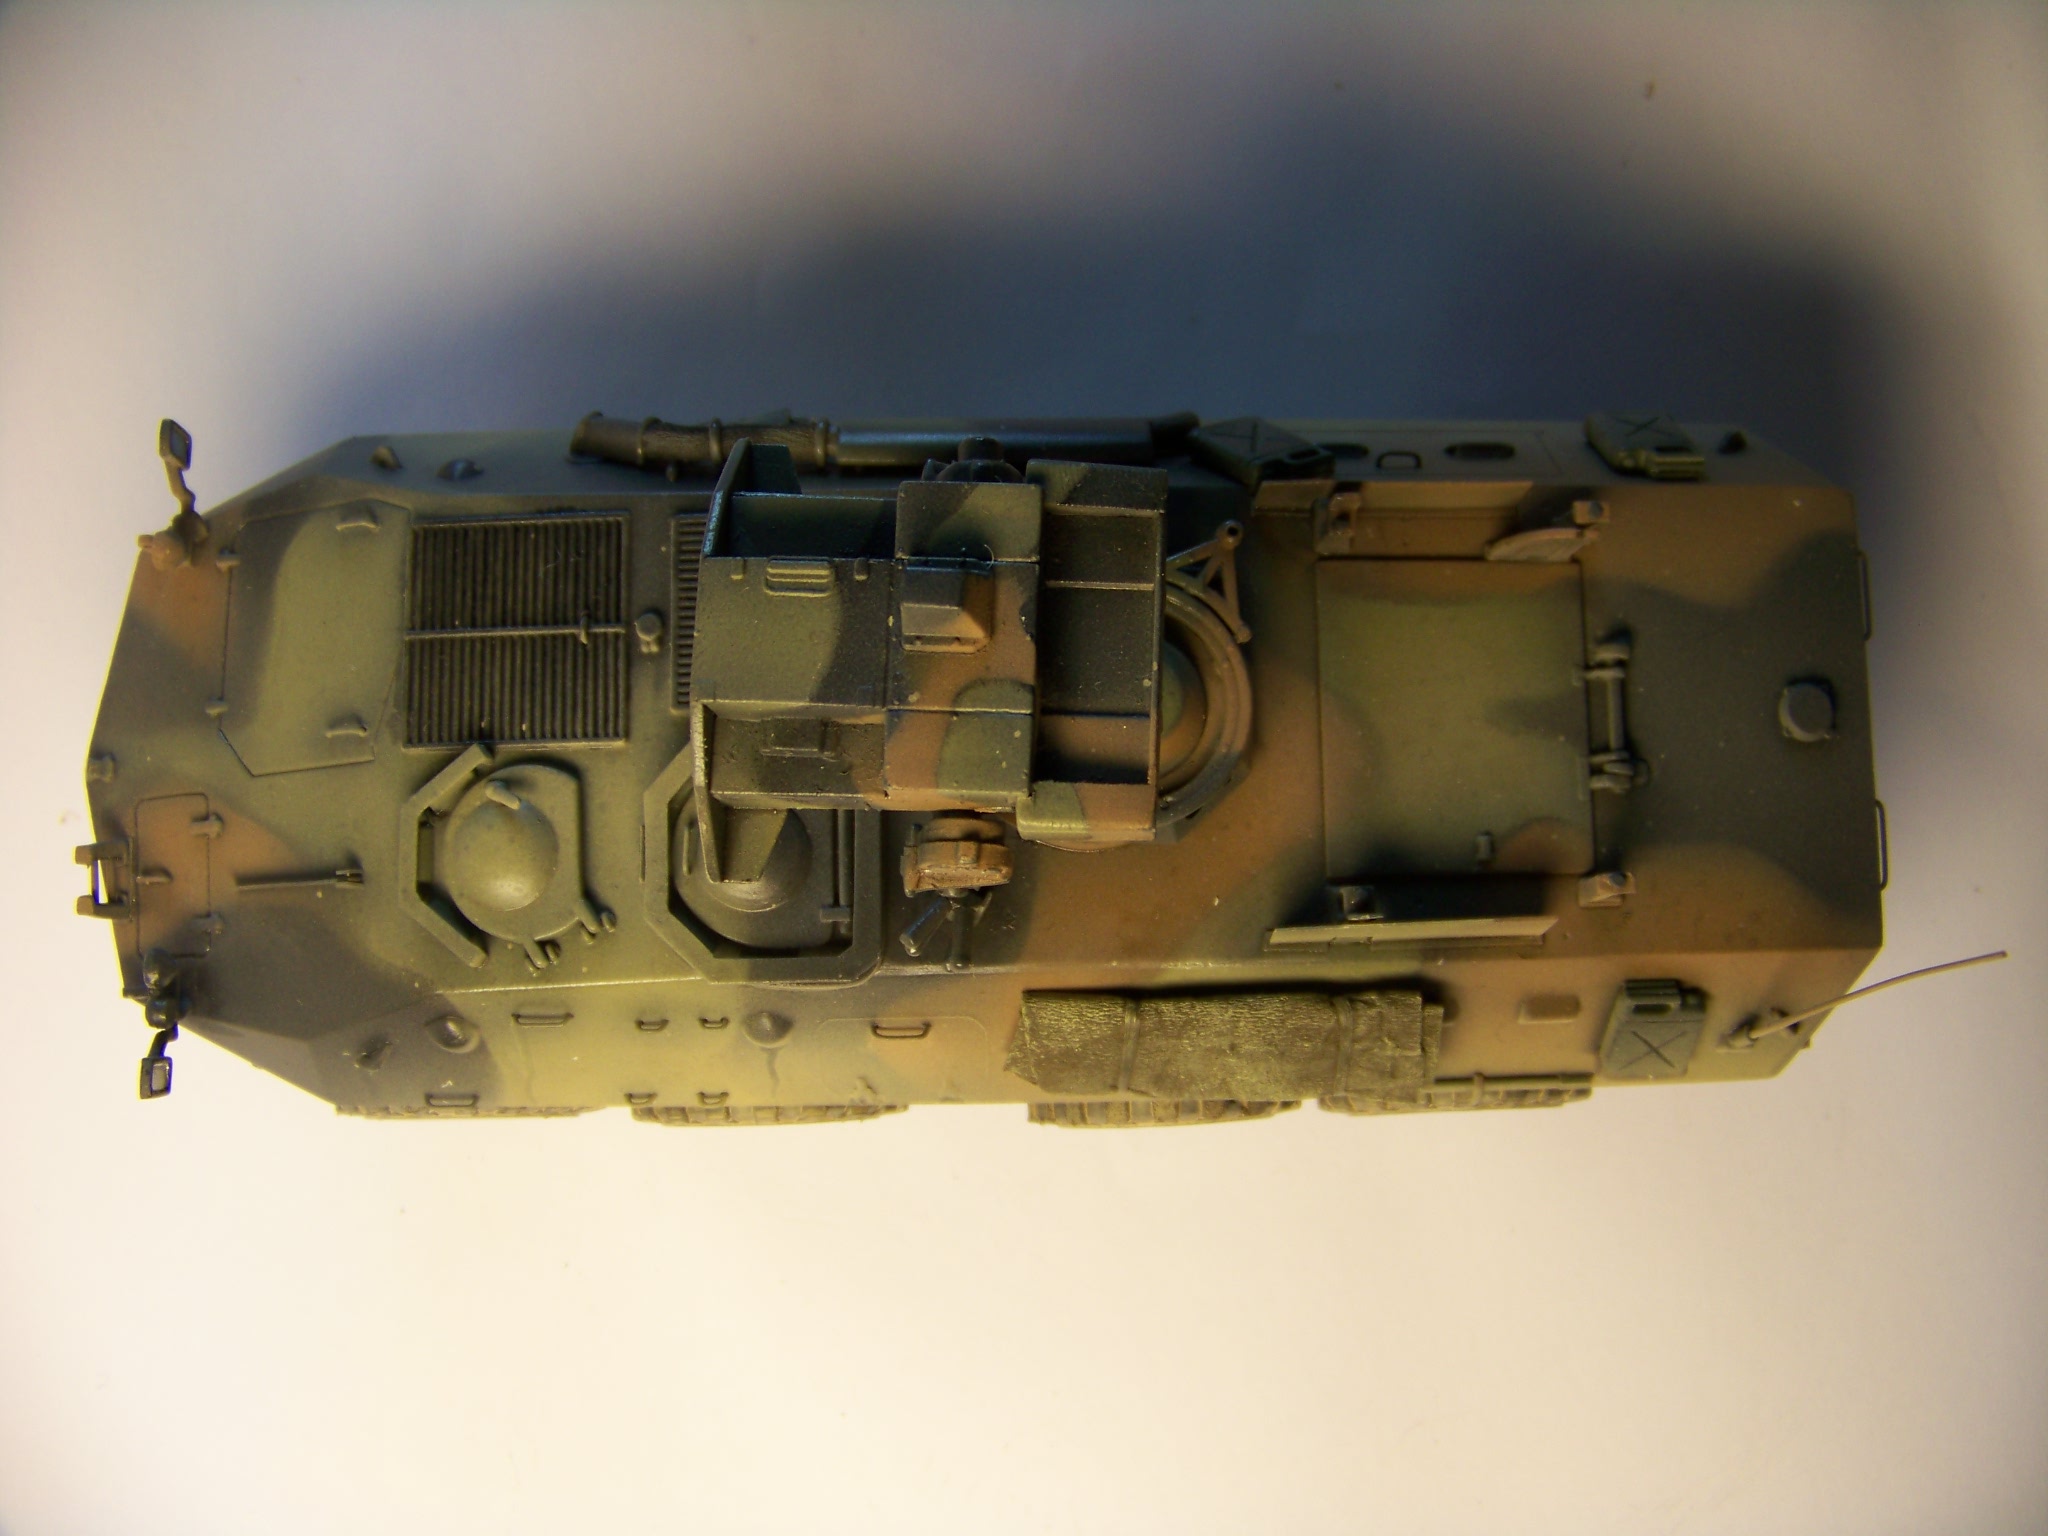
Just after processing the fotos I realized I also have to pick up some more viewing ports and lights. Well, I hope You like it, please tell me what do you think about it? Till the next time
Pawel