SEARCH FINESCALE.COM

Enter keywords or a search phrase below:

L.W.S . Update May 14. Pg. 3

10759 views
47 replies
1 rating 2 rating 3 rating 4 rating 5 rating
  • Member since
    May 2005
  • From: Dublin Rep Of Ireland
L.W.S . Update May 14. Pg. 3
Posted by terry35 on Saturday, January 22, 2011 8:01 PM

Well helo again, finally got off my rear and got to the bench.. I joined a GB. the Weathering GB over in GB's of all places. I really need to get back to work after a break of almost 8 months.

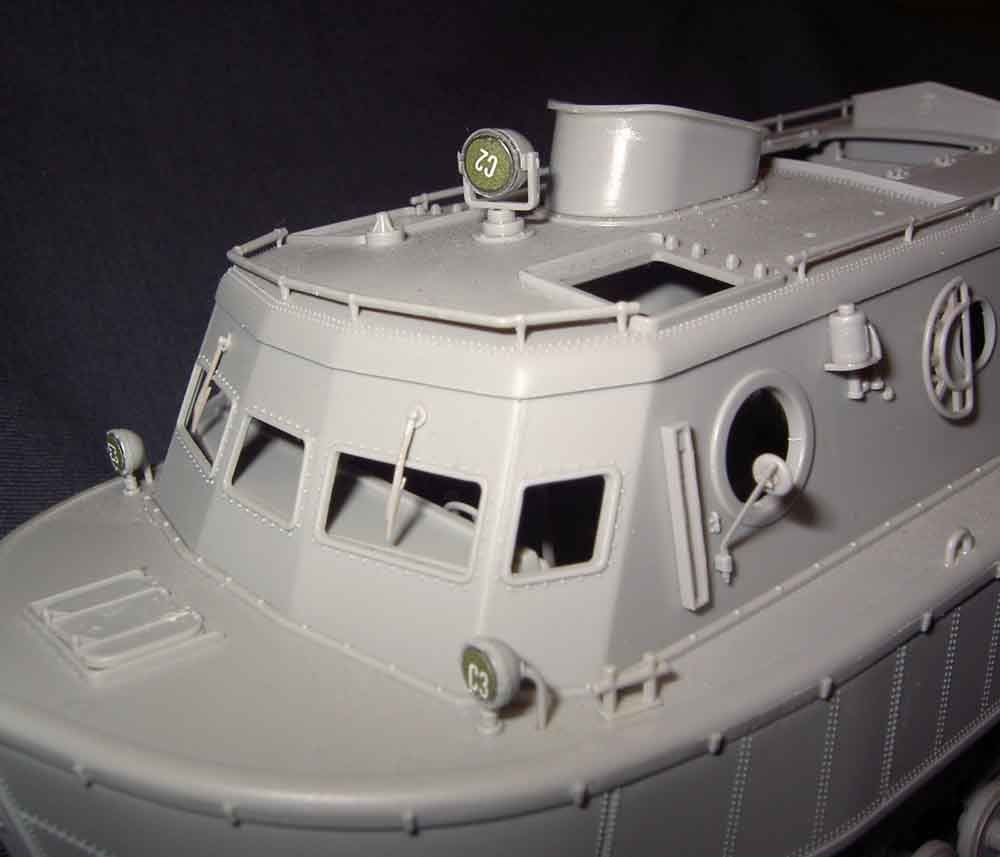
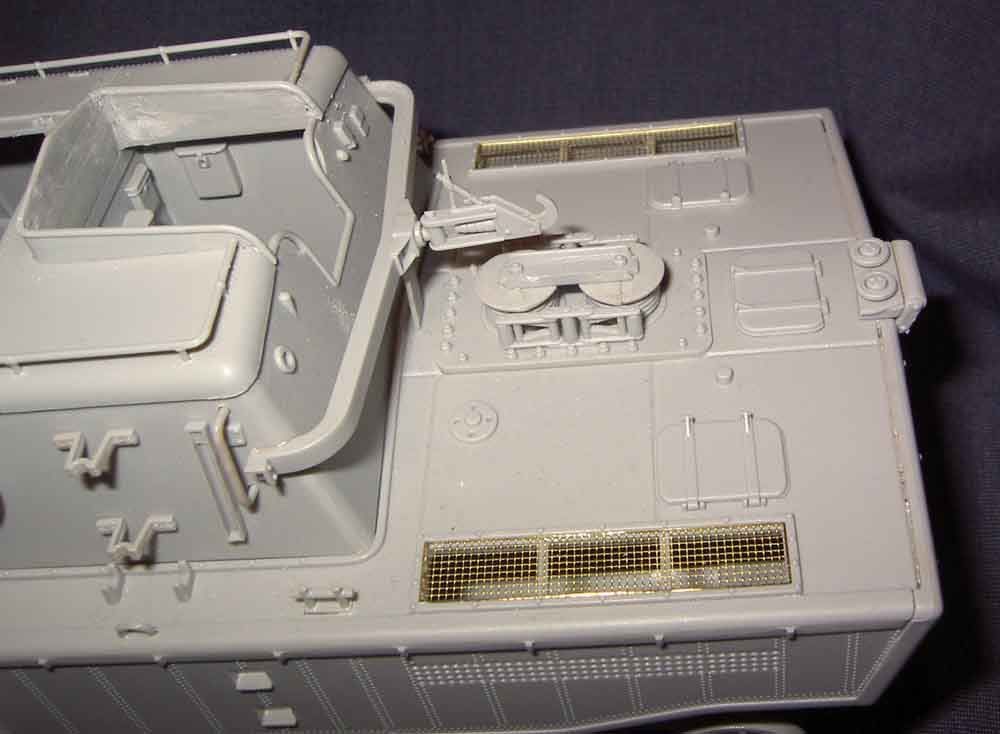
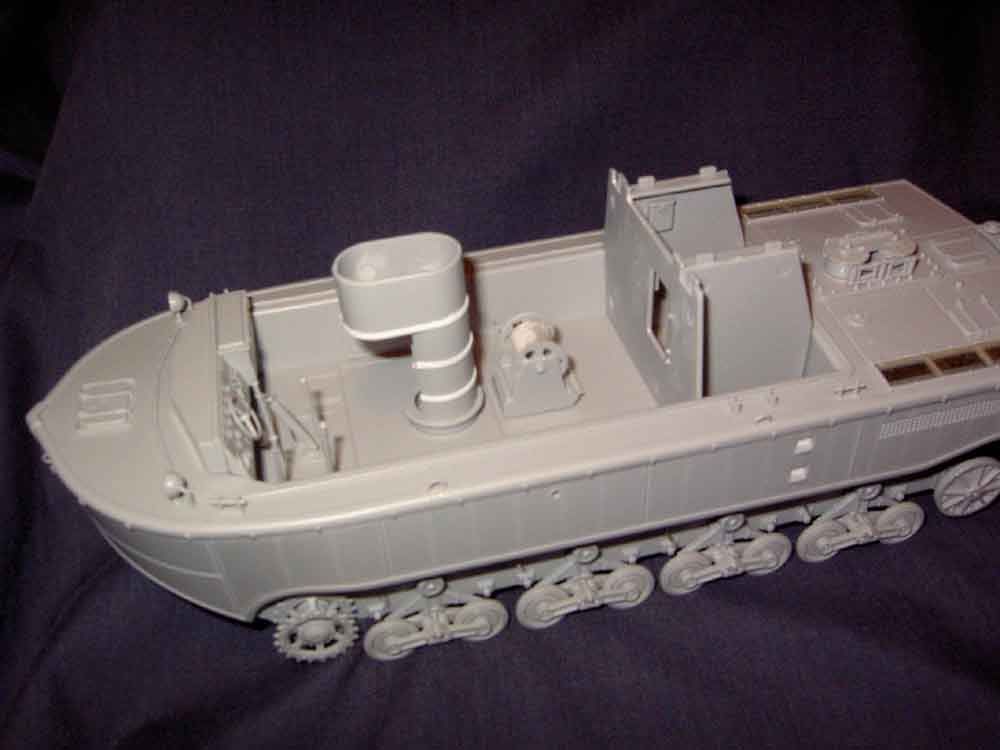
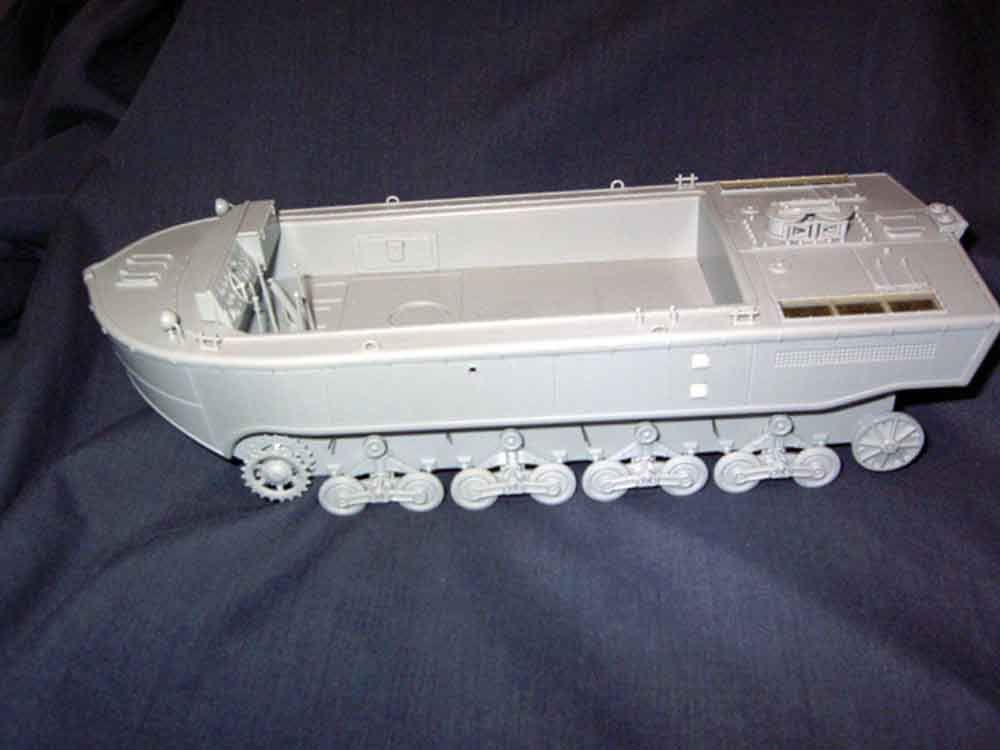
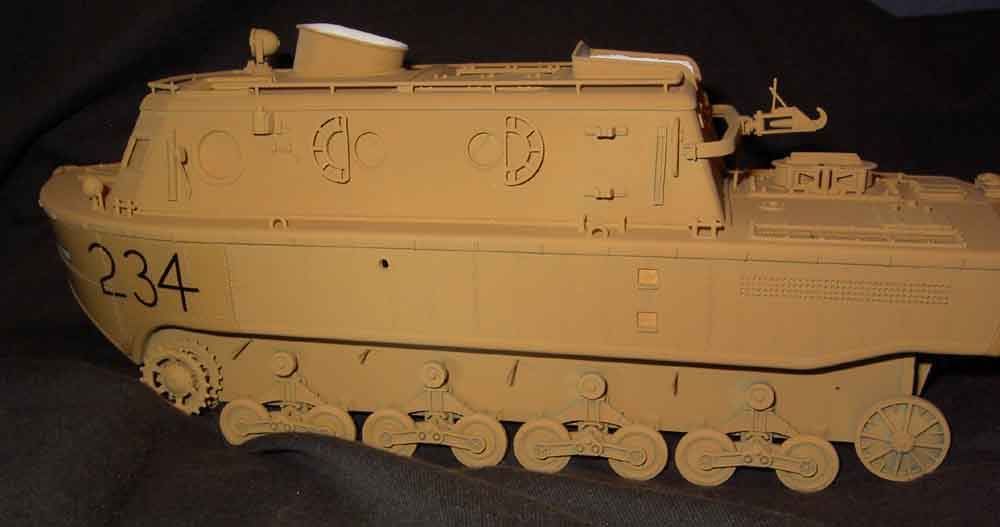
Well my subject is the German LWS, Landes Wasser Schlepper, an amphibious vehicle designed in the 30's and unarmoured.

I remember this subject first being released in the 1990's as a resin kit. It's a subject I have always wanted to build ever since I first seen it in the encylopedia of german armour.

When Hobby Boss brought out their offering as  a plastic kit I still did not jump as it was very expensive for a plastic kit about €50 over here, I ended up getting one for about €20 or €30 can't remember exactly how much.

I have always been a fan of Tony Greenland's work, since the early to mid eighties I always considered his German models the best and always tried to copy his style. THe eighties also gave us Verlinden with the very stylistic drybrushing and heavy washes.

The 1990's and 00's gave us MIG, Phil Stuncinkas as just two names who shine in my opinion but thats just my opinion.

For this build I will try using my own take on various painting techniques, drybrushing washes pigments pastels. Chipping basically I want to try and marry old and new to my own personal taste.

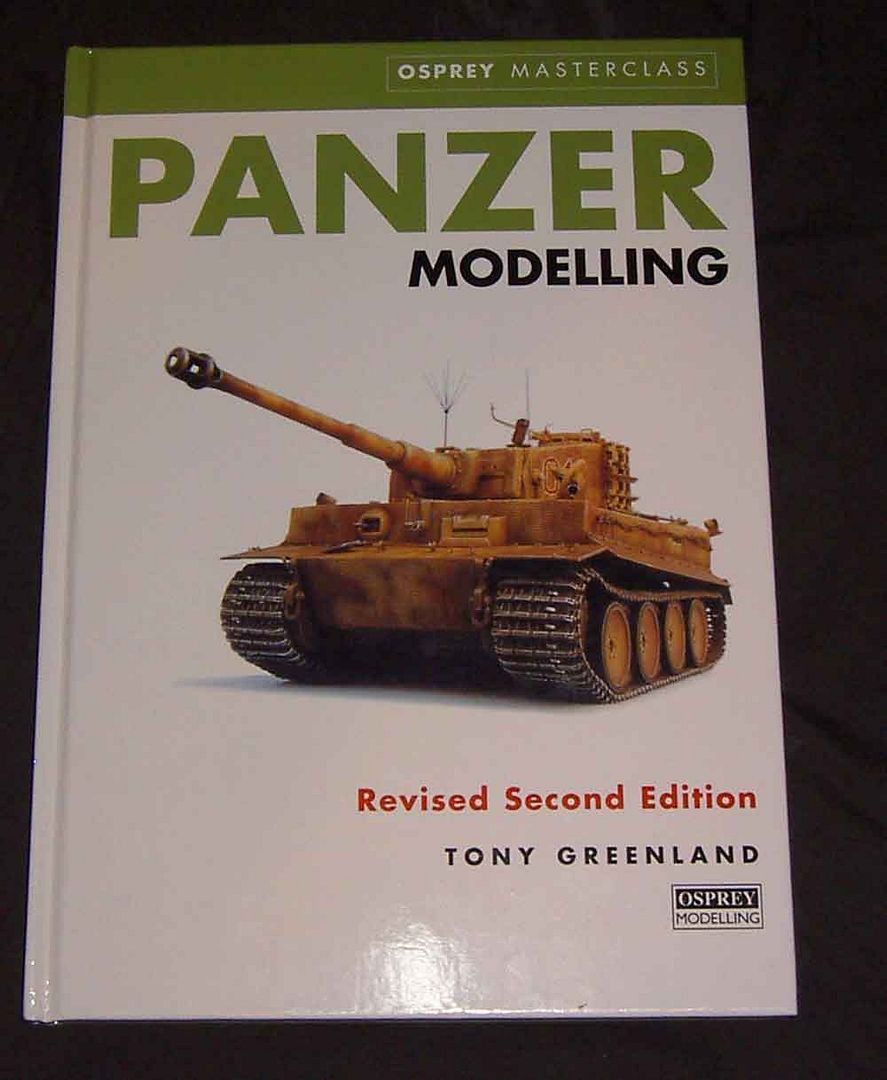
The books I'm working from are as follows.

Tony Greenlands masterclass
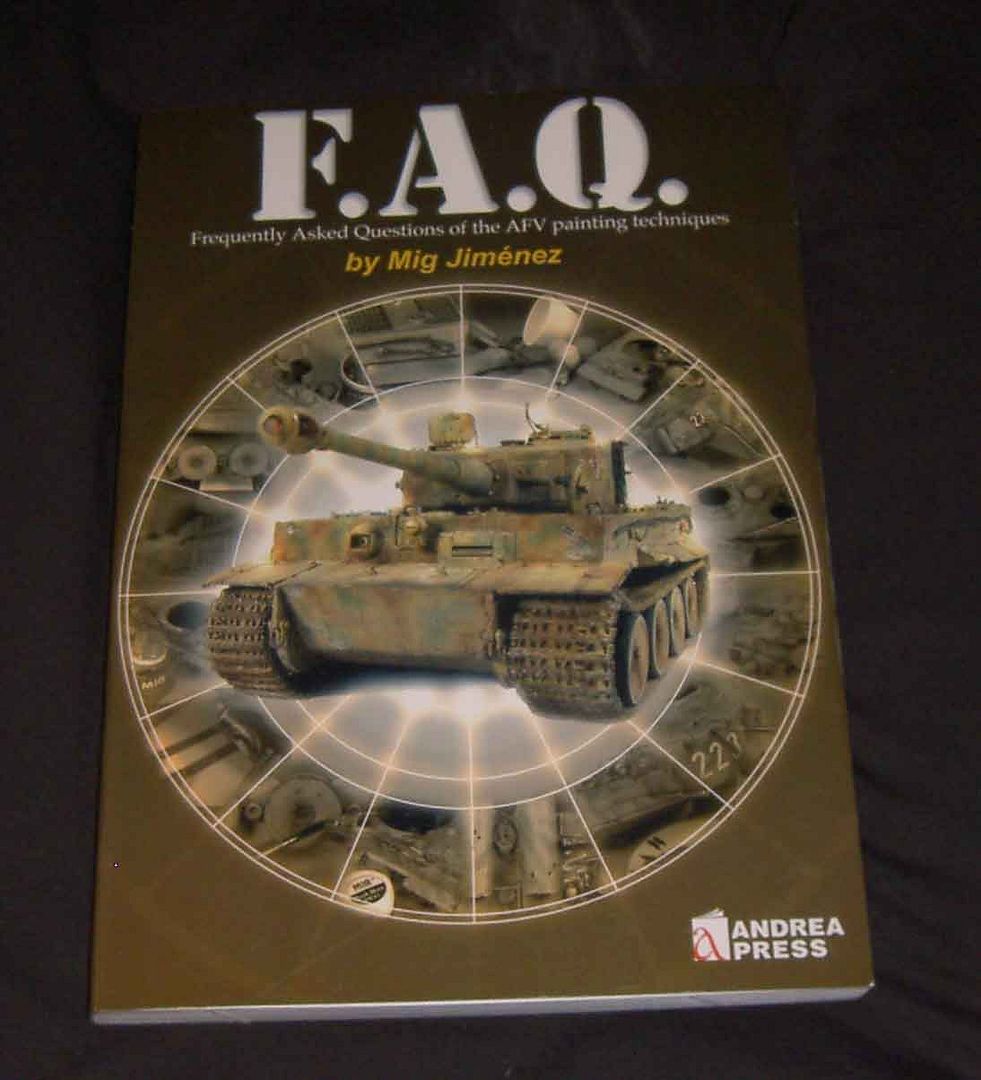
Migs own FAQ
And this one by Games workshop written by Phil Stutcinkas, this is by far the best Modelling manual I have ever seen.
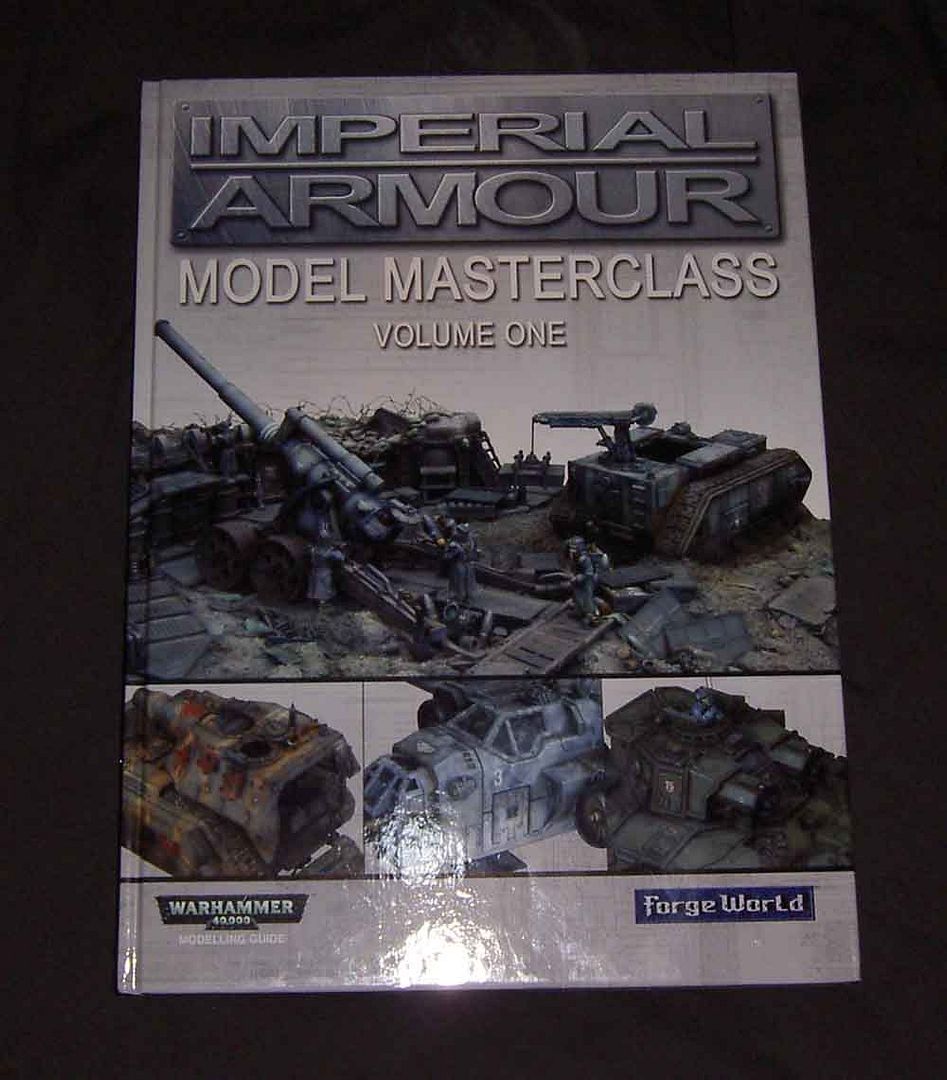
 

Now for my LWS progress.

THe kit built into sub-assemblies.
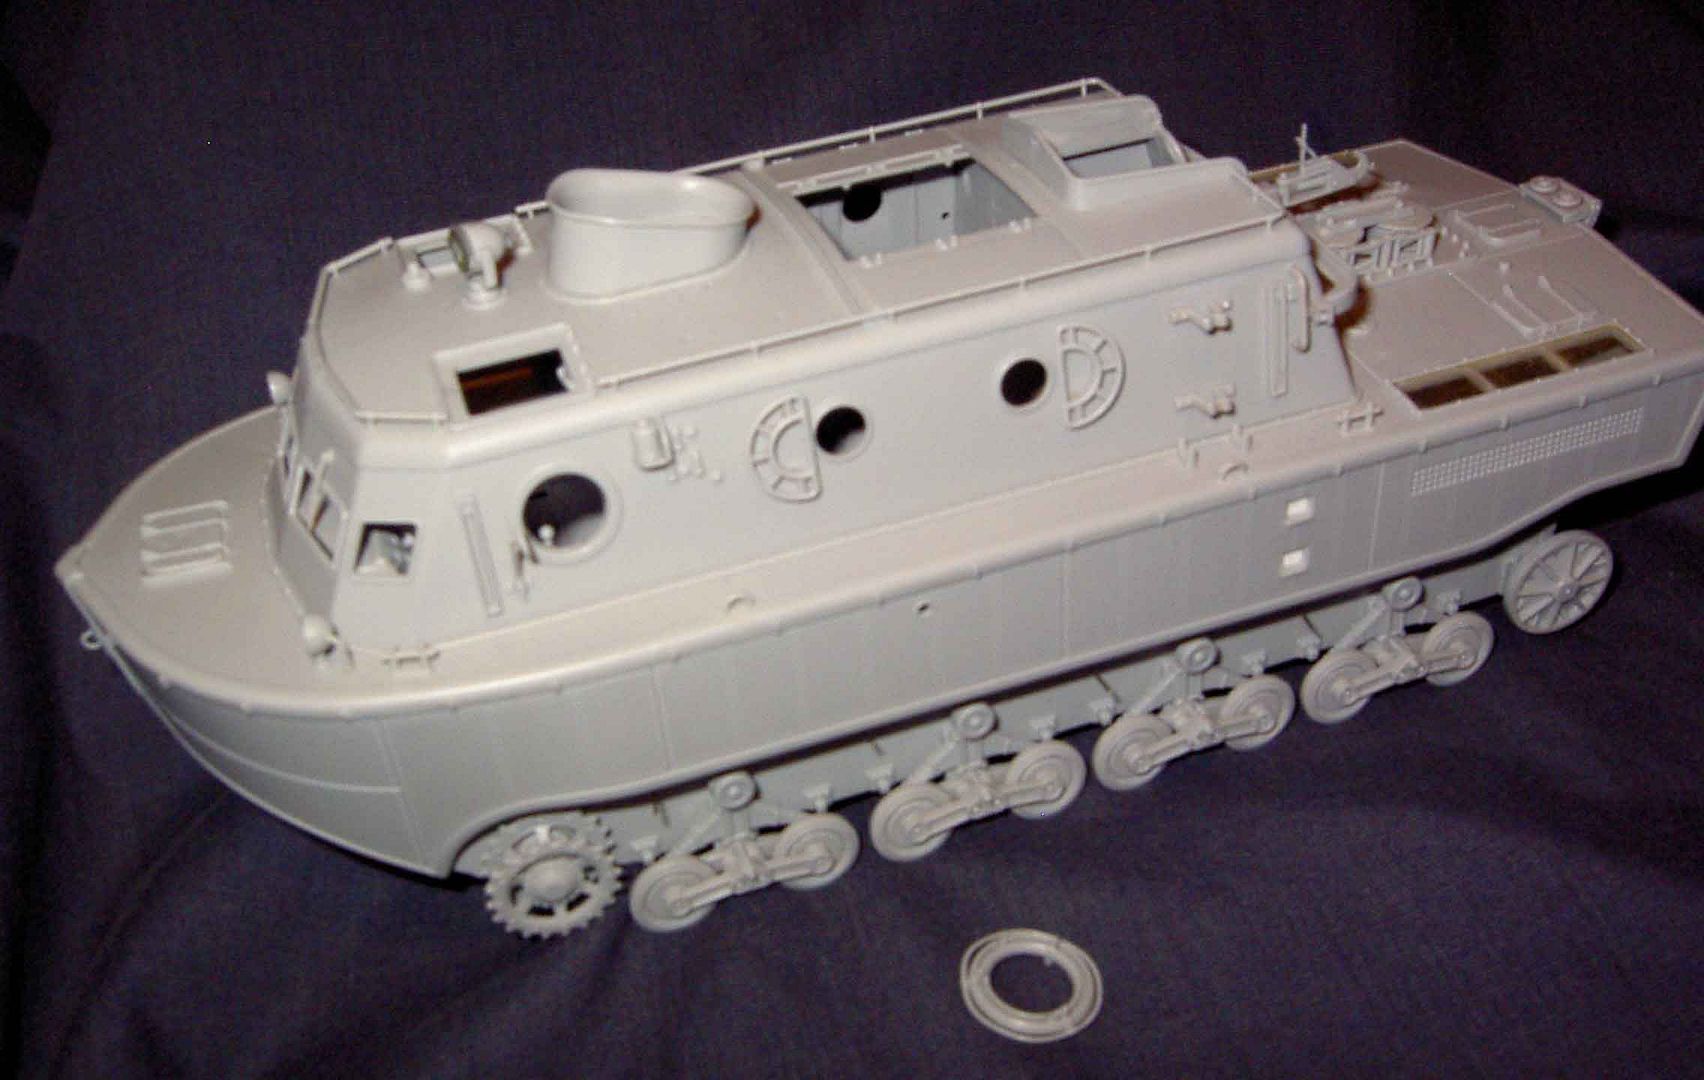
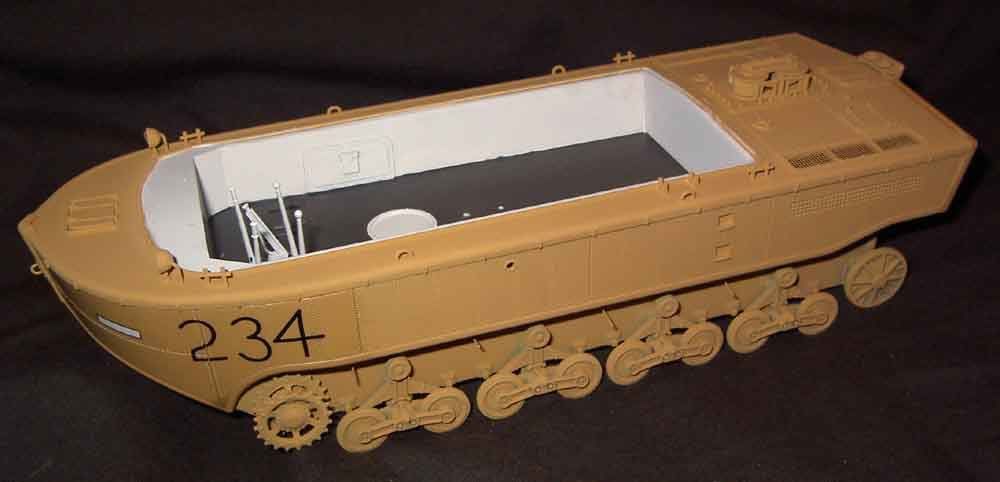
Sprayed from a rattle can for convenience.
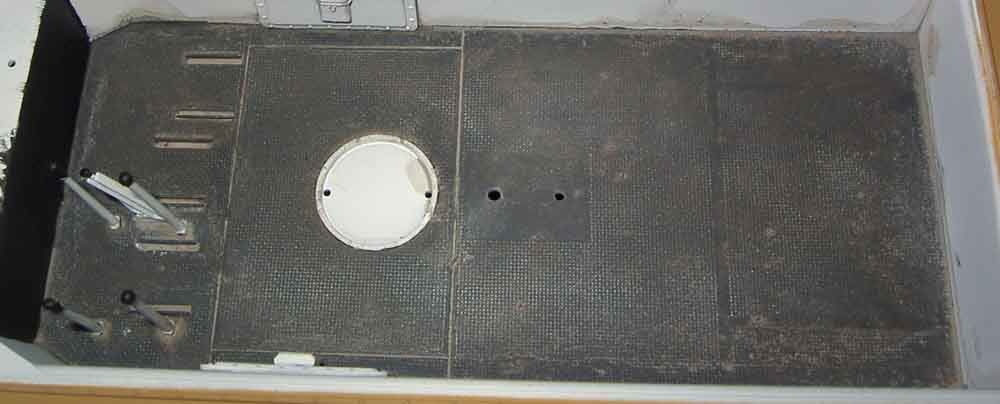
I was going to paint the floor black or something lighter when I found a great Gamesworkshop colour graniite in their base colour set, its dark enough to imitate black but light enough to be easy to work with. This is it with a Tamiya flat earth wash.
As the vehicle I am modelling ended up in north africa and is probably the one that was captured by the British and brought to england then I believe I have a lot of leeway to "GO NUTS" weathering.

Well I started with a Vallejo light rust from the Panzer aces range.

THe Dash
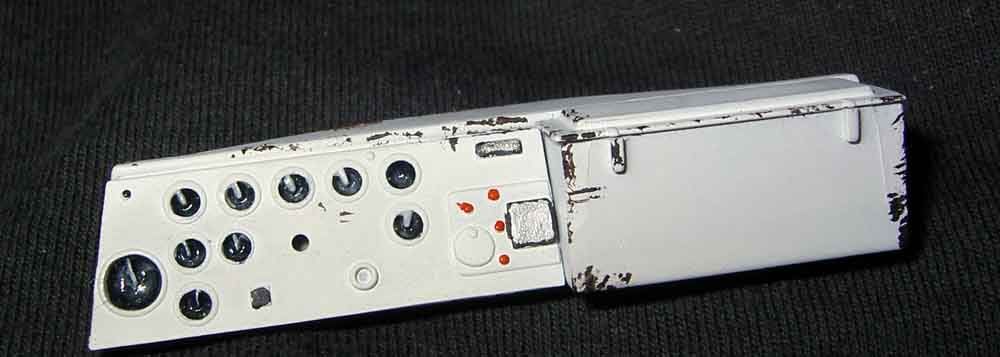
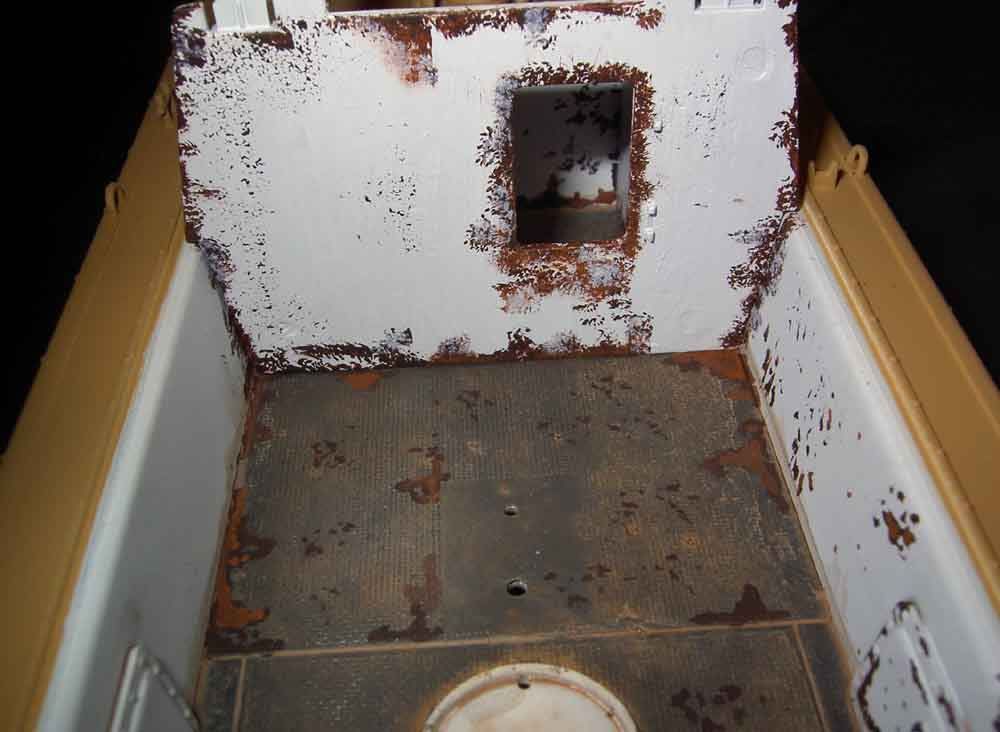
In this image it can be seen where I have started to rust up the floor, light rust and dark brown, by not using Black as a base colour has made this easier, since this shot I have added a flesh wash and got a lot more into the weathering.
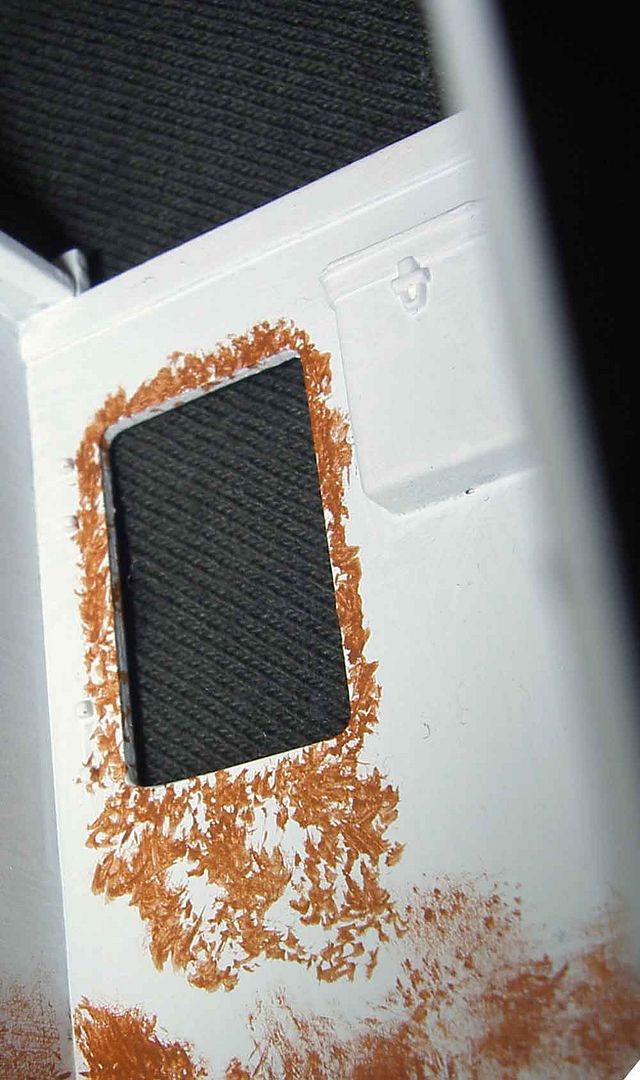
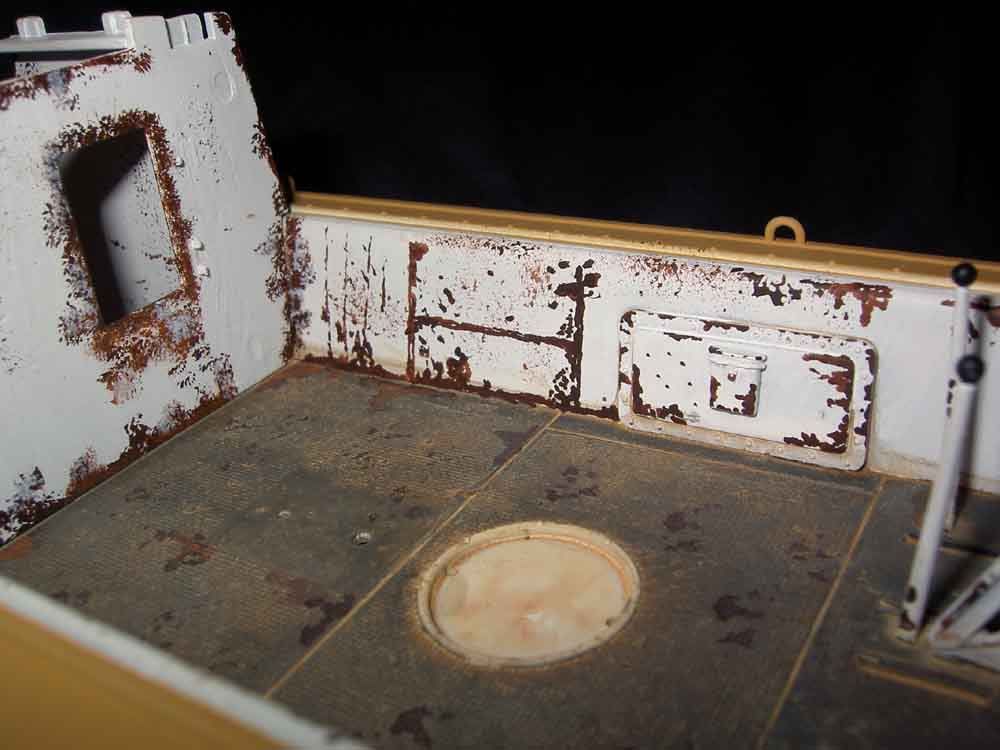
In this shot I wanted to break up the openess of the side so I painted scratches to look like a table or bench had been removed and the walls paint got damaged.
Thanks for dropping by and all comments are welcome.

  • Member since
    July 2003
  • From: On my kitchen counter top somewhere in central North Carolina.
Posted by disastermaster on Saturday, January 22, 2011 11:39 PM

This looks like it's gonna be VERY interesting  

That floor color, I'm gonna have to get me some of that

The idea for the painted scratches, that look like a table or bench has been removed, is very unique and original ...... MANY points for that!

And I don't blame 'ya for using the rattlecan...........  I get lazy sometimes and just hate to crank up the airbrush even though I LOVE using it.

BTW,

I'm still in love with that Minenraumer you built a long while back.

http://i20.photobucket.com/albums/b232/gluetank/Decorated%20images/th_Smileyavatar-bettereye.jpg?t=1294093447

 https://i.imgur.com/LjRRaV1.png


  • Member since
    July 2004
  • From: Texas
Posted by wbill76 on Sunday, January 23, 2011 1:11 PM

Nice to see you back at the bench Terry and tackling an interesting/unique subject! Looking forward to seeing this one progress. Beer

  • Member since
    October 2009
Posted by PANZERWAFFE on Sunday, January 23, 2011 8:28 PM

Looks to be a nice kit.  Have not seen one of these built up yet.  Like what you have done so far and looking forward too more.

Rob

  • Member since
    May 2005
  • From: Dublin Rep Of Ireland
Posted by terry35 on Saturday, January 29, 2011 5:22 PM

Thanks for the comments guys, I have got a bit done during the week so here we go,

First the bulkhead, Ihave over rusted this, there are two doors attached here later, an inner and outer. i decided that my vehicle maybe is the one evaluated back in England, so she is a couple of years old at this stage and well travelled.

I need to get to the next stage with this which will involve pigments.

A close up of the door way,

Just matched up to the floor to try keep some continunity to the weathering.

The driving/crew stations.

The start of the interior/upper shell. just brown paint at this stage,

Firstly stippled with a sponge//piece of foam.

Bigger bits hand painted in.

I gave the lower hull a quick wash of raw umber just to see how the detail stands out. I also gave it a quick streaking just to give myself a start. The streaking was just a piece of foam pulled through the wash.

THe wash dried.

Thanks for dropping by.

Regards,

Terry.


  • Member since
    July 2004
  • From: Texas
Posted by wbill76 on Saturday, January 29, 2011 6:59 PM

Very nice layering/blending effects going on here Terry, top notch! I also like the idea of using the sponge for the streaking, given how large the surfaces are you're dealing with, I'm sure that was a real time-saver. Beer

  • Member since
    July 2003
  • From: On my kitchen counter top somewhere in central North Carolina.
Posted by disastermaster on Saturday, January 29, 2011 8:35 PM

  This is going to be just AWESOME Terry. This looks like something you would expect to see in a  background shot of "Raiders of the Lost Ark".


You Go Boy The damp environment of the weathering will make this build rustworthy I'm sure.

http://i20.photobucket.com/albums/b232/gluetank/Decorated%20images/th_Smileyavatar-bettereye.jpg?t=1294093447

 https://i.imgur.com/LjRRaV1.png


  • Member since
    May 2005
  • From: Dublin Rep Of Ireland
Posted by terry35 on Saturday, January 29, 2011 9:10 PM

THanks Bill and Steve, I was looking at the photos and one thing I did not notice is actual bare metal. I'm off to include this where the doors would make contact with steel.

Terry.

  • Member since
    May 2005
  • From: Dublin Rep Of Ireland
Posted by terry35 on Wednesday, February 2, 2011 5:11 PM

Well, I got a fair bit done but I'm having some serious PC problems at the moment and don't know when complete failure will happen.

I just want to post quickly some progress photos.

These are what I had done 'till yesterday, I got work done tonight  but can't work on the images yet.


I used lifecolor dust and rust set to create these rust effects. More work is needed.

The upper and lower interior just lined up to make sure the weathering is following some kind of line.

The inner roof section, the effect I'm trying to get is of a vehicle  a couple of years old exposed to a salt water enviornment.

There are several roof hatches which will be left open and I want the viewer to see something other than a bland interior.

Sorry again for the quickness of the post but its late and this machine needs a full re-install.

 thanks for looking, all comments welcome,

Regards,

Terry.

  • Member since
    July 2003
  • From: On my kitchen counter top somewhere in central North Carolina.
Posted by disastermaster on Wednesday, February 2, 2011 11:41 PM


Terry

UM, UM, UM, Um, UMMMM  

Very interesting.

I love rust like kids love candy.............      thank goodness all my teeth aren't rotting out here.

Nonetheless, I'm eating this up like  

(Some helpful advice Terry.......  I quit using band aids and got a MAC..... 15 years now........and 4 years on this one......... no crashes, no problems. Man, life is too short to mess with those pesky PC issues)

http://i20.photobucket.com/albums/b232/gluetank/Animated/th_1-Animated-Disastermaster.gif?t=1296616998

 https://i.imgur.com/LjRRaV1.png


  • Member since
    April 2009
  • From: Carmel, IN
Posted by deafpanzer on Thursday, February 3, 2011 8:01 AM

Come on!  We all know you are lying... you took the pictures at a museum. Maybe you won the rusted LWS parts via eBay and it is sitting in your backyard.  The pictures look way too real.  Aaron Skinner will nuke this if he finds out you have been lying...  way TOO REAL! 

Bow DownBow DownBow Down


Andy

  • Member since
    April 2005
  • From: Piscataway, NJ!
Posted by wing_nut on Thursday, February 3, 2011 8:03 AM

Hi ya Terry

I missed the beginning of this one but all caught up now.  I too am very happy to see you back.  I've picked up a lot of tips from you since coming to the dark side.  Now we can start again.

I really love what you've done.  It is interesting to see your rusting technique compared to say, scratchmods, but the results are quite convincing.  I can see that kind of rust on a boat that is desperately in need of a paint job.

Marc  

  • Member since
    October 2005
  • From: Warwick, RI
Posted by Kolschey on Thursday, February 3, 2011 9:19 AM

This looks great so far. An excellent eye for color and detail.

Krzysztof Mathews http://www.firstgearterritories.com

  • Member since
    July 2004
  • From: Texas
Posted by wbill76 on Thursday, February 3, 2011 12:25 PM

Definitely not a bland interior Terry, love where this one's going...a true "rust bucket" that's had its share of time at sea for sure. Yes

  • Member since
    October 2009
Posted by PANZERWAFFE on Saturday, February 5, 2011 12:27 AM

Great work here.  Love the effect you have achieved.

Rob

  • Member since
    May 2005
  • From: Dublin Rep Of Ireland
Posted by terry35 on Saturday, February 5, 2011 6:50 PM

Bill, Steve, Andy, Marc,Kolschey and Rob thanks for thte positive comments its encouraging after such a long break from the bench. I was feeling a bit burned out.

Joining the weathering GB has been the kick in the rear I needed.

I have not been to the club in about 4 Years and online is where I now see whats happening.

Again thanks to everybody for the words of encouragement.

Terry.

  • Member since
    May 2005
  • From: Dublin Rep Of Ireland
Posted by terry35 on Wednesday, February 9, 2011 4:45 PM

Well I only got a quick update. 

I started on different parts of the vehicle, mainly to try tie all the weathering together while keeping differences, sounds weird but it will become obvious as things progress. (I think)

The life preservers started, red is one of my hated colours.

The winch.

Some shading started on the hull

A close up of part of the roof inside, I calling this done.

Closer.

Thanks every body for the responses they are all appreciated.

Terry.

  • Member since
    July 2003
  • From: On my kitchen counter top somewhere in central North Carolina.
Posted by disastermaster on Wednesday, February 9, 2011 11:33 PM

GAWD Terry.......


This is just.......... ..... .    what can I say?

If this doesn't garner respect for your abilities...........

...............well, what would it would take?


Hell, I LUV it all.

That roof rust is just sweet

But here's my "REAL" love...                          

http://i20.photobucket.com/albums/b242/terryburke/LWS%20Build%20Log/LWS047-1.jpg

   Just to Hot-Dog it a bit, (show off) how about a wee bit 'o grease or oil stain running down on the casing from the axis of the crank? Those squid types are gonna polish the upper bottom edges a bit with their galoshers too.?

 This worn & weathered piece of equipment is a jewel in the crown.

                    http://i20.photobucket.com/albums/b232/gluetank/Animated/th_1-Animated-Disastermaster.gif?t=1296616998


 https://i.imgur.com/LjRRaV1.png


  • Member since
    September 2005
  • From: beacon falls , Ct.
Posted by treadwell on Thursday, February 10, 2011 7:45 PM

GEEZ TERRY ....  I am so sorry and embarrassed your post got past me ... sorry 'bro  :  (

I gotta be honest with you, I am not even familiar with your subject .... but  when it come to weathering and especially chipping such as in your pics, well all the technique is in your tutorial I have on disc !  this could be a tour de force for you my friend!!  The pics so far are just beautiful and expertly done...  :  )

Dude, please e-mail me or get me on FB....  I woulda hated to miss out on this great piece of Terry Burke art !

bill  :  )


  • Member since
    August 2010
Posted by Jose_Luis_Lopez on Friday, February 11, 2011 6:01 AM

I´ve fallen in love with that winch... is she married? Wink

Jokes appart, a really nice work over that nive vehicle. Congratulations.


  • Member since
    July 2003
  • From: On my kitchen counter top somewhere in central North Carolina.
Posted by disastermaster on Friday, February 11, 2011 8:45 AM

I was married to a wench once.......http://i38.photobucket.com/albums/e105/CommentCrazyGirl/Smileys%20Emotions/Argue%20Tease/bf-yahyahbitch.gif

Although the second one was a real dog.

               http://i20.photobucket.com/albums/b232/gluetank/Animated/th_1-Animated-Disastermaster.gif?t=1296616998


 https://i.imgur.com/LjRRaV1.png


  • Member since
    May 2005
  • From: Dublin Rep Of Ireland
Posted by terry35 on Saturday, February 12, 2011 6:04 PM

Jose, thanks for the comments, I'm a real fan of your work, that Tiger 1 was mind blowing I saved all the images of yours and Bills as a guide to when I attempt mine.

Steve, what can I say........ WOOOOF. Forgot to mention, when you recommended a MAC, I'm a MAC man myself I'm on my 3year old PRO book using 10.6.6 snow leopard. bullet proof. PC is just for handyness sake.

Bill, thanks bro. will catch you on FACEBOOK.


Terry.

  • Member since
    July 2003
  • From: On my kitchen counter top somewhere in central North Carolina.
Posted by disastermaster on Saturday, February 12, 2011 7:48 PM

terry35

Steve, what can I say........ WOOOOF. Forgot to mention, when you recommended a MAC, I'm a MAC man myself I'm on my 3year old PRO book using 10.6.6 snow leopard. bullet proof. PC is just for handyness sake.

Terry.


        Well, looks like we've got our act together here......

         I'm stickin' with 10.4.11 for the time being.

         I'm a waitin' about the 10.6.6 leo to see how it's gonna go.

                                                      http://i20.photobucket.com/albums/b232/gluetank/Animated/th_1-Animated-Disastermaster.gif?t=1296616998

 https://i.imgur.com/LjRRaV1.png


  • Member since
    January 2006
  • From: California
Posted by SprueOne on Saturday, February 12, 2011 8:42 PM

I'm paying very close attention to this weathering masterpiece 

what is the base of Vallejo paint products? Oil, acrylic,...?


Tags: weathering

Anyone with a good car don't need to be justified - Hazel Motes


Iron Rails 2015 by Wayne Cassell Weekend Madness sprueone

  • Member since
    April 2009
  • From: Carmel, IN
Posted by deafpanzer on Saturday, February 12, 2011 8:50 PM

Arcylic... I use filtered water to thin it too for washes.  I recently used it for the first time few days ago and loved it!

Andy

  • Member since
    May 2005
  • From: Dublin Rep Of Ireland
Posted by terry35 on Saturday, February 12, 2011 9:01 PM

Spot on Andy, I use Vallejo and gamesworkshop almost exclusively , then oils for effects.

Terry.

  • Member since
    January 2006
  • From: California
Posted by SprueOne on Saturday, February 12, 2011 9:45 PM

ok, thanks for the info 


Anyone with a good car don't need to be justified - Hazel Motes


Iron Rails 2015 by Wayne Cassell Weekend Madness sprueone

  • Member since
    May 2005
  • From: Dublin Rep Of Ireland
Posted by terry35 on Saturday, March 5, 2011 7:24 PM

Well I can't believe its been so long since I got an update done, but alas I'm making progress.

Best get on with the pics.

The seats installed.

The rudders at an early stage,

Weathering started,

And I'm calling them done at this stage,

The running gear

Oil paint used to blend all the chipping together,

In and around the props,

I started this out with a mushy mix of MIG pigments and acrylic paint stippled onto the surface.

When dry I continually washed the areas with Tamiya flat earth diluted down with alachol and water until theh paint was less than 10% of the mix.

This took several nights to achieve.

I was out last friday nightwith a few fellow modellers and one of my friends suggested adding some slime and a kind of moss effect, I completely dismissed this until I seen Rob's slimed up turret over on missing lynx.

This is only the start but I intend to work on this.

Again thanks for dropping in.

Terry.


  • Member since
    July 2004
  • From: Texas
Posted by wbill76 on Sunday, March 6, 2011 12:59 PM

Some really sharp work there Terry, your attention to the little details is really making this one come to life. Beer

Only suggestion I would make is to double-check on the road wheels...I believe the LWS was equipped with rubber rims and not all-metal road wheels but I'm not 100% sure. Wink

  • Member since
    September 2005
  • From: beacon falls , Ct.
Posted by treadwell on Sunday, March 6, 2011 1:30 PM

and now moss !  just when I thought I'd seen it all... gonna be a masterpiece terry  ;  )

the weathering on this one is just outstanding.

way to go bro'

bill


JOIN OUR COMMUNITY!

Our community is FREE to join. To participate you must either login or register for an account.

SEARCH FORUMS
FREE NEWSLETTER
By signing up you may also receive reader surveys and occasional special offers. We do not sell, rent or trade our email lists. View our Privacy Policy.