L.W.S . Update May 14. Pg. 3
Well helo again, finally got off my rear and got to the bench.. I joined a GB. the Weathering GB over in GB's of all places. I really need to get back to work after a break of almost 8 months.
Well my subject is the German LWS, Landes Wasser Schlepper, an amphibious vehicle designed in the 30's and unarmoured.
I remember this subject first being released in the 1990's as a resin kit. It's a subject I have always wanted to build ever since I first seen it in the encylopedia of german armour.
When Hobby Boss brought out their offering as a plastic kit I still did not jump as it was very expensive for a plastic kit about €50 over here, I ended up getting one for about €20 or €30 can't remember exactly how much.
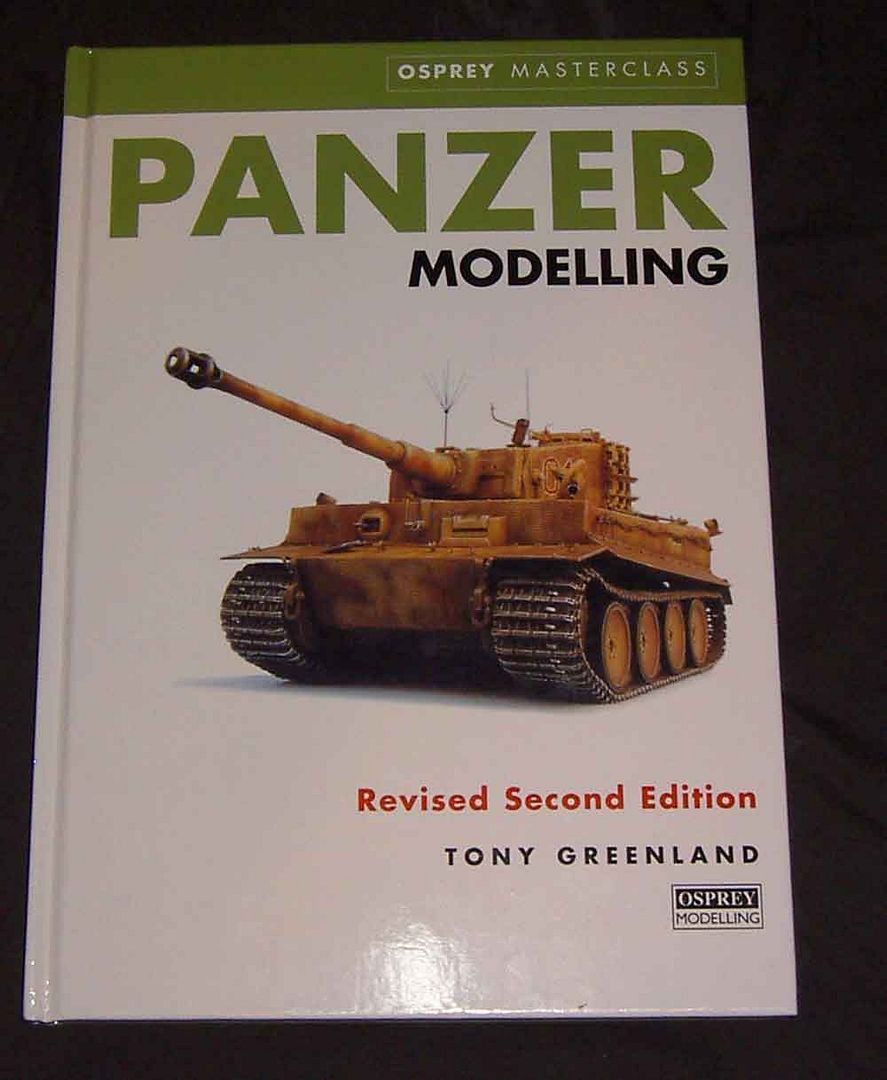
I have always been a fan of Tony Greenland's work, since the early to mid eighties I always considered his German models the best and always tried to copy his style. THe eighties also gave us Verlinden with the very stylistic drybrushing and heavy washes.
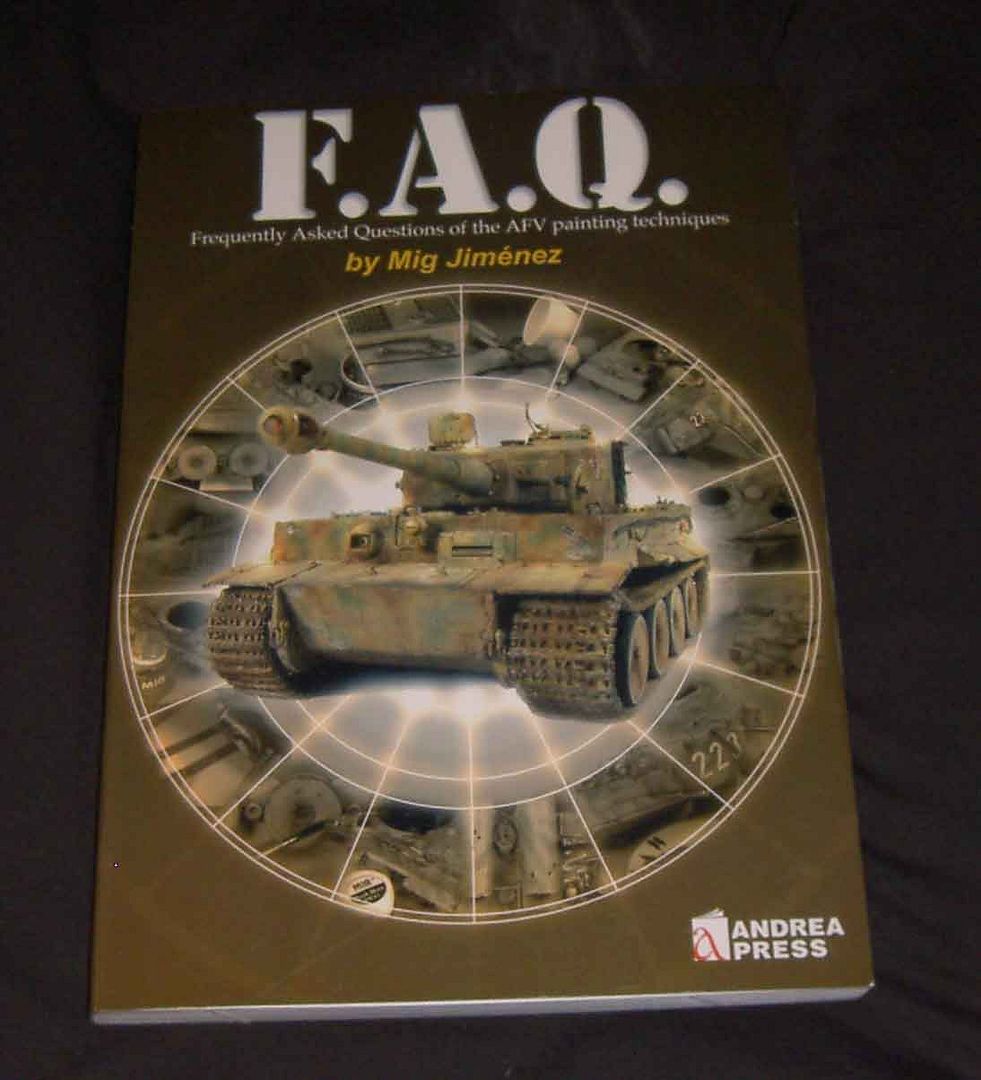
The 1990's and 00's gave us MIG, Phil Stuncinkas as just two names who shine in my opinion but thats just my opinion.
For this build I will try using my own take on various painting techniques, drybrushing washes pigments pastels. Chipping basically I want to try and marry old and new to my own personal taste.
The books I'm working from are as follows.
Tony Greenlands masterclass
Migs own FAQ
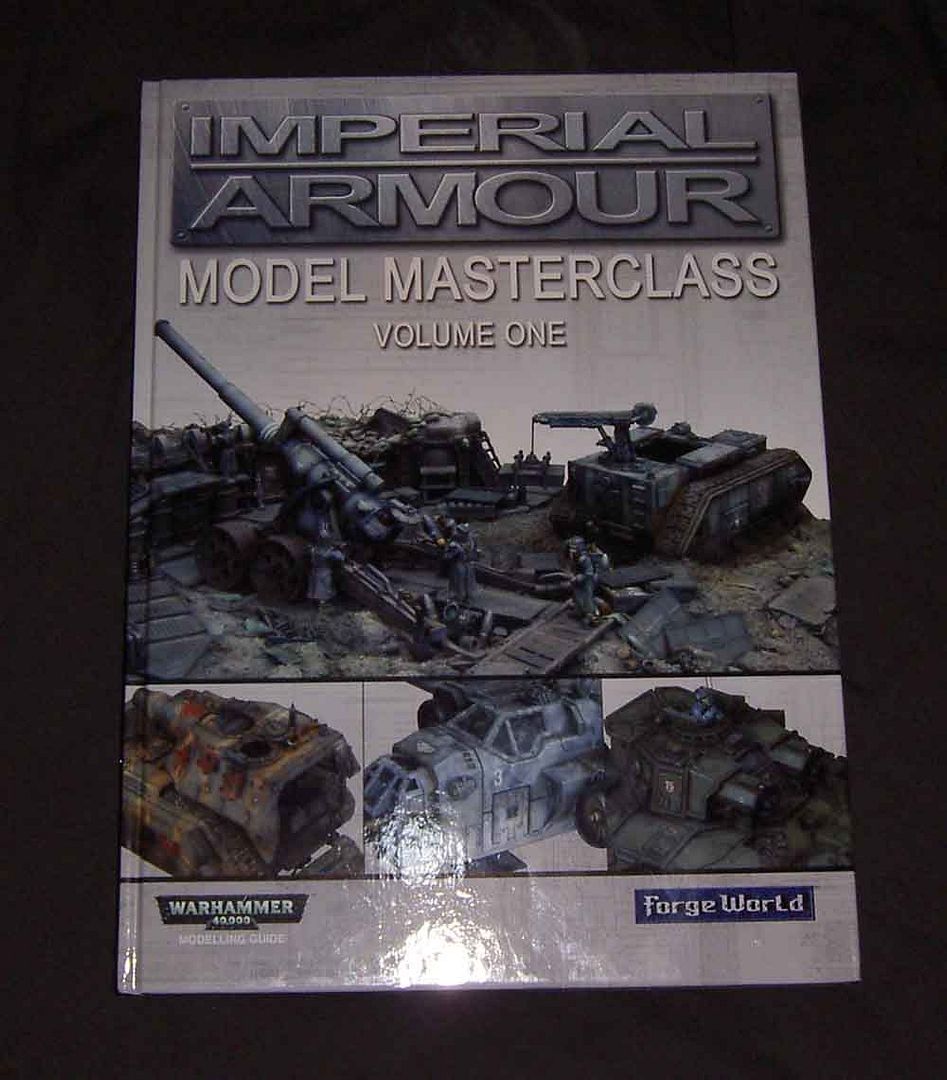
And this one by Games workshop written by Phil Stutcinkas, this is by far the best Modelling manual I have ever seen.
Now for my LWS progress.
THe kit built into sub-assemblies.
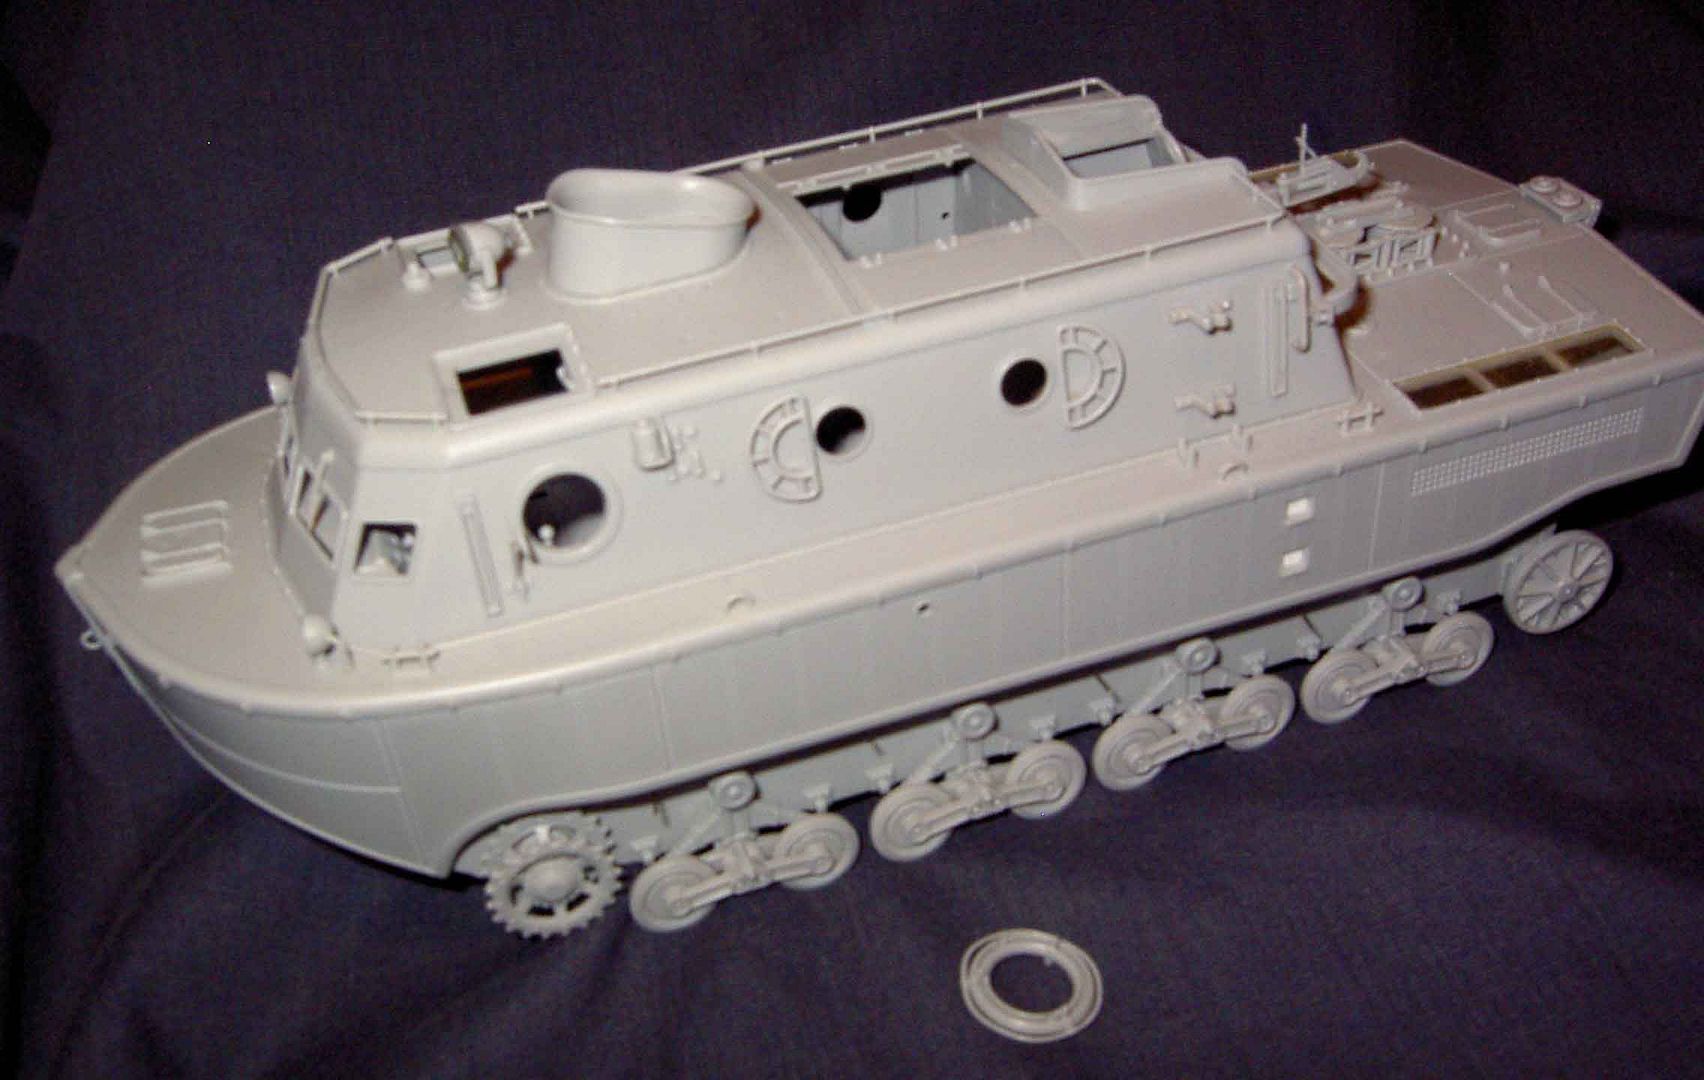
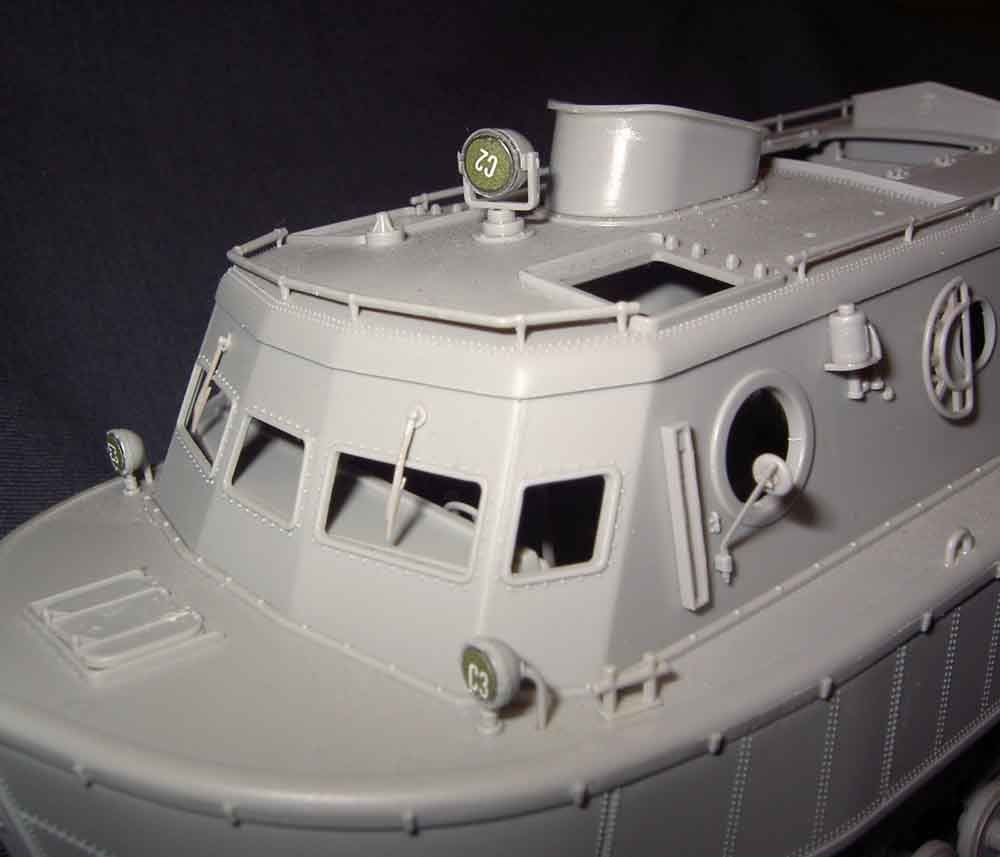
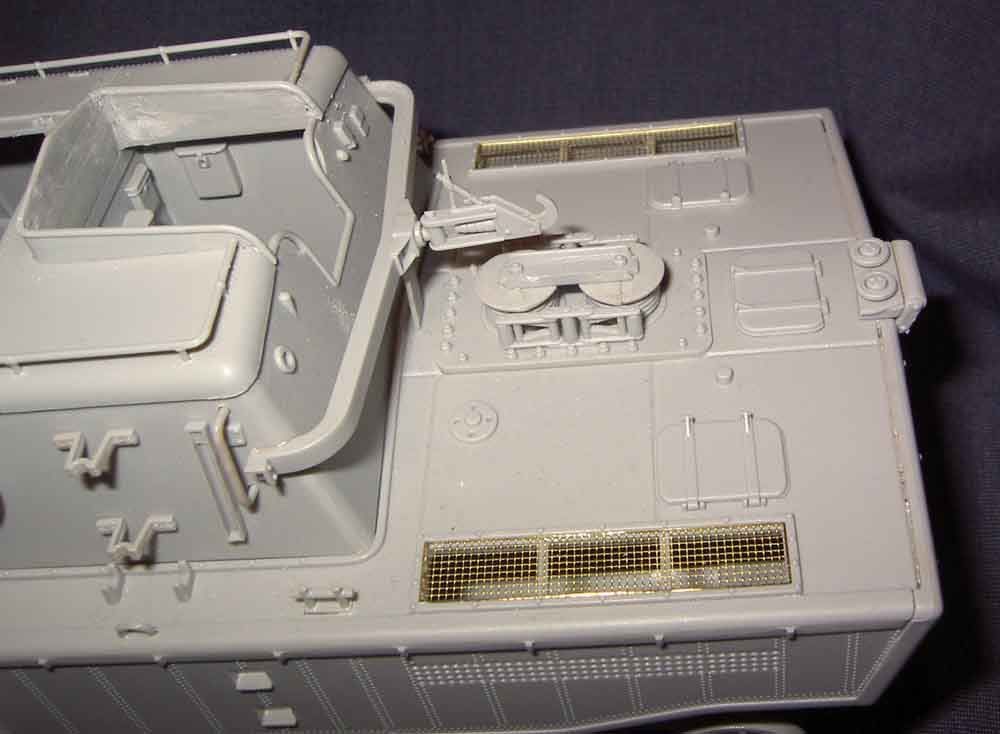
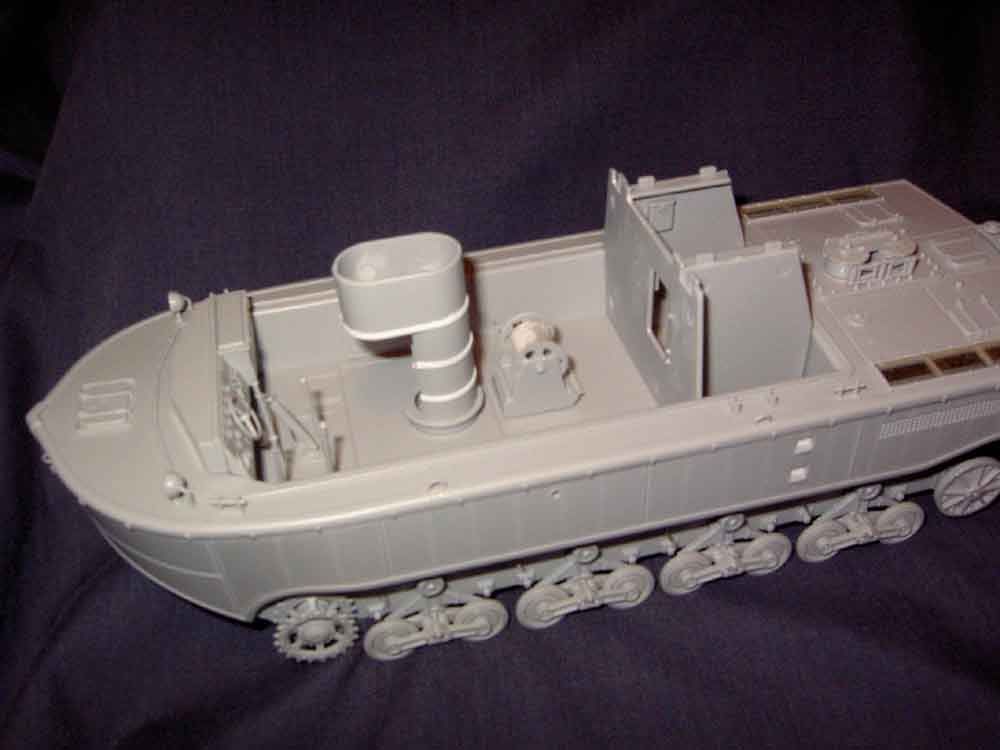
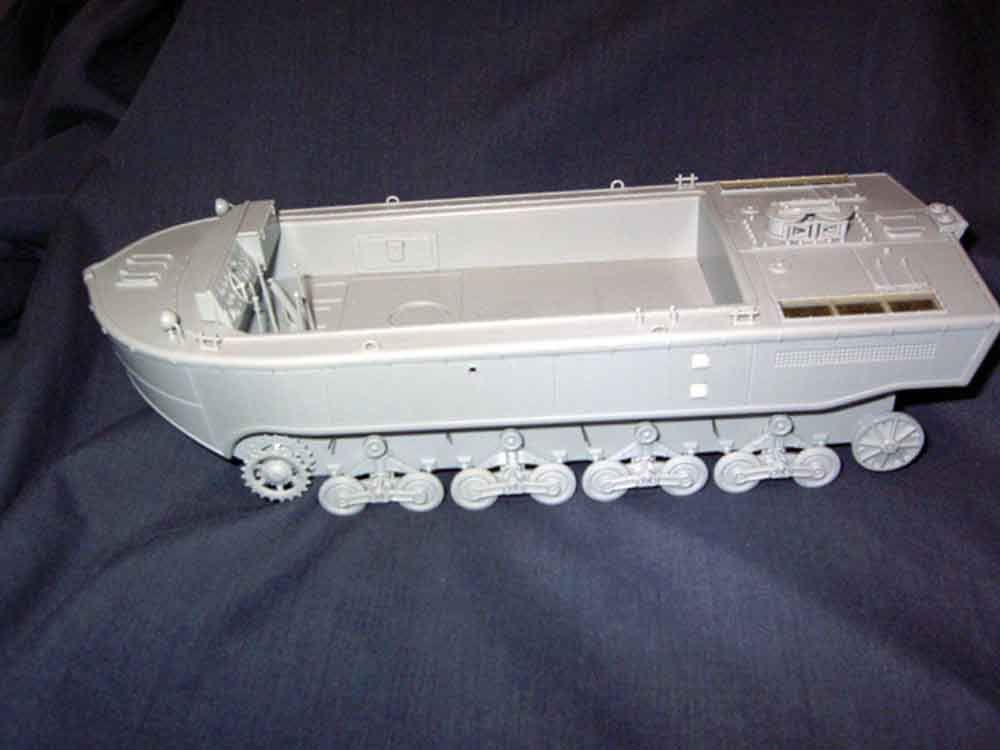
Sprayed from a rattle can for convenience.
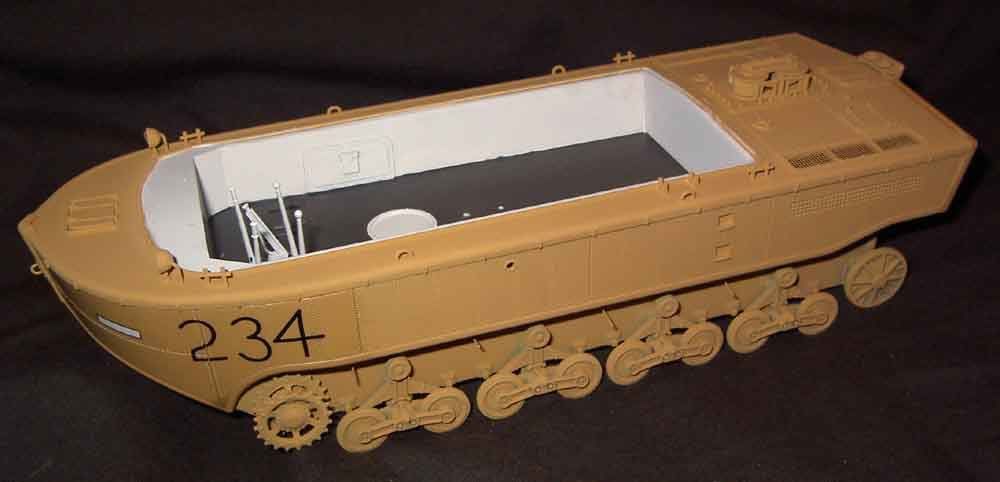
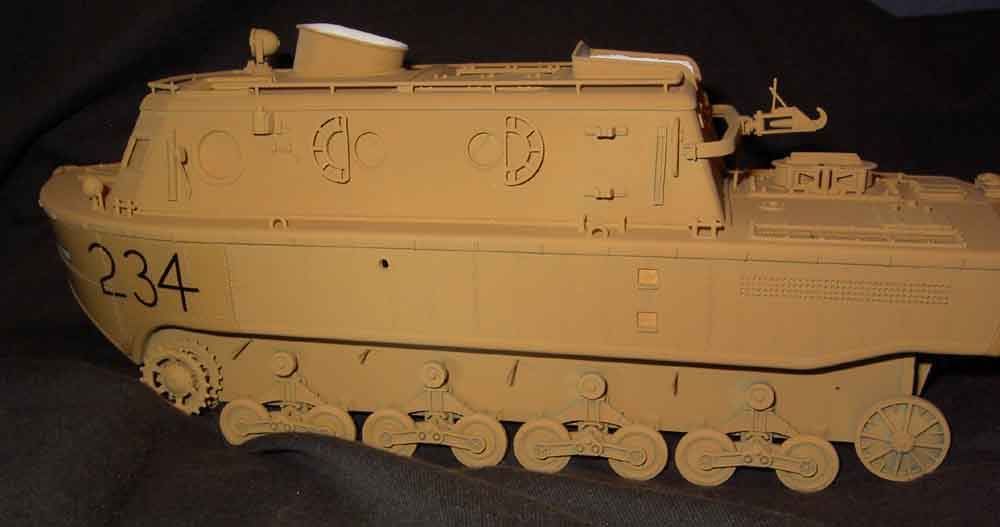
I was going to paint the floor black or something lighter when I found a great Gamesworkshop colour graniite in their base colour set, its dark enough to imitate black but light enough to be easy to work with. This is it with a Tamiya flat earth wash.
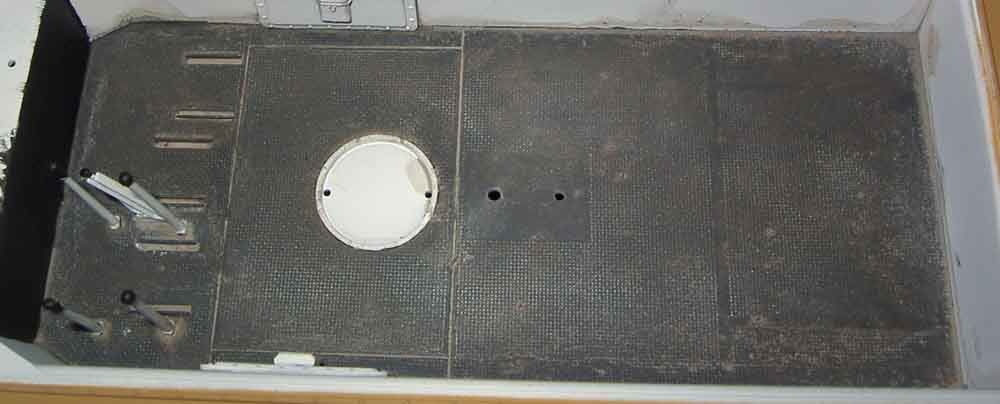
As the vehicle I am modelling ended up in north africa and is probably the one that was captured by the British and brought to england then I believe I have a lot of leeway to "GO NUTS" weathering.
Well I started with a Vallejo light rust from the Panzer aces range.

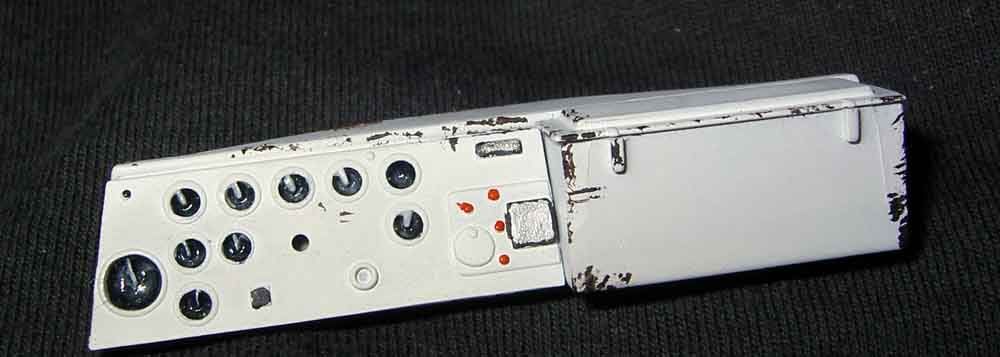
THe Dash
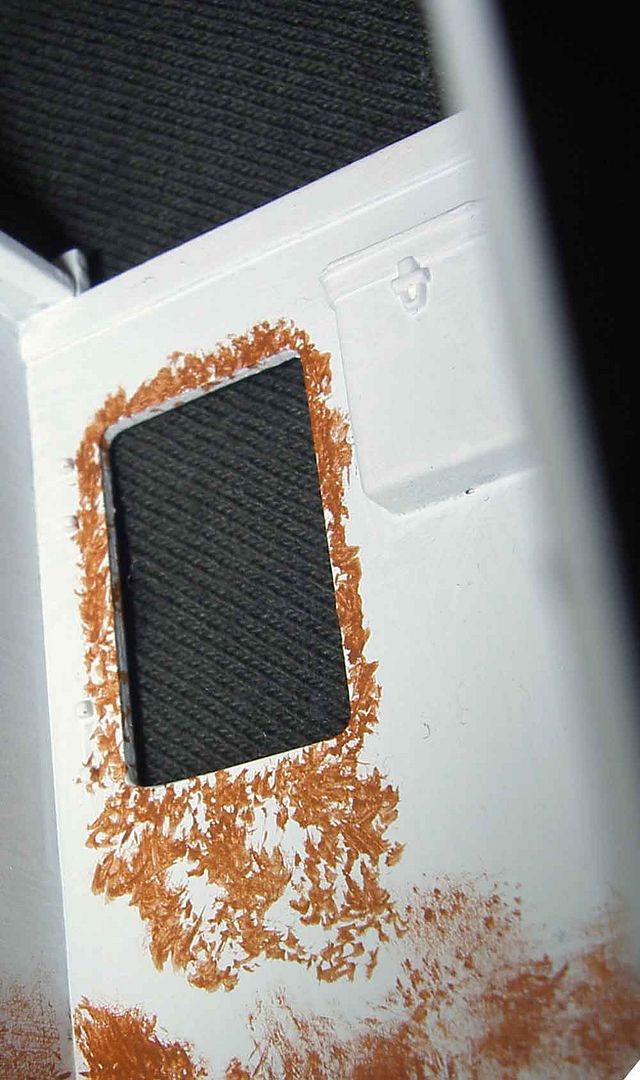
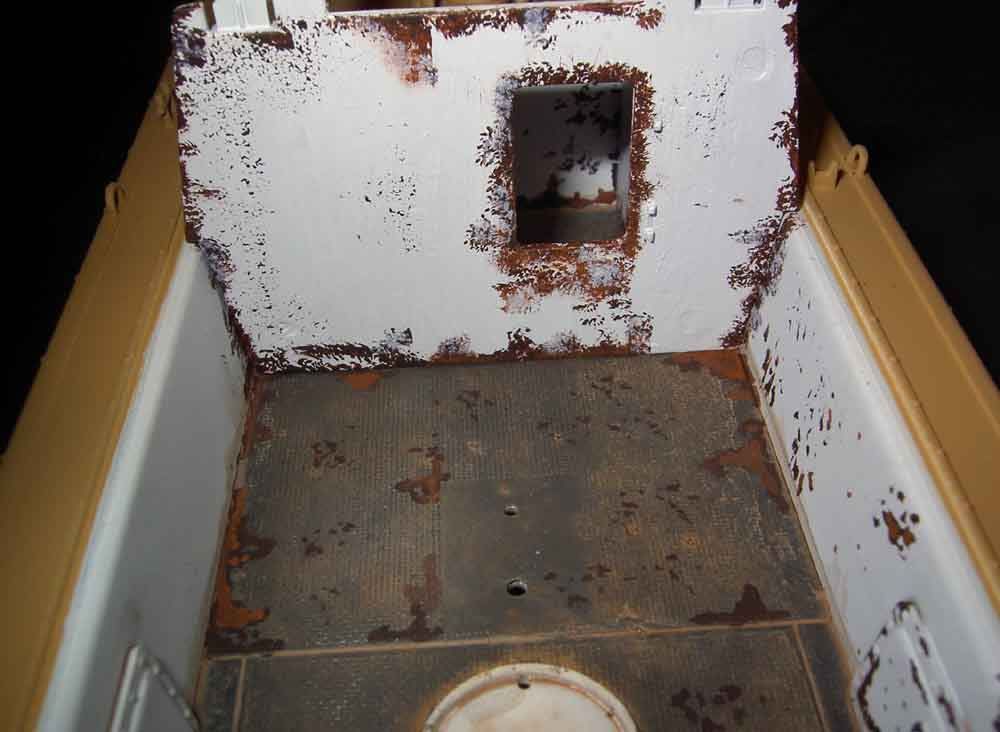
In this image it can be seen where I have started to rust up the floor, light rust and dark brown, by not using Black as a base colour has made this easier, since this shot I have added a flesh wash and got a lot more into the weathering.
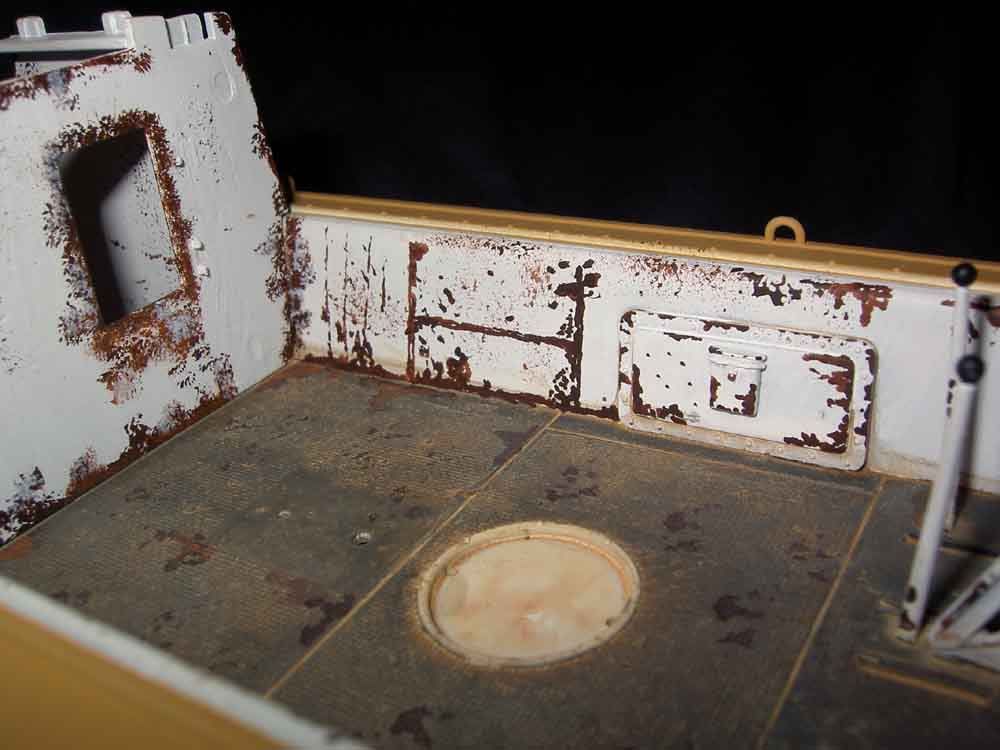
In this shot I wanted to break up the openess of the side so I painted scratches to look like a table or bench had been removed and the walls paint got damaged.
Thanks for dropping by and all comments are welcome.