DM - thanks for your comment and welcome to my thread! I agree with you, that the risk is there, but I say I can hack it and I got photos to prove it!
I mean I have an update for you gennulman!
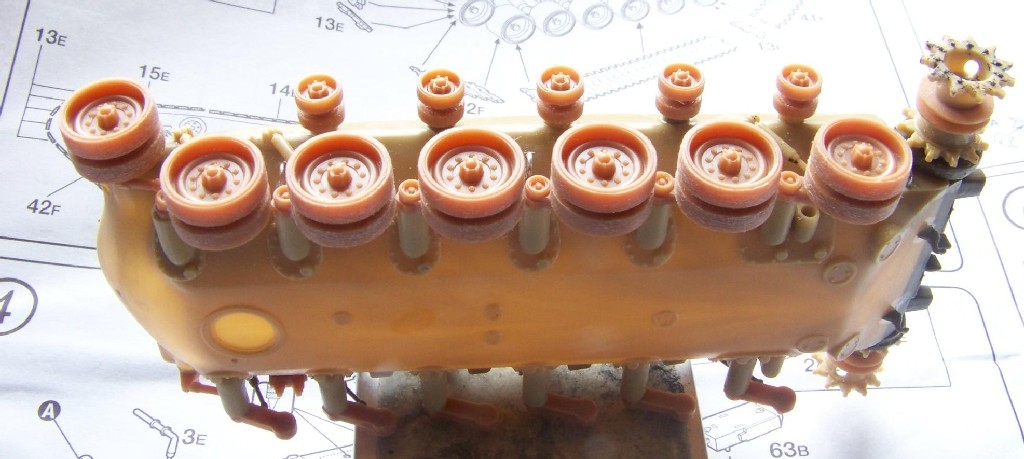
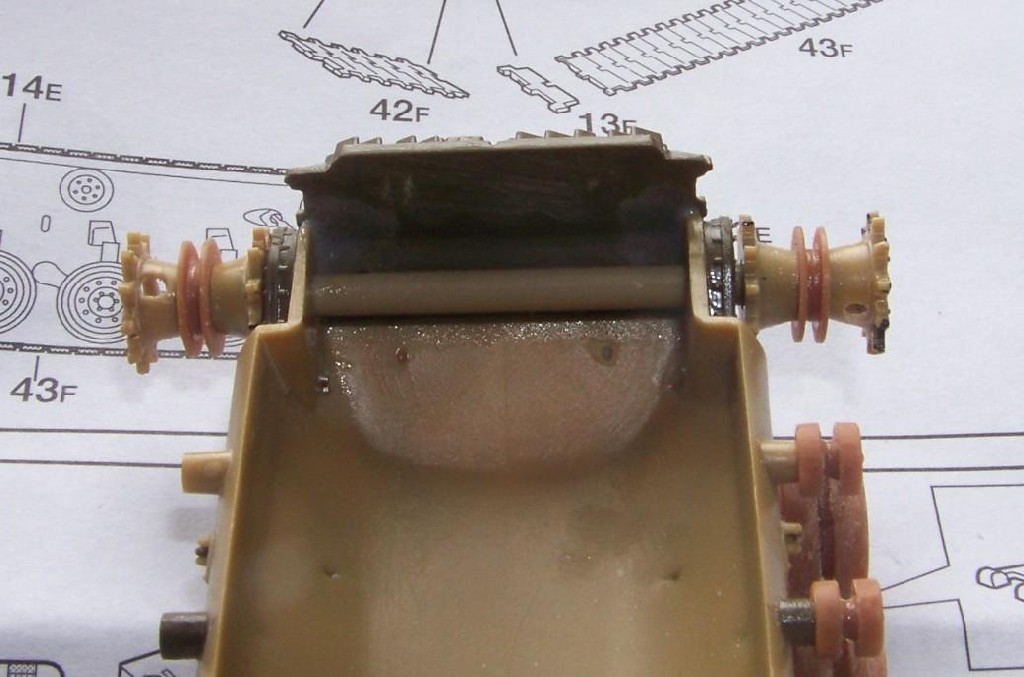
For starters I glued the rear part of the hull on and filled the seam. I replaced the door handles with thin copper wire. When this was done I added the final drive housings. Before that I drilled out the original drive sprocket axles, because they were damaged (all these years!). I replaced them with a 3mm shaft made out of sprue. And finally I put the wheels on:


I narrowed the mounting points for the wheels slightly, so that the tracks fit inside the fenders completely. Without narrowing the tracks have a tendency to stick out slightly.
Currently I'm doing one side only, because I still didn't figure out what to do about the return rollers. As I wrote before I need ten of them and the Revell kit only has six. I wrote a polite letter to Revell Germany about ten days ago where I asked them for the parts, let's see what are they going to do.
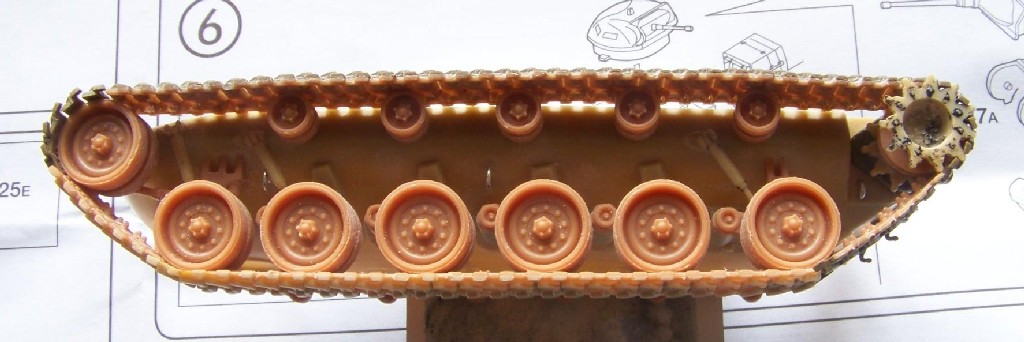
Meanwhile I went on with the tough job - the tracks. I decided to sandwich the Esci/Italeri and the Revell tracks. That wouldn't look good if I didn't adjust their thickness, so I attached the track to a wooden brush handle with painter's tape and started sanding. My measurement showed that the Esci/Italeri track needs to be sanded on the flat side until it's about 0.7mm thick. I removed the track shoes of the Revell tracks and sanded until only the deepest marks were visible near the centerline of the tracks:

Then I glued the sanded tracks together. To do that I cut the Esci/Italeri tracks in three-link segments to compensate for the slight differnce in length between the Esci/Italeri and the Revell tracks. For glueing all the styrene together I used liquid glue/lacquer thinner, it works like charm. To impress you more I took a surgical blade and cut off the guide teeth off the track and moved them to their correct position between the track links. Here's the photo of the completed track section:

For now I have four sections completed this way - the bottom section (26 links), two short diagonal sections (6 links) and the long top section that consists of two subassemblies (idler-roller and roller-sprocket - 33 links). To complete the track run I also need 12 individual links which I'm going to use almost straight out of the Italeri box. Together it makes for 83 links - I wonder if it's correct number?
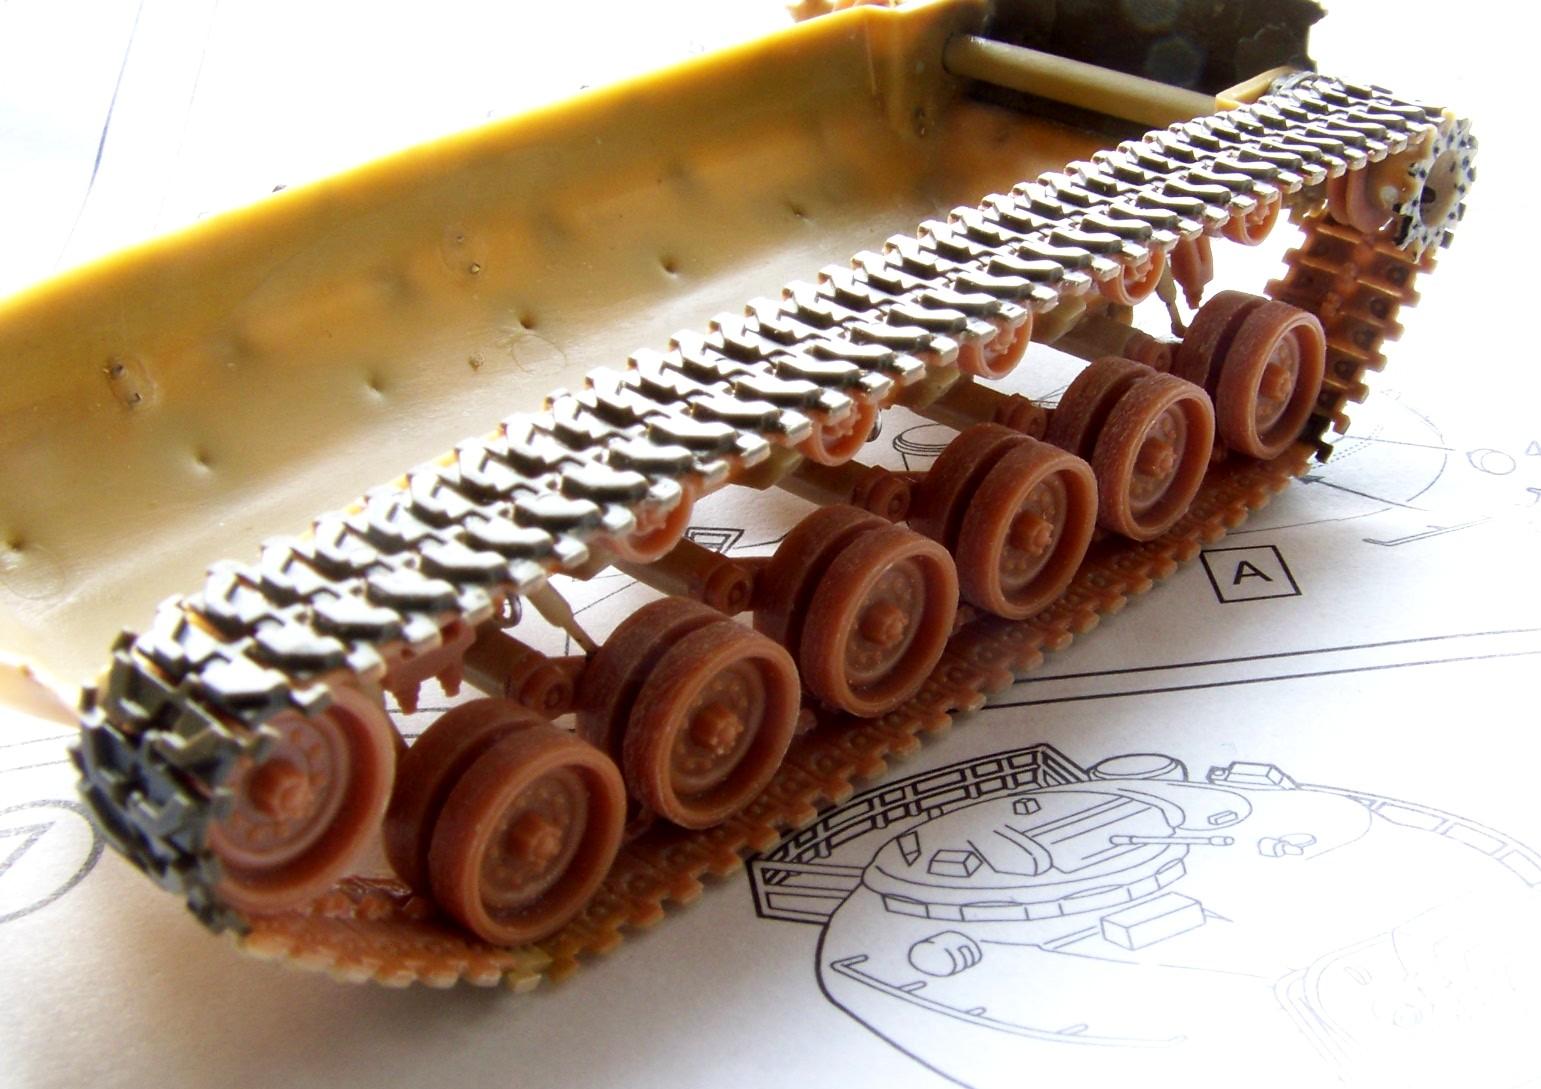
And then I went on to assemble it all - I started with the individual links on the sprocket, then I went on toward the road wheelsand up to the idler. I scored the flat side of the individual links with the tip of the knive to give them some structure and to blen them with the straight runs. Finally I installed the long top run. By bending the short and the top sections I tried to give the tracks a little sag, nothing dramatic. After I was done it looks like that:


So I think as soon as I get the remaining rollers I can do the other side without burning out, it's not so bad. I'd say I put about 4 hours in the tracks so far, so it's doable. Hope you liked it, looking forward to your comments and thanks for reading
Paweł