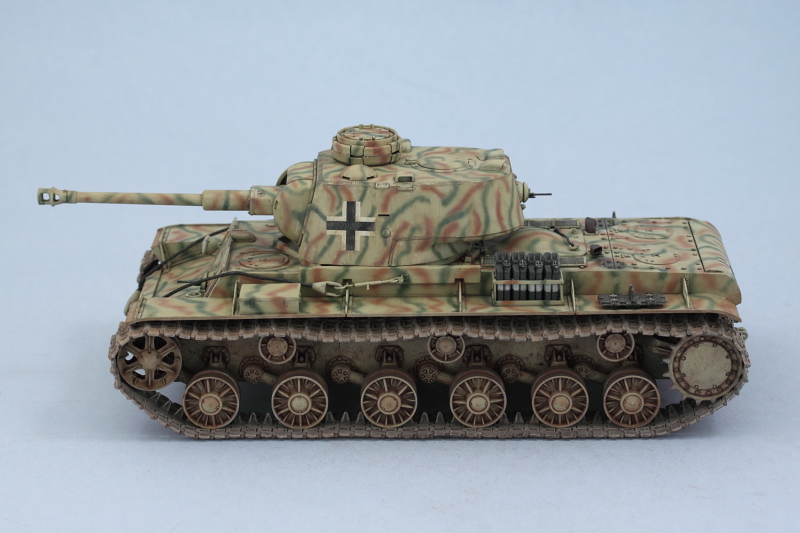
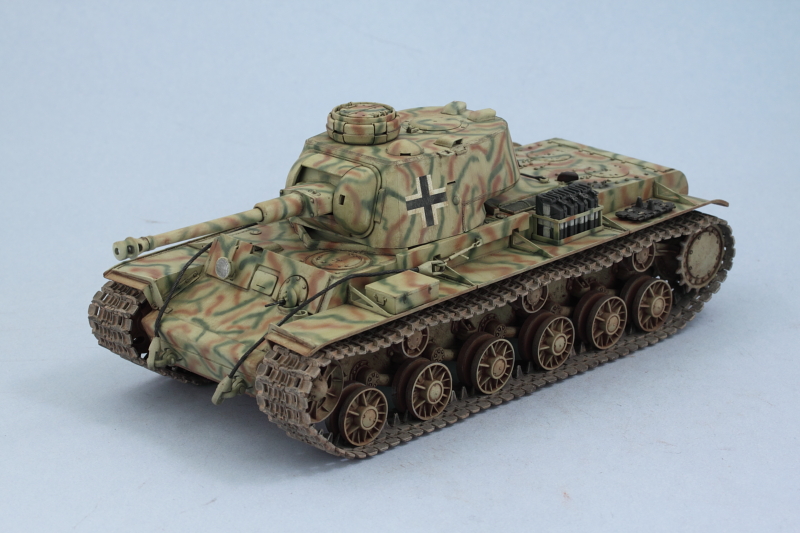
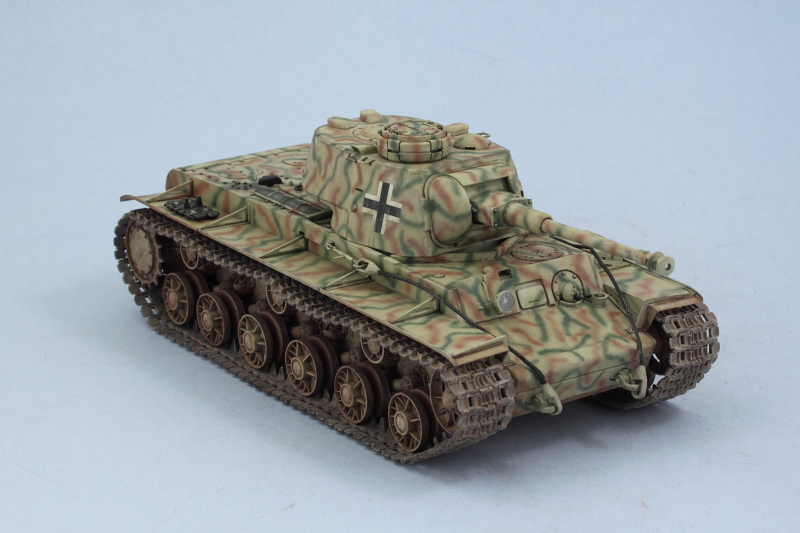
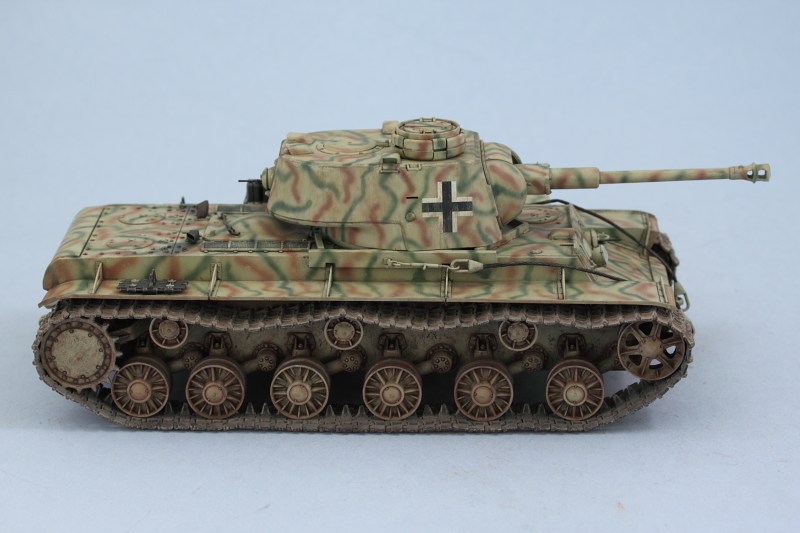
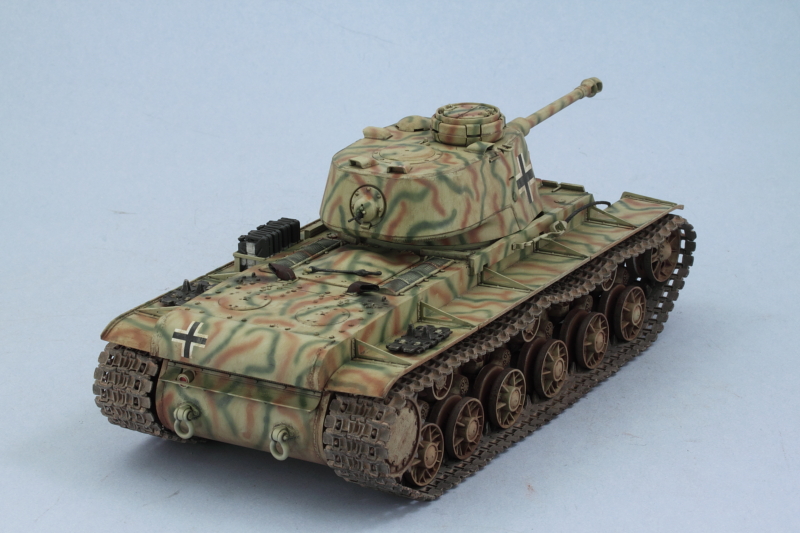
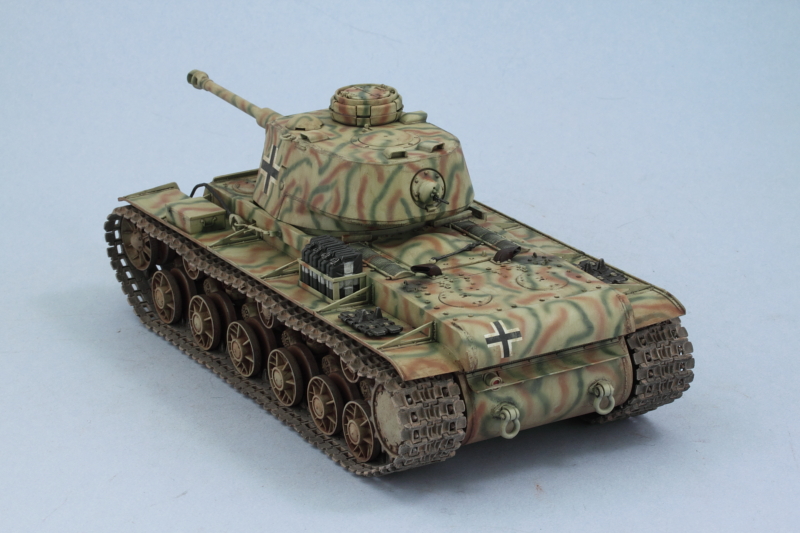
Work continued from where I left off previously with the weathering and the first order of business was to seal in all of the wash work and remove any remaining gloss effect from the Future coats. I applied an overall coat of Model Master Lusterless Flat lacquer via spray can. Fumes are powerful so this was done in the spray booth with the exhaust fans going full bore and while wearing a breather mask.
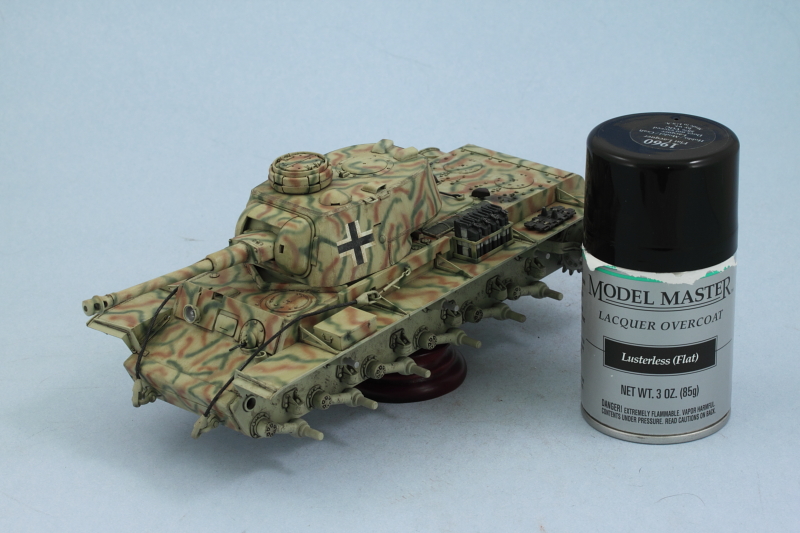
Now it was time for some pigment attention and I started with the lower hull. I used Mig Dark Mud pigment mixed with filtered water (with a drop of liquid dish-washing soap added to break the surface tension) and applied with an old brush.
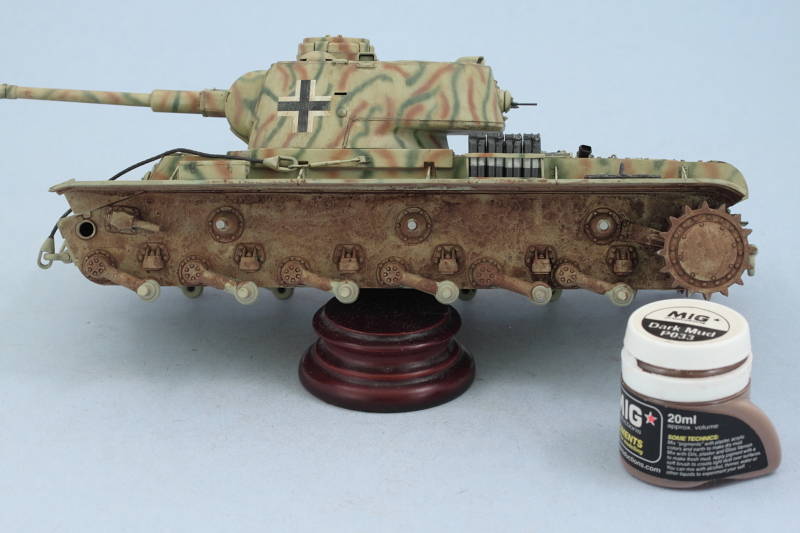
This was left to air dry (about 20 minutes), then attacked with a wet q-tip. The Dark Mud pigment behaves more like a "stain" vs the other pigments in the Mig line and that's the effect I was going for. This built on the previous weathering attention on the lower hull and I removed virtually all of the pigment but allowed a heavier build-up to remain around the suspension arms/hubs and bump stops.
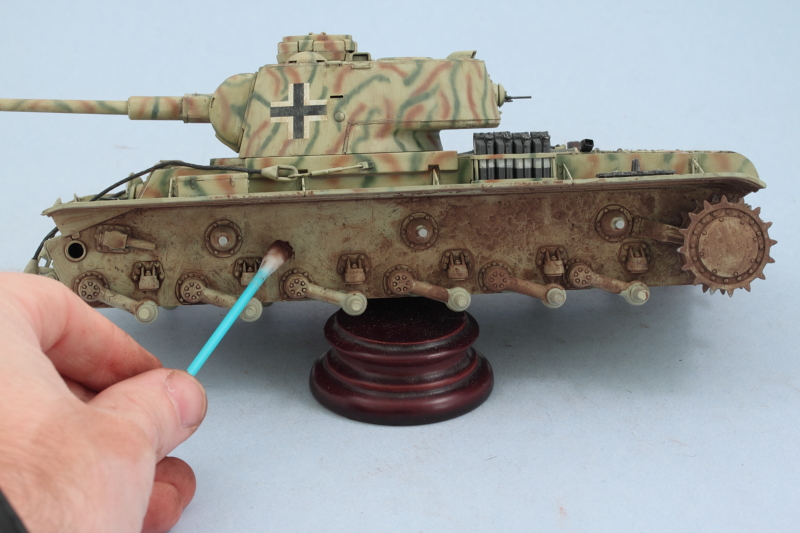
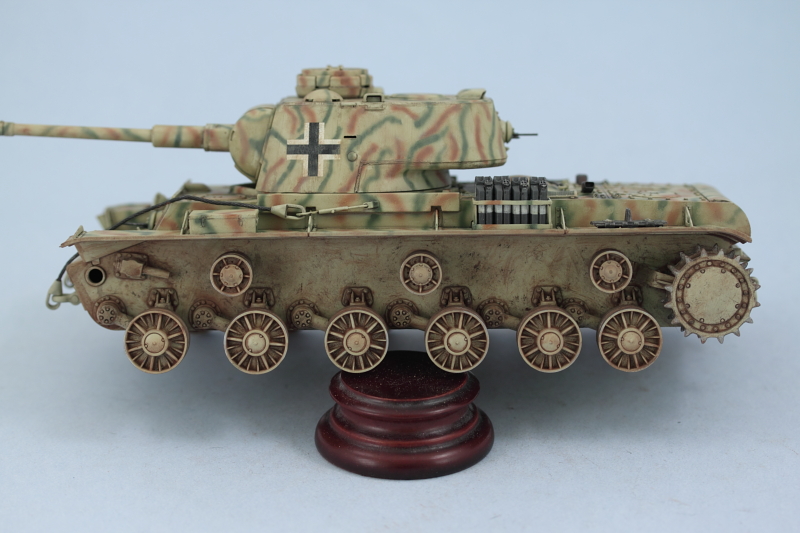
The road wheels, idlers, and return rollers were given a similar treatment off the vehicle to make it easier to work with them and get a more consistent result. Due to the numerous spokes on the road wheels, I had to work those small areas using a wooden toothpick instead of a q-tip, but otherwise the process was the same. The wheels were then installed into position on the hull.
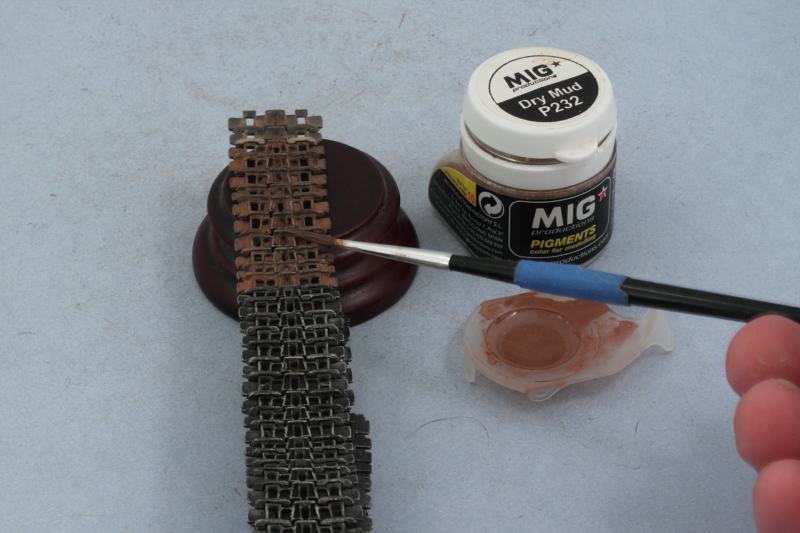
Then it was the tracks' turn. Since they are a darker starting color, I used Mig Dry Mud for them. Applied the wet mix and let it air dry. I used an old disposable contact lens container and worked each link individually (one of the beauties of using workable tracks IMHO).
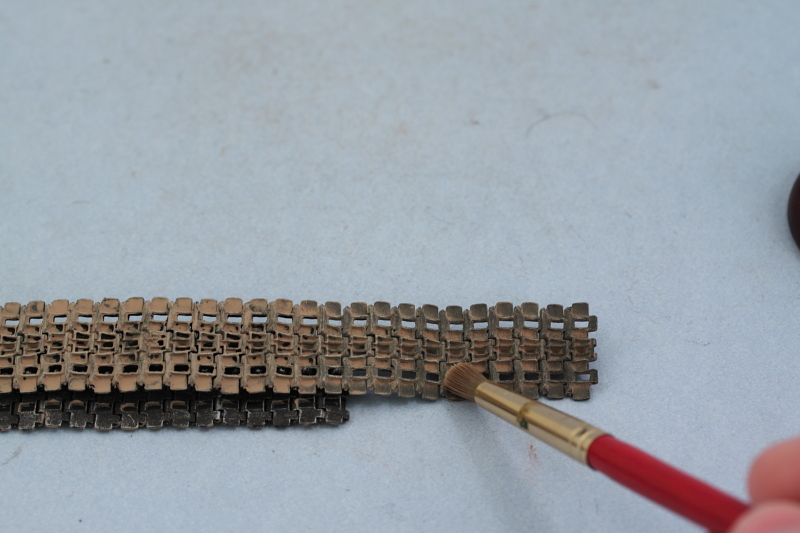
Using a combination of round and square stiff-bristled brushes, the excess pigment was removed until i had the look I wanted.
The tracks were then installed along with the idlers. The idlers were adjusted as needed before the glue set to allow for the right amount of sag on either side. I also installed the clear parts for the front headlight and rear brake light to complete the remaining little details.
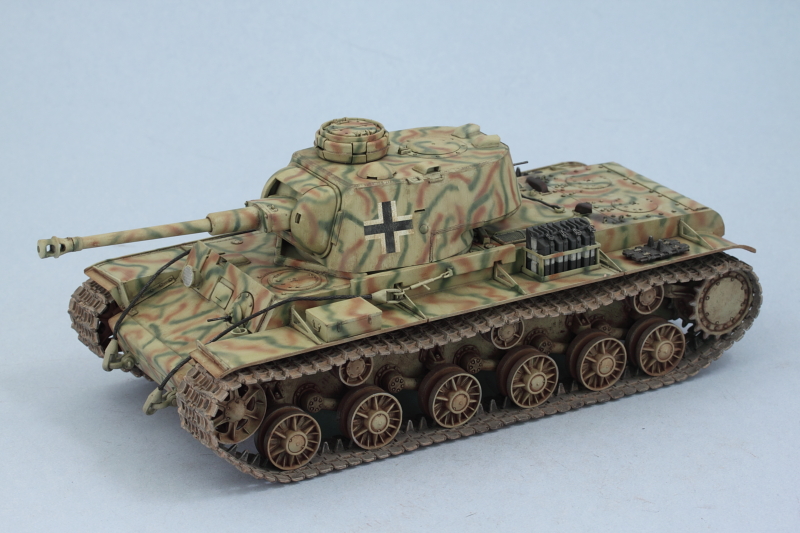
Then it was off to the photo booth for the finished walk-around shots.
