 ... and we are in the home stretch now heading in to the finish line...
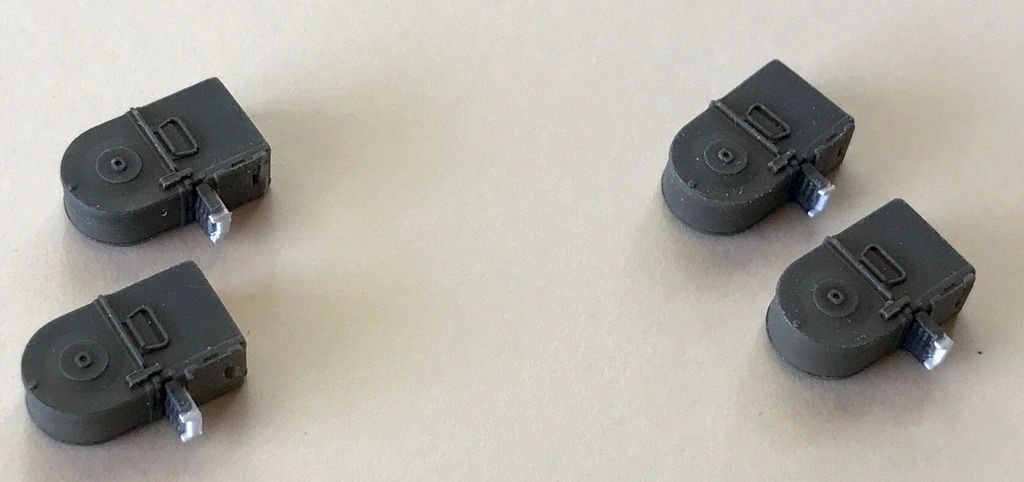
first up, if I was to fault any part of the kit instructions, which Dragon is notorious for, it would be right here, where the gun and ammo can assembly is shown....
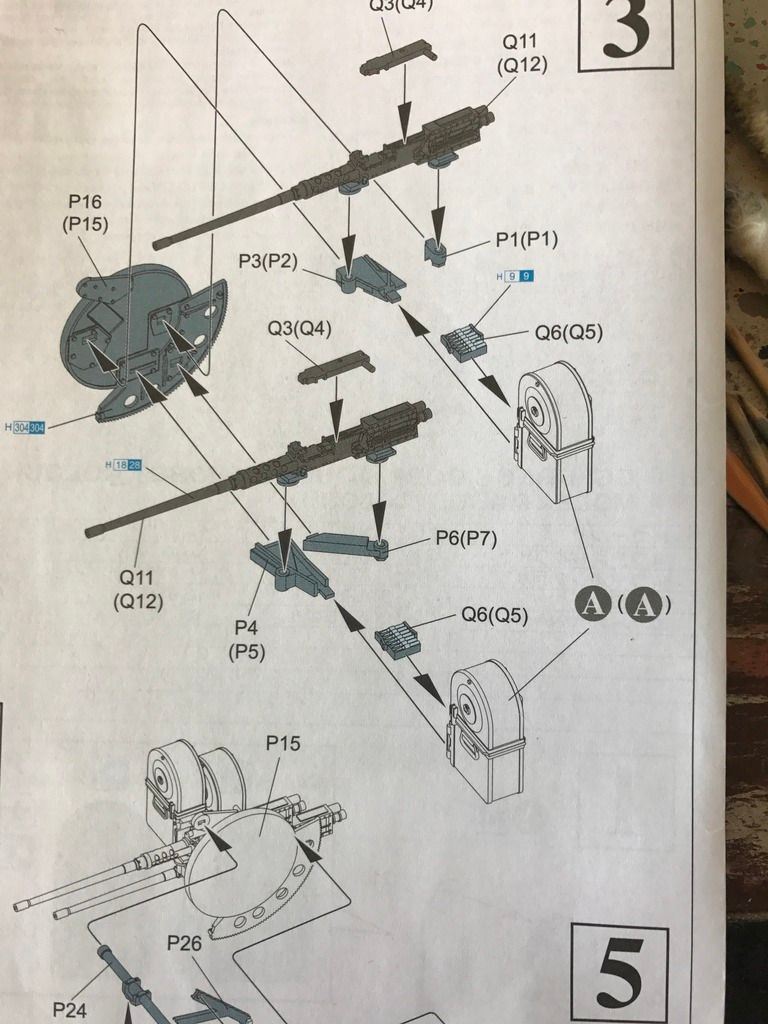
but there are couple things they do not mention... first, the little nubs that are on the end are also attached to the mounting stub for the ammo cans, but look like a natural cut off point for the excess plastic nubs (whatever those things are called). I cut off two and filed the support ends flat before I realized the fit into the slots on the ammo can. 
the other thing that needs caution is the little part between the guns and the ammo cans that have the rounds molded onto them. it seems only natural to push them in as far as they will go to match the widened end right up against the ammo can.
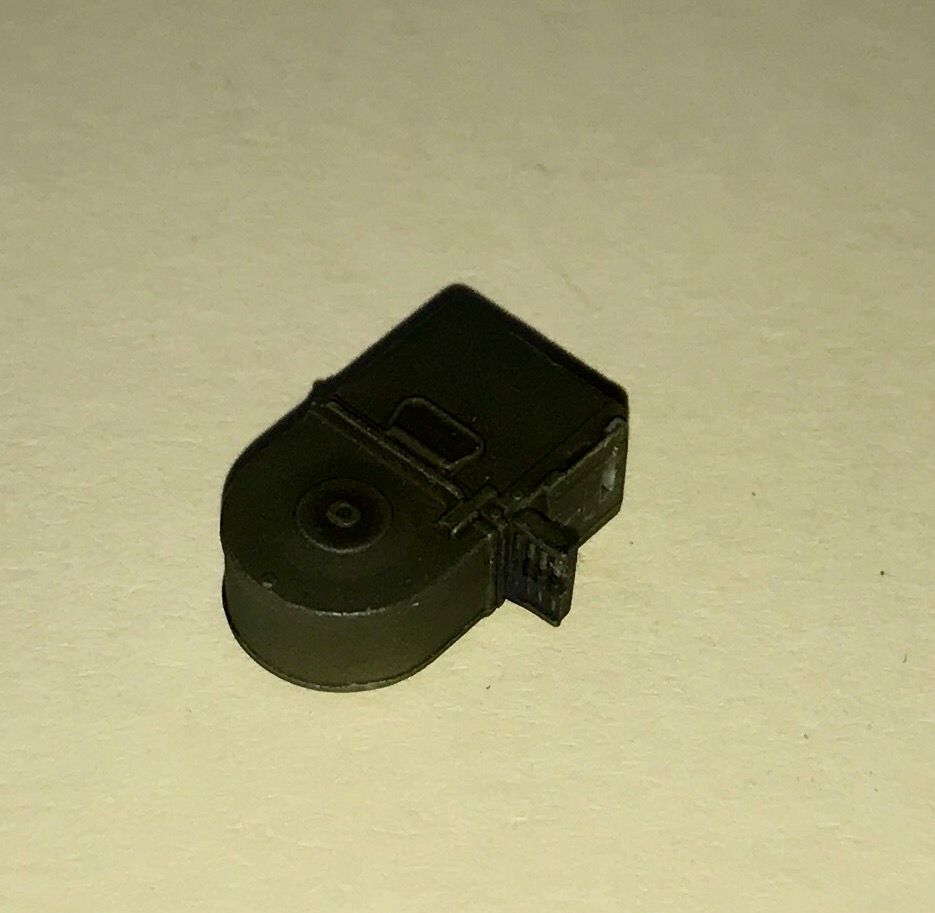
But that is a no no. Do that and you will have a gap between that part and the guns as I found out.
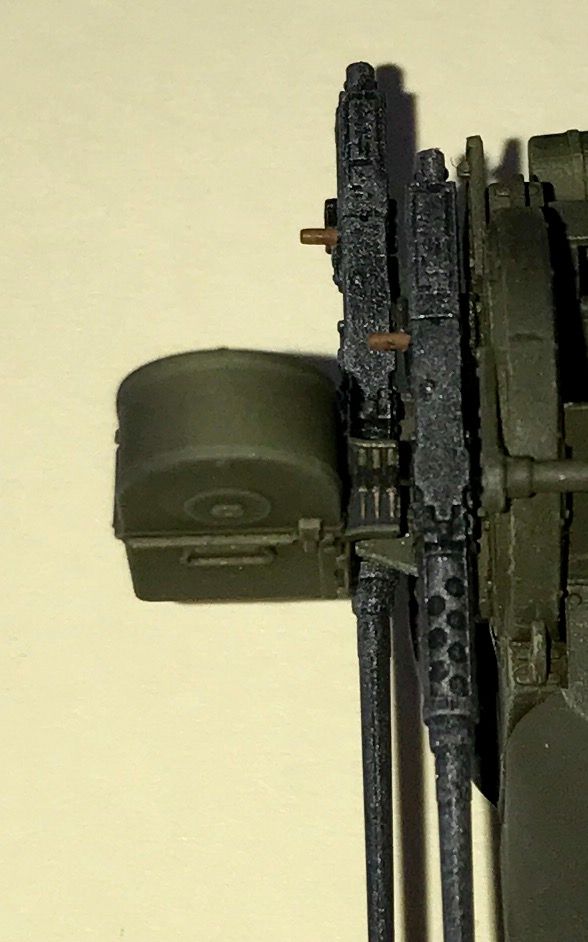
That part is best painted and left loose until you mount the guns and cans on their support arms. Live and learn... so I ended up scratching up some extensions to the ammo feed trays
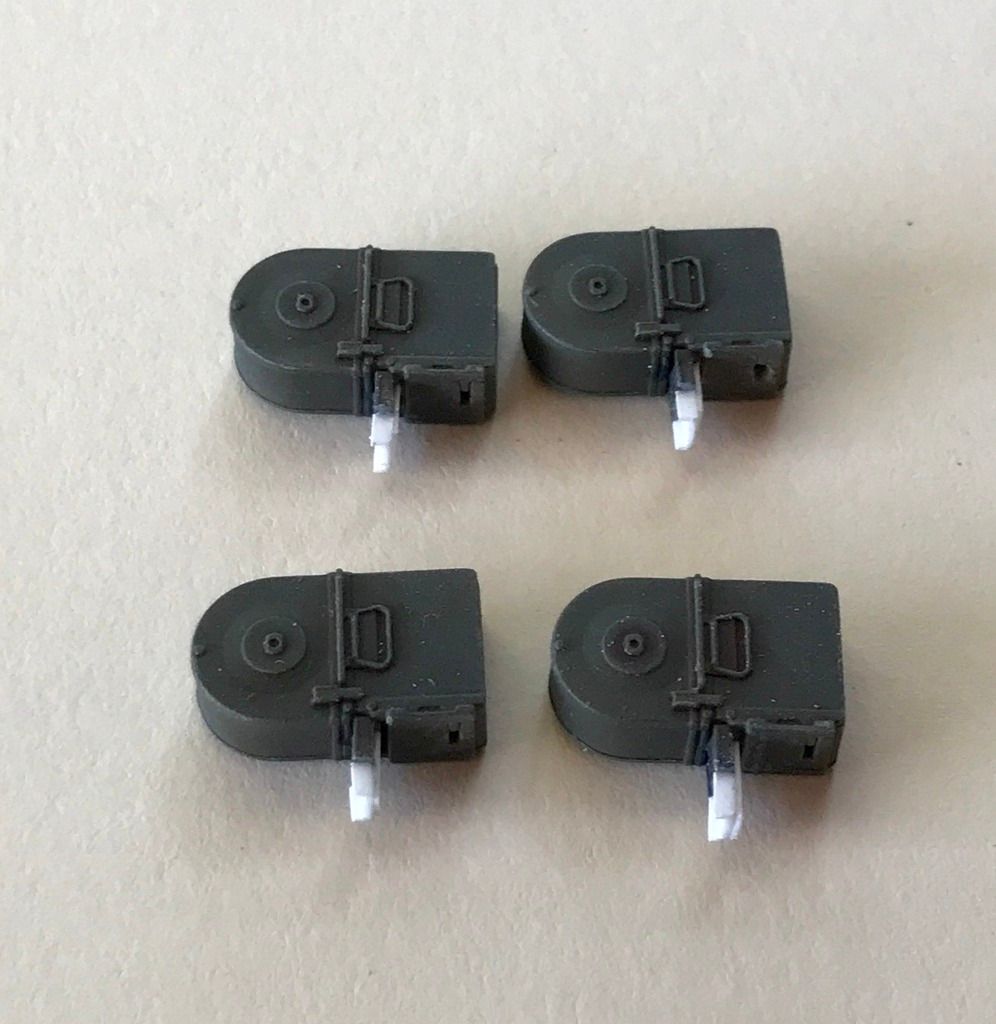
trimmed to fit
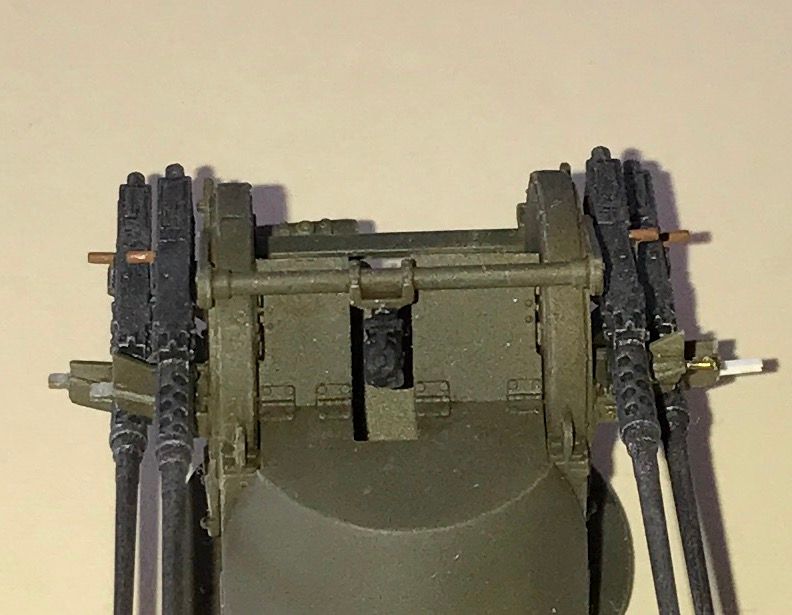
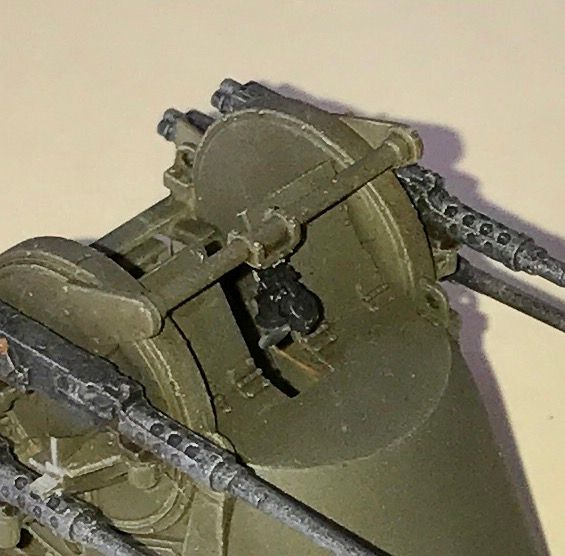
last night I painted up the gunner's sight, and today I glued that in place
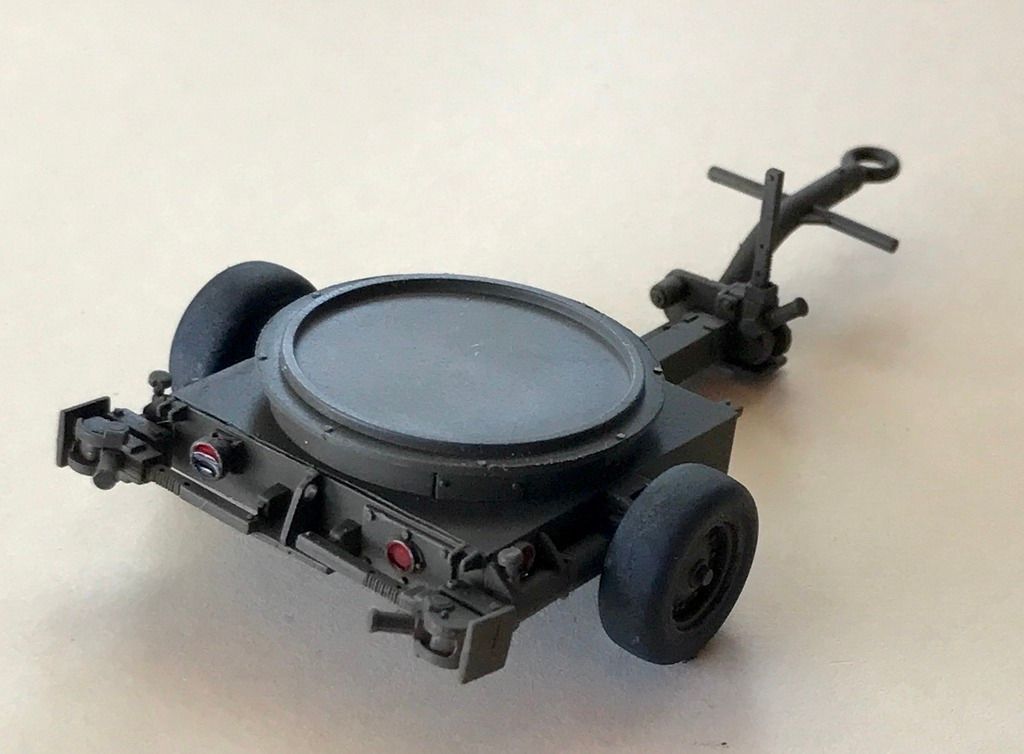
and then I painted the tail lights and reflectors
and as this is typed, the ammo cans are drying after I glued them in place a little while ago...
the build is now complete! 
F is for FIRE, That burns down the whole town!
U is for URANIUM... BOMBS!
N is for NO SURVIVORS...
- Plankton
LSM