Thank you! You have to remember, I'm retired and my "job" is building cool stuff in the basement. I put in 2 to 4 hours most days in this endeavor. I don't work on weekends as you all know by now, but it's still really satisfying that I can work on stuff like this at a reasonably steady pace.
So...on July 27 I started this project with box with over 1,900 parts in it and now there is this...
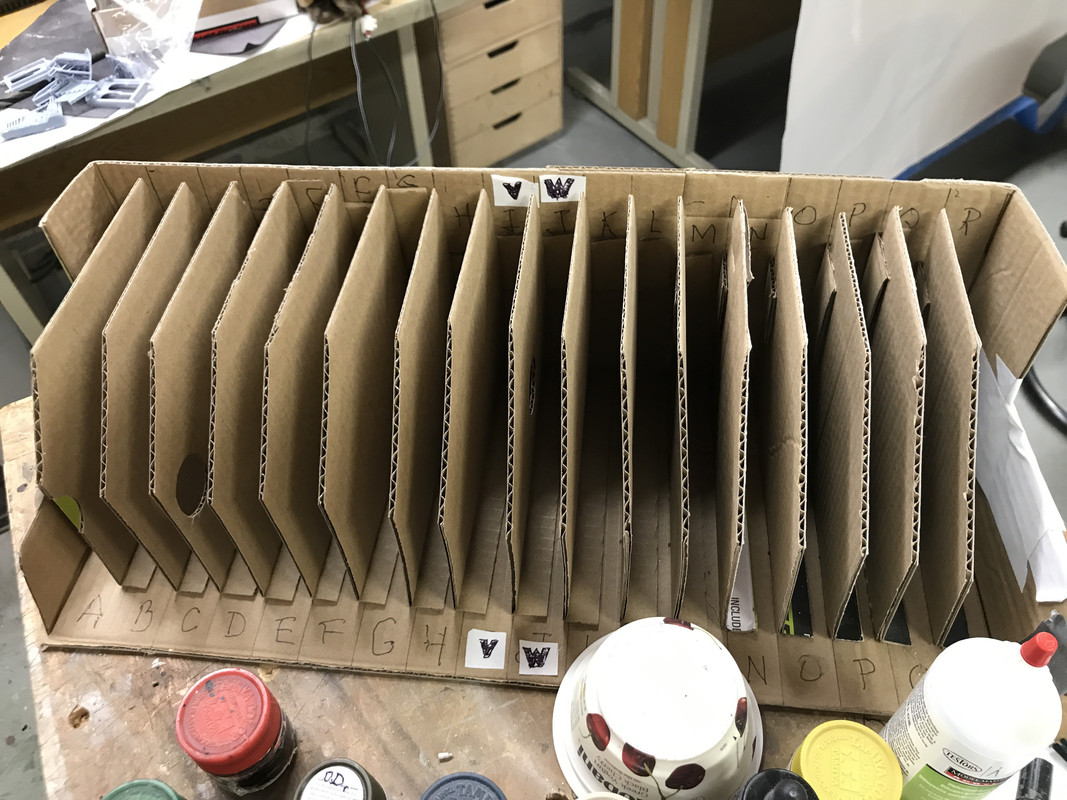
The parts rack is empty. And you know what that means? The model is done! I started assembling the crew set, but I have my doubts as to its usability. I built the one seated figure that could possibly go inside. He fits... sort of... it seems a little big, and he would be a loader since his hands are positioned to handle a round. The loader sits with his legs dangling into open space so there's not much supporting the figure. His head is almost out of the hatch, but not quite.
I'm also having trouble printing a workable display rack to show the hull and turret in a position so you can see underneath.
Be that as it may... the model I'm declaring is finished! Here are some of the final shots. I'm not taking any more interior shots since the insides have been done for a while. I tried to take a picture showing how reflective those rearview mirrors are, but it didn't work.
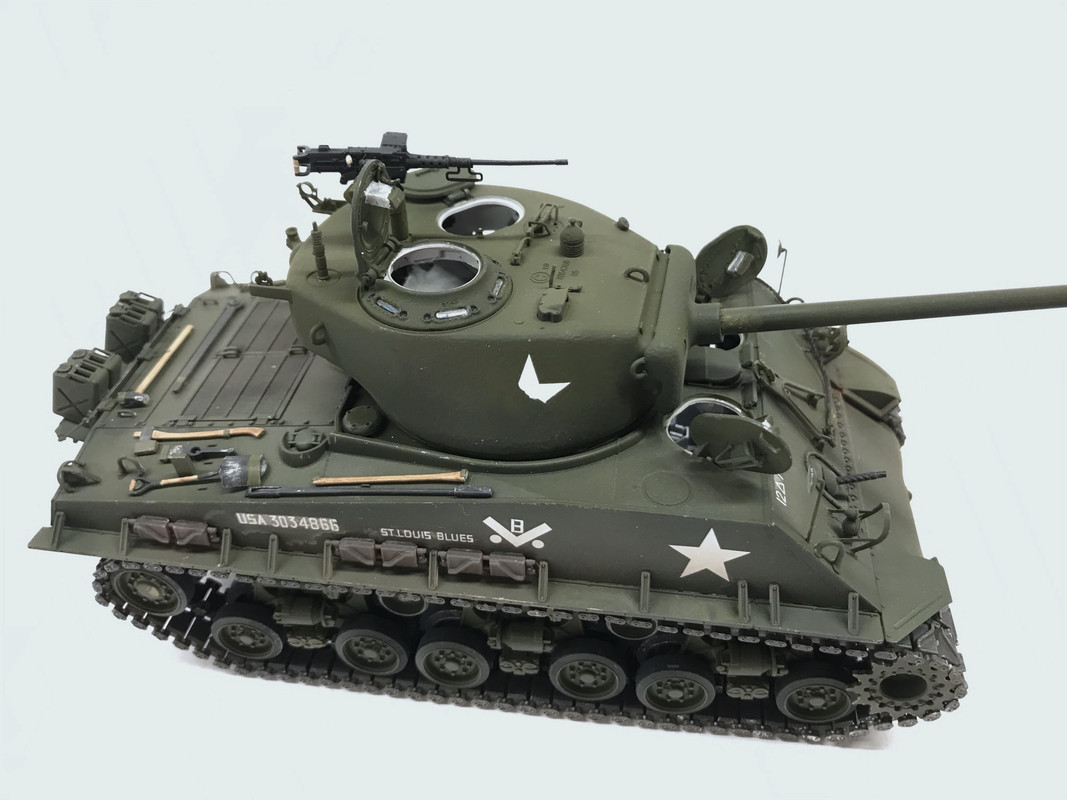
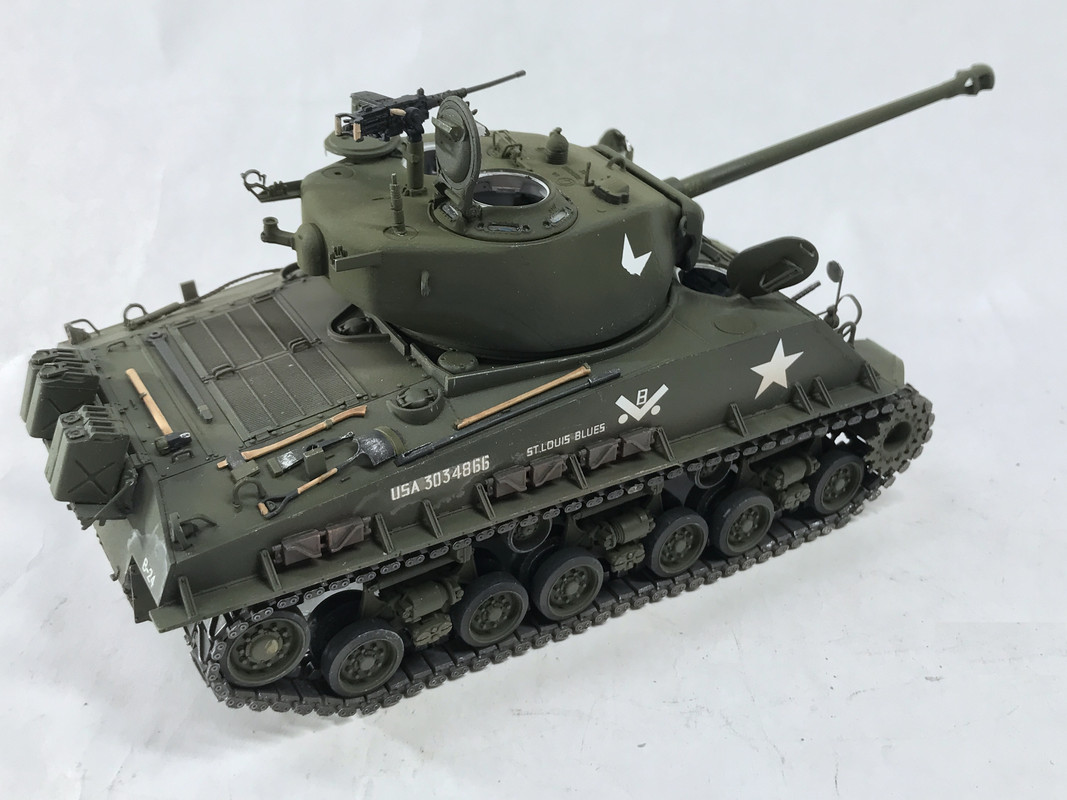
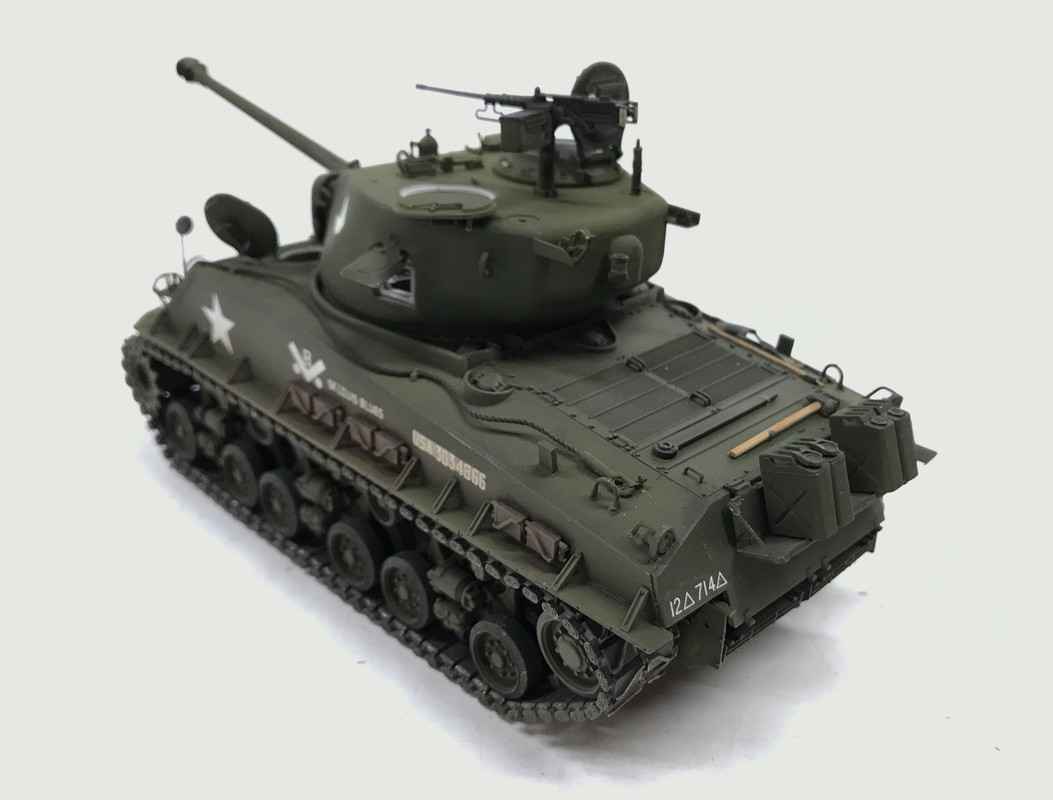
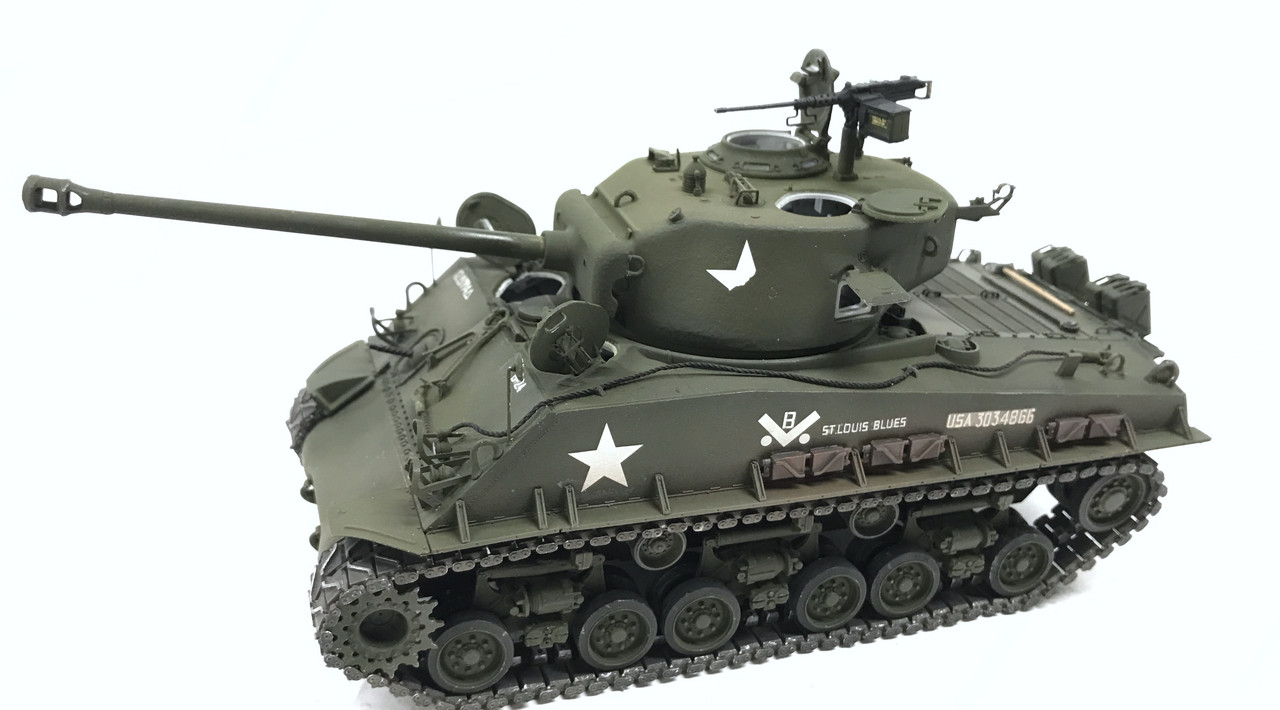
These two shots were done with my Canon EOS Rebel and Zerene Stacker image stacking software. Once again, the little camera on my iPhone 7 is actually producing more pleasing images. I'm itching to get the iPhone 12 when it comes out, and the Canon will probably go to the thrift shop.
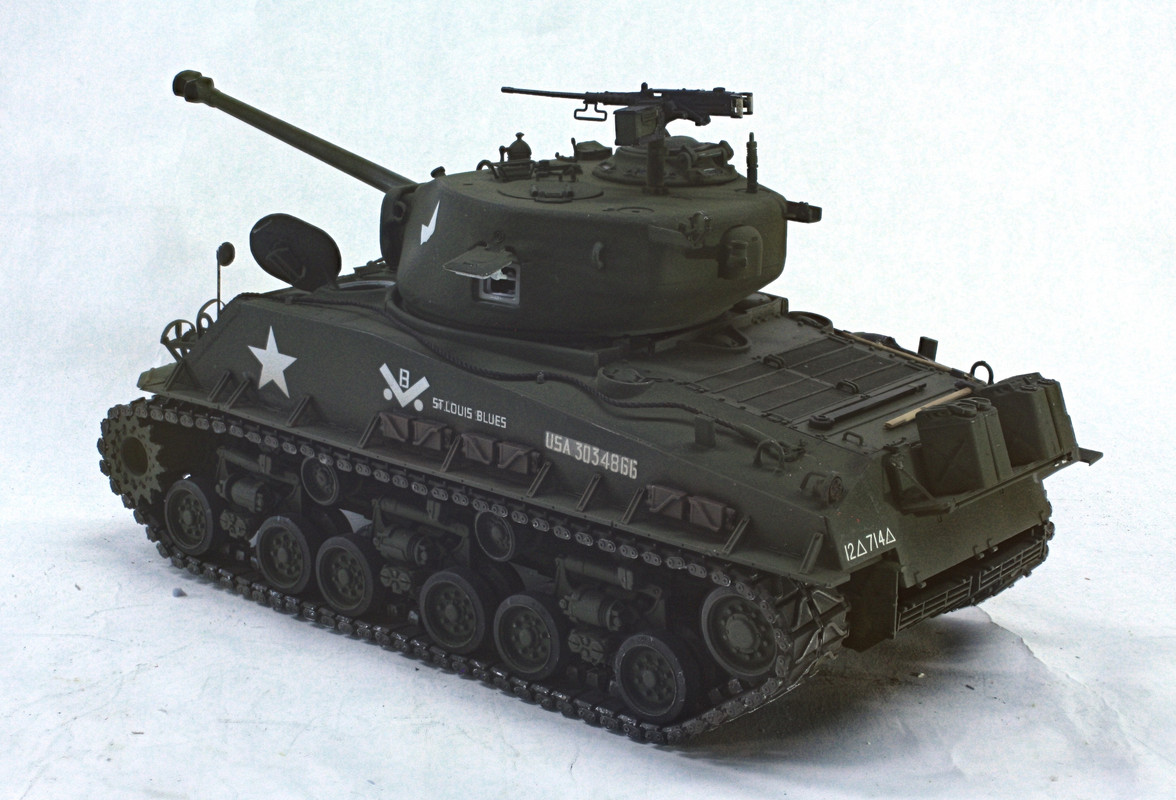

So that's that. In summation: this was the most complete, intricate and challenging plastic kit I've ever done. Now I have to add that my Missouri and Essex projects were huge and took longer, but most of the complexity was driven by me wanting to add to the kit with 1,000s of pieces of aftermarket PE, mods and scratch-building. The box kits themselves weren't all that complicated. This one was complicated and difficult out of the box. It was over-engineered and multi-part assemblies which added complexity without adding much more in clarity. One of the most difficult and ambiguous assemblies was the gluing in the gear case and interior front end to the hull bottom. I may not have gotten this correct since the upper hull does not slip under the faux bolt lip on the gear case. There doesn't seem to be room for it and I would definitely break something if I attempted to get it into there.
The treads, which I dealt with in great detail, are frankly, frightening. The fact that they're still together and look so good is remarkable and surprising.
But, I never shrink from a challenge, and wanted to build one of their kits. My next plastic kit is up in the air, but as I noted before, I may try my hand at the Meng Bradley with the full interior. And I may be a glutten for punishment because I still want to built Ryefield Model's A-1 Abrams with full interior too.
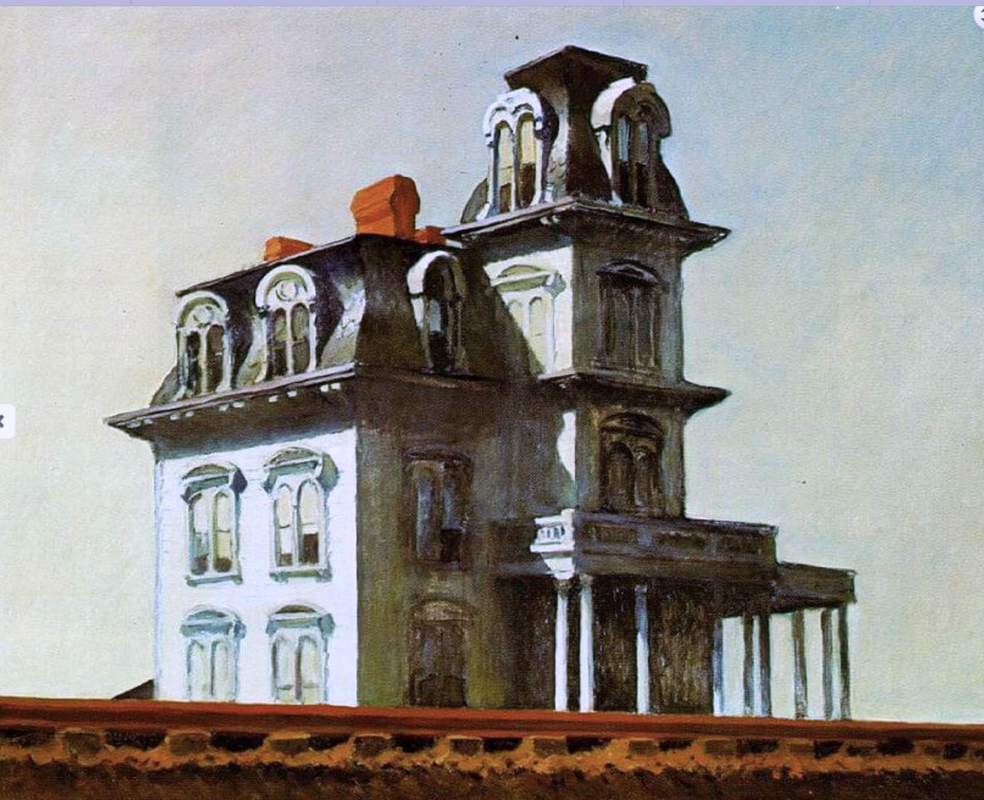
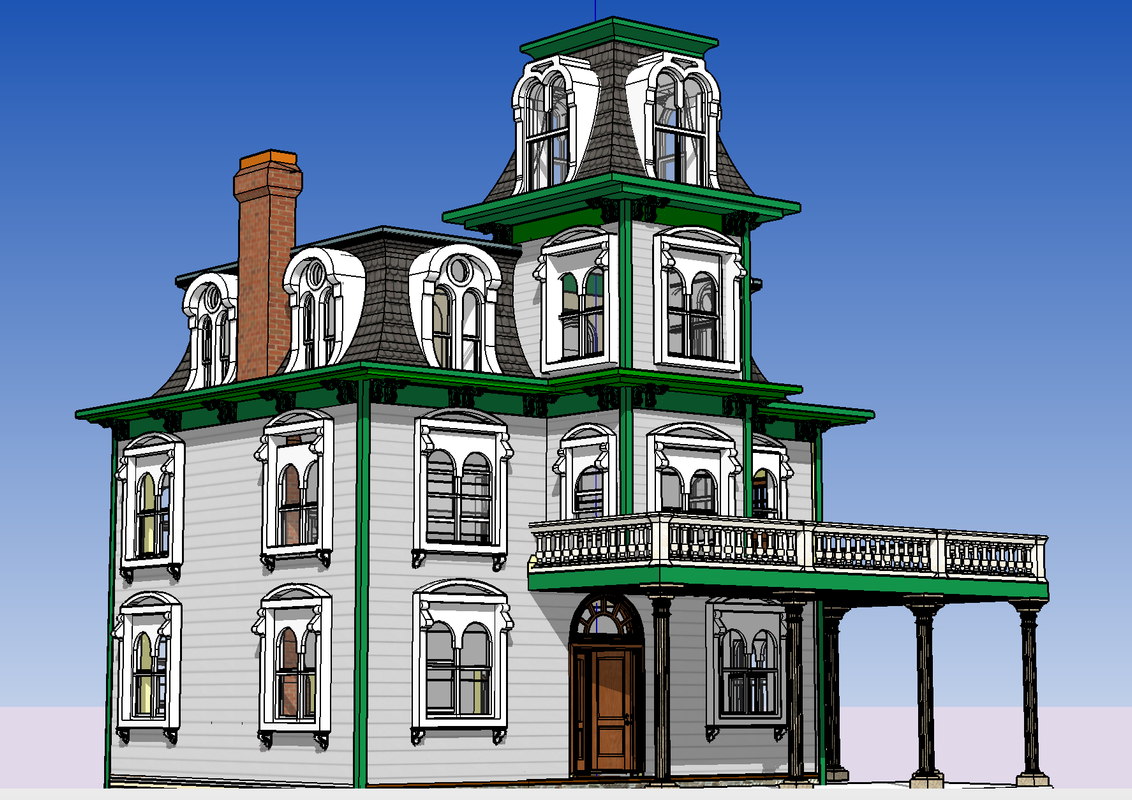
My next project is going to be for the model railroad and will be my rendition of Edward Hopper's masterpiece, The House by the Railroad. I had to draw the entire building from his painting, imagining all kinds of details that were in the shadows. I have 3D printed over 100 architectural details and have had the flat parts laser cut by Rail Scale Models. It's all in the shop waiting. This will be an interesting project that I'm anticipating writing an article about.
Here's Hopper's painting.
And here's the SketchUp drawing that I made to produce the model.
If any of you wish to follow the construction of the this 1:48 scale model, I've been running a continuous thread on the O'Gauge Railroading Magazine Forum since April 2013. It's now 84 pages long and covers an enormous amount of work. I will be posting daily construction notes on this project as I do with my plastic kits.
Page 1 starts here: https://ogrforum.ogaugerr.com/topic/continuing-saga-of-the-pandampprr?page=1
This project will start around page 84.