Hello!
Recently I've been workin on a very similar problem so I thought I'll post a photo and try to use it as a practical example:
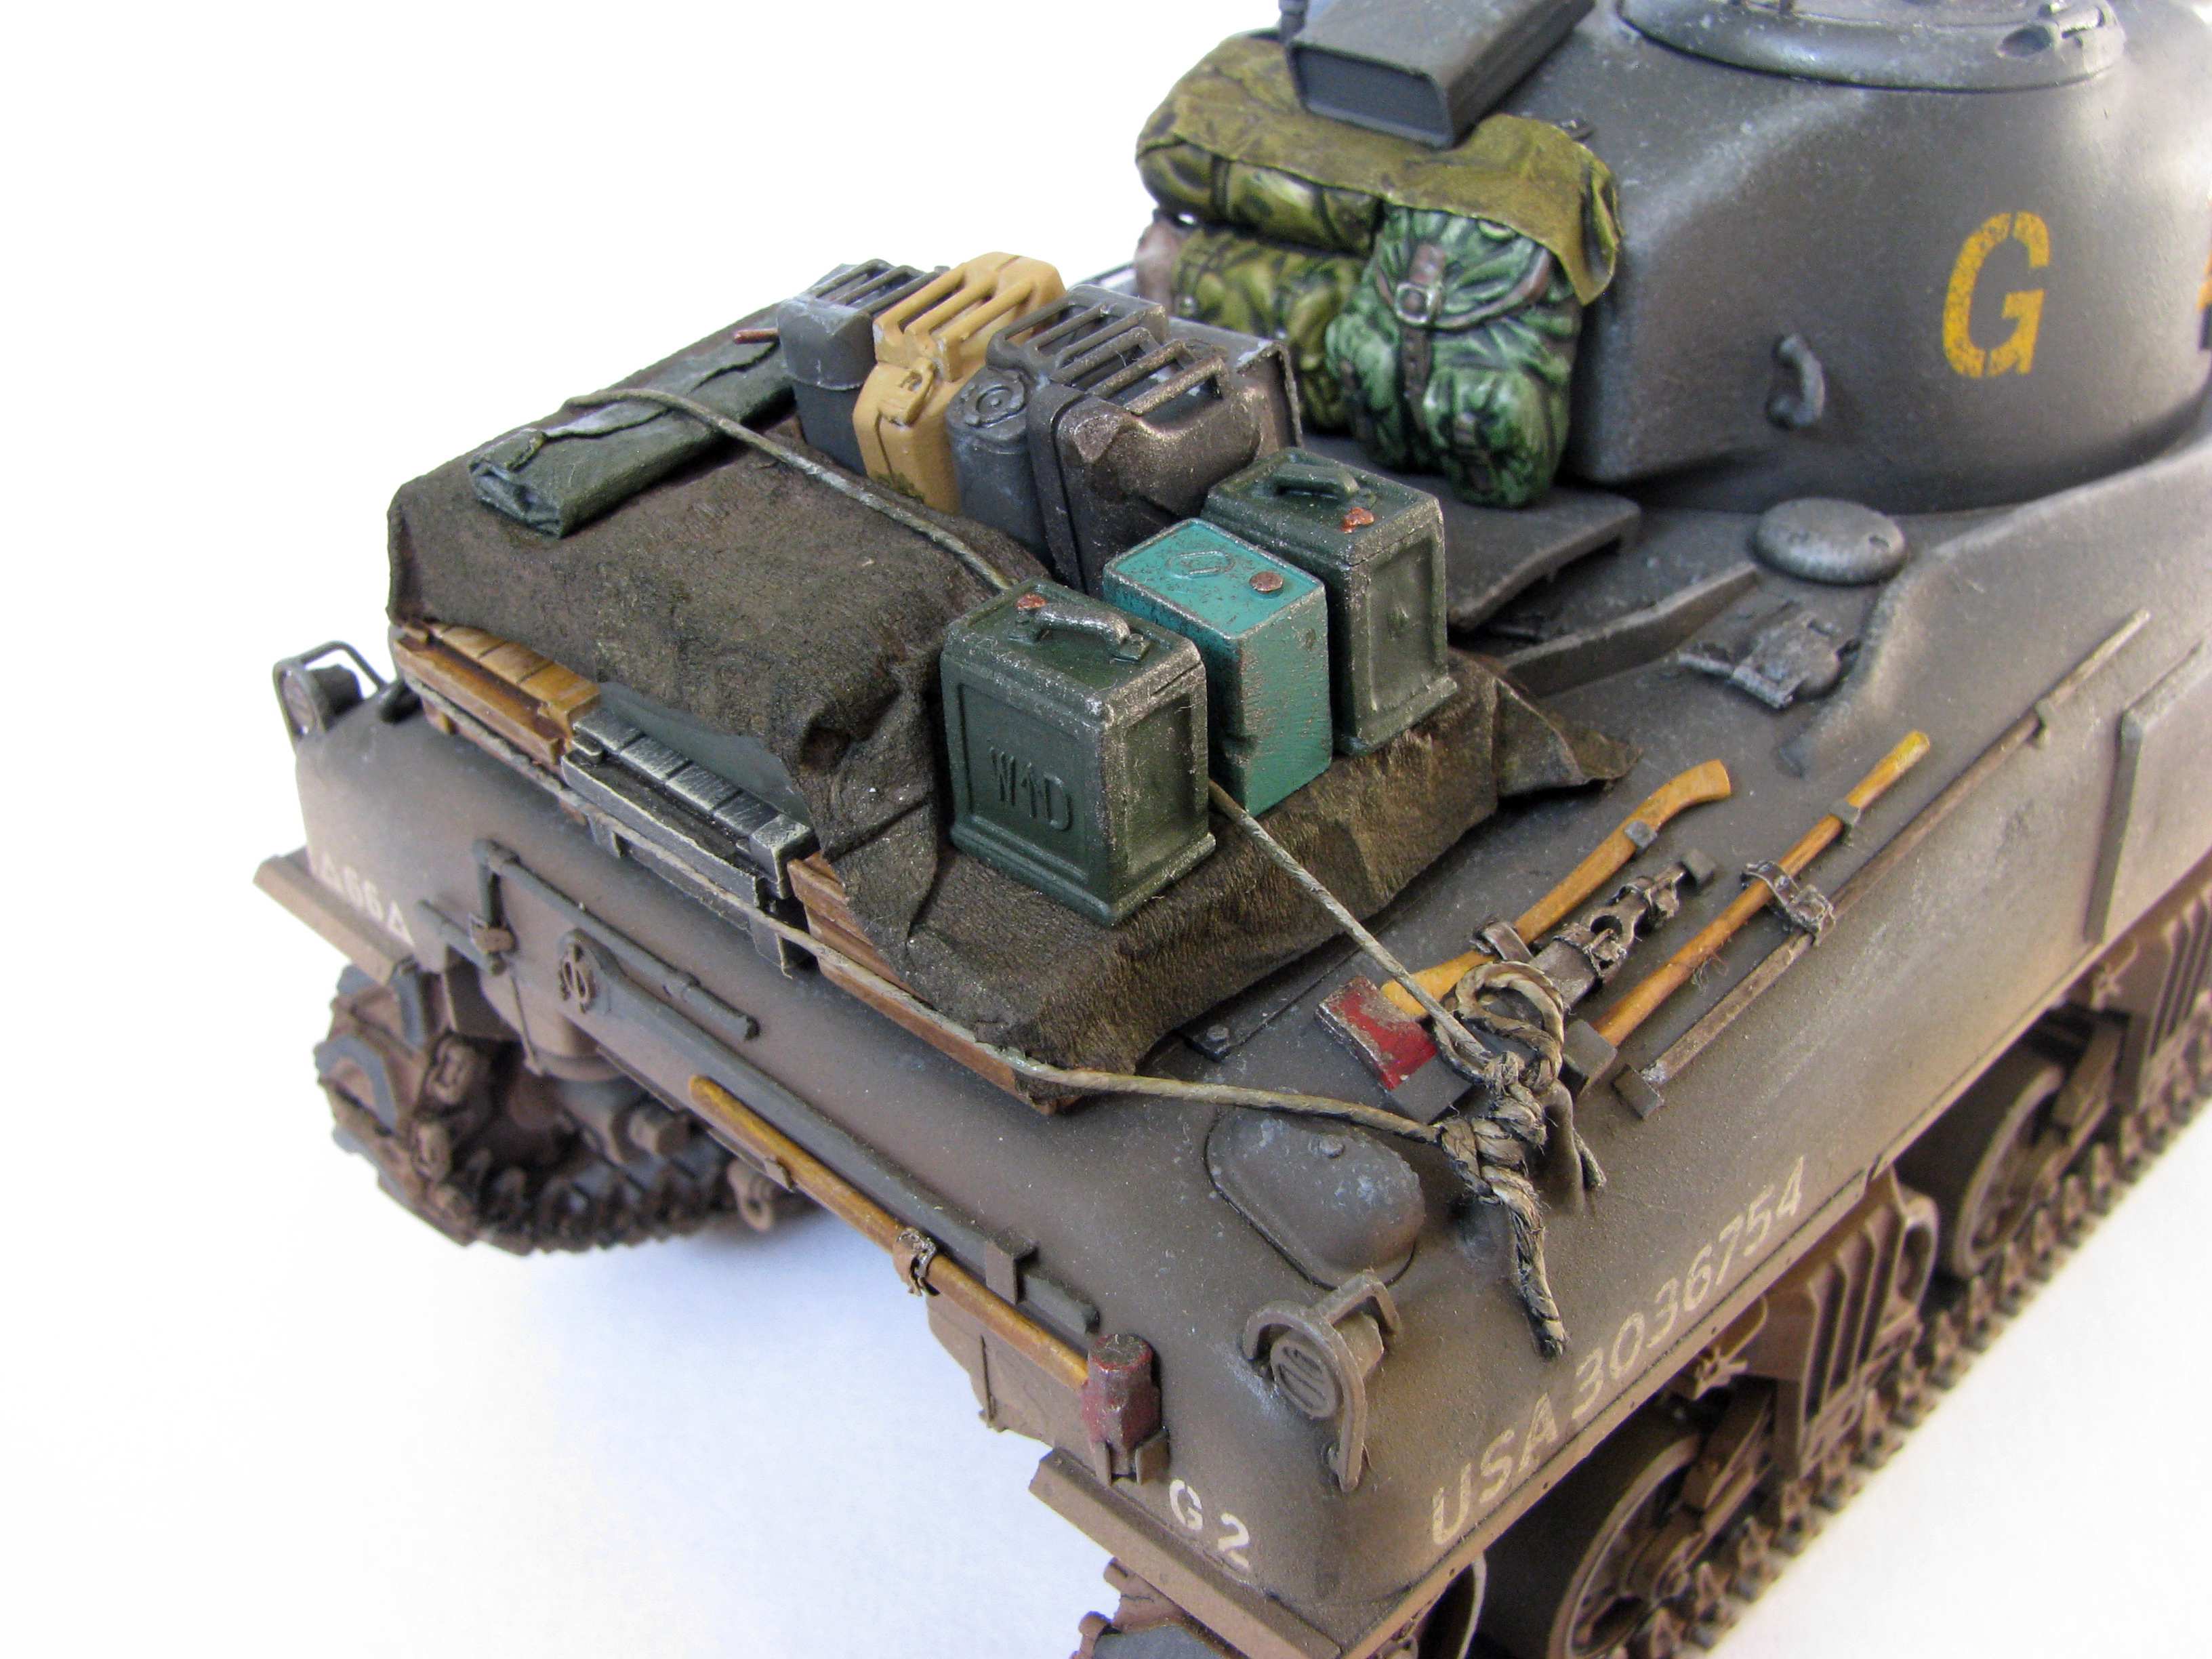
So what we've got here are wooden ammo crates - painted and unpainted. Drybrushing and washes are your friend here, because those crates get abused a lot and it's good to show it on the model. Youtube has a lot of tutorials on painting wood. I found it easy to do - and it also comes handy for tool handles. Talking about tools - some of them are OD, some are just bare steel, for some I tried to show the metal parts painted red and worn - my friends here often wrote about the tools looking like they came straight out of a hardware store. Some tools also get repainted together with the vehicle (when you don't have the time to be bothered with removing them prior to painting...). Then you have the tarps - you can never know where they came from, could be US, British, ex-French, or liberated from the Germans, and they could have got them themselves from some remote theatre - hence a lot of freedom with the colour. The personal gear like rucksacks - those also can be US - light tan, like the Capn Mac wrote, or olive green - and there are also other rucksachs possible - British, French, liberated German or even some civilian tourist stuff sent from home? Then there are cans... US cans are OD. They can be lightly chipped and denting them is also easy to do with some round file. There are German cans - panzergrau (= dark grey, earlier) or dunkegelb (=light tan, later). There are also british cans which can come in many different colours, but the British had their own colour called brown-green. There is also a small "flimsy" can that represents something taken from a civilian market - maybe oil, or juice - that's why I painted it a totally funny colour for added interest.
It's worth to remember that the troops on the very tip of the "sharp end of the stick" always have a problem with getting supplies and will scrounge things a lot - any can of fuel and everything that looks handy will be used just to keep movin', so you have a chance for quite a collection.
I hope this helps you - thanks for reading, good luck with your build - post some pictures! - and have a nice day
Paweł