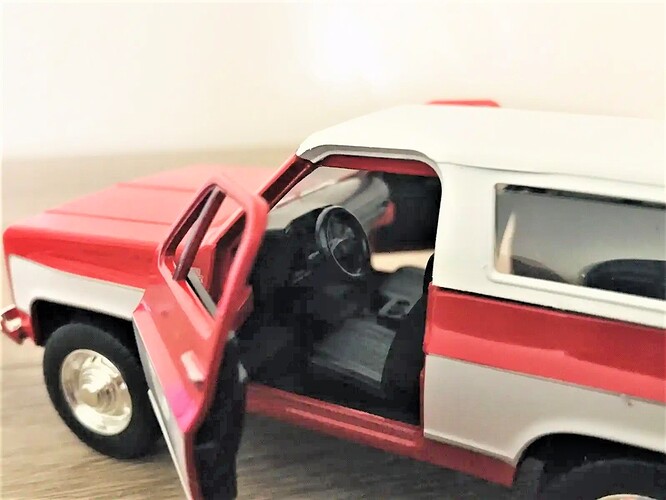
My next build is an M1009 CUCV (Commercial Utility Cargo Vehicle), (https://en.wikipedia.org/wiki/Commercial_Utility_Cargo_Vehicle) which was a militarized 3/4 ton Chevy Blazer. These were mainly used as staff officer vehicles.
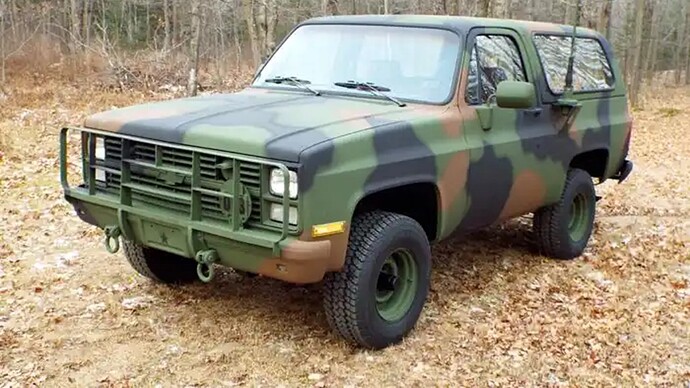
CUCV (4)1280×720 204 KB
These trucks were a stop-gap measure used in the early '80s when the US military found that the M151 was wearing out and too small, and the HMMWV was in development, but not yet ready to field. They took civilian trucks and outfitted them as military vehicles by upgrading the electrical system to 24 volts, adding a blackout light system, tow shackles and pintle, etc. They were still being used by rear area units up until the early 2000s.
I know about the Miniman Factory resin kit of this truck (and the M1008 CUCV pickup), but found a cheaper die-cast version by Jada. It is listed as 1/32, but scales out to about 1/36, so close enough. I wanted to see if I could make it into a respectable CUCV model.
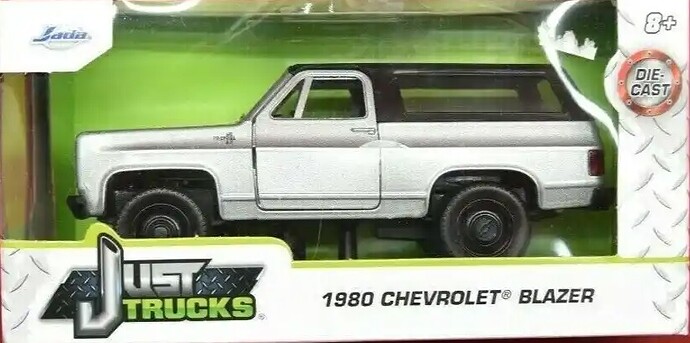
blazer CUCV819×408 96.6 KB
It is pretty well detailed for a die-cast model. The only die-cast metal part is the body. Everything else is plastic. You can see the well detailed grill with clear plastic headlights. It also has clear red taillights, plastic bumpers, a detailed interior, etc…
A different color, but the same Jada die-cast model.
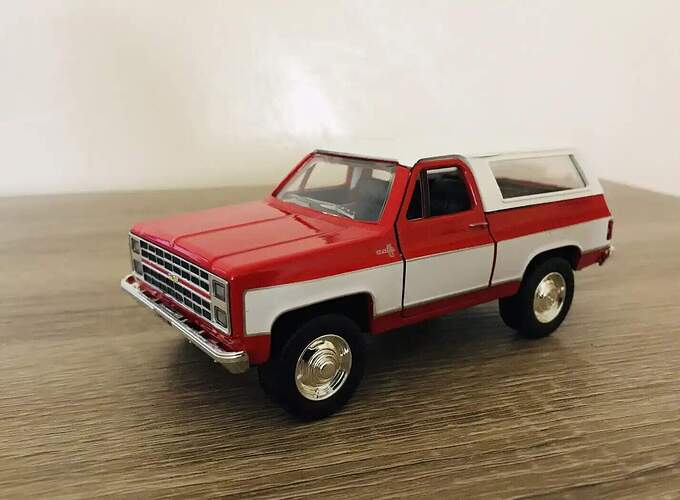
blazer CUCV 11428×1050 105 KB
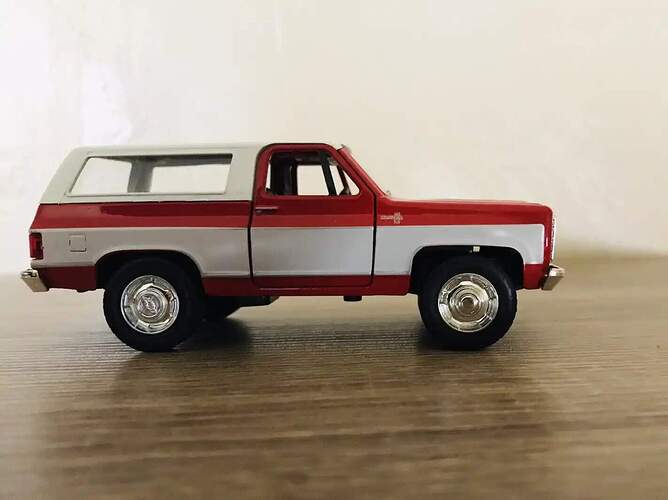
blazer CUCV 31424×1065 71.6 KB
I started by tearing it down.
I started by tearing it down.
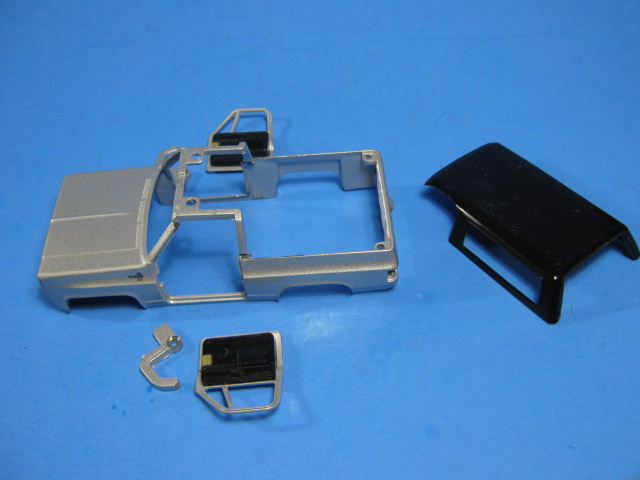
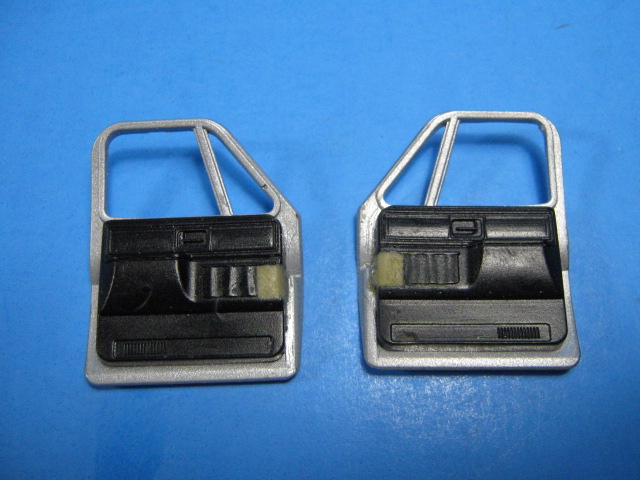
I cut away the piece that attached the roof above the driver’s area as it isn’t really there nor needed. I also cut the oversized hinge bars off the doors.

I filled in where the hinges attached to the doors w/A&B putty. I will add window cranks later.
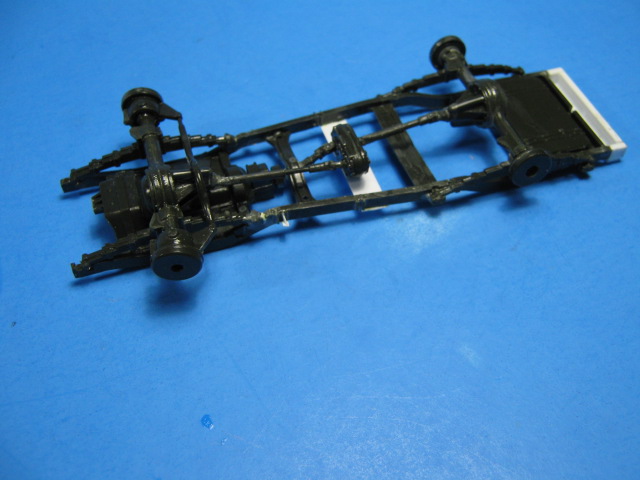
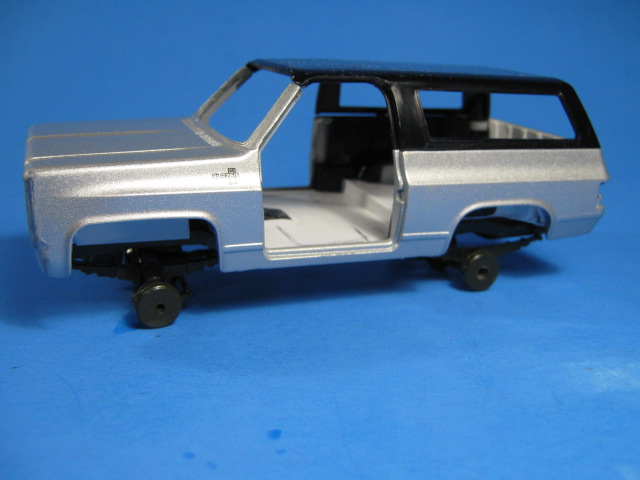
One of the biggest area that needed improvement was the frame/running gear, which is pretty much a flat plate bottom with metal rod axles and a few bumps here and there to represent the engine, differentials, etc. I swapped it out for the frame and running gear from a Dodge WC56 3/4 ton staff car. It fits the M1009/Blazer almost perfectly. I did extend it at the rear by 1/4 inch and had to add a center support for the transfer case.
Here it is on the frame w/interior in place. I also made front inner fenders from the WC56 rear fenders and more sheet styrene.
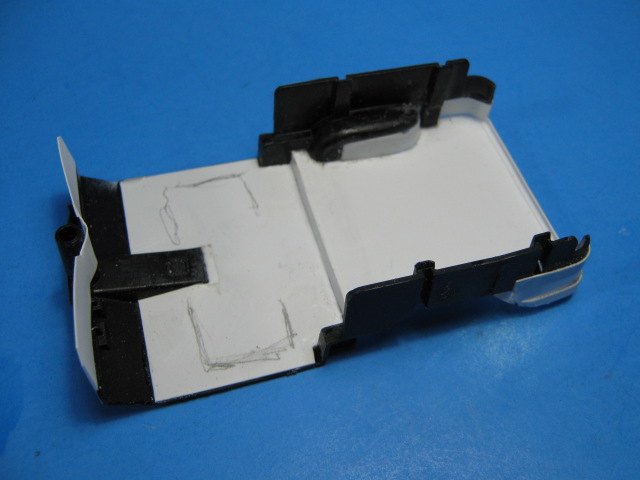
The cab interior also needed attention. There was a large bump in the middle of the floor for, I’m assuming, a motor. The rear cargo floor was way too high as well. I cut the hump out and rebuilt the floor and cargo area with sheet styrene. I also made a fire wall from sheet styrene.
On the dash, I filled in the two cut outs for the hinge bars with A&B putty. I sculpted them to match the dash and added the lines for the glove box.
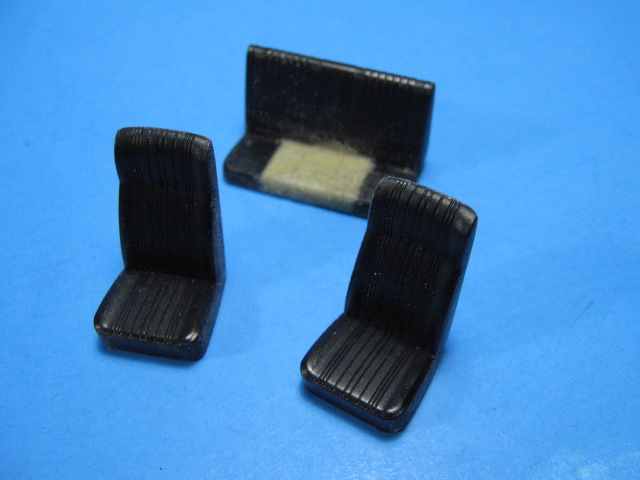
I also had to fix the seats as well. The front seats had no backs, so I filled them in w/sheet styrene. On the back seat, it required more work. The motorization box extended into the seat. After cutting it away, I rebuilt it w/more A&B putty and a piece of styrene to fill in the back. I scribed the folds and line pattern onto it as well.
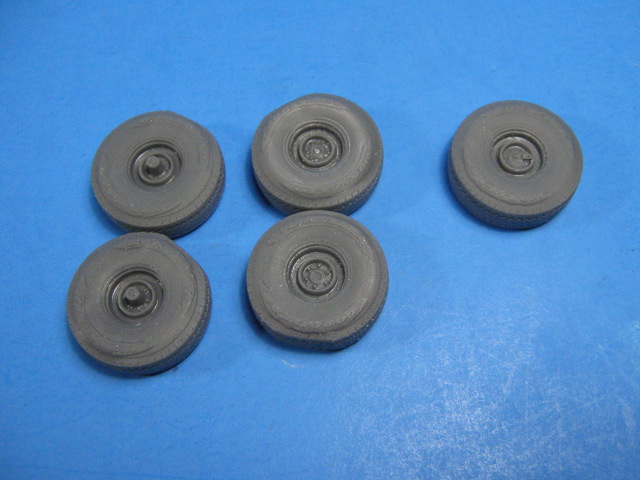
The Jada tires were pretty good, but the wheels were all wrong. I had new tires/wheels 3D printed by our own Michael “MikeyBugs” Goldberg. They look great and fit perfectly.
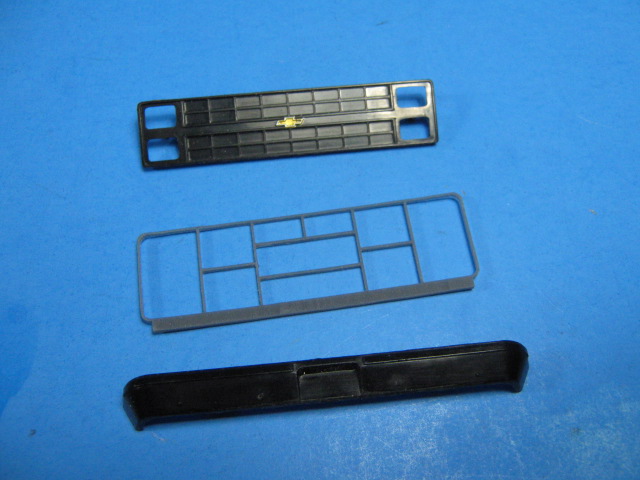
I also had the brush guard 3D printed by our own James_Lee. It is an exquisite piece of work. Here it is along with the grill and front bumper.
Next up is to start painting and detailing the interior, then adding the militarized details. More to come.