SEARCH FINESCALE.COM

Enter keywords or a search phrase below:

AFV Club Sturmtiger personal review!

6164 views
14 replies
1 rating 2 rating 3 rating 4 rating 5 rating
  • Member since
    March 2006
  • From: Drummondville, Quebec, Canada
AFV Club Sturmtiger personal review!
Posted by Yann Solo on Wednesday, November 22, 2006 11:12 AM

First, you have to know that I'm not an expert and I didn't make any indepth research on the subject so I can't tell if that kit has innaccuracies or not, I made this review to show you what's in the box and to bring you the observations I made.

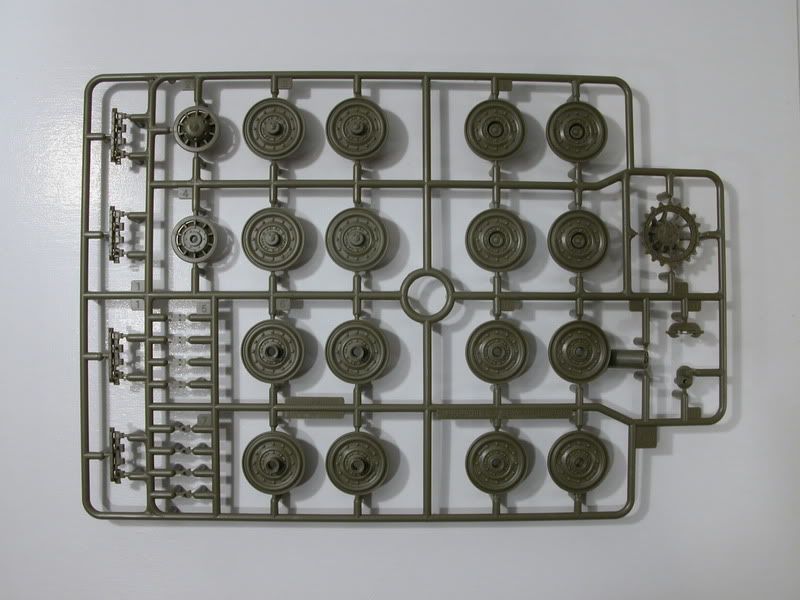
At first sight, it is quite impressive, a great amount of parts (379 plastic parts, 11 PE parts, 2 springs for the idler wheels, 20 polycaps, 2 full length vinyl tracks, 1 small twine and no decal.)  You can expect to add many spare parts in your drawers cause there are 6 sprue trees that comes from their Tiger 1 kit.


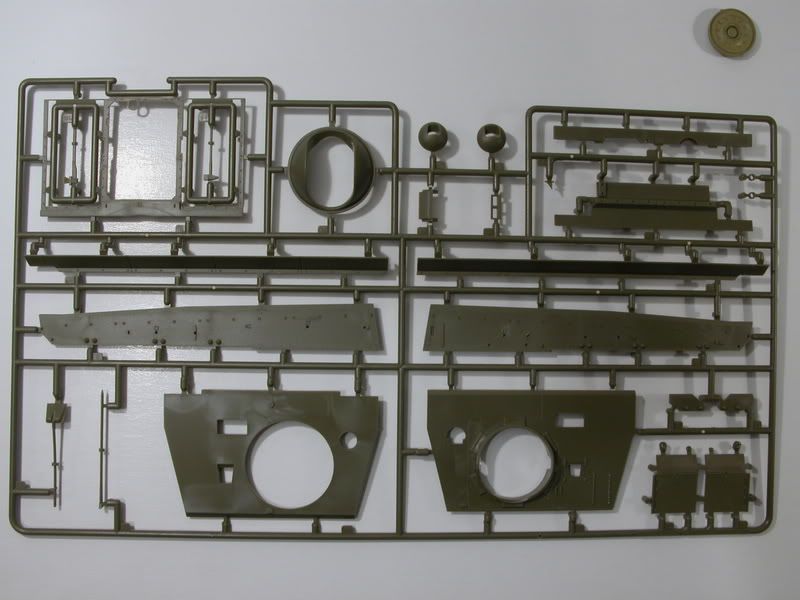
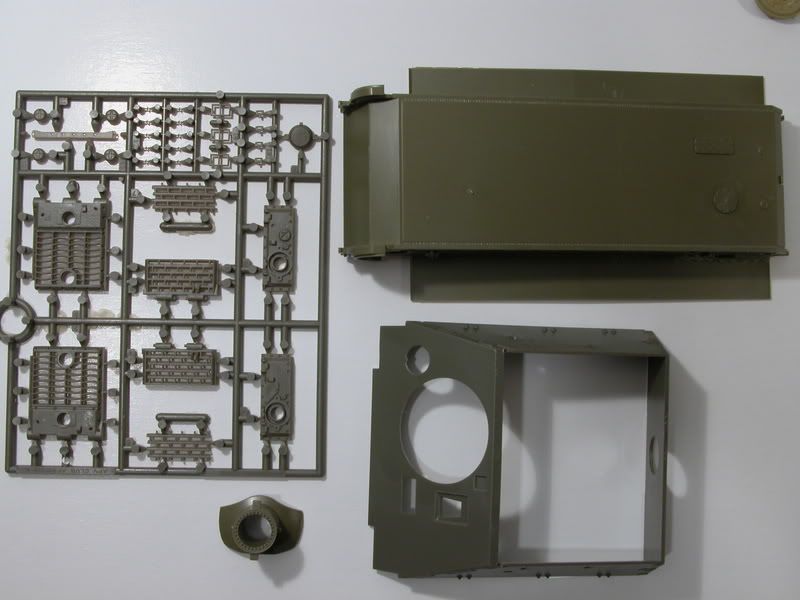
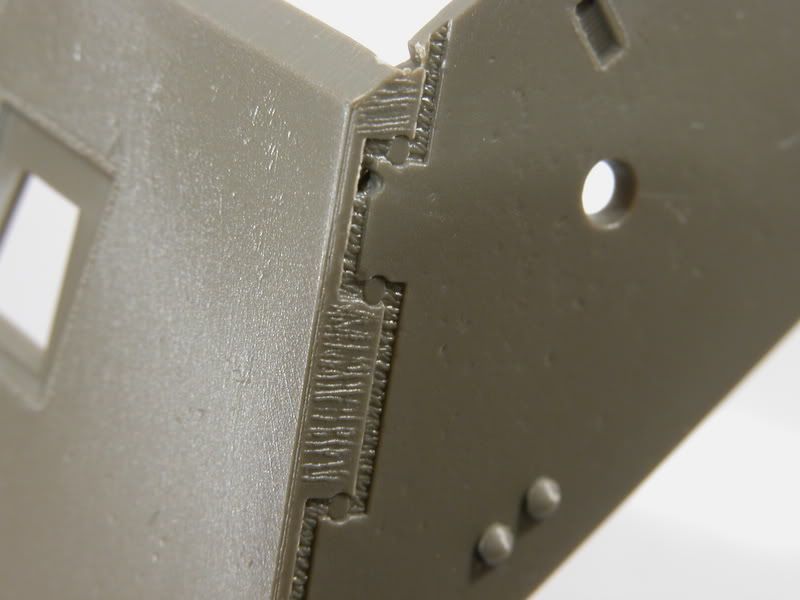
The most impressive part is the one piece super structure which is wonderfully textured and has very well done joints and weld seams.  Curiously, that texture have been omitted on the roof of the super structure.


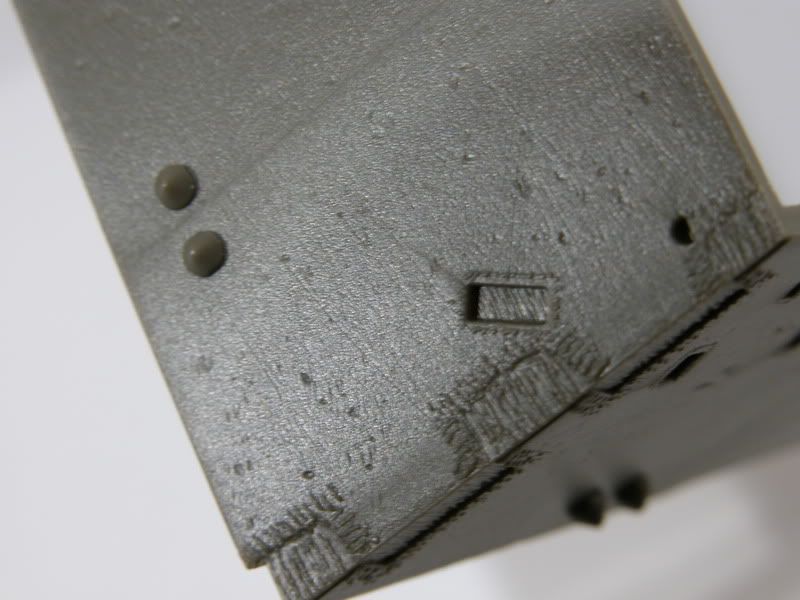
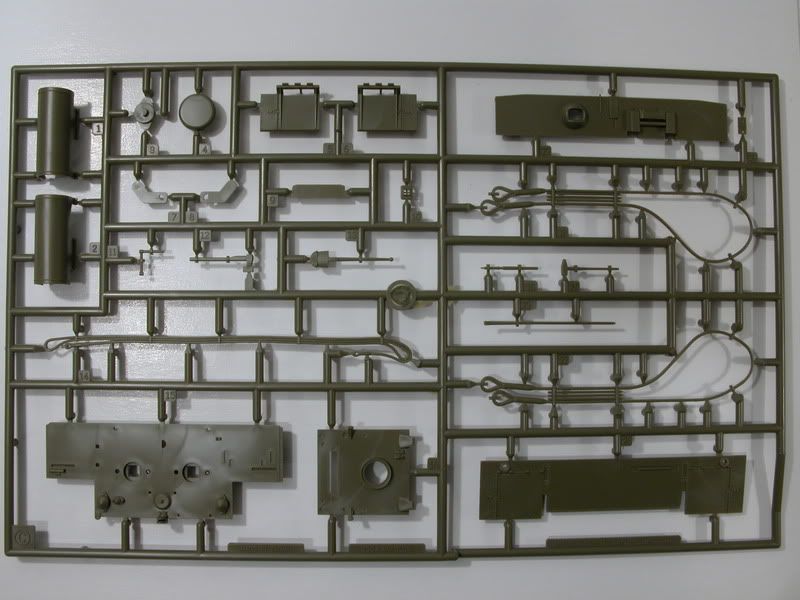
Another very well done area is the engine deck.  Plenty of details with only minimal flash on some parts.  PE grills are supplied with the kit to go over the louvers.

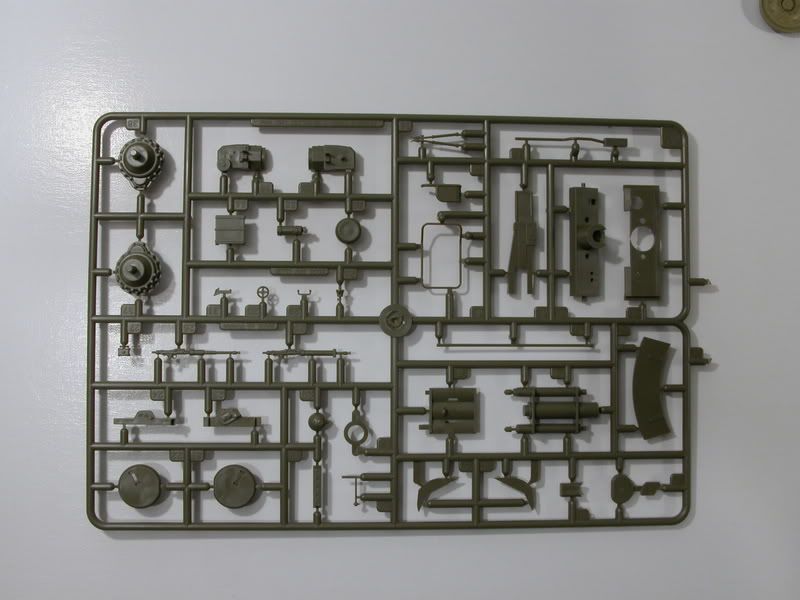
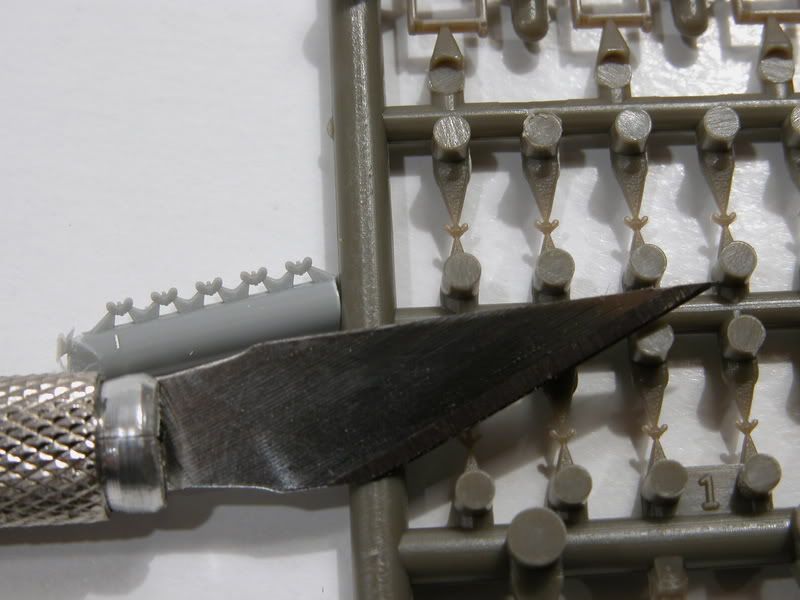
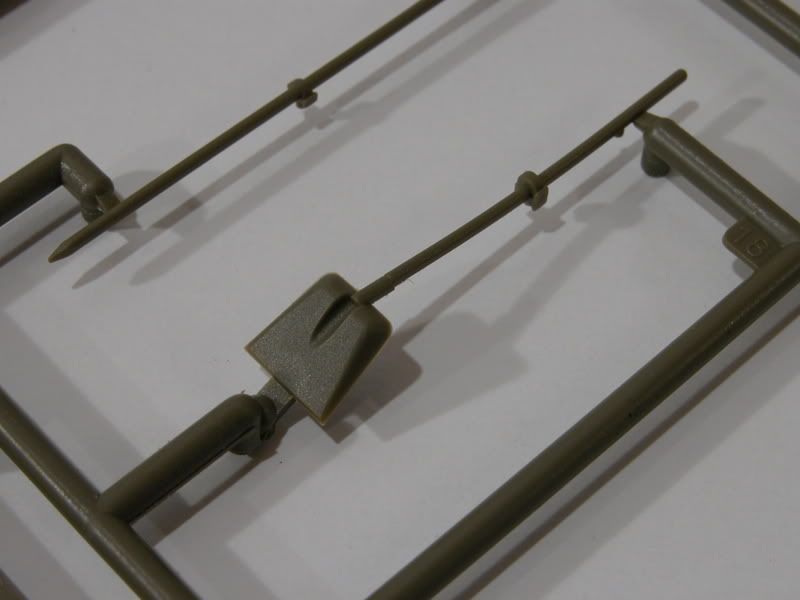
Some parts are very small as you can see on the pictures,  those tinny wing nuts are the smallest one I've seen in plastic so far.  I've put the ones that come with the Dragon Panther Smart Kit to compare them and the AFV Club ones are a little bit smaller but the definition of the Dragon ones is better in my opinion.  Both will require some work to thin the wings anyway.


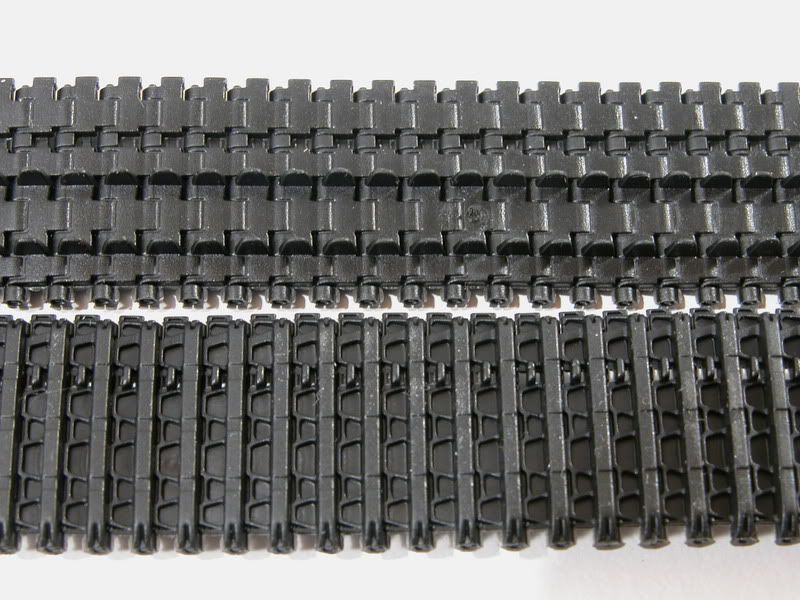
The tracks are the full length vinyl type and are very well done for that kind of track but the guide teeth are not hollowed of course and there is some flash on the sides of the track which can be really a pain to remove in that kind of material.  So aftermarket tracks are mandatory in my opinion.

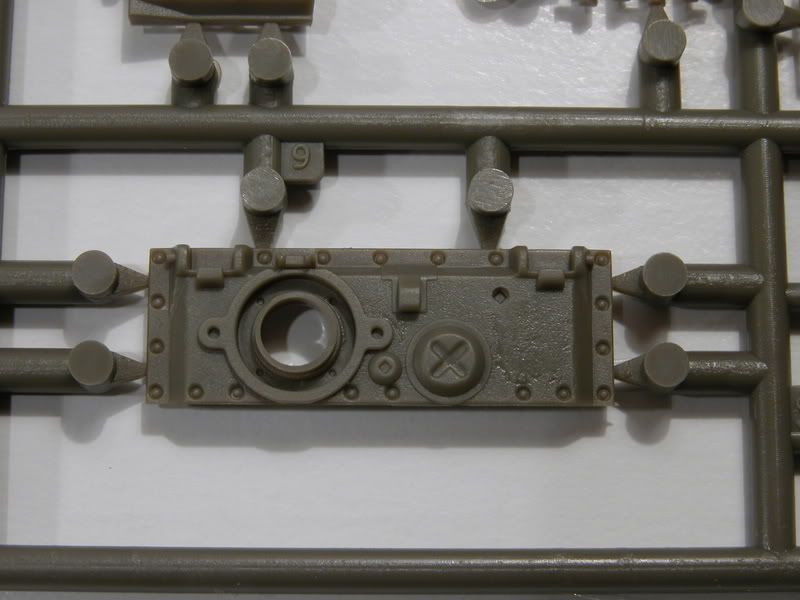
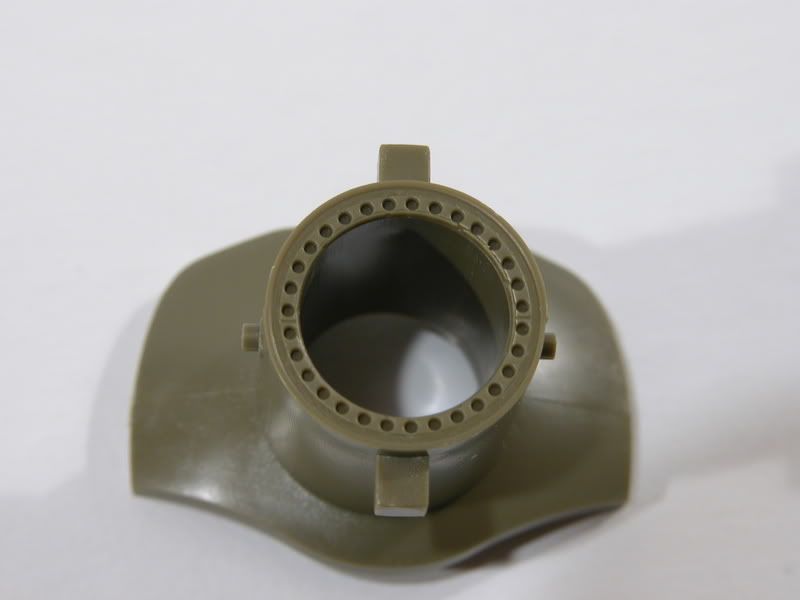
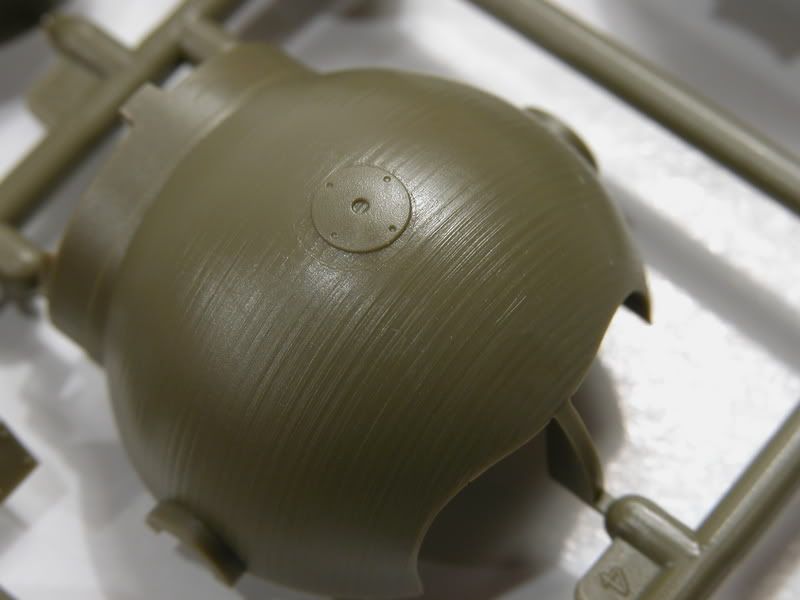
The one piece barrel and mantlet is nicely reproduced and presents 31 gas holes like it is supposed to.  There is some nice texture on the giant articulation ball also.

The ammo crane is beautifully represented and features a PE grabbing ring and a twine to simulate the cable.  I did not verify but the twine seems a little bit thick for that use.

The suspension is made of working torsion bars and it should result in a workable suspension if glued properly.

There are plenty of pioneer tools provided but the details are not impressive and the molded on clamps are very basic. (You should read "blob of plastic")

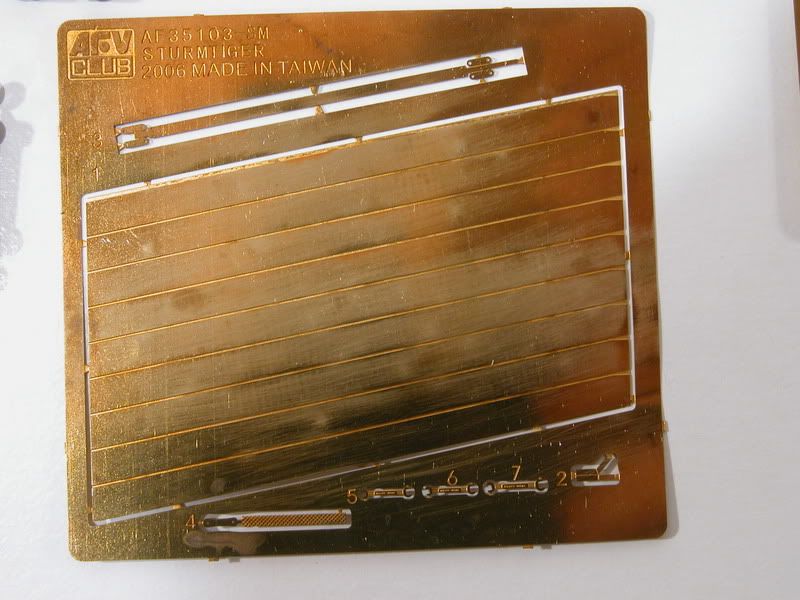
PE parts are provided for the grills on the engine deck as previously mentioned but also for the inner riffling of the barrel which should be very nice once installed.  There is also a very nice cross hair but I think this is not for that kit. 

Some polycaps are provided for the wheels but some of them looks more like o-rings than conventional polycaps and I have no idea how those ones will fit.

No zimmerit is provided with the kit but that is not surprising and must not be a trouble for most modellers.

I can already see where details could be added or enhanced by the addition of a PE detail kit.  The already existing kit made for the Tamiya kit would be a good purchase but other PE sets for Tiger 1s would do just fine for some details.  There is no 38cm projectile supplied with the kit but again, there is already an aftermarket kit for that.

Another flaw on this kit is the lack of interior.  The gun is nicely detailed from the interior but there is no floor or wall details at all.  Maybe the old Italeri kit could be scavenged to use the interior or you could also wait for an aftermarket kit to come out which shouldn't take long.

A few funny things:
- The parts list shows two different types of barrel/mantlet but only one was provided in my box.
- The rear mud guards are not illustrated in the instructions but can clearly be seen on the painting guide and on the box art.  So don't forget to install them.
- The instructions show to simulate zimmerit on the front mud guards but I doubt this is accurate.
- You can tell the instructions are based on their Tiger I kit by the suggested additional product shown at the beginning of the instructions, the zimmerit applicator doe is shown but also the 88mm ammo kit, which is not correct for the Sturmtiger.
- I don't know what they were thinking when they made the "spring loaded" idler wheels.  I know the real thing is probably spring loaded like that but with a plstic kit with vinyl tracks, the springs are simply to strong for that purpose!  If the idler wheels are installed with the springs, there will be no sag in the tracks for sure.  It's kind of strange.

Conclusion:

This kit is nicely done with minimal flash and/or pin holes.  Details are crisp and there is a few nice features such as the inner riffling for the barrel and the wonderfull texture on the super structure.  But there is also some flaws such as the lack of interior and the vinyl tracks.  I don't know how the parts fit together since I didn't build it yet but it is rarely a problem those days.

I never saw the Tamiya kit neither the Italeri one but I can tell that AFV club has released a wonderfull representation of the Sturmtiger which is an amazing vehicle by itself.

I recommend this kit to modeller who has a little bit of experience with very small parts cause there is quite a few and it can be frustrating for a newbie.

No matter where you go ....... there you are.
  • Member since
    August 2006
  • From: Arkansas
Posted by K-dawg on Wednesday, November 22, 2006 1:00 PM

Yann, Again very very well done and detailed review... Thanks for taking the time to do that...

Kenneth Childres, Central Arkansas Scale Modelers

  • Member since
    June 2005
  • From: NJ 07073
Posted by archangel571 on Wednesday, November 22, 2006 2:18 PM
 K-dawg wrote:

Yann, Again very very well done and detailed review... Thanks for taking the time to do that...

wait for the full build review in 2 weeks.  Yann doesn't sleep nor eat and churns out kits like there is no tomorrow.   alrite, i just gave myself a mental image of those rumored sweat shops... but i am sure he is having a ton of fun building models of course.

-=Ryan=- Too many kits... so little free time. MadDocWorks
  • Member since
    March 2006
  • From: Drummondville, Quebec, Canada
Posted by Yann Solo on Wednesday, November 22, 2006 2:30 PM
 archangel571 wrote:
 K-dawg wrote:

Yann, Again very very well done and detailed review... Thanks for taking the time to do that...

wait for the full build review in 2 weeks.  Yann doesn't sleep nor eat and churns out kits like there is no tomorrow.   alrite, i just gave myself a mental image of those rumored sweat shops... but i am sure he is having a ton of fun building models of course.

Ha Ha Ha!  Those are the old days!  Now I'm addicted to super detailing and aftermarket stuff so it takes a little bit longer to build.  And I'm currently building a battleship which is alot more complicated than I thought.  My next project is the AFV Club Centurion with all the PE stuff and indy tracks so do not expect that "full build" review this year.

But you're right , I do not sleep too well those days.  I do eat with appetite tough ..... but at my workbench between two painting session.Wink [;)]

And yes, I still build only one model at a time and I do not start anything before one is finished.Smile [:)]

No matter where you go ....... there you are.
  • Member since
    August 2006
  • From: Arkansas
Posted by K-dawg on Wednesday, November 22, 2006 2:56 PM

And yes, I still build only one model at a time and I do not start anything before one is finished.Smile [:)]


I can tell from the list on your sig tag that your a one model man...Big Smile [:D]

Kenneth Childres, Central Arkansas Scale Modelers

  • Member since
    March 2006
  • From: Drummondville, Quebec, Canada
Posted by Yann Solo on Wednesday, November 22, 2006 3:00 PM
 K-dawg wrote:

And yes, I still build only one model at a time and I do not start anything before one is finished.Smile [:)]


I can tell from the list on your sig tag that your a one model man...Big Smile [:D]

It was wrongfully written .... it is now corrected.

No matter where you go ....... there you are.
  • Member since
    August 2004
  • From: Forest Hill, Maryland
Posted by cwalker3 on Wednesday, November 22, 2006 5:09 PM

Great review Yann. Thanks. I've been looking at this kit and this post might just make be take the plunge.

Two questions though. Did I read the post correctly in that it comes with PE rifling? If so, how in world is it to be installed in the barrel? Also, the kit comes with no decals?

Cary


  • Member since
    March 2003
  • From: Rain USA, Vancouver WA
Posted by tigerman on Wednesday, November 22, 2006 5:43 PM
Nice review Cookie, er........Yann!  Big Smile [:D] I liked your style of review, without being that of a rivet counter, but more concentrated towards the "I want it to look like a.........." modeler. Nothing wrong with that. Hopefully you'll do more of them.

   http://i7.photobucket.com/albums/y269/wing_nut_5o/PANZERJAGERGB.jpg

 Eric 

  • Member since
    June 2005
  • From: NJ 07073
Posted by archangel571 on Wednesday, November 22, 2006 7:41 PM
 cwalker3 wrote:

Great review Yann. Thanks. I've been looking at this kit and this post might just make be take the plunge.

Two questions though. Did I read the post correctly in that it comes with PE rifling? If so, how in world is it to be installed in the barrel? Also, the kit comes with no decals?


see that big piece of PE on the PE fret?  you roll it into a cylinder and then slide it in to make the inside wall of the barrel.

-=Ryan=- Too many kits... so little free time. MadDocWorks
  • Member since
    March 2006
  • From: Drummondville, Quebec, Canada
Posted by Yann Solo on Wednesday, November 22, 2006 7:48 PM
 cwalker3 wrote:

Great review Yann. Thanks. I've been looking at this kit and this post might just make be take the plunge.

Two questions though. Did I read the post correctly in that it comes with PE rifling? If so, how in world is it to be installed in the barrel? Also, the kit comes with no decals?

Yes there is a PE part which consist of a slotted sheet that you must roll onto itself and then insert it in the barrel.  It's in the first PE set image I've posted.

And there is no decals simply because the existing pictures of Sturmtigers show them without any marking if I'm correct.  The only marking that can be seen is on the captured ones and these are hand written us company identification of the ones who captured them I believe.  And I read somewhere that Balkencruz can be found on one restored Sturmtiger.

So no decal needed.

No matter where you go ....... there you are.
  • Member since
    March 2006
  • From: Drummondville, Quebec, Canada
Posted by Yann Solo on Wednesday, November 22, 2006 7:51 PM

 tigerman wrote:
Nice review Cookie, er........Yann!  Big Smile [:D] I liked your style of review, without being that of a rivet counter, but more concentrated towards the "I want it to look like a.........." modeler. Nothing wrong with that. Hopefully you'll do more of them.

Thank you very much Eric.  I doubt it is as good as Cookie's reviews tough.  It will not be the last for sure cause I enjoyed it.

No matter where you go ....... there you are.
  • Member since
    July 2004
  • From: Texas
Posted by wbill76 on Wednesday, November 22, 2006 9:29 PM
Nicely done, well written and illustrated. Look forward to seeing it built up!
  • Member since
    April 2014
Posted by Carves on Thursday, November 23, 2006 12:05 AM

I'll chime in a little here since I'm also building this kit;

  • Definately the kit is NOT for beginners considering there are lots of really small parts being place close to the sprue and tough to get them cut propperly.
  • AFV is really strange in arranging the parts. Once you start this build, you have to open up 4 srues from their plastic bag. Very not organized.
  • The engine deck frame will be one of the tough thing to deal with because you have to basically saperate the tool's sprue which is attach to the back frame of the engine deck where you have to carefully saw (see Yann's pic DSCN8391.jpg).
  • There are micro flash here and there where have to be carefull with.

Specialized tools needed to make this nice build;

  • PE saw, small ones preferably
  • Really sharp sprue cutter

Hope this add a little bit from what Yann had say.

---
Ben

  • Member since
    March 2006
  • From: Drummondville, Quebec, Canada
Posted by Yann Solo on Thursday, November 23, 2006 6:57 AM
Thanks Ben, that is great info.
No matter where you go ....... there you are.
  • Member since
    August 2006
  • From: Arkansas
Posted by K-dawg on Friday, November 24, 2006 8:49 AM

The PE Rifling isn't that bad to put in... I added the aber parts to a Tamiya kit years ago and it really just took a little patience is all... I found a dowl rod that fit snug inside the barrel once the rifling was in and that made positioning it easy enough. A slow drying epoxy is best suited to gluing the stuff in to give you plenty of working time...


kc

Kenneth Childres, Central Arkansas Scale Modelers

JOIN OUR COMMUNITY!

Our community is FREE to join. To participate you must either login or register for an account.

SEARCH FORUMS
FREE NEWSLETTER
By signing up you may also receive reader surveys and occasional special offers. We do not sell, rent or trade our email lists. View our Privacy Policy.