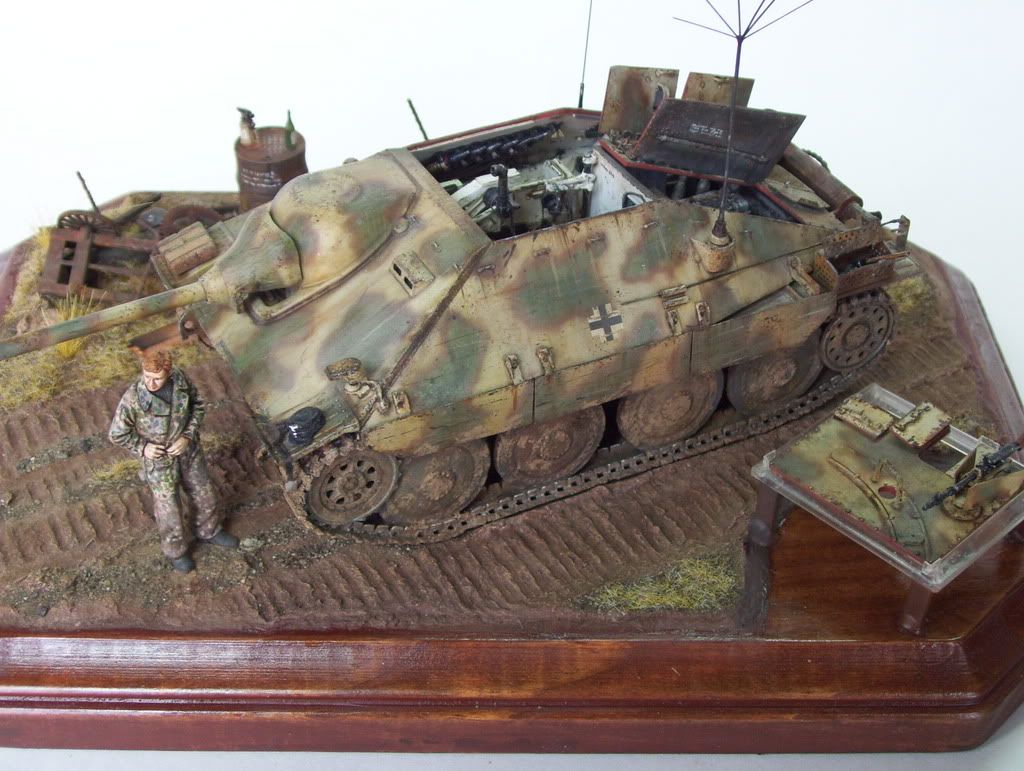
Well, finally, I've finished my DML Hetzer that has taken me a diligent 4 months or so to complete! I have meticulously detailed all the steps in completing it, and before I actually post the Hetzer, I wanted to first detail the building of the base and figure. Apologies to guys with dial-up for all the photos; if I have posted too many and you don't have hi-speed, let me know if you can't load this post and I will post the Hetzer in two or even three parts!
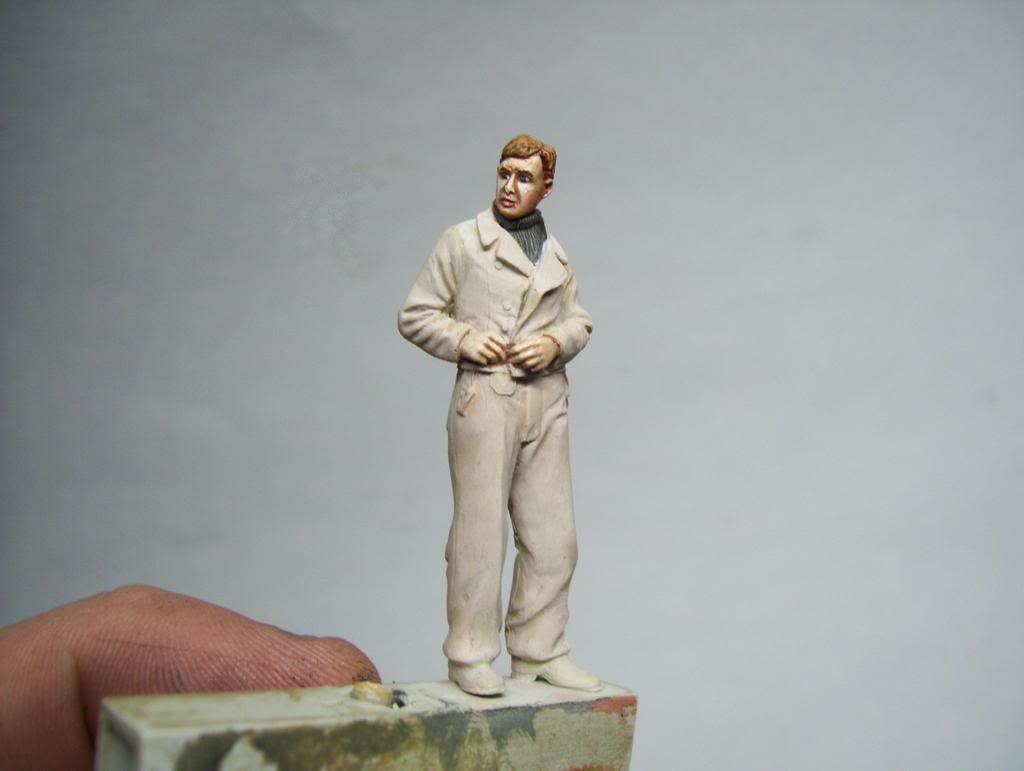
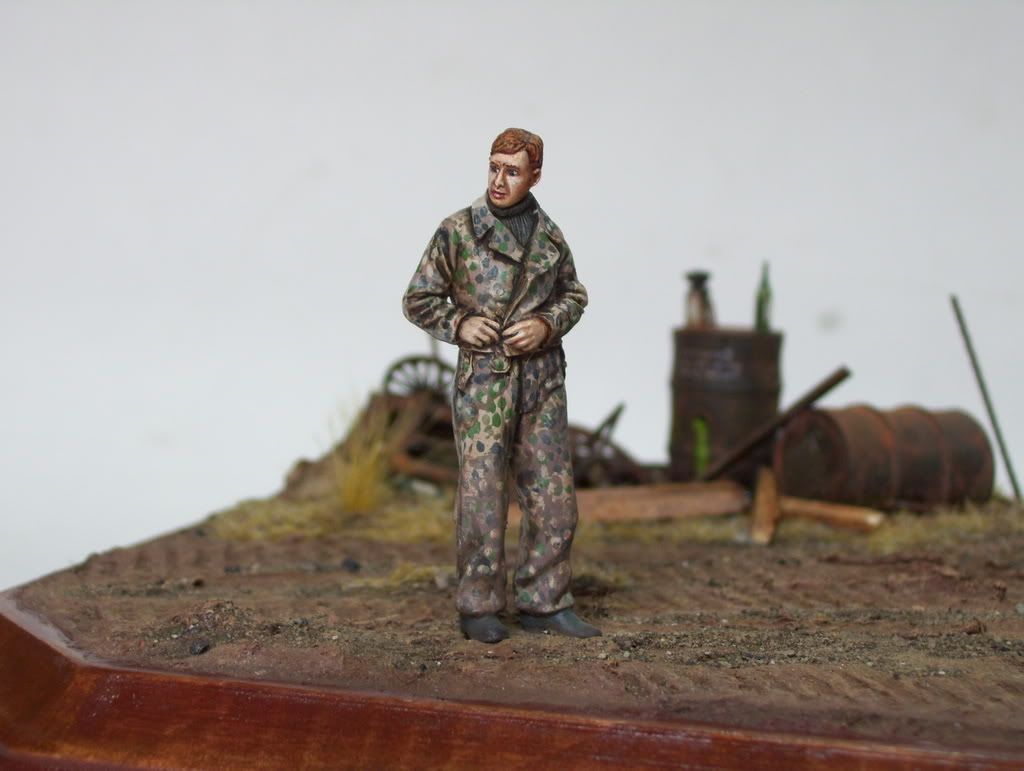
The figure was a resin offering by Wolf #WAW43 "WWII German fastening short panzer jacket". He was first basecoated with Vallejo Violet Braun+Tamiya Buff+White, then a second coat of Vallejo German WWII Beige camo+English Uniform+White was applied to get me here...the face has already been painted using Windsor & Newton's Artist Acrylics.
Well, I have to condense the post a bit, so after the base coat, I used a palette to mix up appropriate colors, using the superb reference book seen in the next photo, and painted the blotches as seen in various greens using a mish-mash of Vallejo and Tamiya paints...
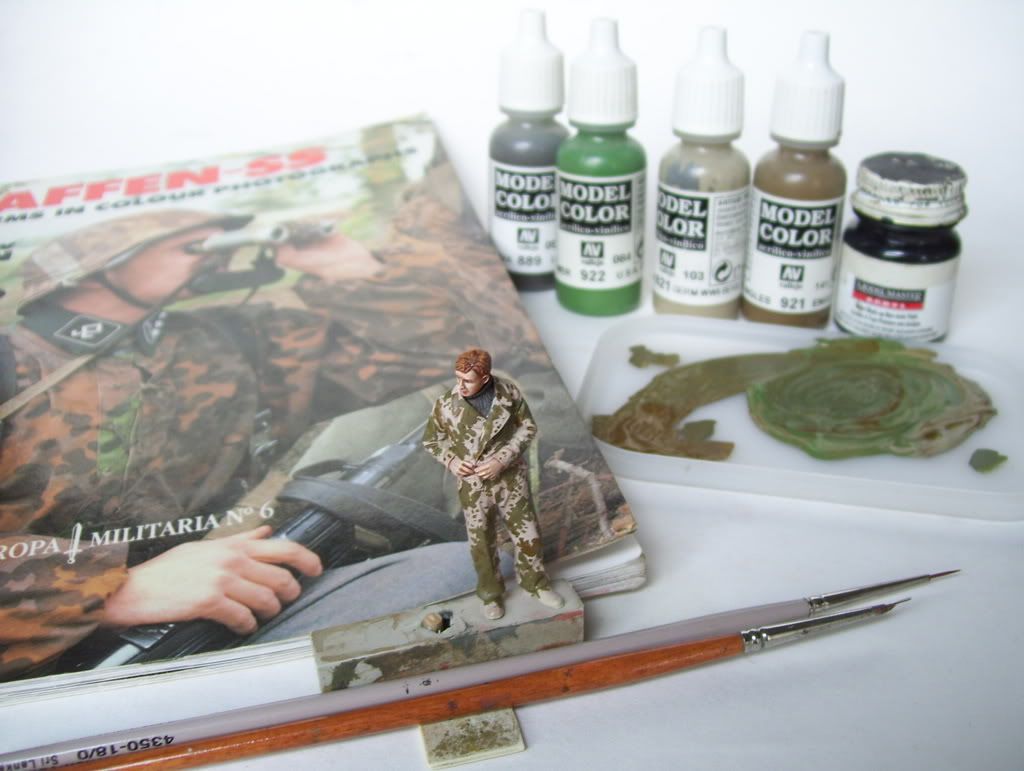
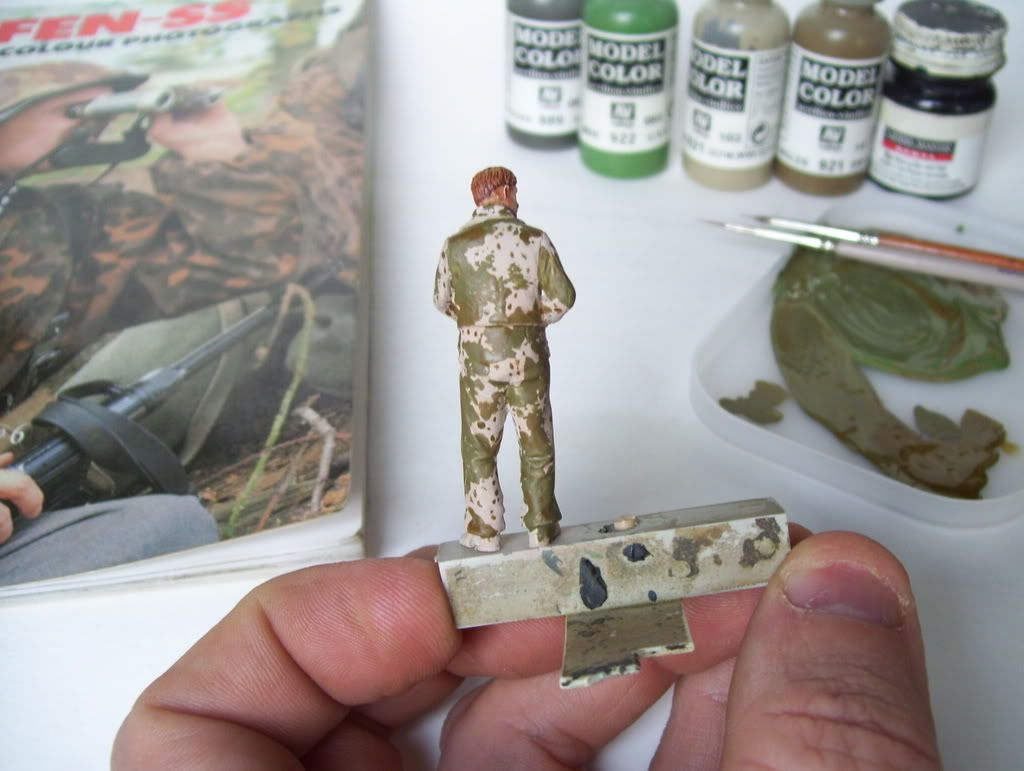
However, I wasn't satisfied with the color distribution, so I repainted a the blotches in a more neutral off-brown color...the spots were then painted in according to reference material; a word here--I never go by "official colors", prefering to mix up the closest approximation to photos of real clothing, so I apologize that I can't give "actual paint color" used; the key is to experiment!
The figure then recieved an oil wash of raw umber+white+yellow (just a pinprick of yellow!) to give a faded dusty tan look to the clothing. Select pin washes in raw umber then brought out details. Lastly, a light dusting of MIG Light Earth powder was used on the pants. Only his shoes are unpainted here...
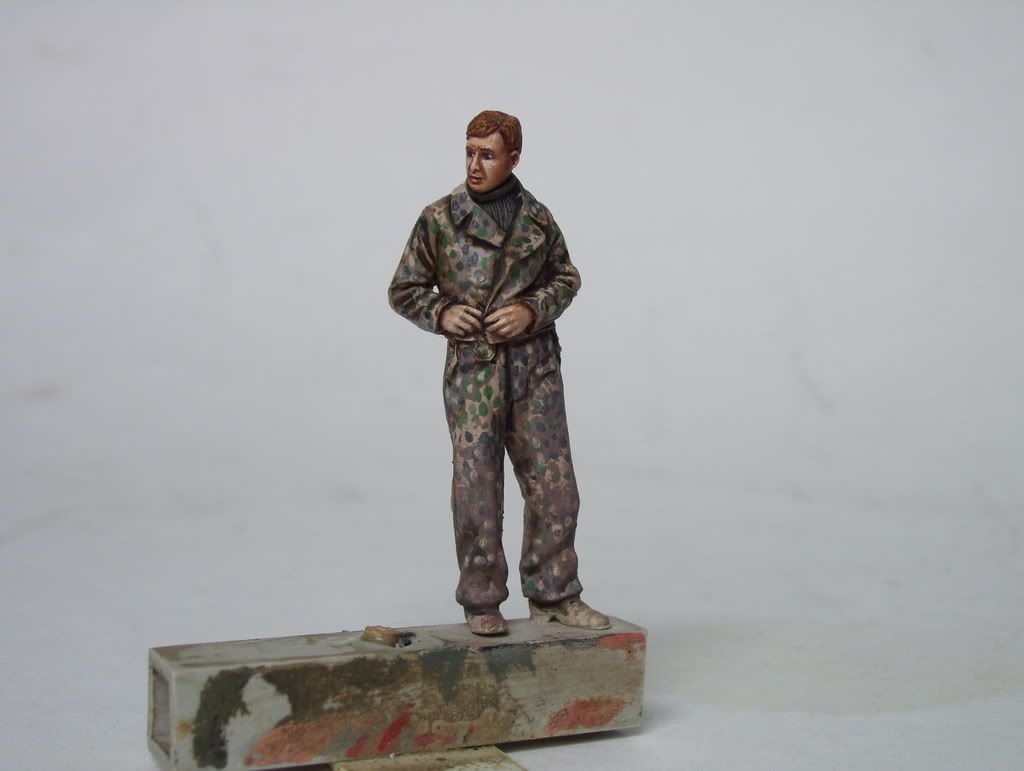
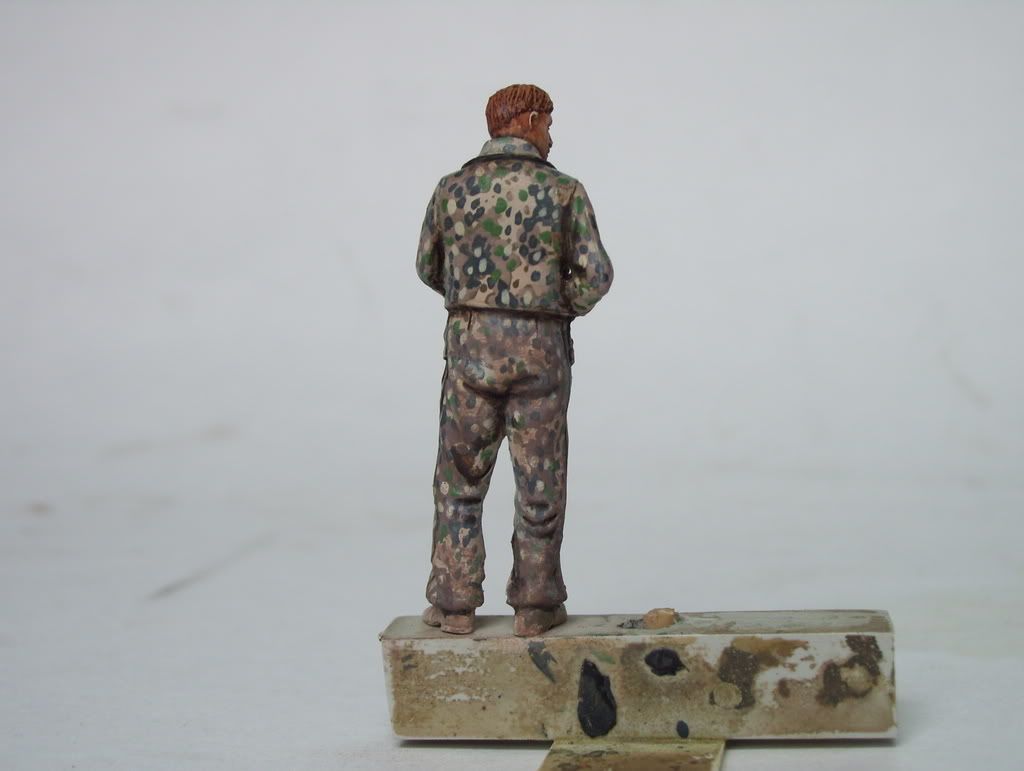
Now to the base: First, my plaque was varnished--a first for me!--and then i mixed up some Celluclay. A lot of guys have expressed dissatisfaction with the drying time of this stuff, but I always use it this way and can have a dry base within 36-48 hours without fail.
I always mix it first with acrylic paint and white glue, both of which are water-based. Stir it into a thick paste, and then just add water at the rate of a half-a-Testors-paint-bottle at a time; mix, test consistency and repeat until you have a plaster-like paste seen here; note that it's already "painted":
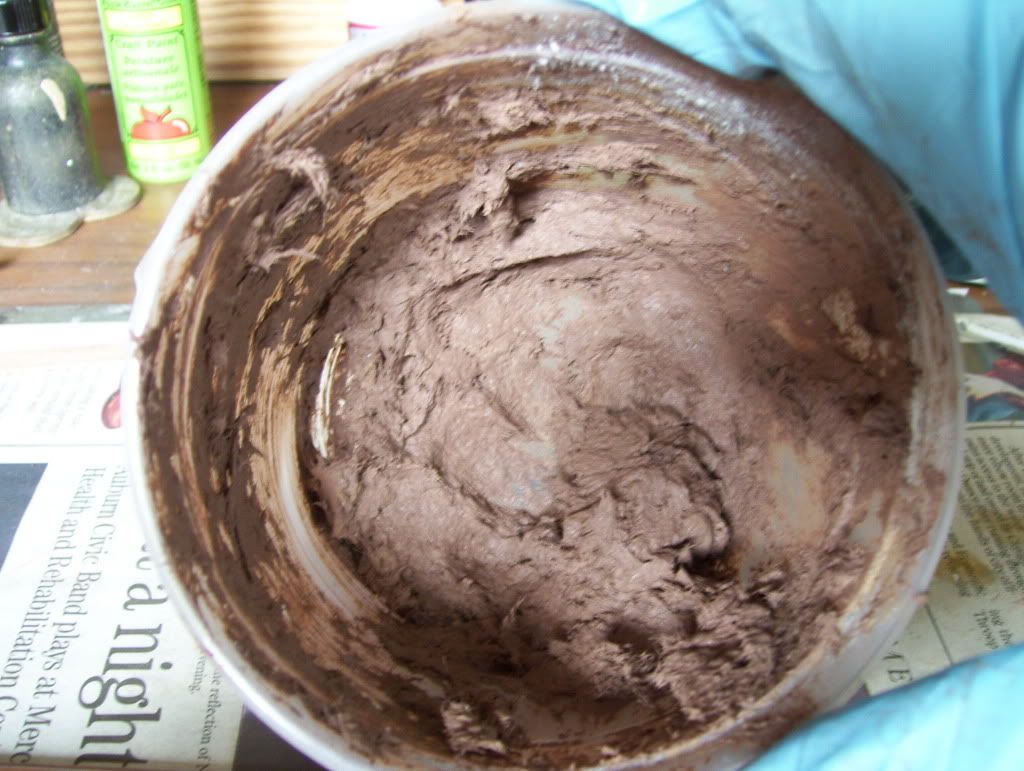
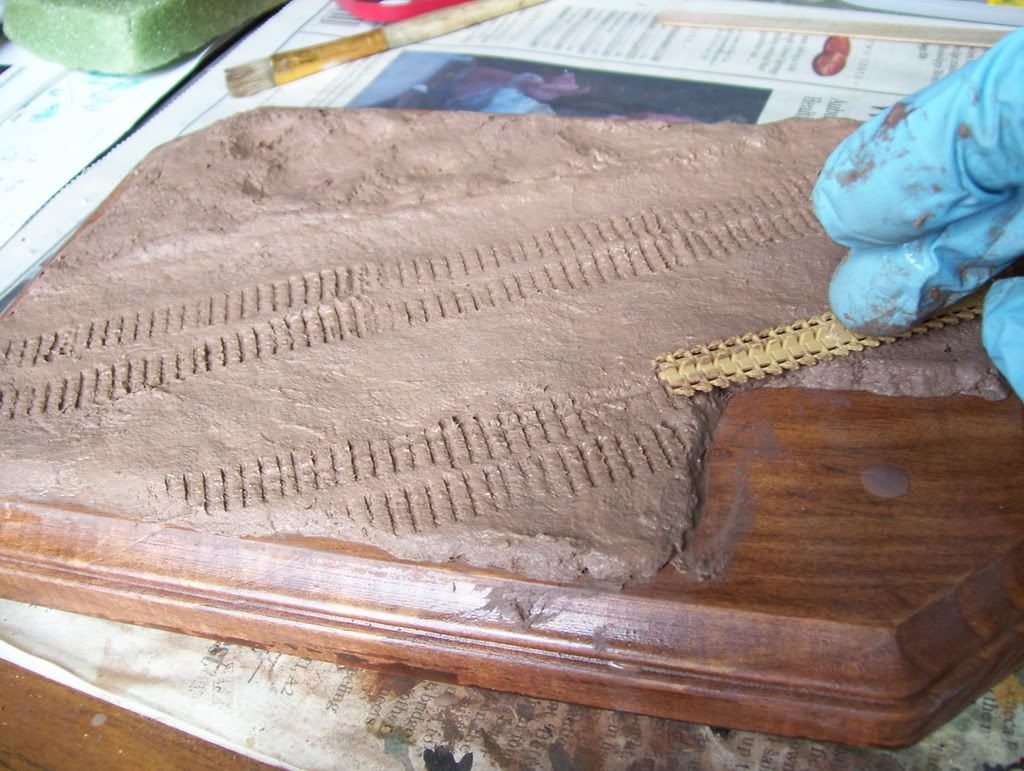
Then, simply scoop it out with your fingers and slop it on, smoothing it out with wetted fingers over a thin layer of wite glue...
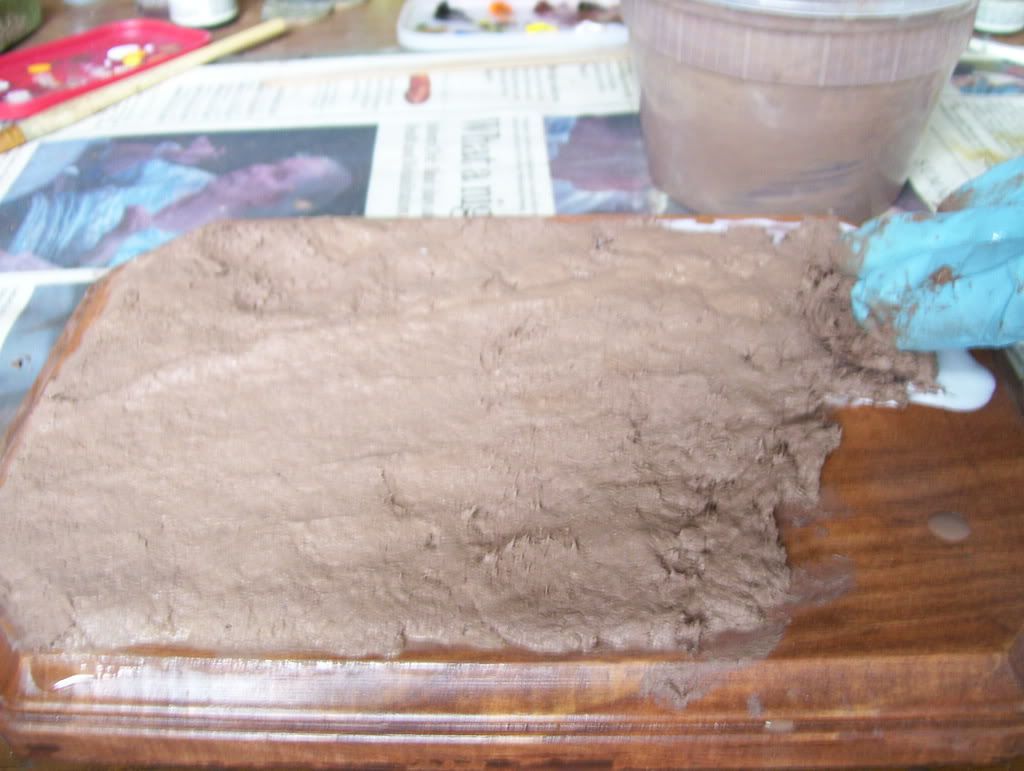
After smoothing and shaping it, press a length of track into it of whatever tanks you think would've passed there...you can't go wrong with a Pz IV!. Later, the Hetzer's tracks would be pressed on top of these "old" tracks...
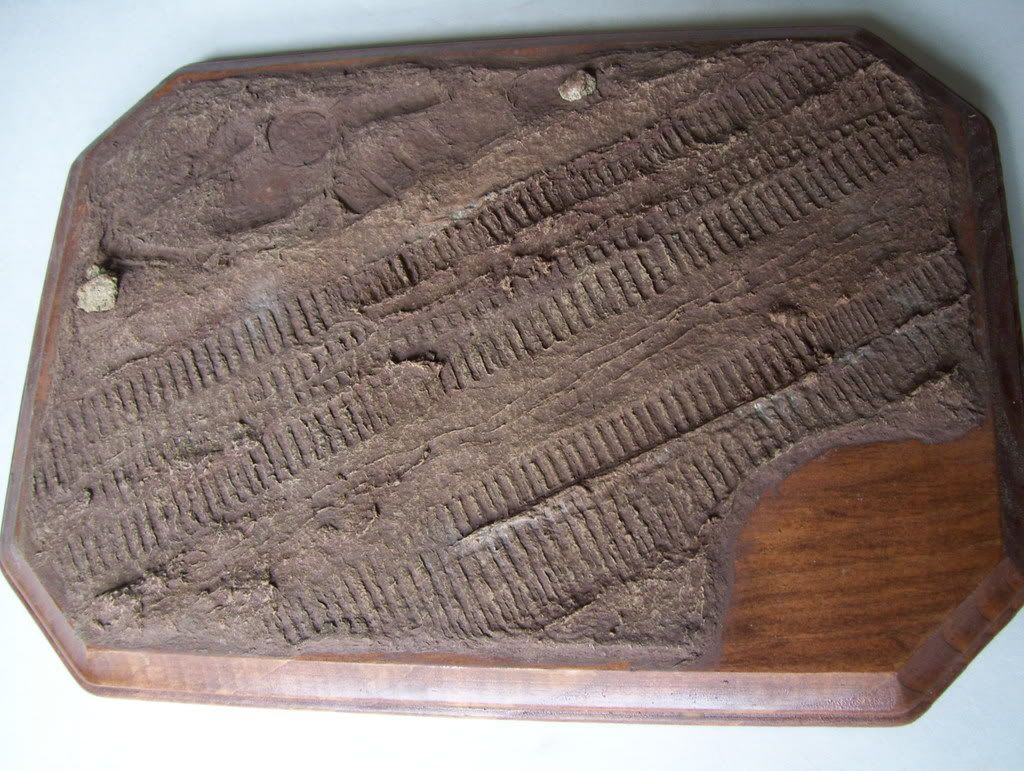
After the base has dried,I drybrushed it...note the Hetzer's skinnier tracks pressed in...
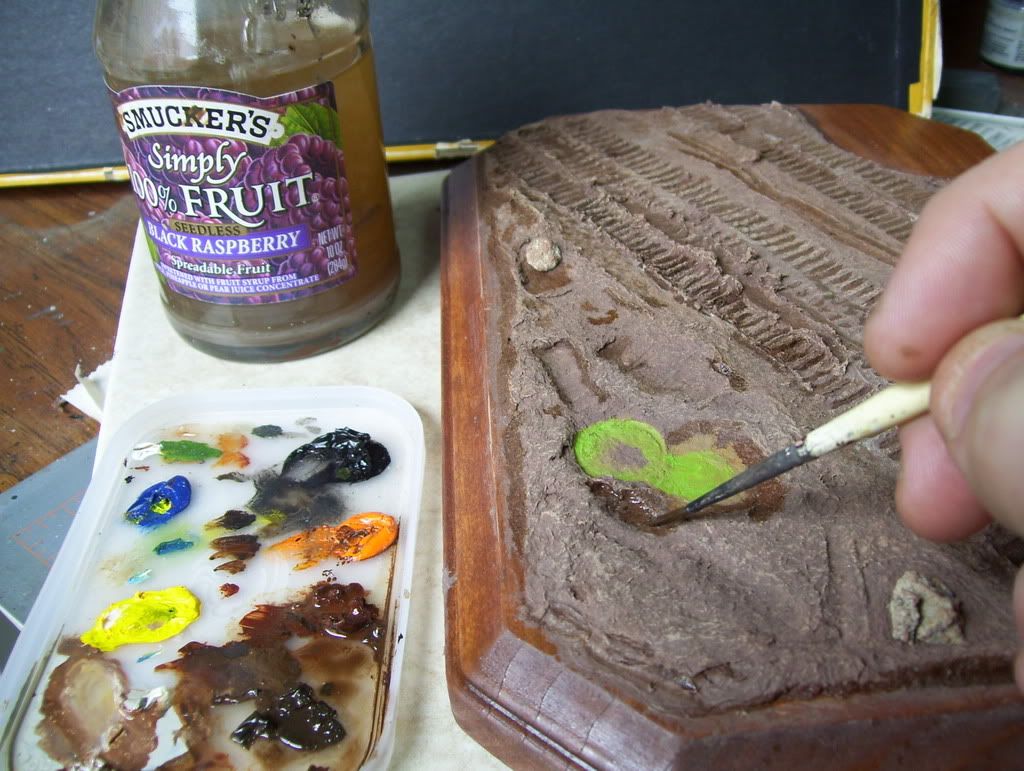
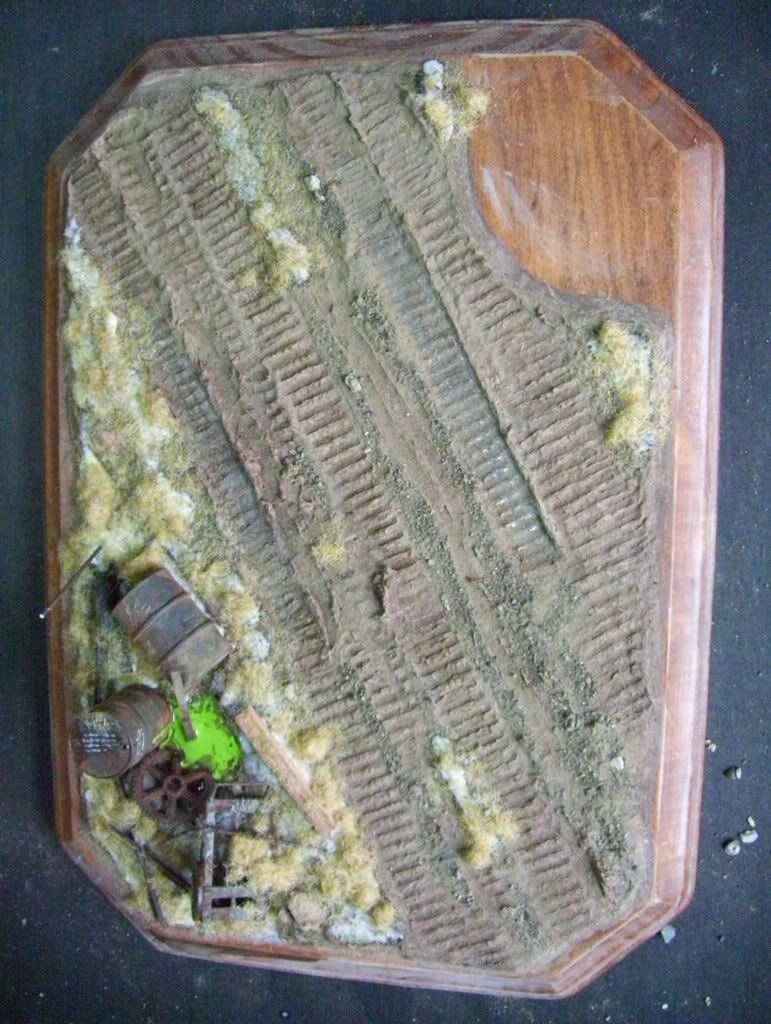
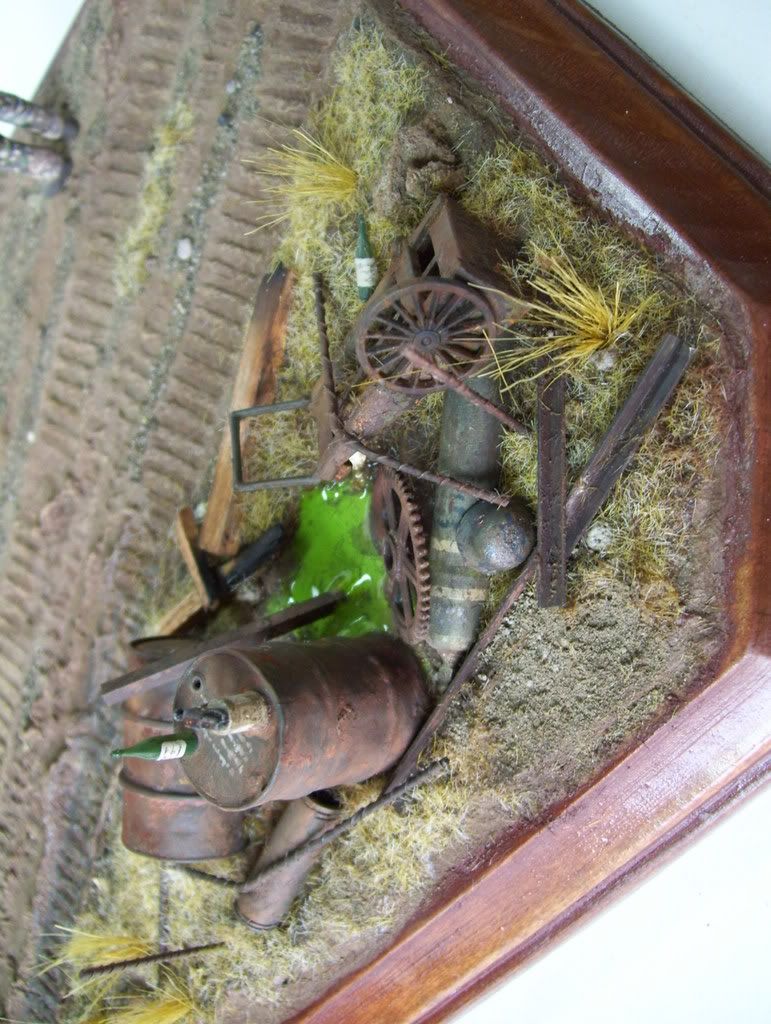
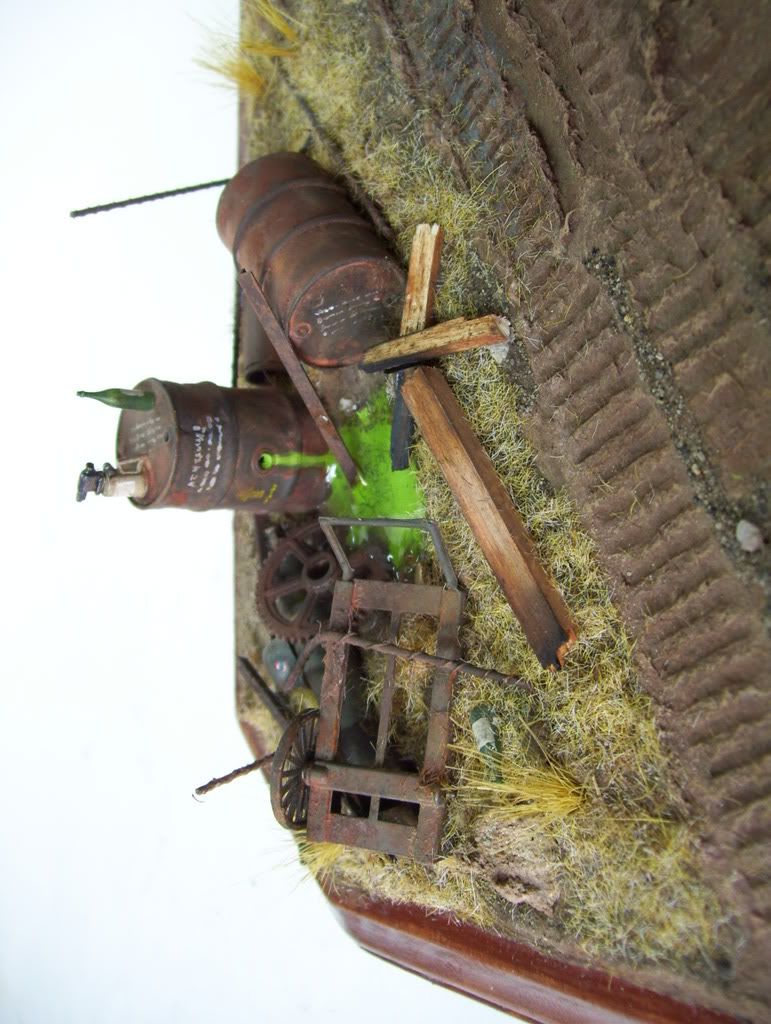
After that, I use thinned oils to tint the recesses of the depressions in the terrain, thinning them with Smucker's Simply Fruit Black Raspberry thinner ![Laugh [(-D]](/emoticons/icon_smile_newlaugh.gif) (just Mineral Spirits!). The green puddle is the base coat for a barrel spill that will be made with green acrylic paint dripped into a puddle of Woodland Scenics' "Realistic Water"; I eventually built up five thin layers of it for depth...
(just Mineral Spirits!). The green puddle is the base coat for a barrel spill that will be made with green acrylic paint dripped into a puddle of Woodland Scenics' "Realistic Water"; I eventually built up five thin layers of it for depth...
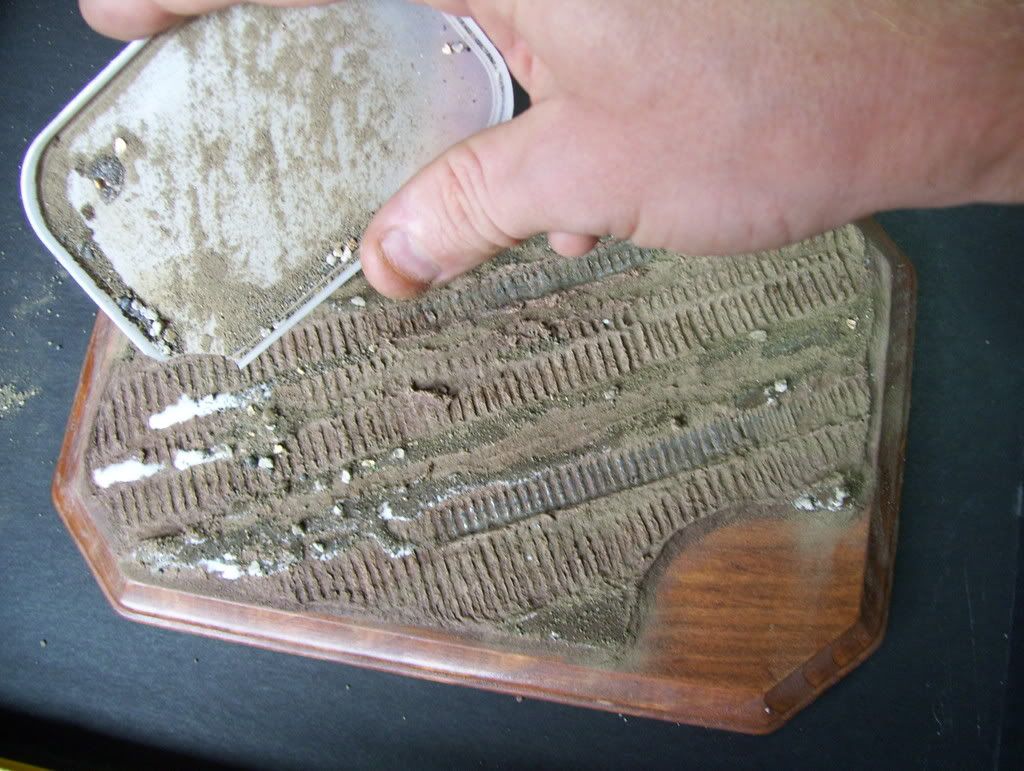
THen, real dirt is added on the "high" spots over white glue...I get the dirt from sun-baked, well-travelled arid construction sites--in this case, a quarry entrance, so as to not have any biological material in it.
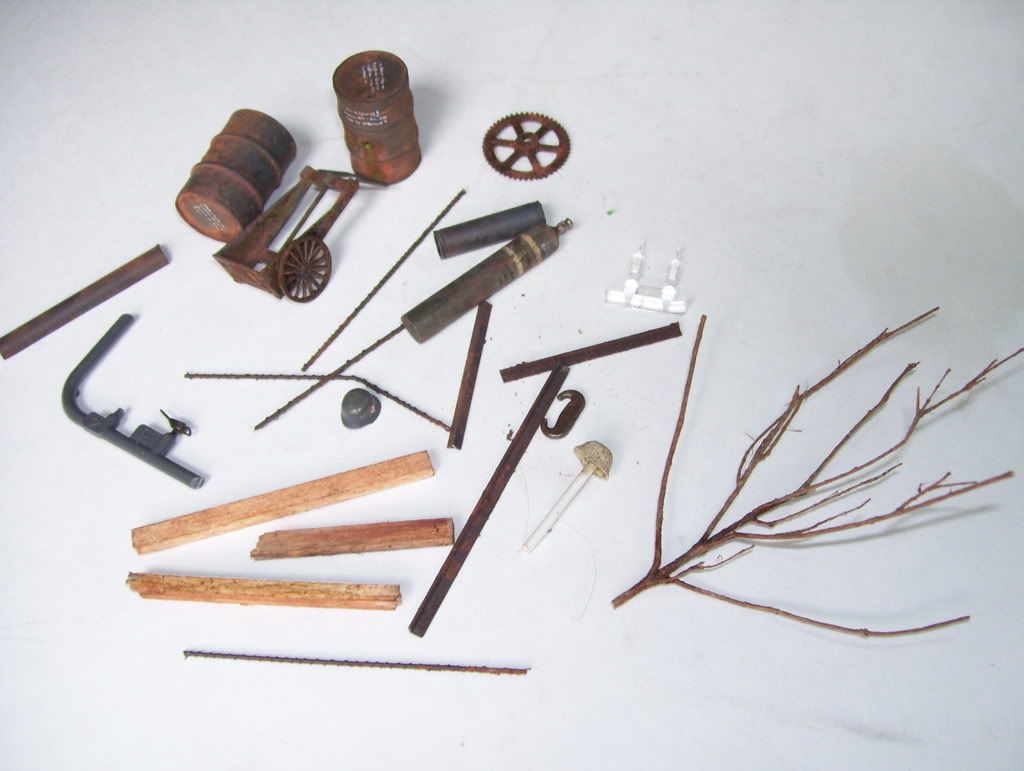
Next, I have prepared a collection of "war debris"--junk to be put on the side of the road...the rebar and rusty rails are just plastic strip and rod...the "tree" eventually was not used...
...and put it into the scene. I then repeat the "dirt" step with static grass. Note the "poison puddle" gaining depth...
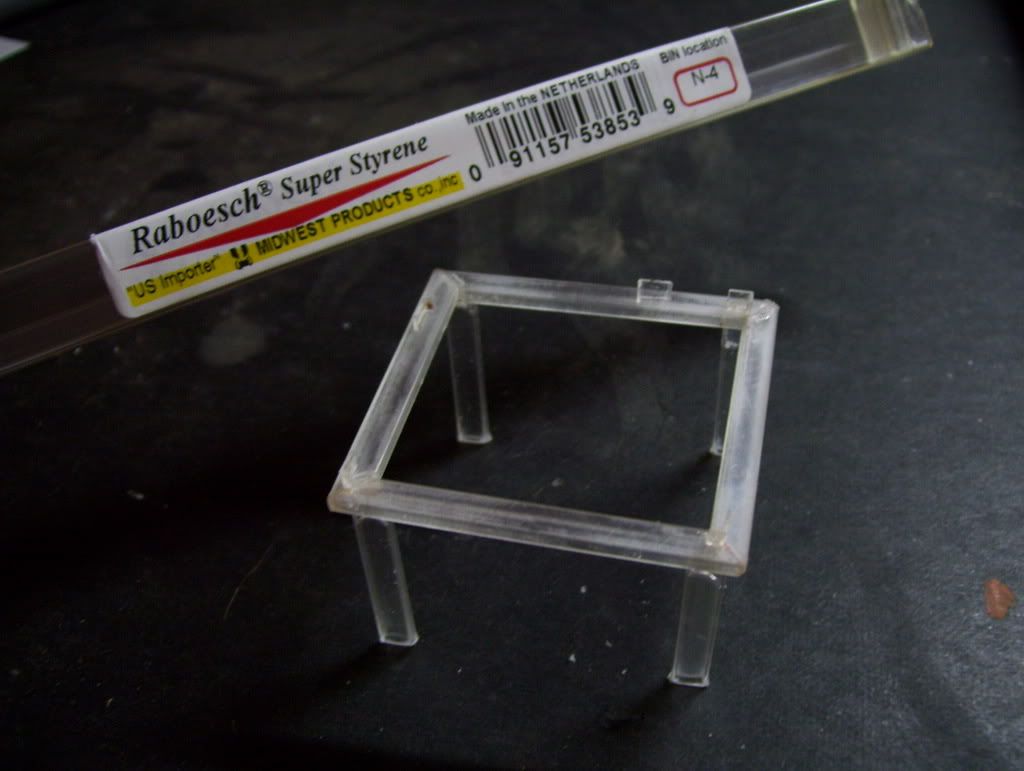
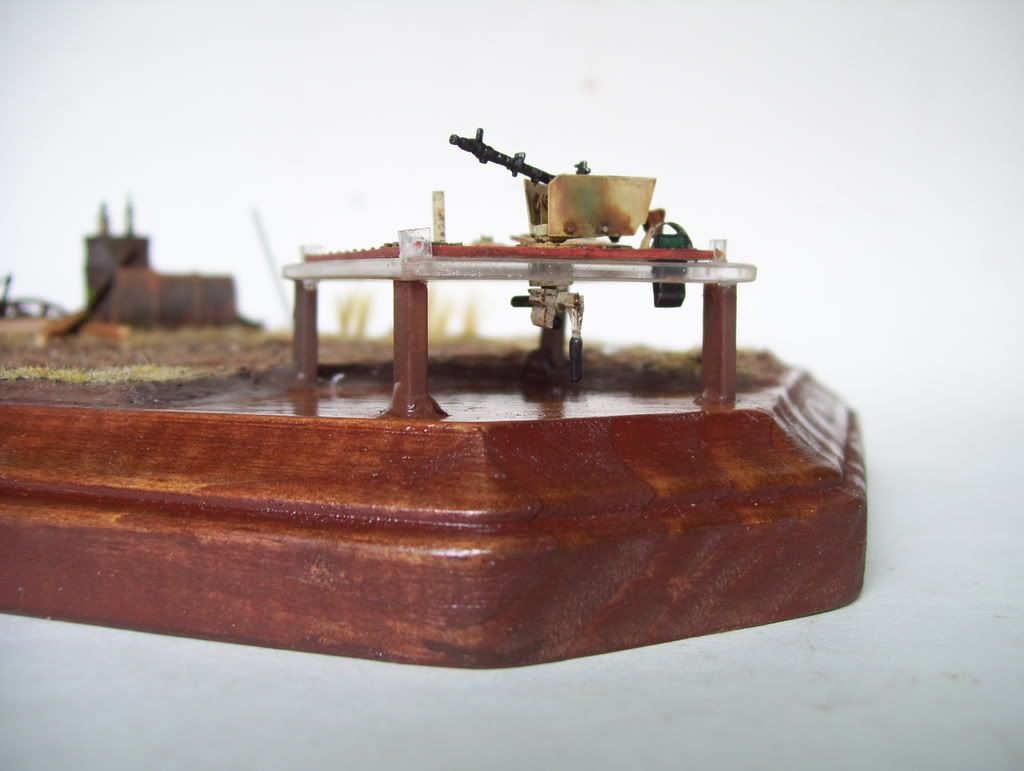
I made this clear plastic "table frame" for the Hetzer's top hull plate from "Super Styrene"; I wanted a way to display it that wasn't permanent and that would allow me to display the Hetzer "with the top on".
The figure was added, and four holes were drilled into the plaque to accept the legs of the table, which were epoxyed in...
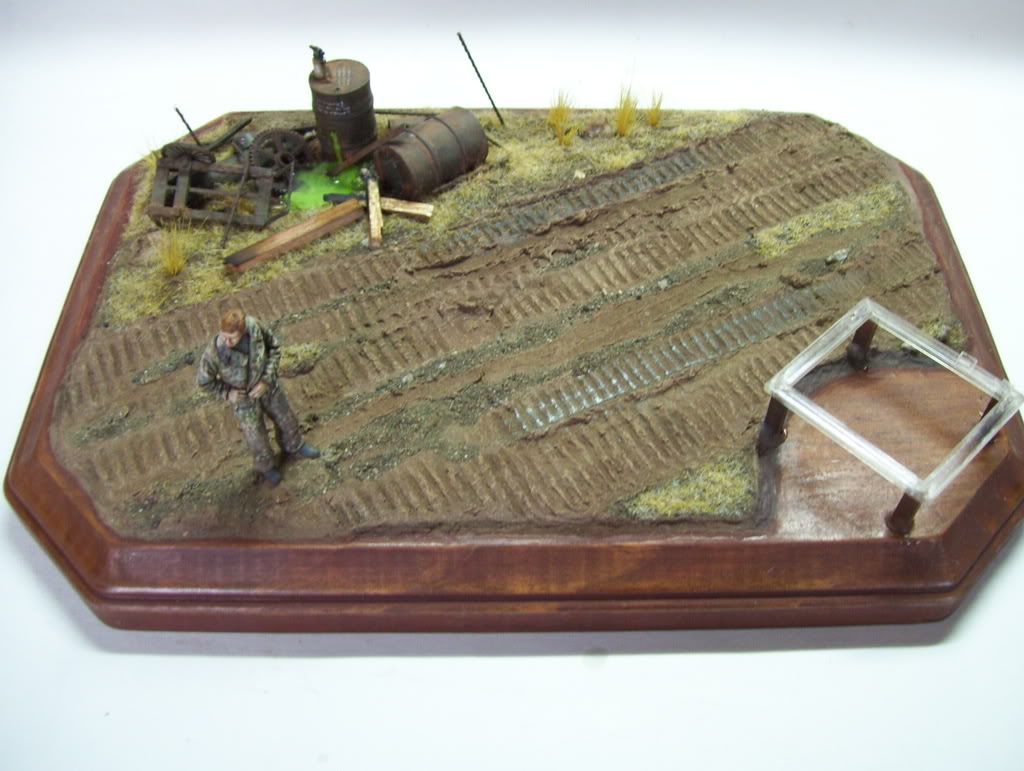
The completed figure in his place:
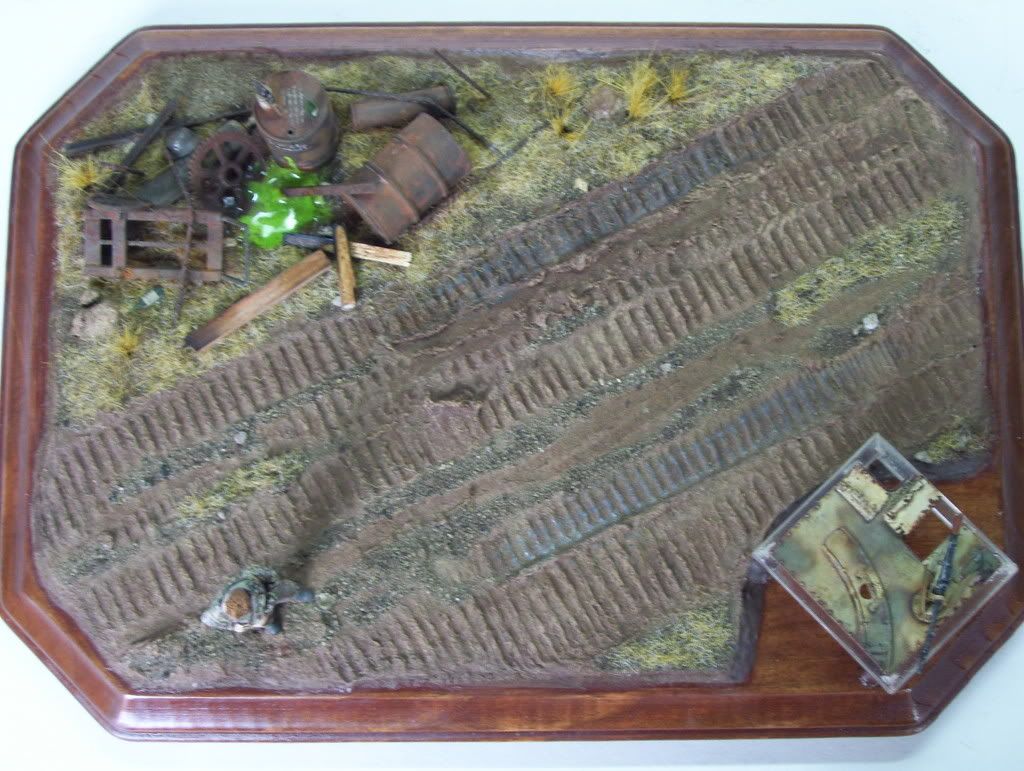
The hull top in its cradle--the remote MG firing mechanism was scratchbuilt; the periscope was taken from the SP box. This table allows for viewing of both. Yes, the firing mechanism turns with the gun!
...and two photos of the roadside pile of junk...note the depth of the "poison puddle"...
...and an overview of the base with the hull top in it's cradle...
Well, I hope you enjoyed the tutorial...I'll be posting the next instllment of the Hetzer's build--finishing and weathering and complete photos in a new post in a few days so, watch this space! ![Big Smile [:D]](/emoticons/icon_smile_big.gif)
Comments, questions, and complaints always welcomed!
LATER EDIT--here is the final, completed scene!
