PANZERBAIT!
 Hey guys,
I’ve finally finished this project.
Just a bit of a preamble and  entertainment ........while the pictures load up.
Here's a little armored morsel ……
……….fit for a  Tiger.
I haven’t posted a build since January due to my erratic agenda.  I only build in my spare time, a minute here, a minute or two there.
I had decided to do something rugged with wheels this time, so, since I already had the Tamiya M20 Armored car for several years, why not?
 I’m lookin’ forward to getting back to the tracked stuff though.
And yeah, I really did do something with “the wheels"...…. it’s just something that’s been eating at me for a while so I wanted to try it.
I went to work…
After toying around, this is what I came up with ………..
…….two kinds of chains here….. no glue involved.
 Here I am putting my necklace on my tired carcass………….
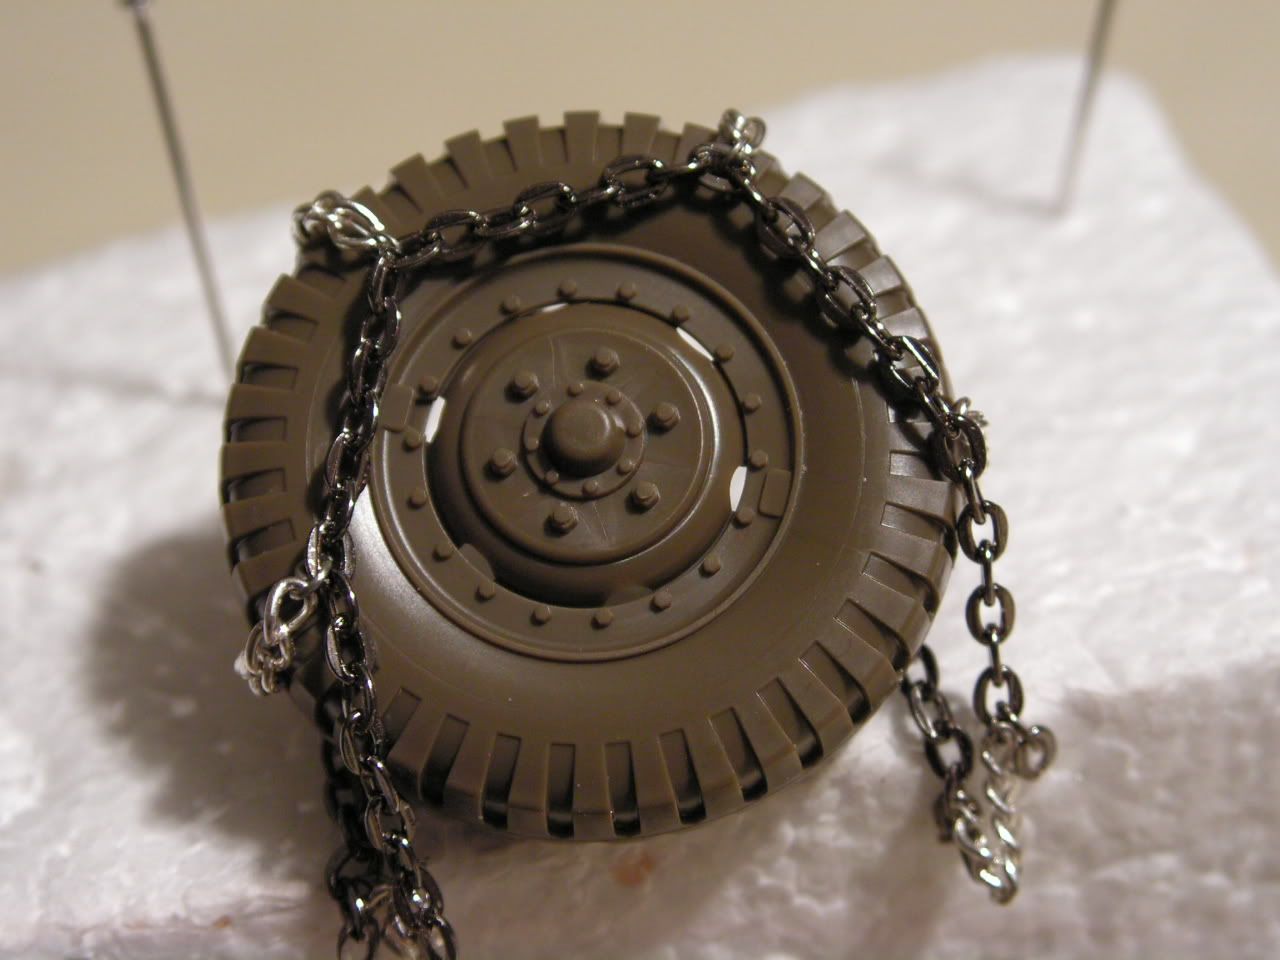
Almost like armored jewelry there…. I even felt kind’a bad  about painting it too.
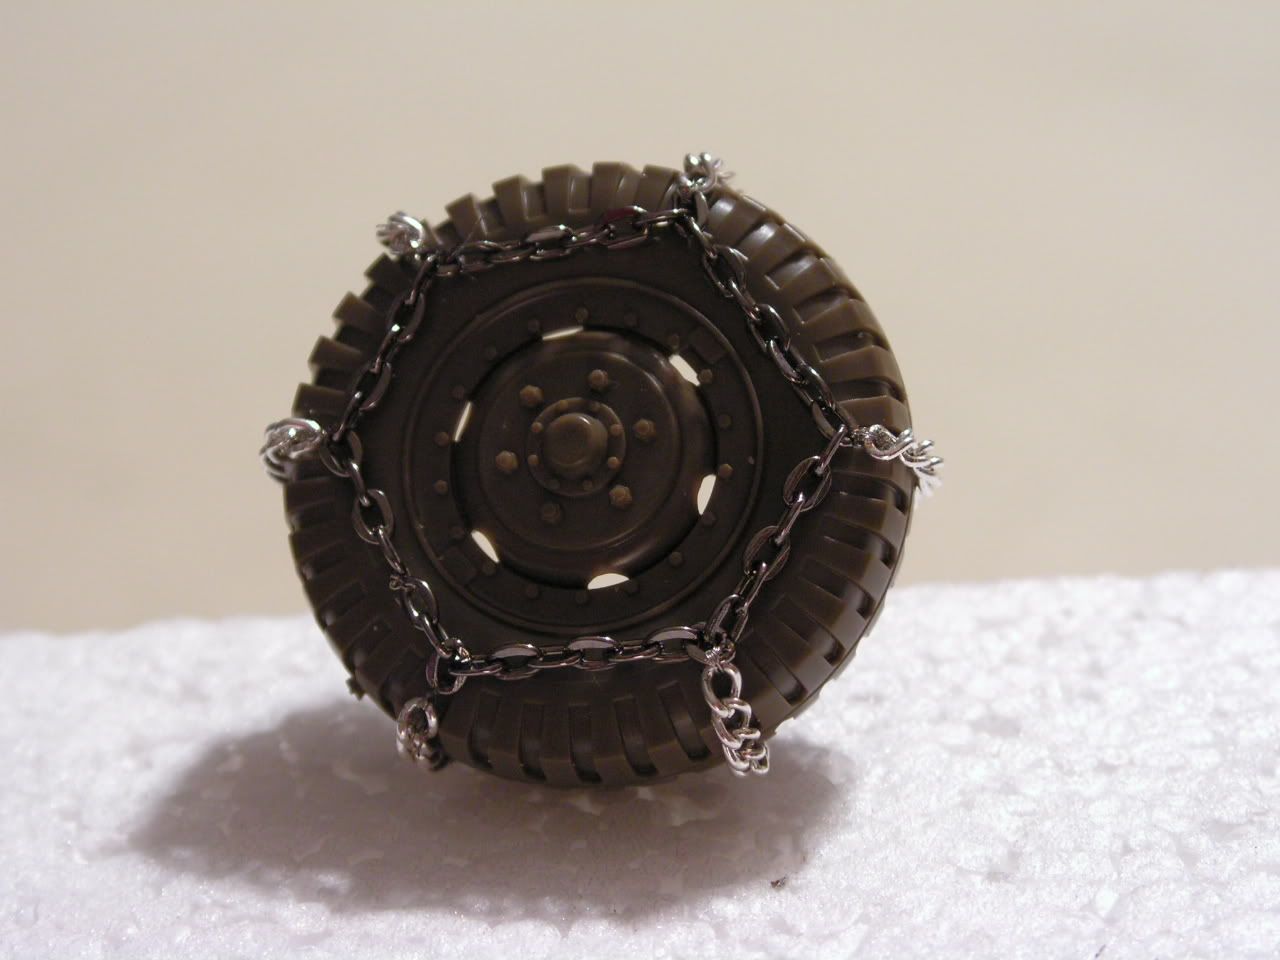
There ain’t anything like the satisfaction of building your own stuff, especially when it comes out right.
 It just gets me bouncin’ in my seat…..I’m sure we’ve all had that feeling.
 You’d be surprised how difficult it is to find an actual picture of one of these w/tire chains. I’m sure there’s probably some minor details that I got wrong on this build, but again, I really just wanted to see what I could do with those chains. They actually are flexible/functional and will come off if I want to remove them.
Well, here’s my latest, a non-specific faded ETO veteran in olive drab w/black soft edge camo and red primer w/worn bare metal showing.
Hmmmmmm...... Hopefully the pictures should be about loaded up now..........
Let's go 
 And so again, once more,
“ ……….. a moment in time.”
I hope you enjoy my efforts.

The first picture is my favorite shot………  I personally think most of the pictures came out pretty fair.
 I have this one displayed on my computer desktop.
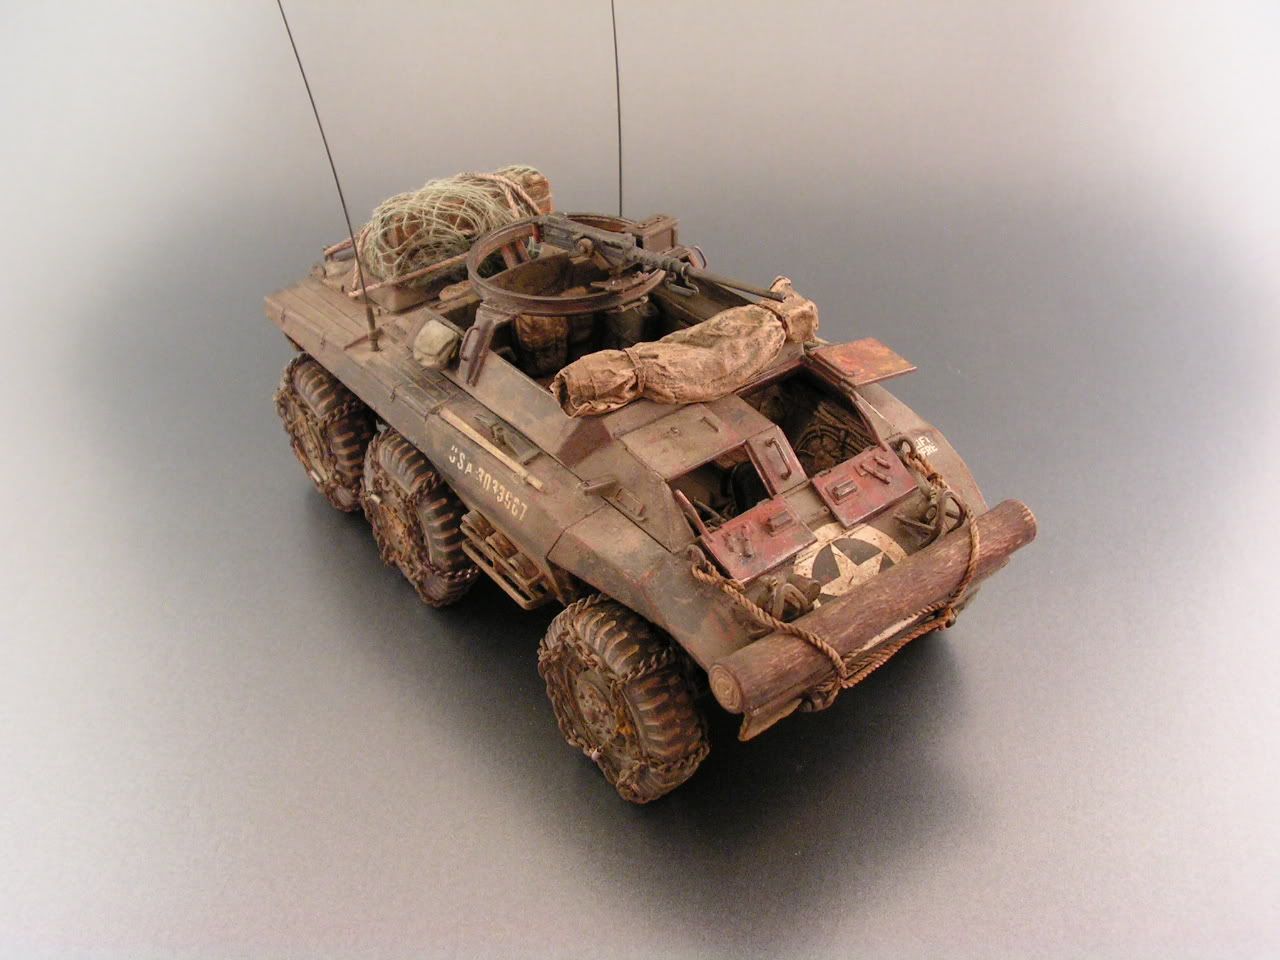
Bringin’ up some supplies…..
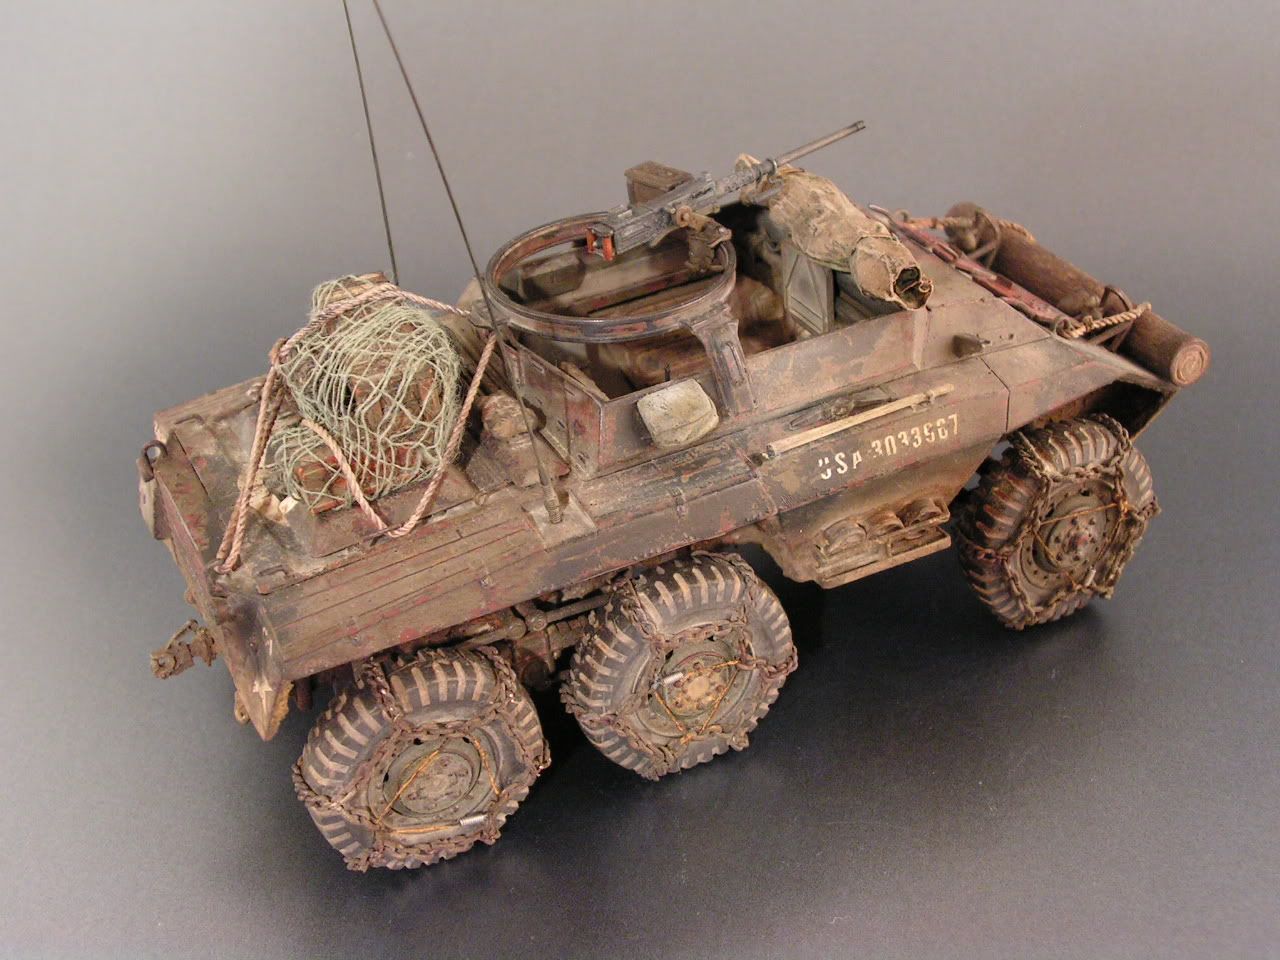
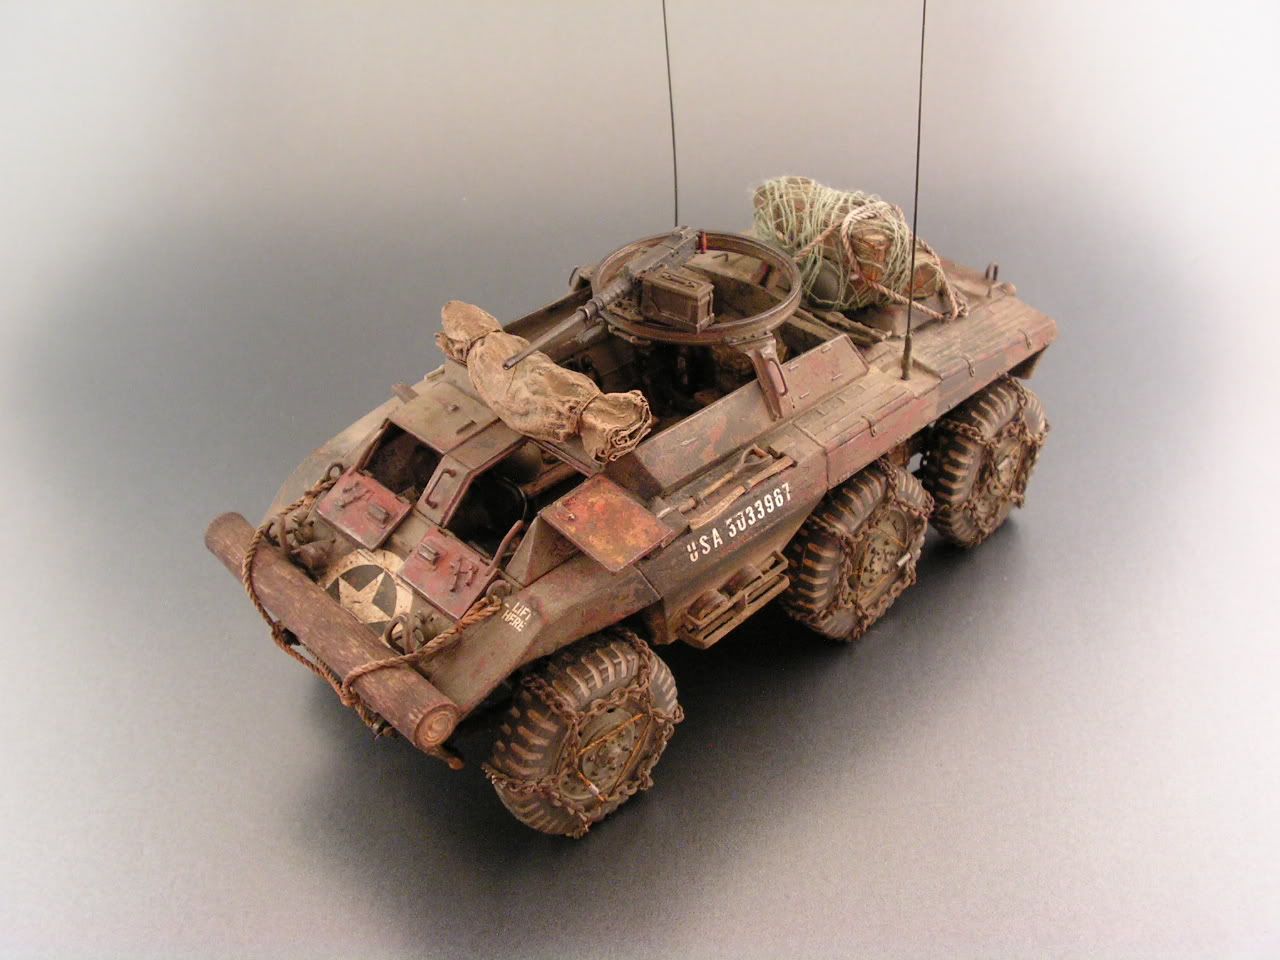
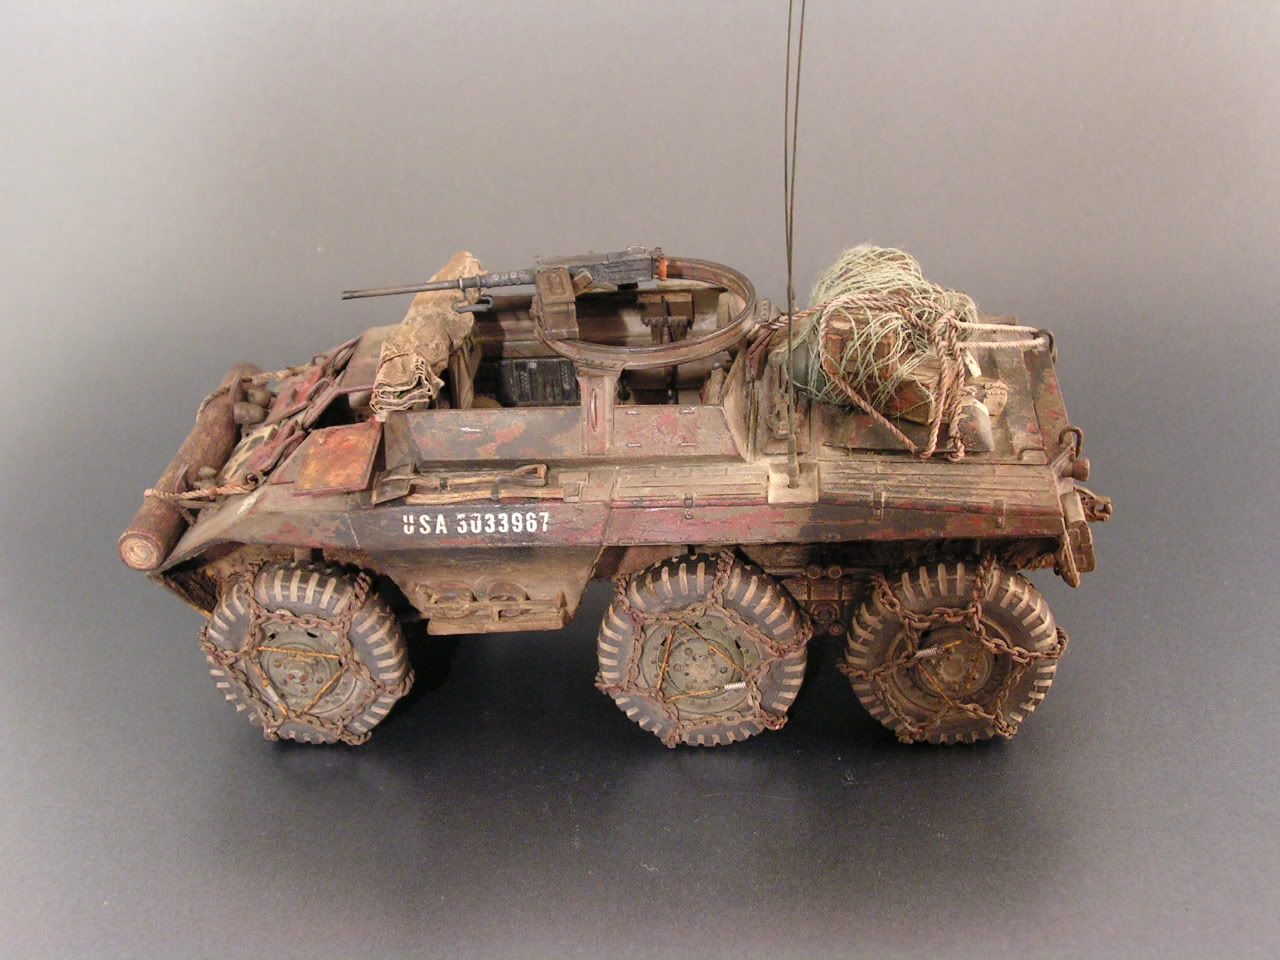
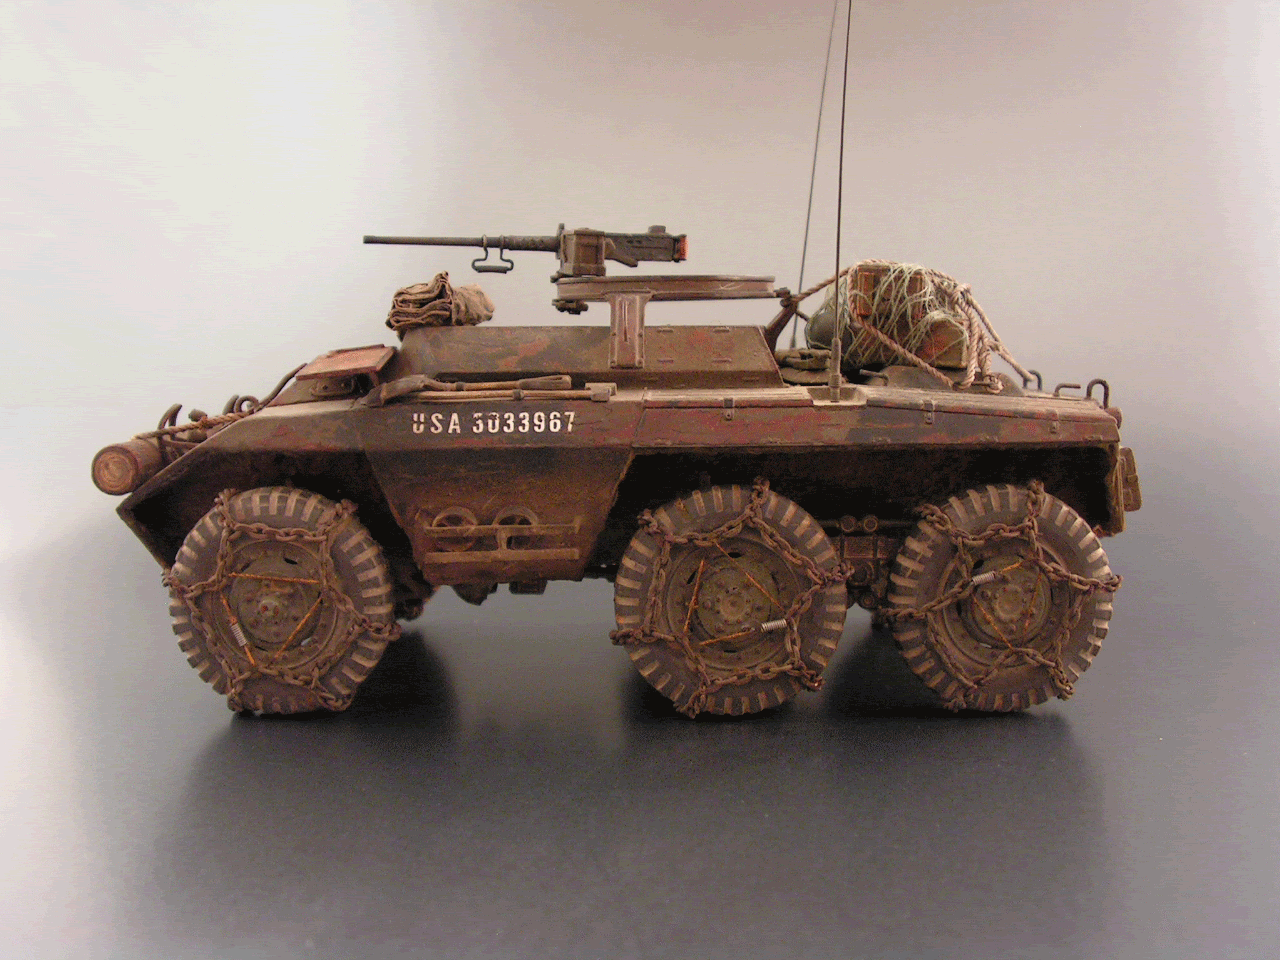
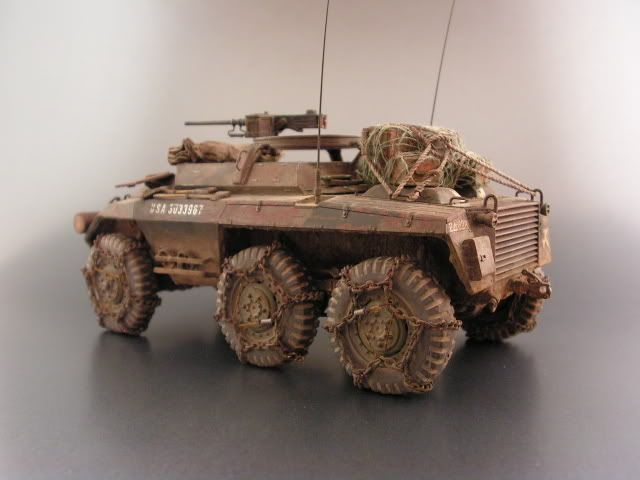
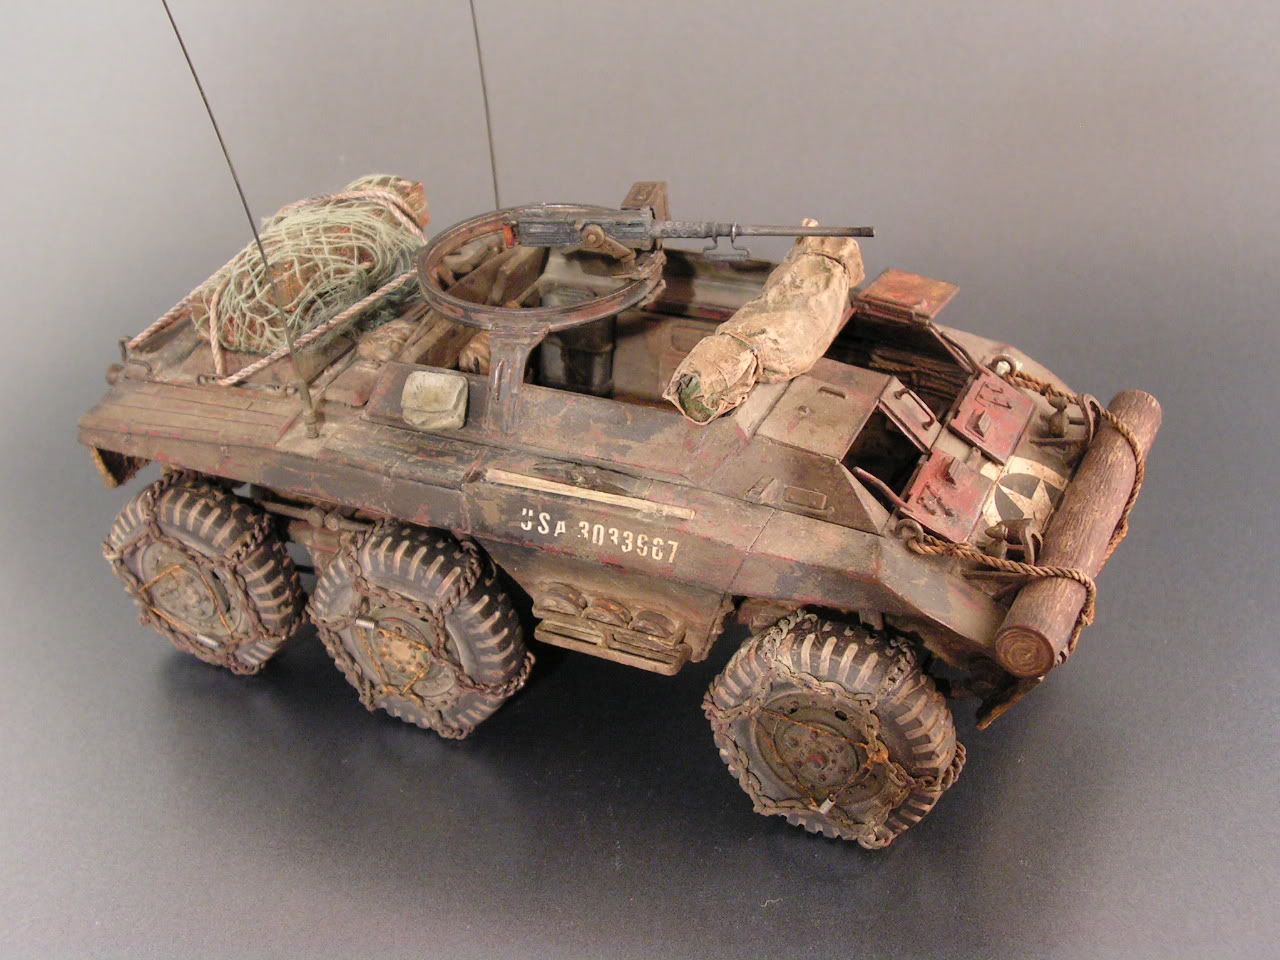
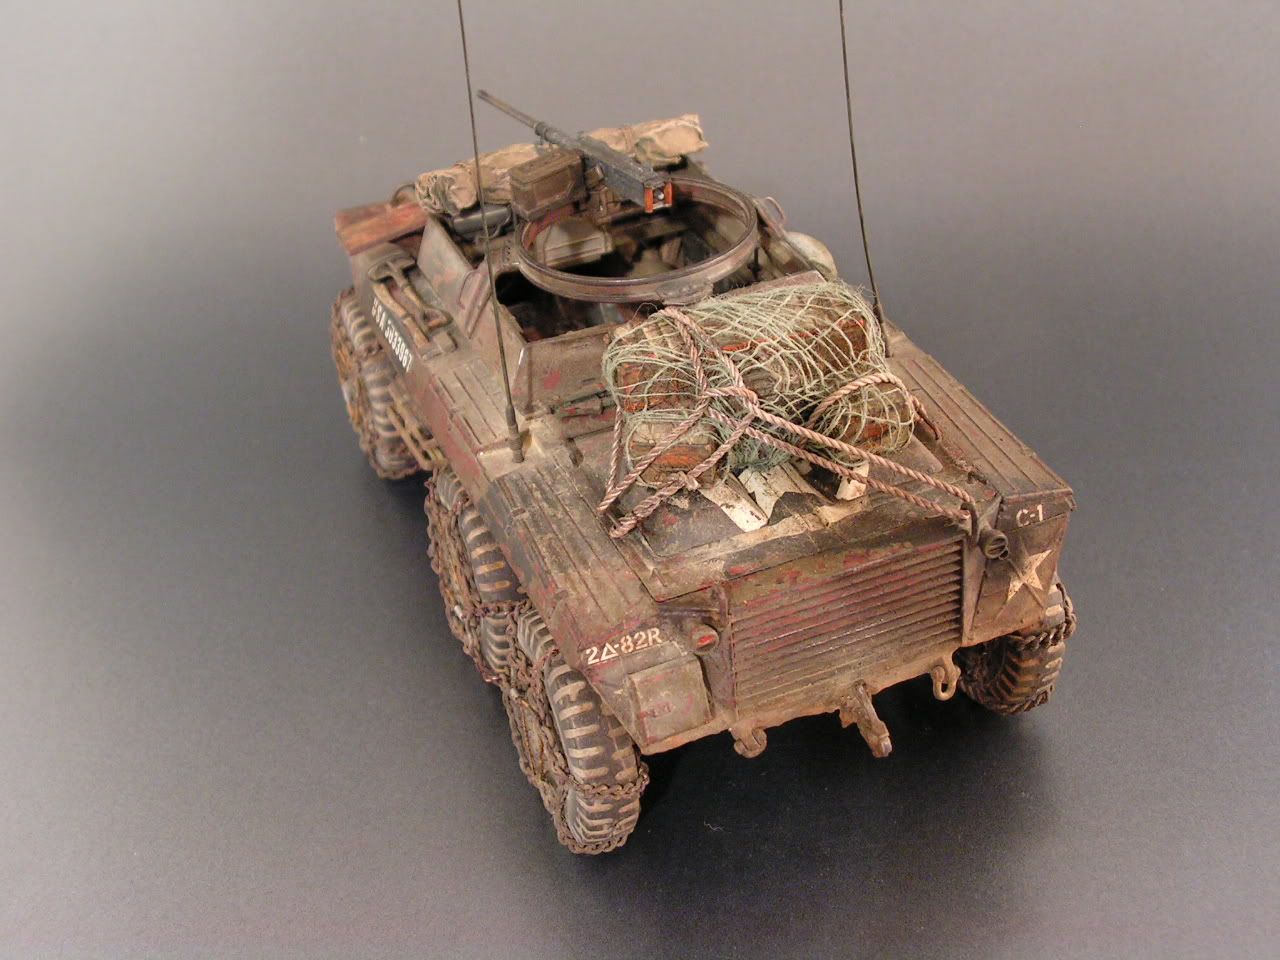
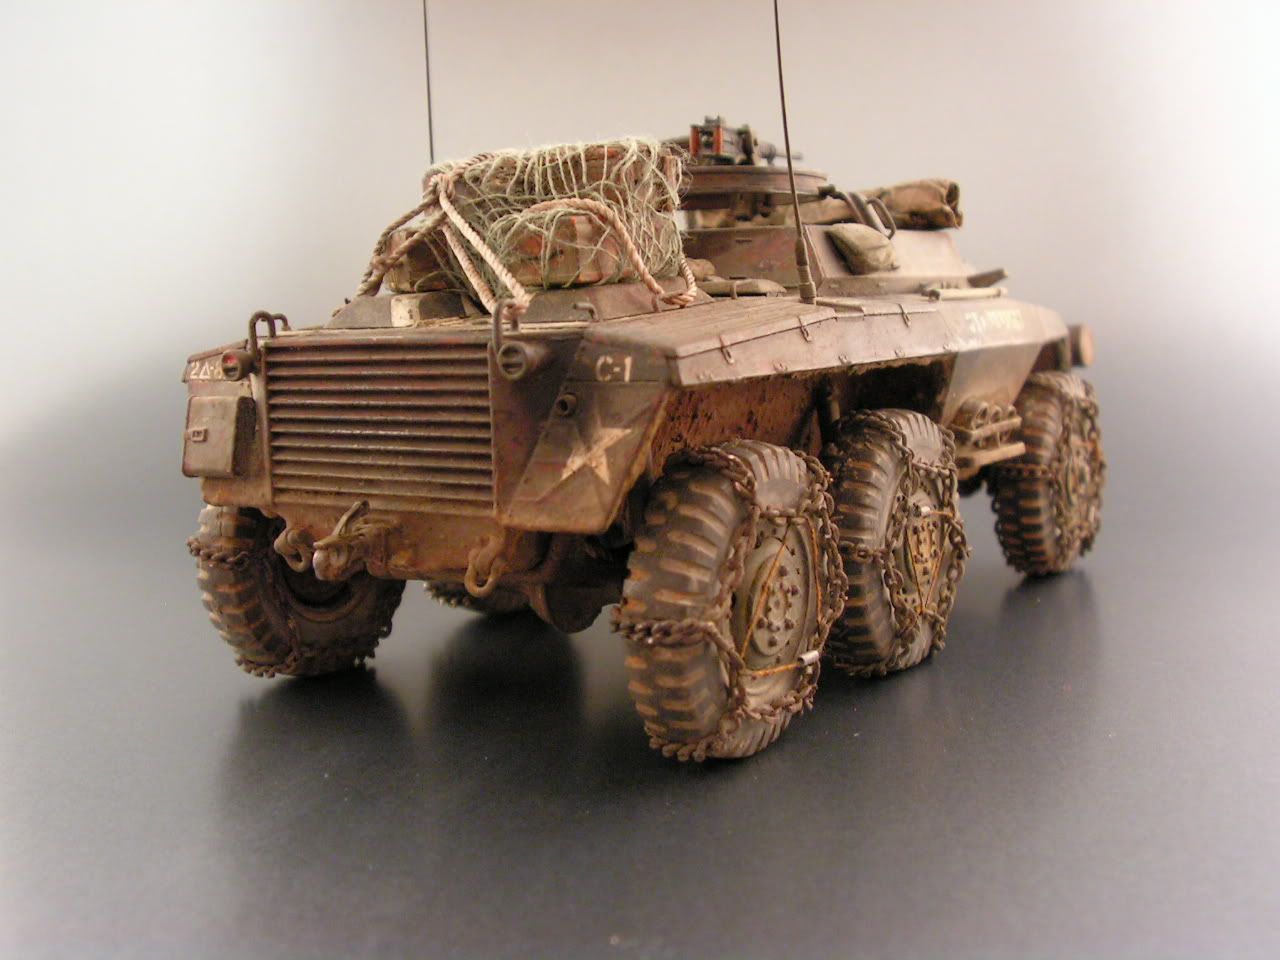
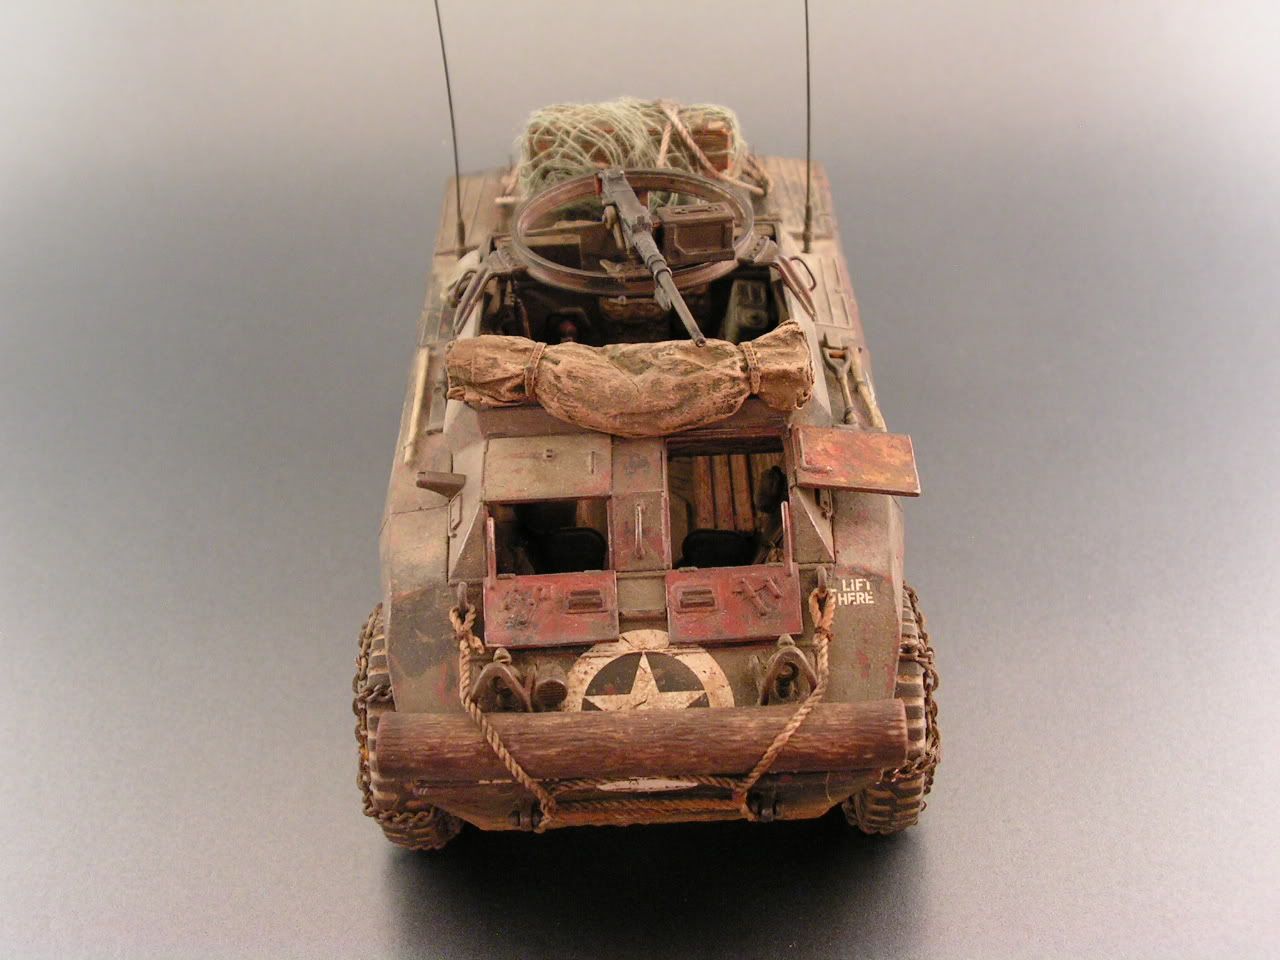
Here’s a view of the radio, a scratch built first aid manual and radio handset w/cord. The bazooka is hiding under the canvas tarp.
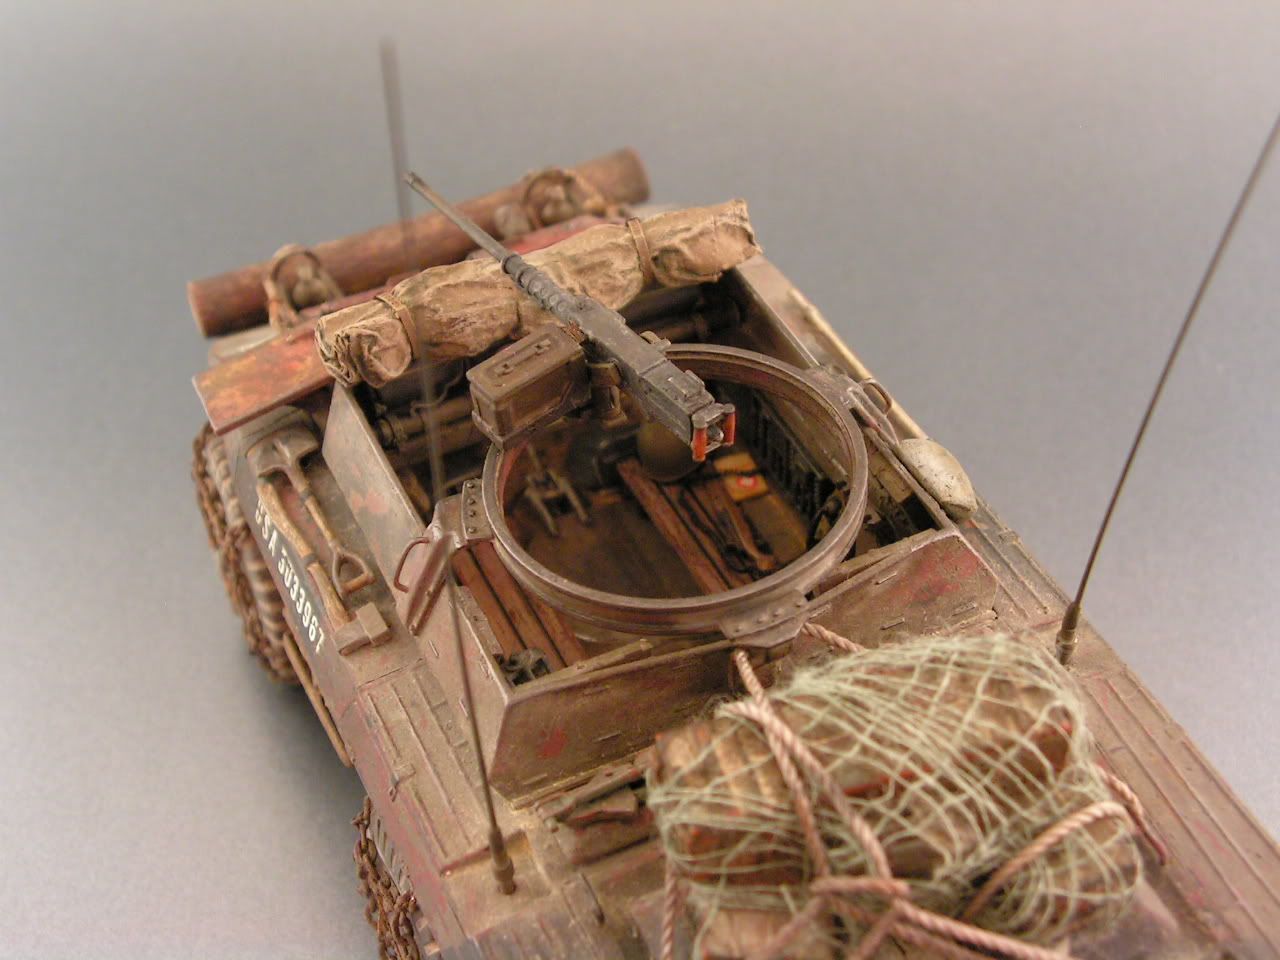
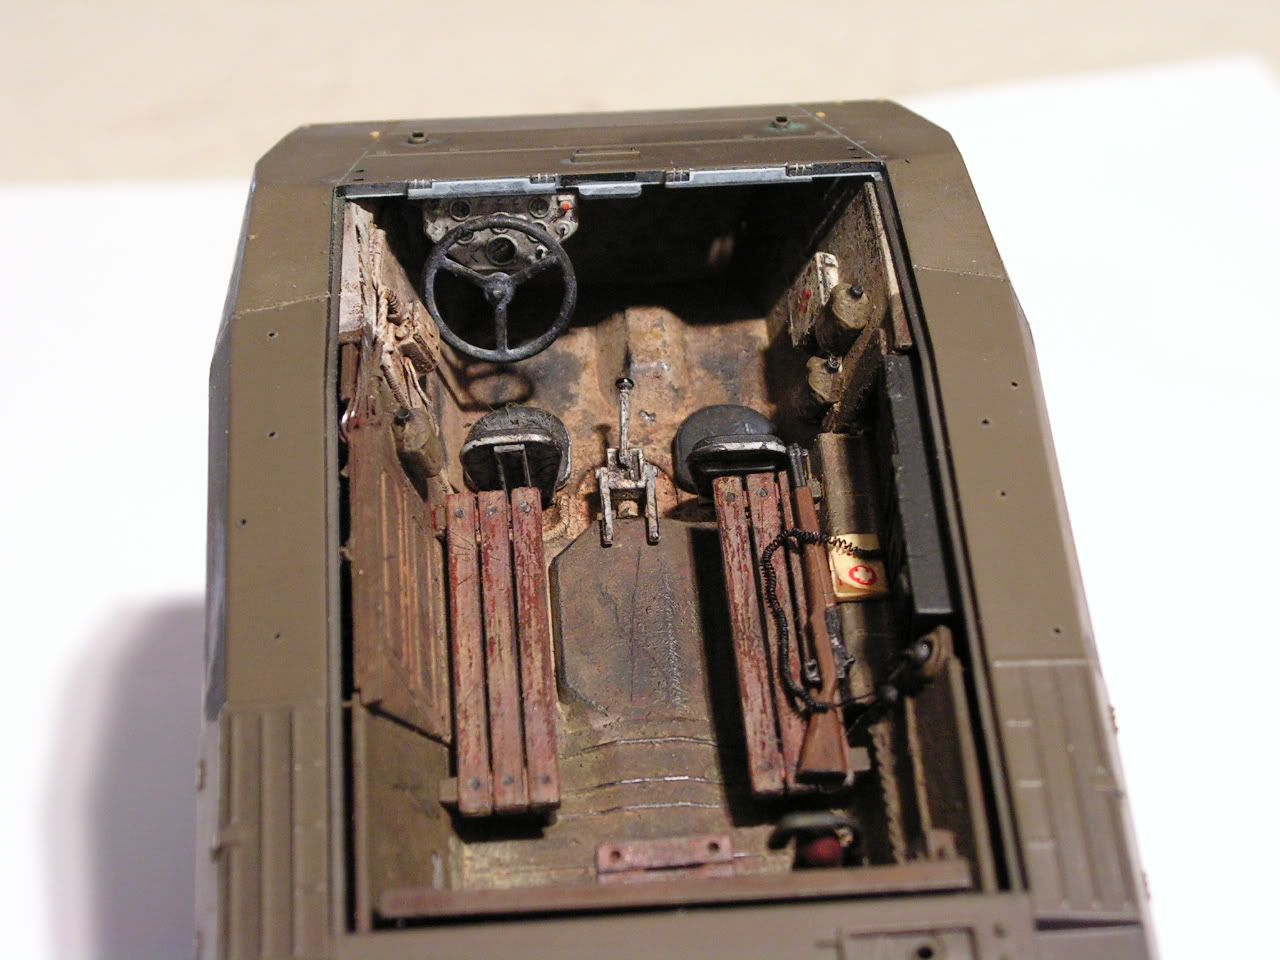
And now a better view (incomplete) of what’s inside before I canned it up. Notice the stuffing coming out of the drivers seat, the minor cuts in the assistant driver’s seat and the scratched bench seat with the chipped/worn varnish finish. There’s a lot of  scratch here that isn’t showing.
And NO, 
I didn’t have a wreck when biffa returned!
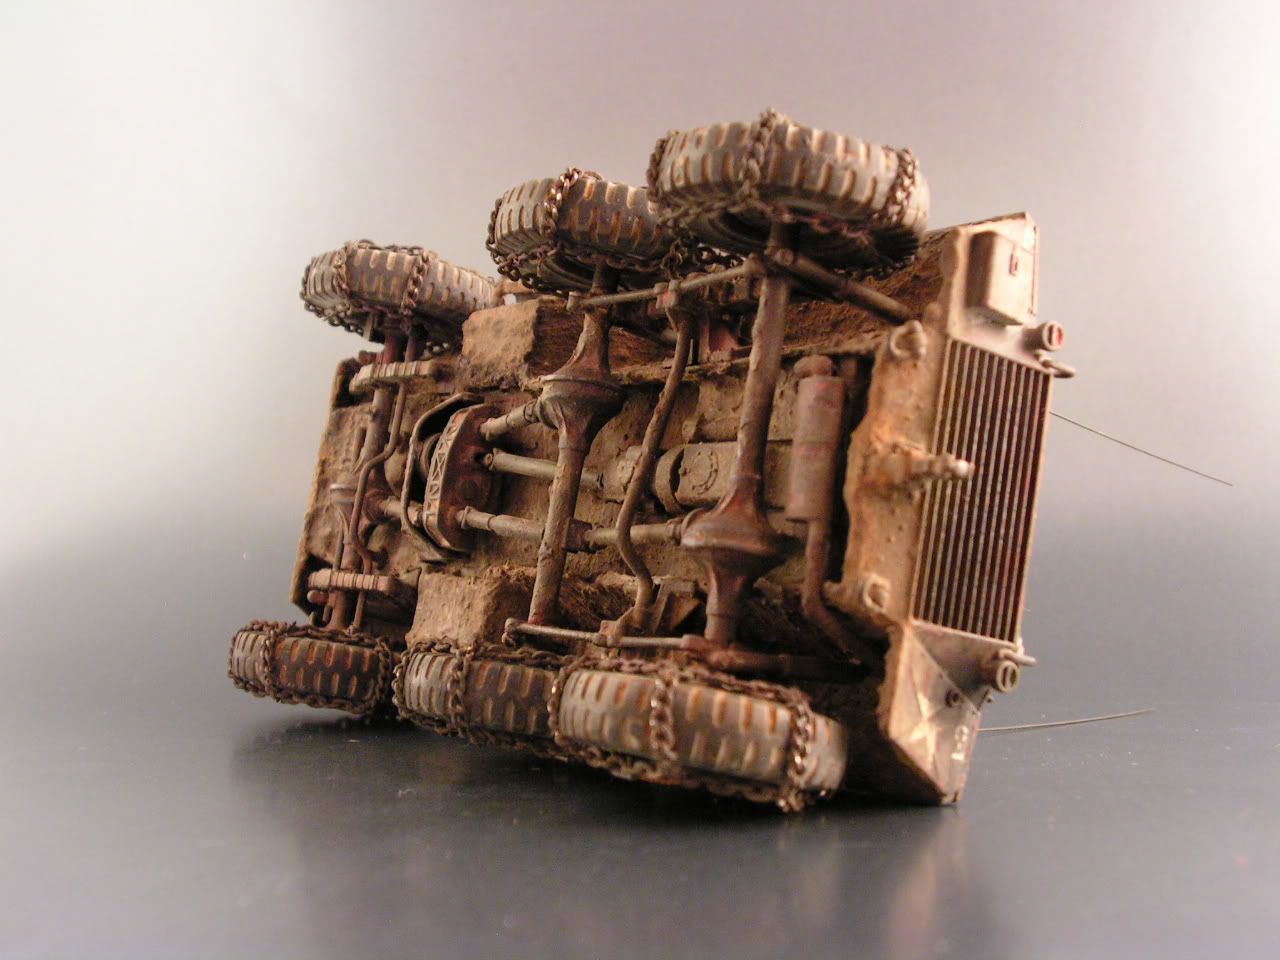
Here’s a couple of pictures of the accumulated dirt, dried goop and suspension details.
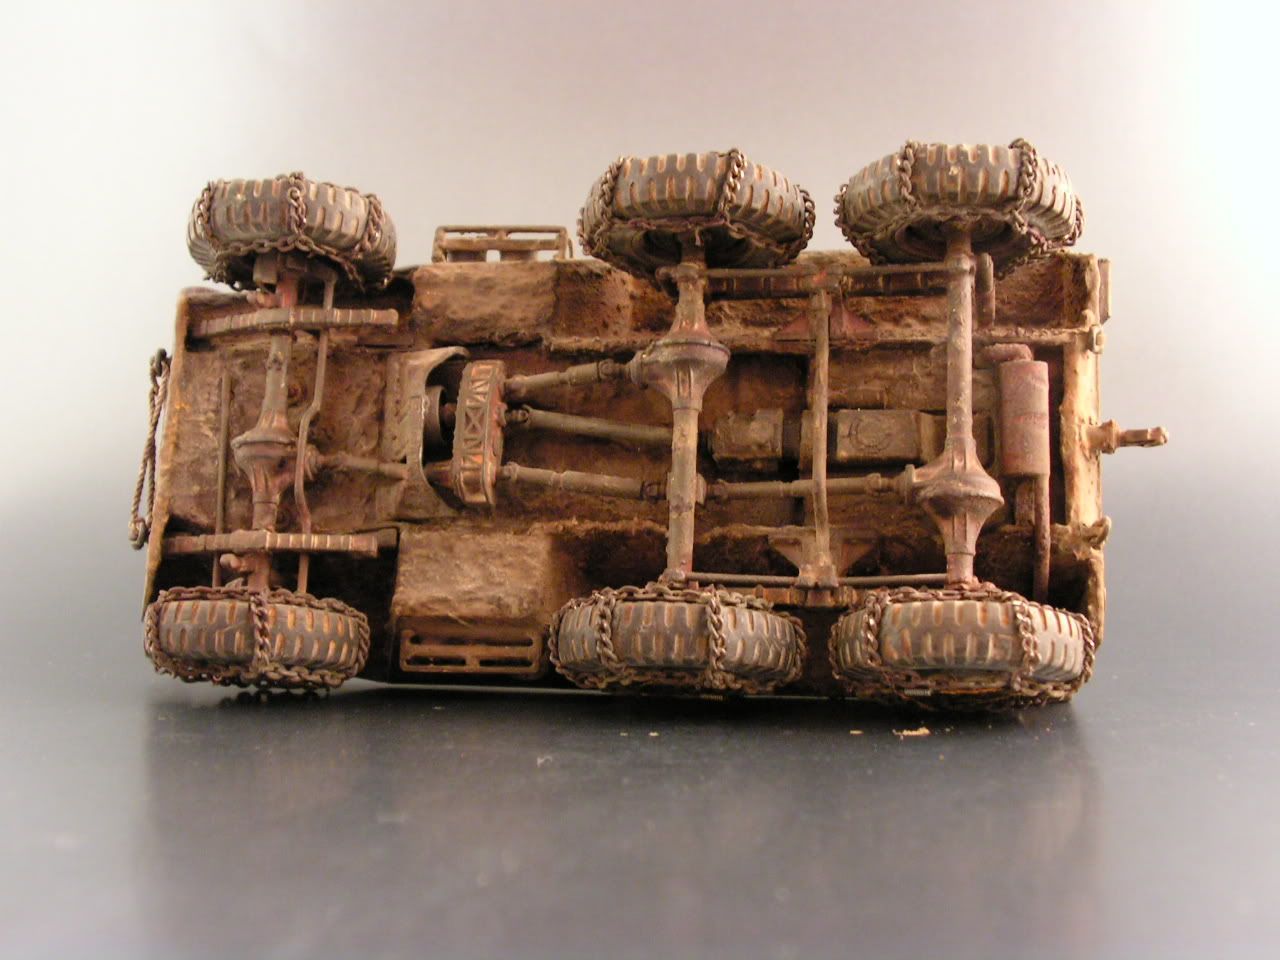
I still intend to add some minor leaks and stains under there……..
 Lookin’ for any feedback here, so, let’s have it………….
I will try to answer to all who respond/inquire.

