FINISHED PICS! The Never-Wuz Wagon. AMT 65 LIncoln Continental
Hi guys,
Benn a while since I've done some cars; I've been busy doing some Armor, but am back for another go with the shiny stuff!
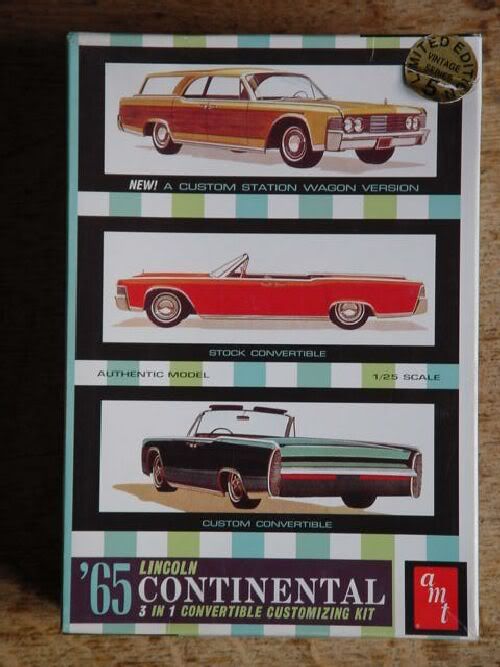
This build has been tempting for some time now; what caught my eye
was the boxtop that shows a panel-sided station wagon that reminds me of
my Dad's old faux-wood-sided Country Squire. We had those cars to carry
around the litter of my siblings and I for at least ten years. It's a
sweet spot i my memory.
Trouble is, this vehicle never existed. There's no documented
evidence of it, no photos. It seems to be a completely conceptual car
designed by AMT. Still, I'll take it--there is no 70's era Country
Squire that I know of, and this one will have to do. OK, 'nuff talking.
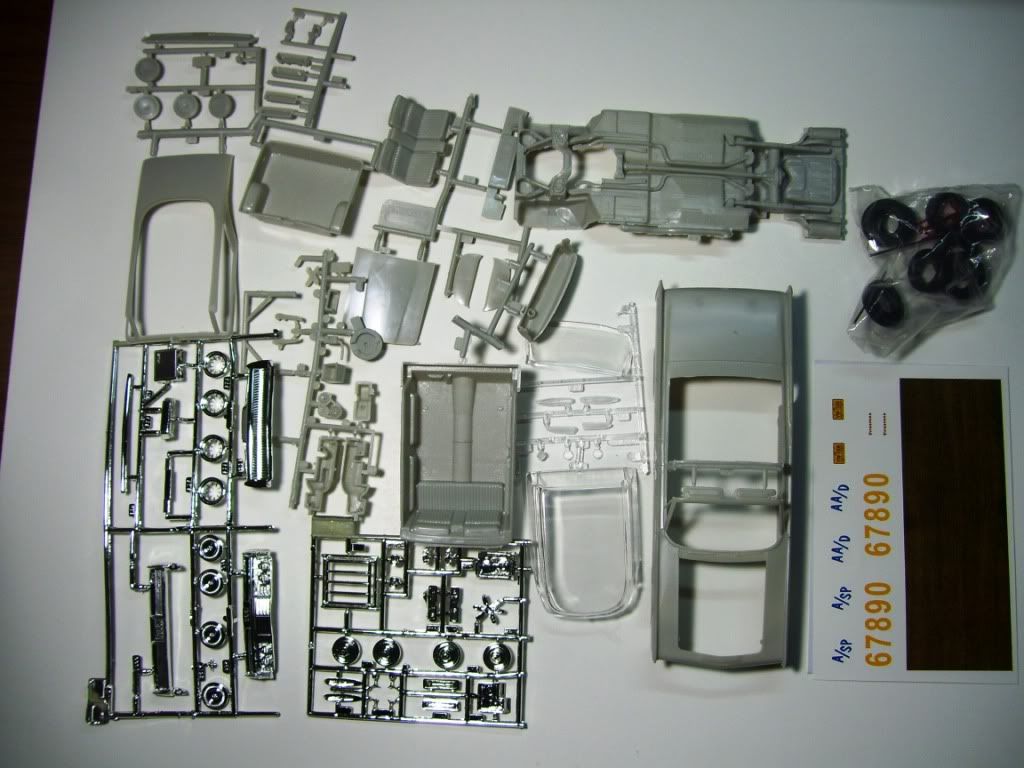
Here's the kit and what you get in the kit.
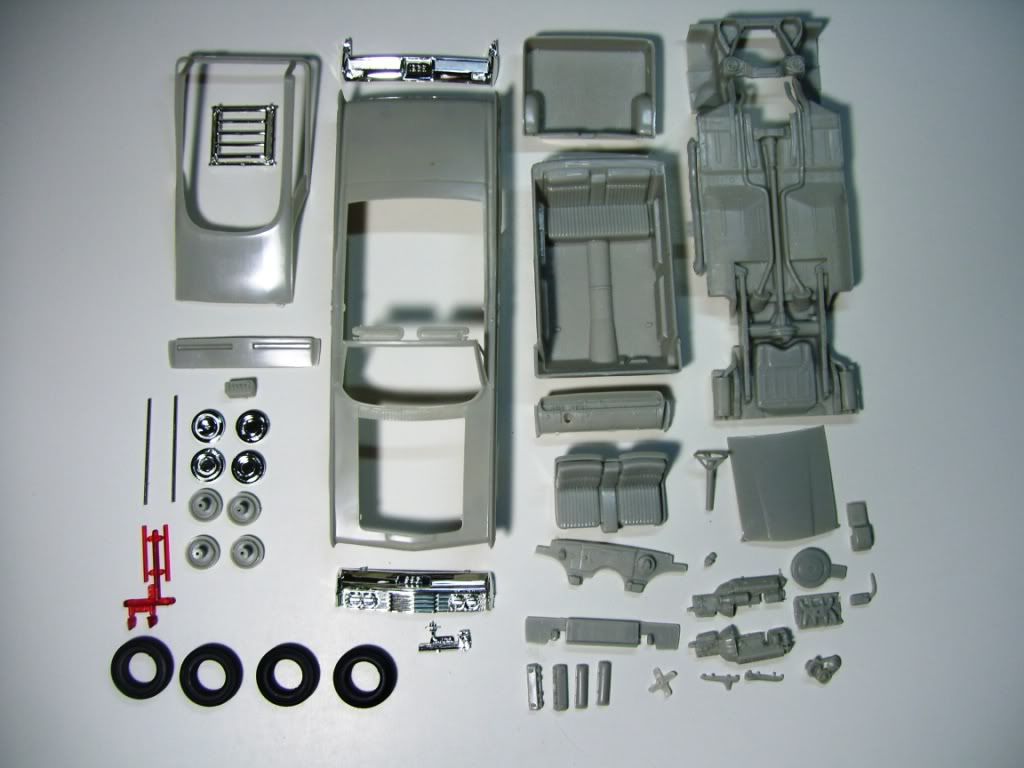
And here's the parts you use after clean-up.
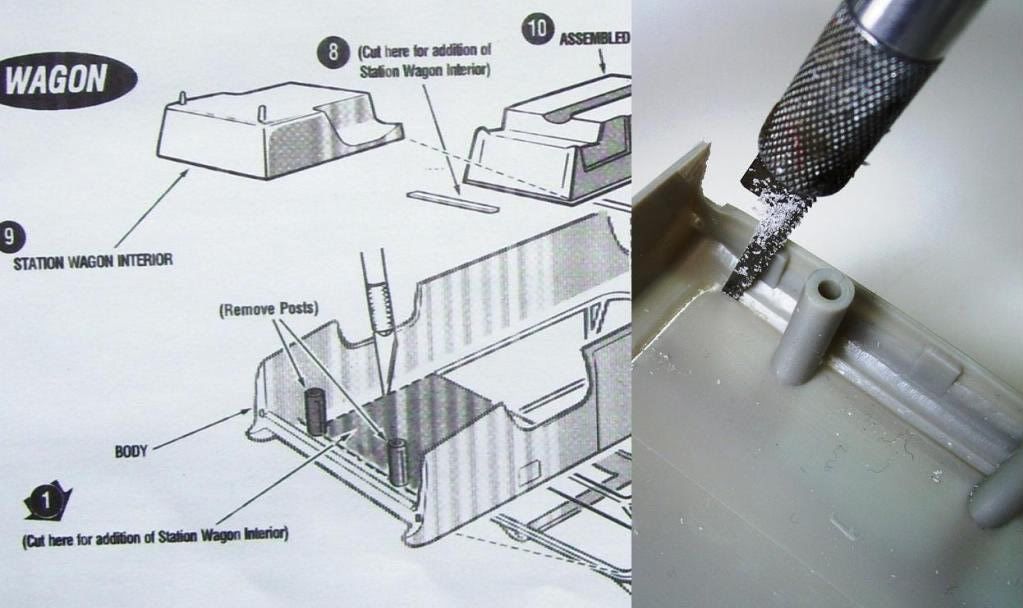
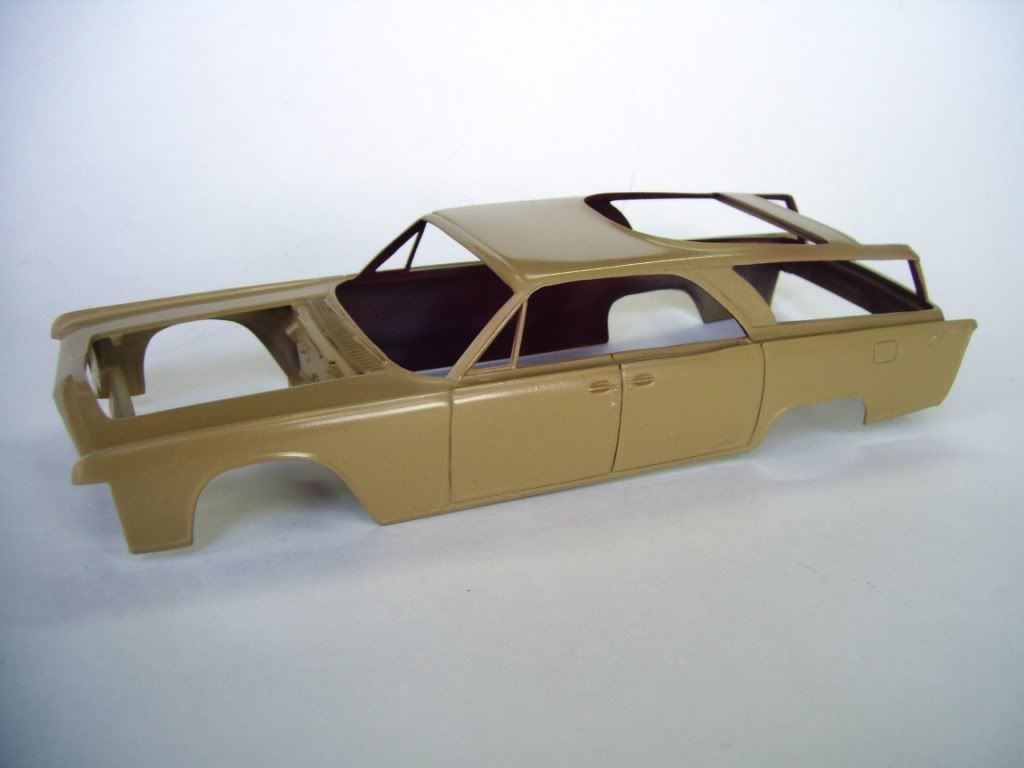
You have to cut out the rear panel for the wagon version; I did this
with a thin saw blade, the better to get around the corners.
You have to fill the scribed-in area for what would be the trunk lines.

I filled them with thinned Squadron White putty.
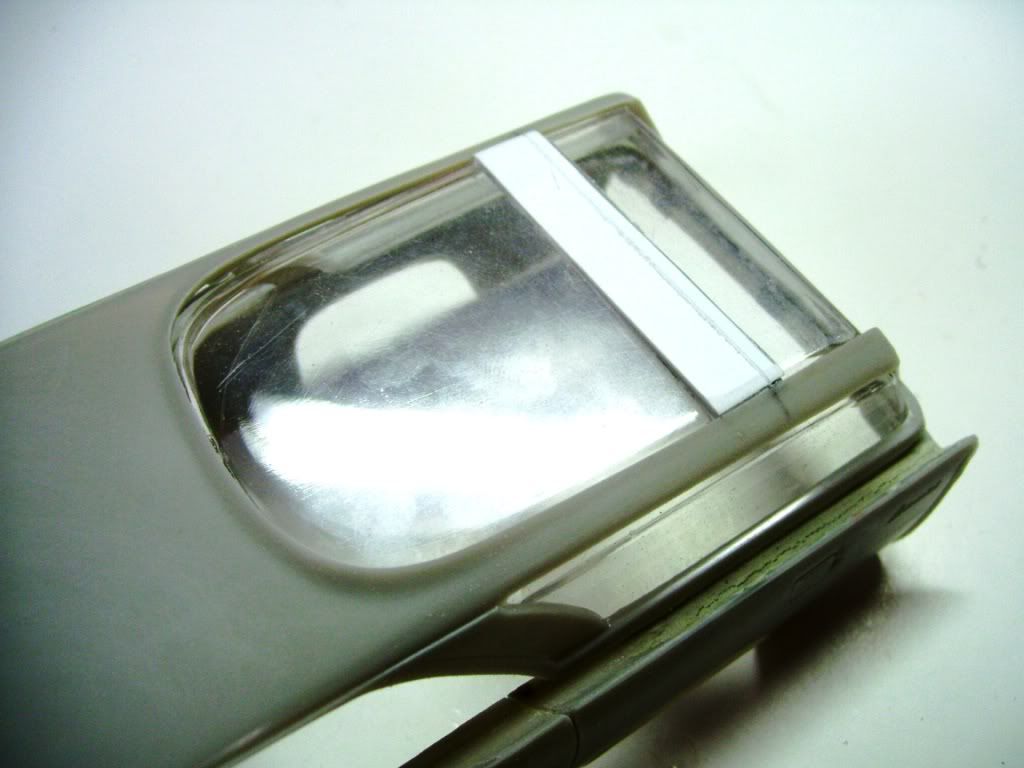
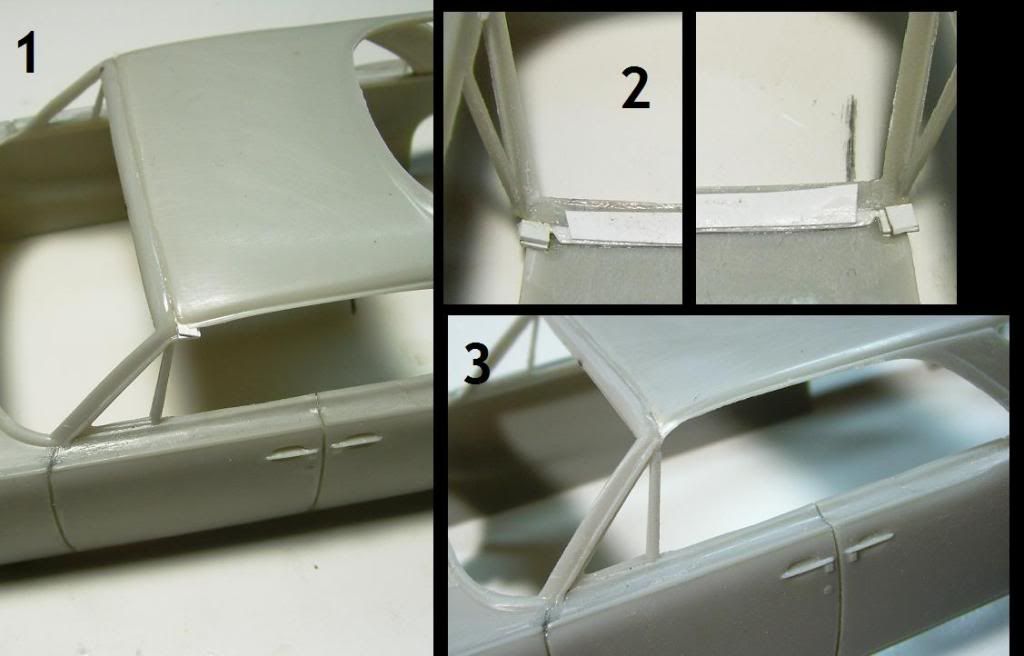
The next order of business is a tricky one. When they turned this kit
into a station wagon, they put this big window in, but there's
absolutely no way to open it. That doesn't make sense for me, so I'm
going to do a mod on it to show an opening window. Hey, the whole
vehicle is conceptual anyway, right?
First of all, There would need to be a hinge point. So I decided to put a T-bar into the body.
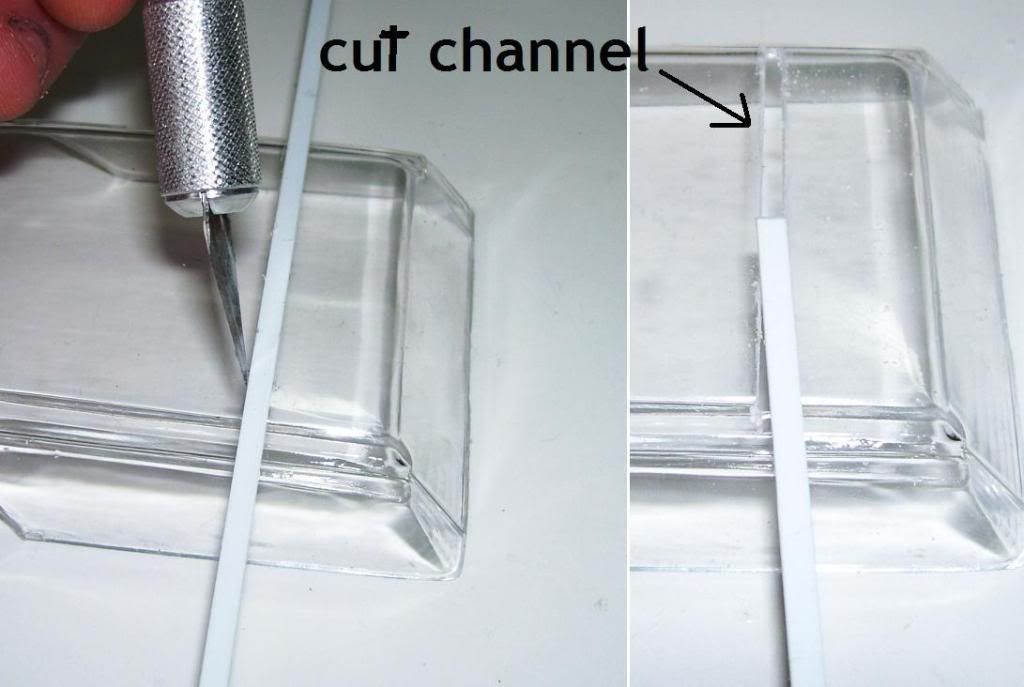
You can see in that last photo that I had to cut through the window
piece in order to make it work. I scribed a line on the plastic and then
CAREFULLY cut the window with a fine microsaw. I started with a small
piece and then worked up to the width I have now.
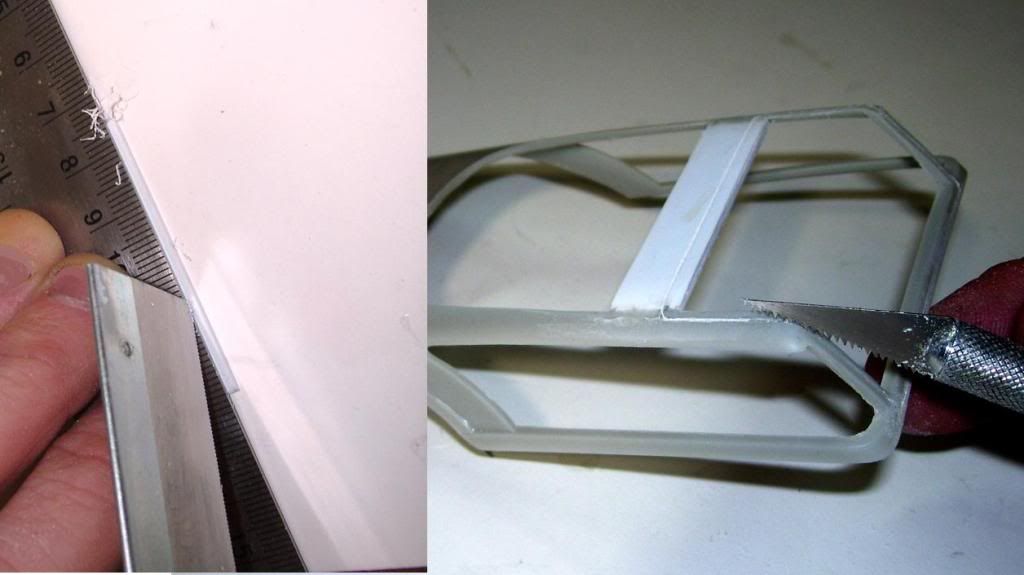
I used a sam blade to scribe in a line that indicate the opening in
the plastic piece before attaching it to the body, and used another saw
blade to scribe the frame showing the lines of the window opening.
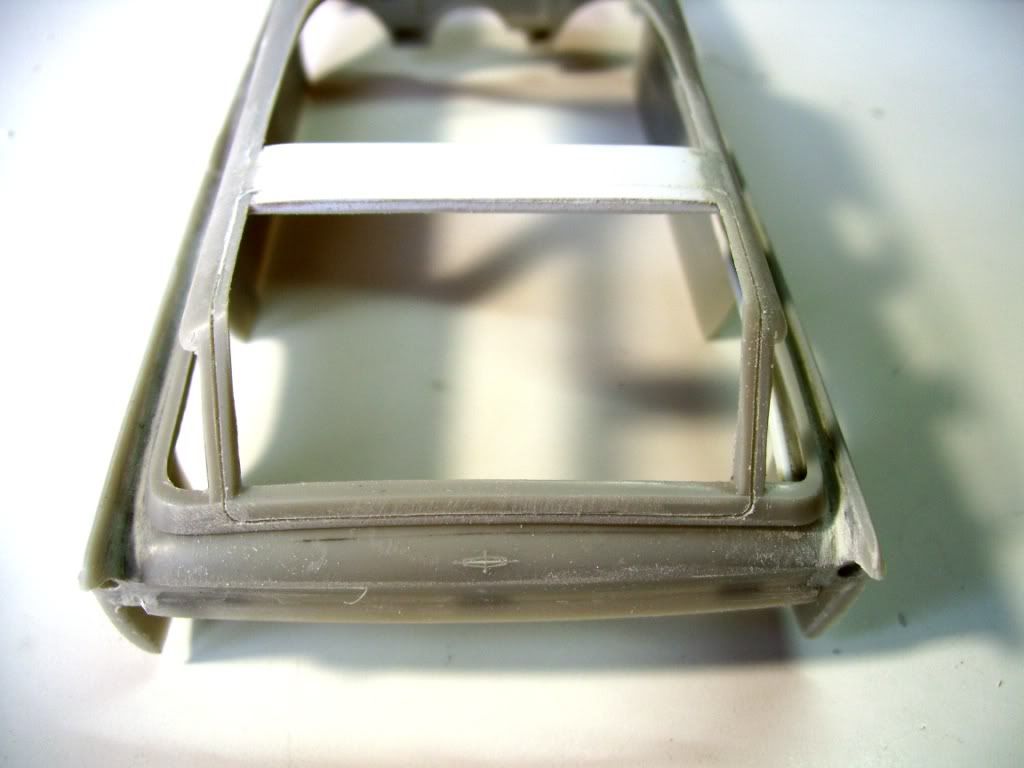
The scribed window opening.
I also used a micro chisel to scribe out and deepen the door panel
lines. See those sun visors? I cut them off, to use them later...

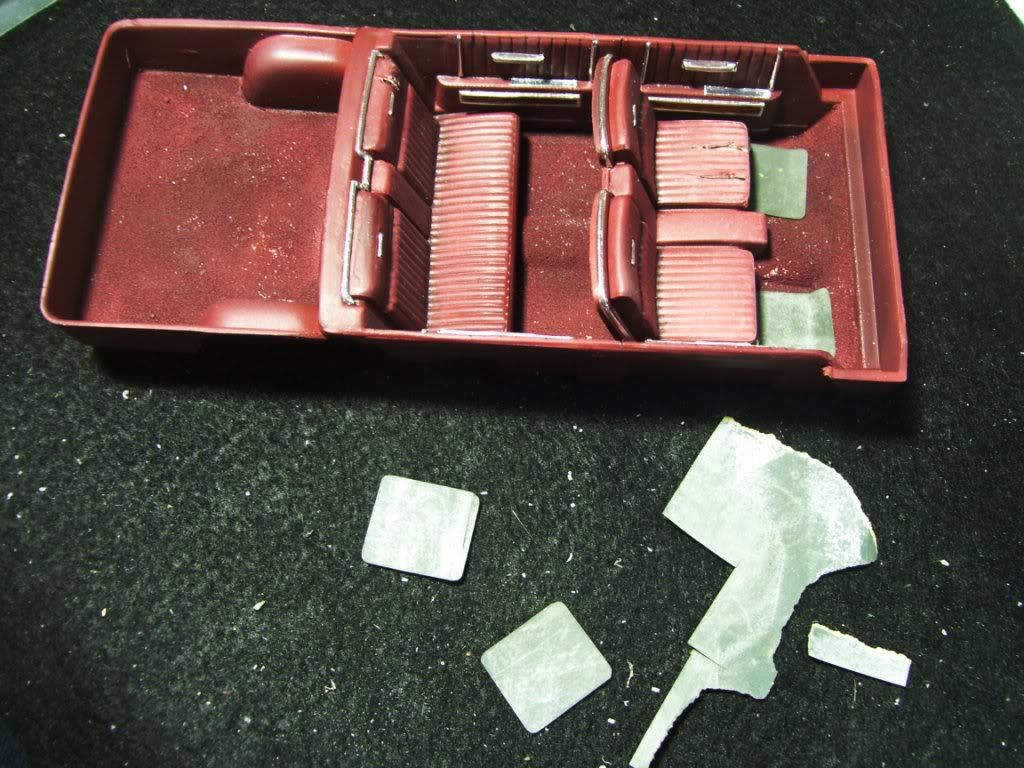
I'm building this as a well-used family car, so I wanted to show some
wear on the seats. I've used this method a lot; first I cut through the
upholstery with a saw. and then deepen the channel with a micro file.
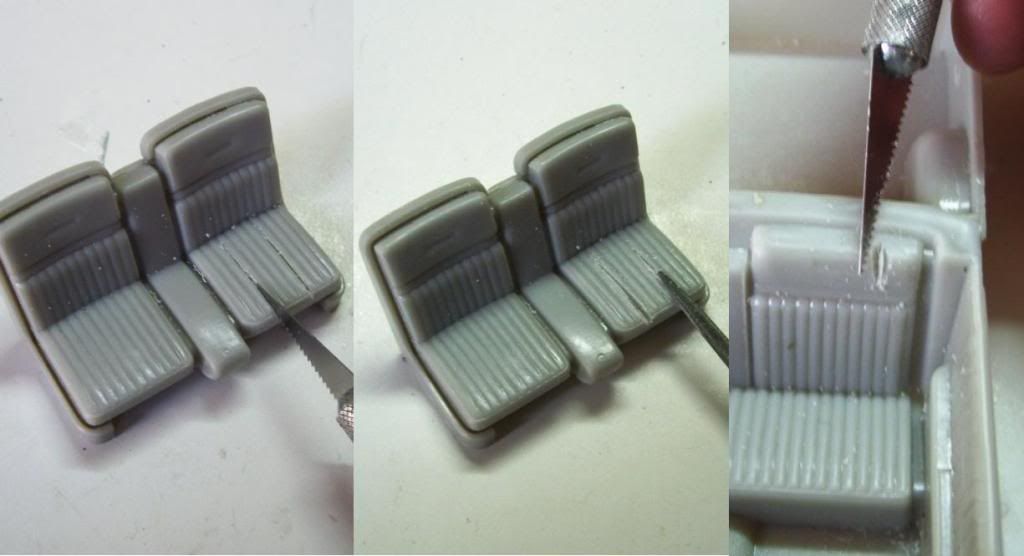
And then cover it with BMF, and score through it to make rips.
I cut off the sun visors so I could put them in the "down" position.
They serve as a table to position the front of the top body part, so I
put a piece of styrene there to hold it up. I also chamfered and thinned
the body at the appropriate join area.
When you join the body, you'll notice that the body doesn't quite meet the side windows in the front the way that it should...
I patched that up and cleaned it up with some styrene scraps.
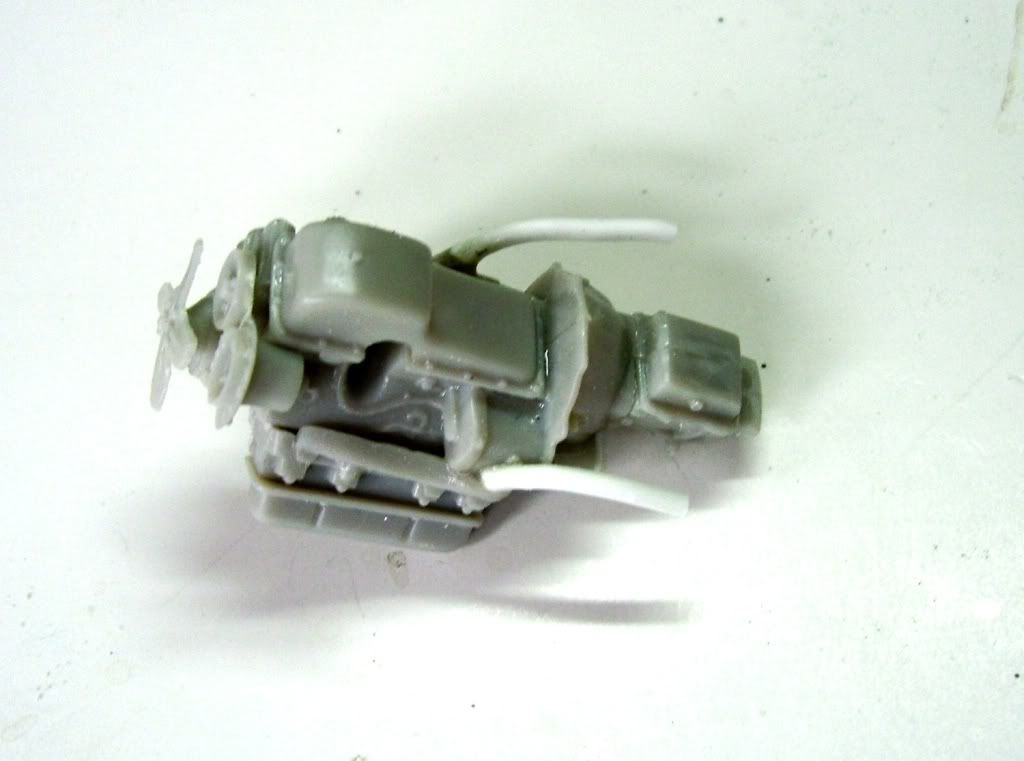
I added some new pipes to the engine, as the ones in the kit barely contact the molded exhaust on the bottom of the car.
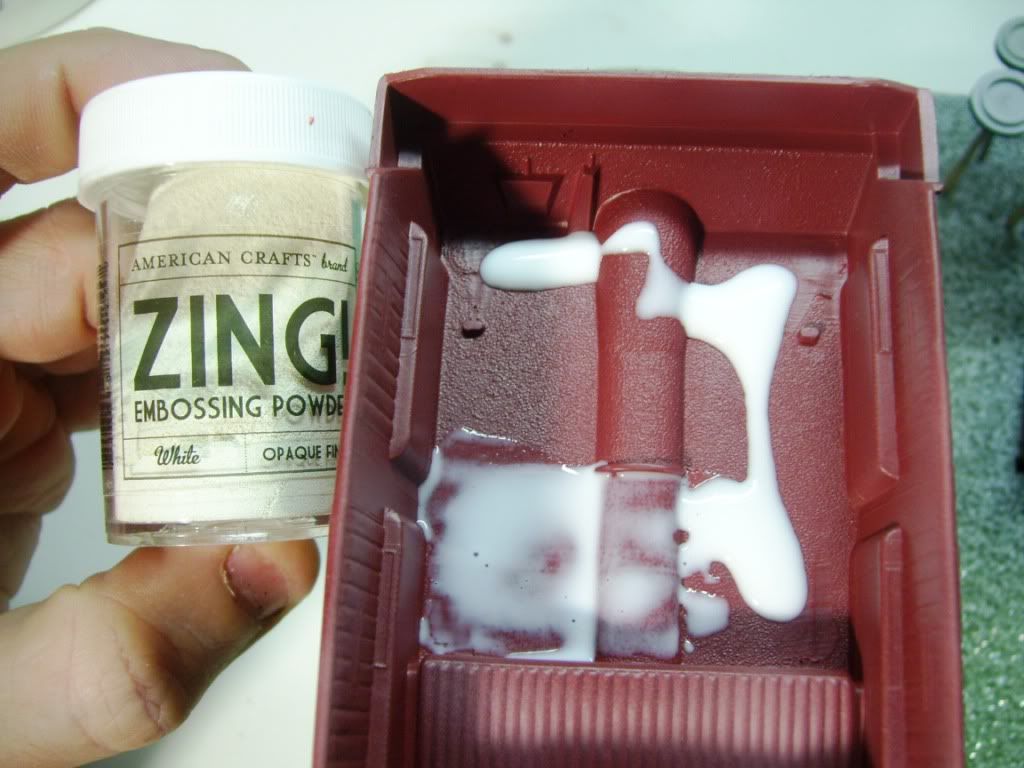
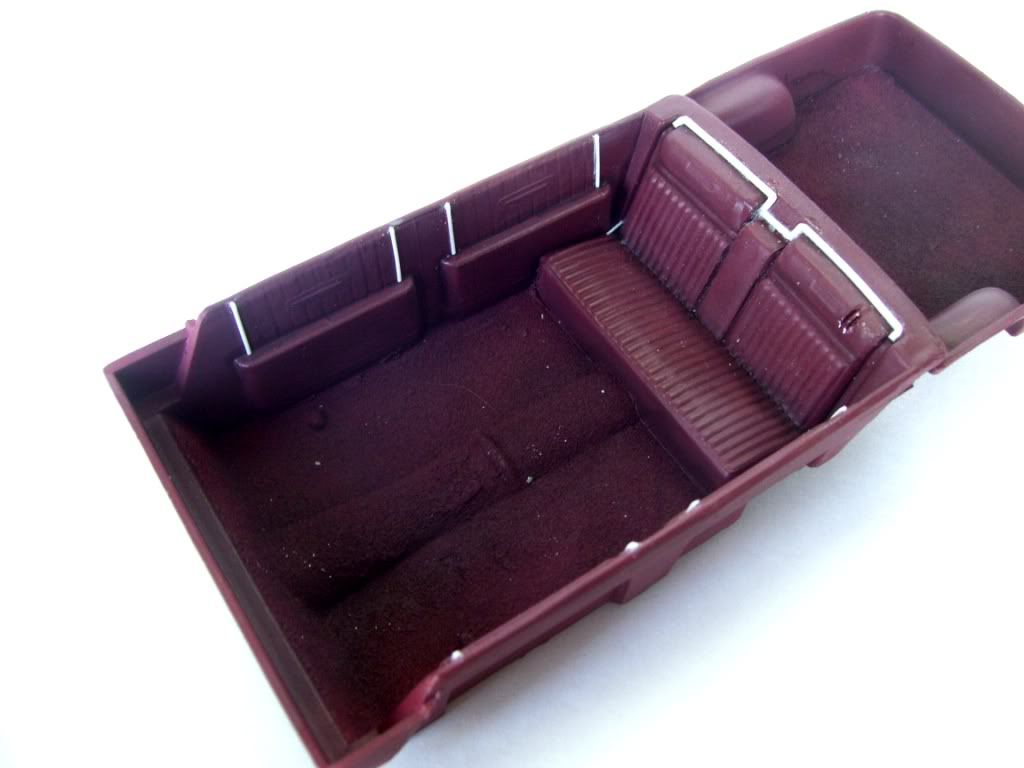
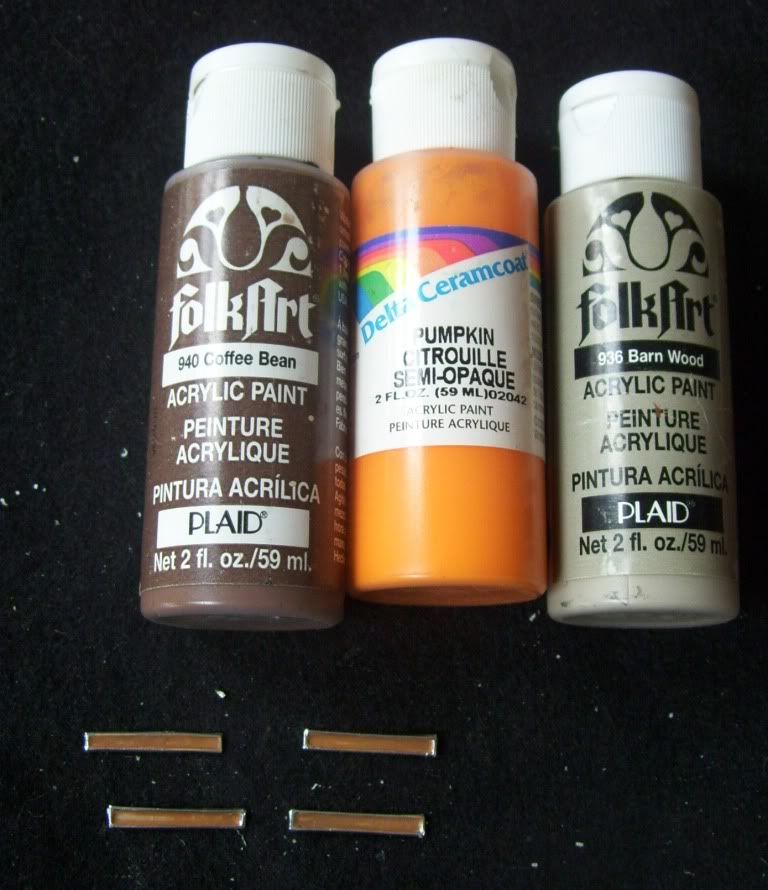
The interior is going to be Burgundy; I used Poly Scale's "Rock
Island Maroon" which jumped out at me from the paint tray as a nice dark
red.Here;s I have panted the tub, and am using embossing powder for the
flocking. Thanks to "JTRacing" for the tip on using this stuff! I like this stuff to give a nice utilitarian carpeting to a car rather
than the traditional "flocking" material. I just out it on over a coat
of white glue.
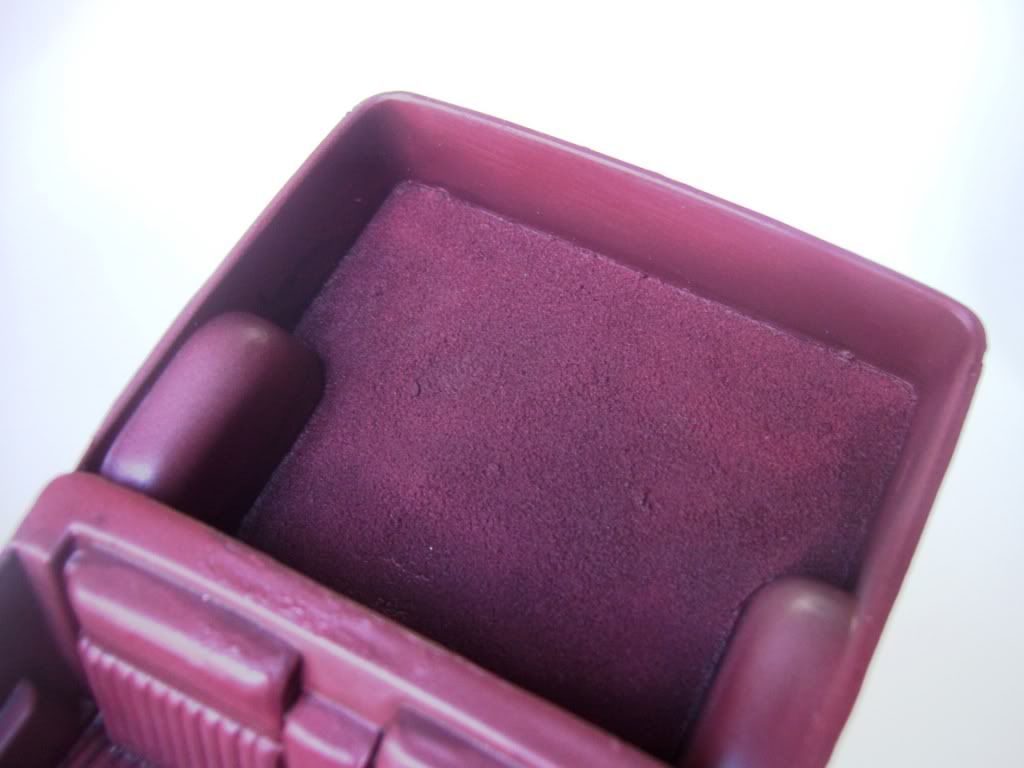
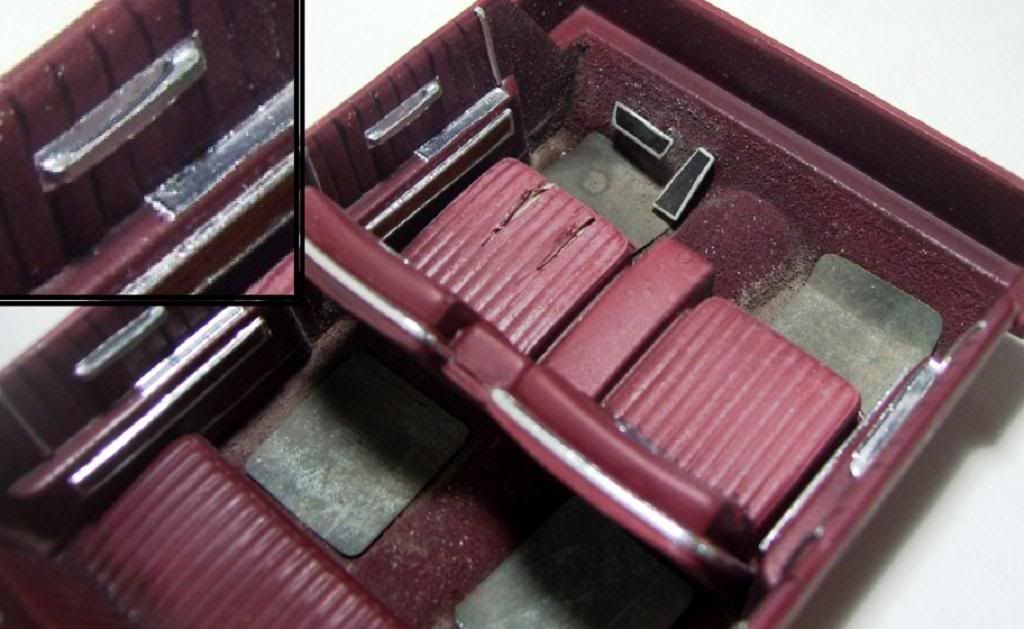
Here you can see the results--the interior has been painted with
first a base coat of untinted paint. Then, some tan has been added into
the paint to lighten it and that was shaded lightly over the top of the
seats and panels to show sun-fading. Then some black was added to the
untinted paint and the carpet was painted and the shadows and creases of
the tub were accentuated.
You can also see the color of the body here, which is Tamiya TS46,
Light Sand. which is not really a hi-gloss color. That works well for
this model, as its not going to be a "factory showroom" finish.
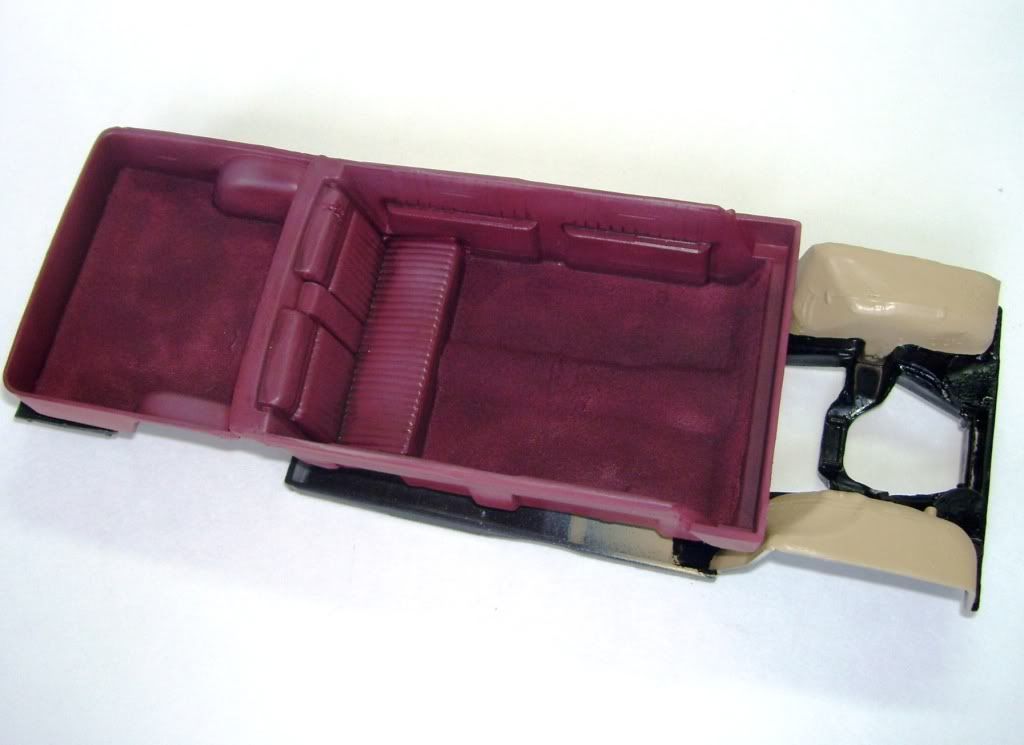
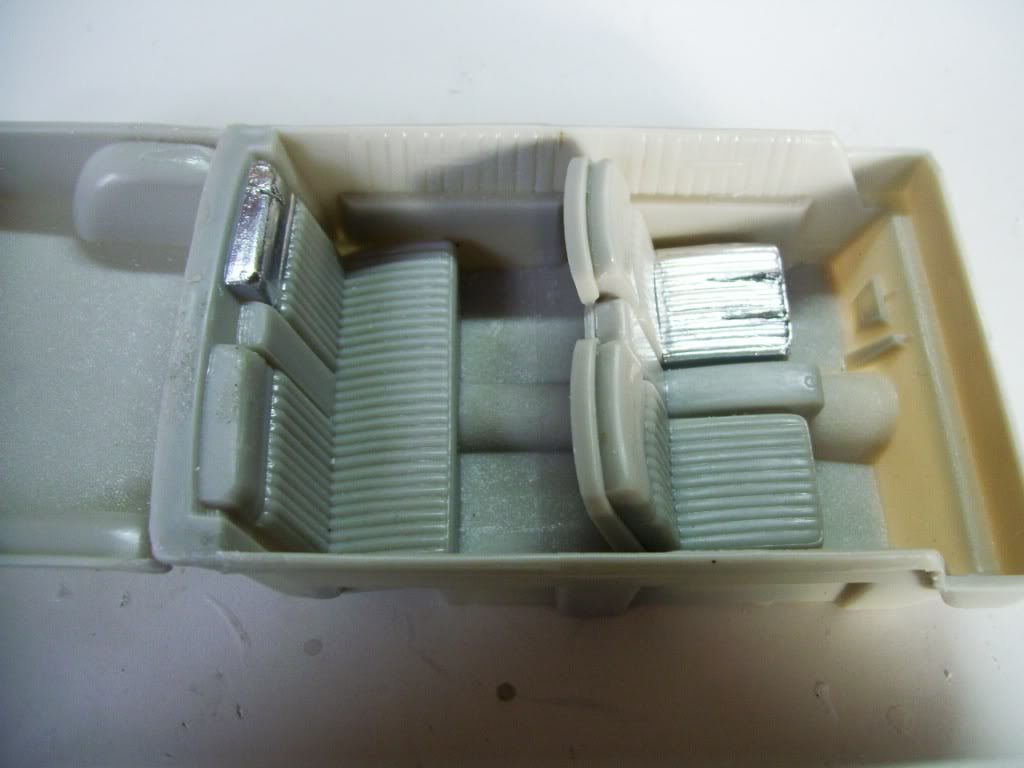
Here you can see the results closer-up.
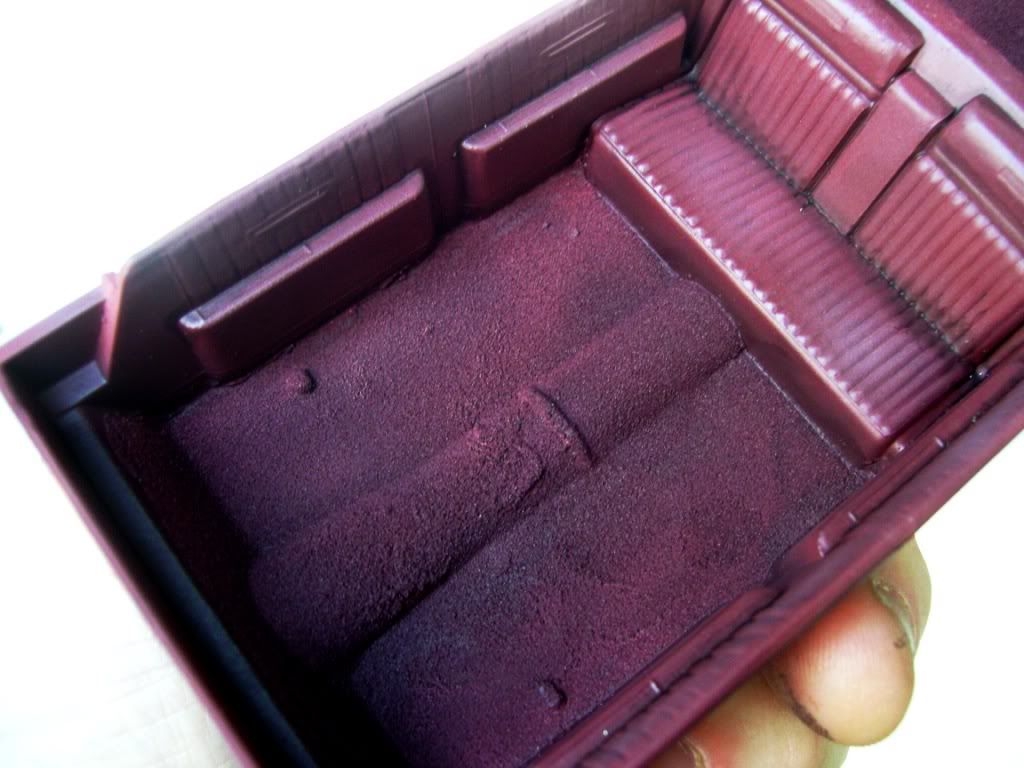
The rear compartment. The embossing powder is available at regular craft stores like A>C.Moores or Michael's.
:
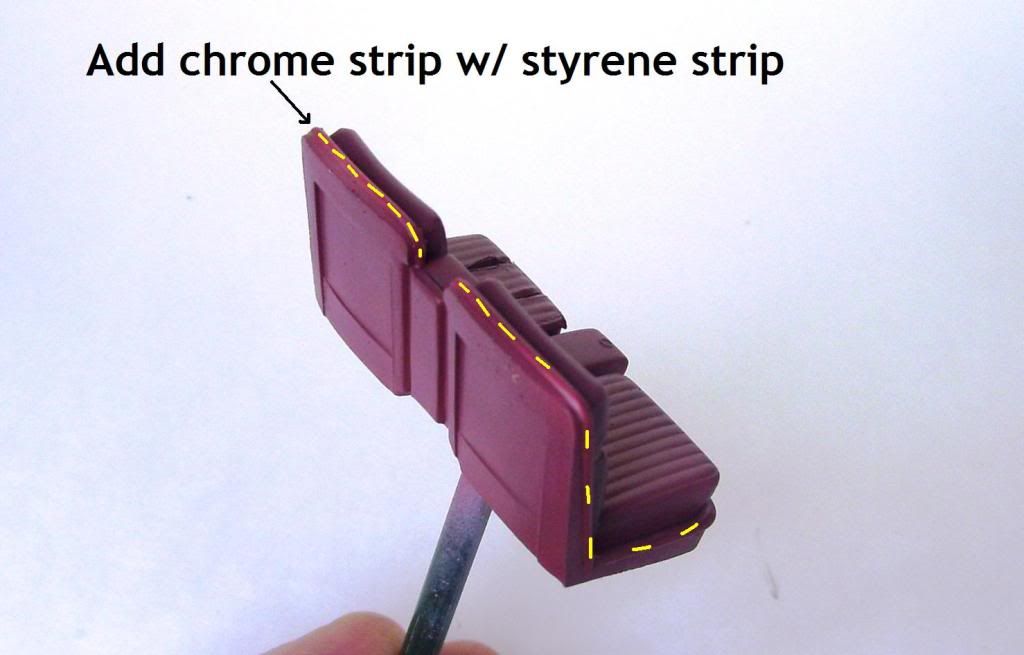
I added a piece of chrome trim to he seats. It's going to get some BMF in a little bit...
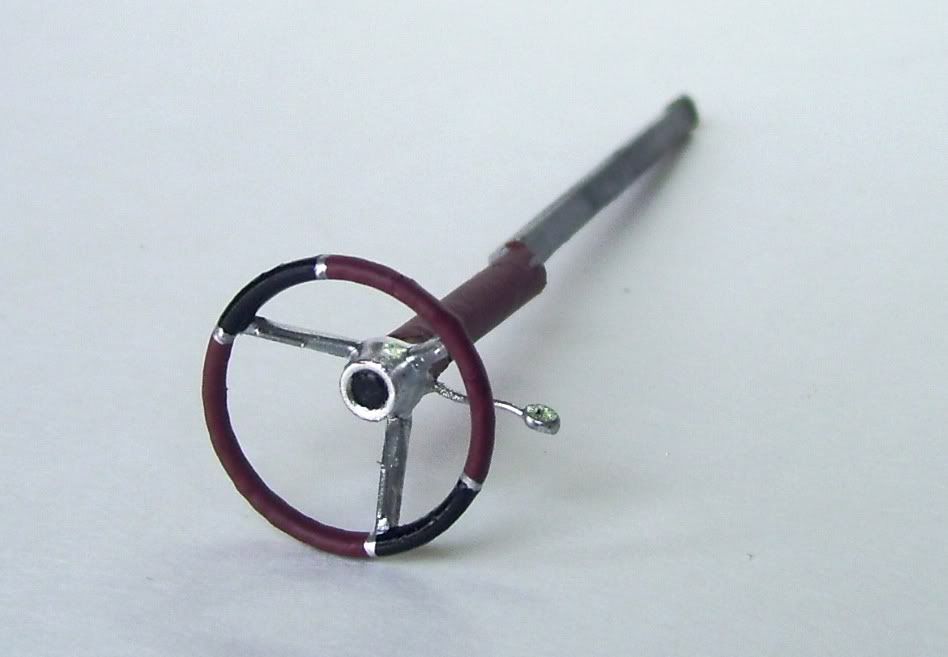
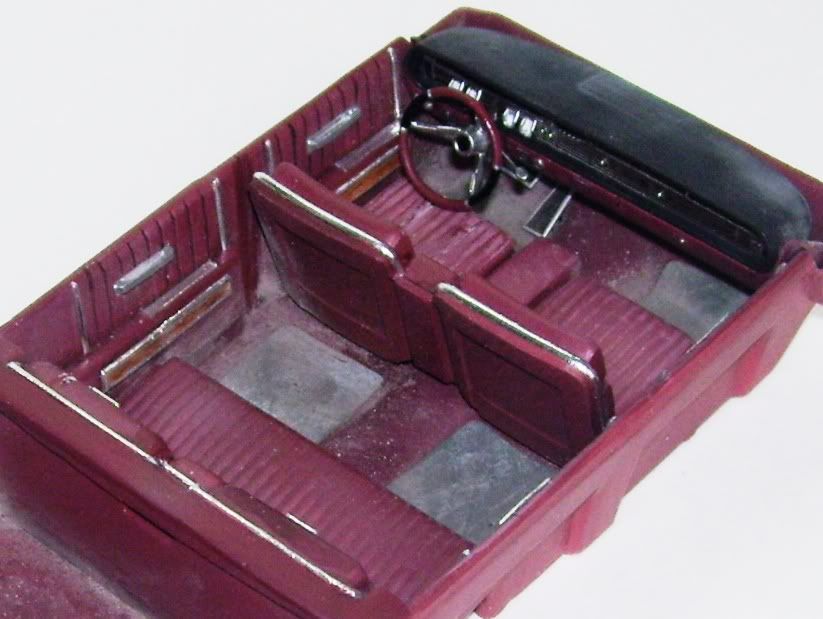
The steering wheels got a shift made of wire and a dollop of super
glue. The chrome is ALCLAD, first painted and then the colors painted
over it.
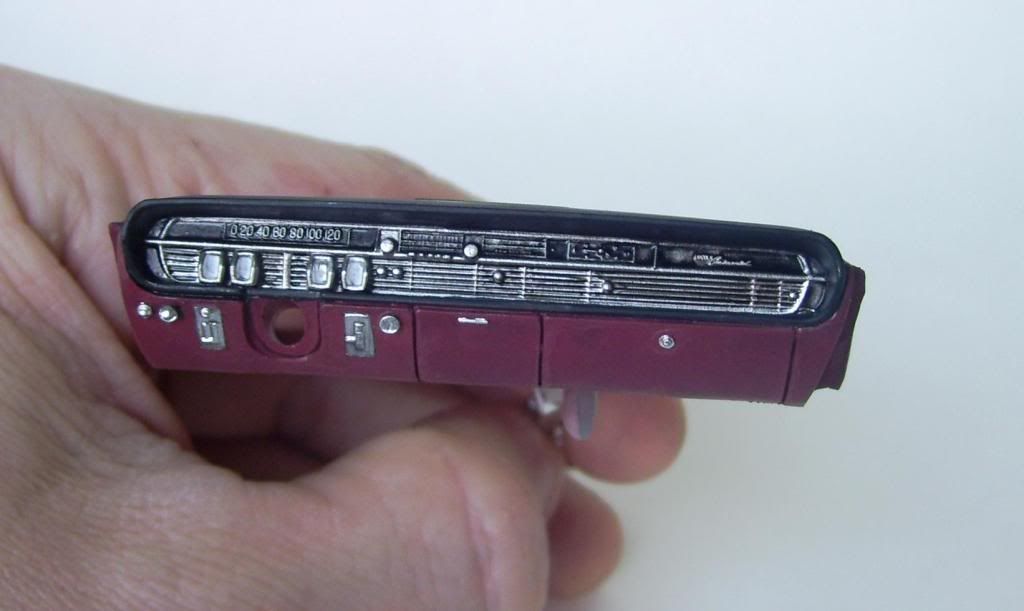
The dash was first painted in the burgundy color, and then masked
with BMF and the dials area painted with ALCLAD chrome. I then gave it
an acrylic wash of Black with a dab of dishwashing liquid to aid in
dispersion. Then the top and trim was painted in flat black.
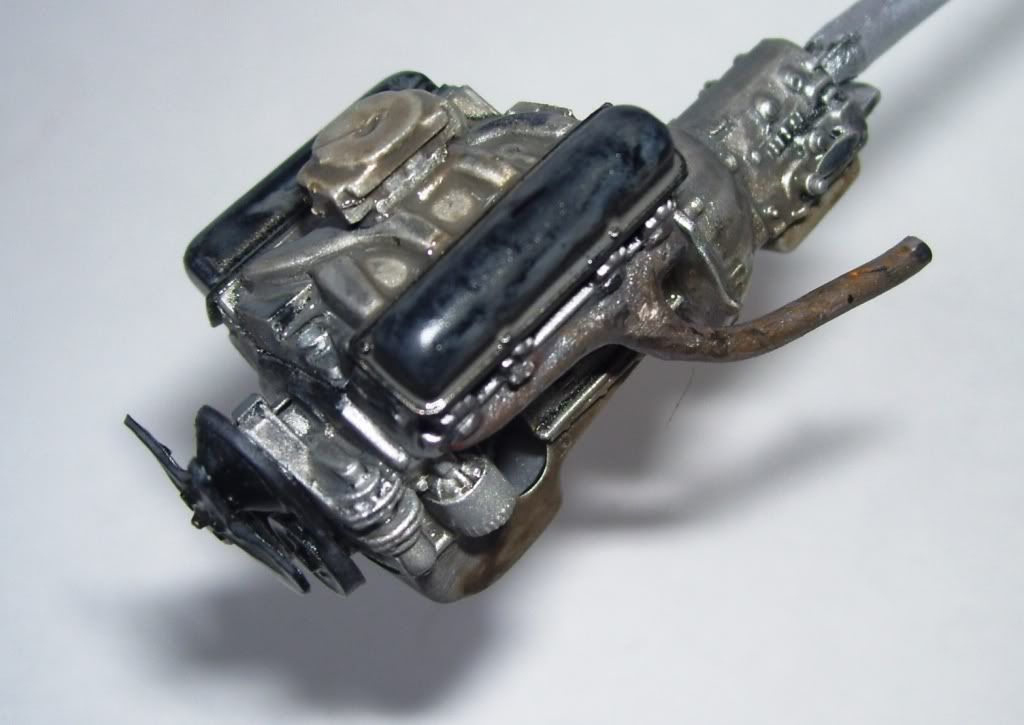
the engine got painted. The engines in photos that I've seen seem to
be just regular metal-colored, so I painted this one in Tamiya Aluminum
and semi-gloss Black and washed it in gray oil. The pipes were painted
with some rust tones mixed in. I still have yet to add the distributor.
Next, I realized that I could improve the interior by adding some of
the missing trim around the back and sides of the seat and door panels.
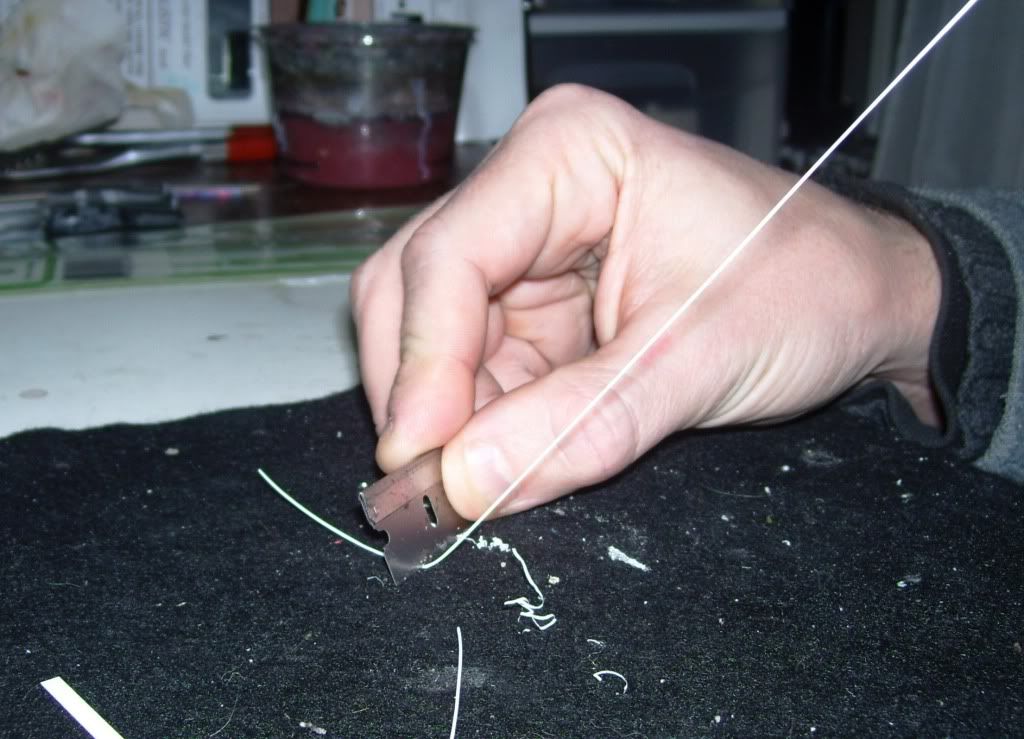
To do this, I would need half-round rod. So I used a razor blade, holing
it onto a piece of strip and pulling it through, shaving the rod into
half-round.
And here. I'm adding the pieces
Next, I made some of these faux-wood door panels which are pretty
prominent on the doors if you look at photos. They're not even molded
in. I made them out of strip and half-rod. I covered them with BMF and
then painted the centers in a wood mix of acrylics from a craft store.
Next, I BMF'ed all the trim pieces. Ugh. That was tedious! I also
made some mats from used 800-grain sandpaper. Just cut em out and glue
em in.
I also constructed some pedals from strip, and glued them in on posts
that were drilled through the body to give them some space between the
floor and them. In the insert, you can also see that I made some door
handles out of 40 x 60 styrene strip. I used an elliptical-shaped needle
file to hollow out the rod and glued them onto the BMF'ed molded pieces
which are pretty unimpressive. You might also noticed that I added some
MIG weathering pigments to the floor and mat to show what my floor
looked like in my old S10, ha ha. I used "Industrial City Dirt".
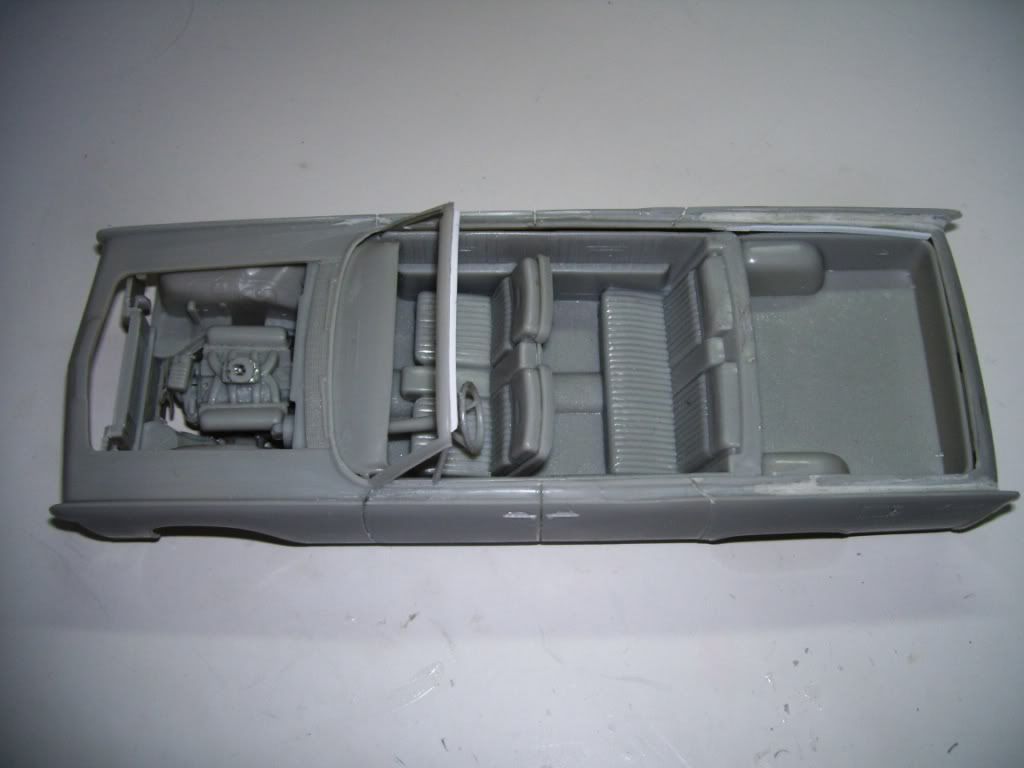
And here's some more interior detail shots.

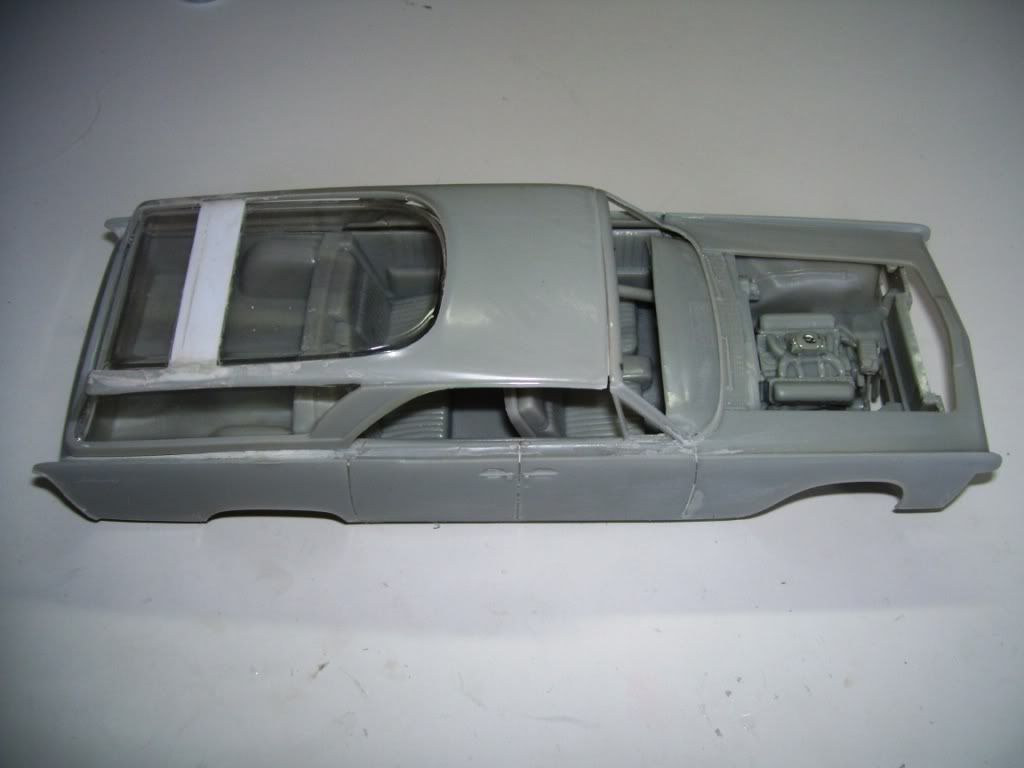
The body is getting there. Gotta BMF all the chrome parts.I polished
out the paint using NOVUS Plastic Polish, to give it a nice "medium"
gloss finish.
That's it for now! Thanks for looking in and for commenting in any way--critiques, hints, tips, or corrections welcomed! 