With my 3D fully functioning again, I was able to make some customer plumbing fittings and a big ass Holley Dominator Carb that looks a whole more like it means business that the pitifully undersized one including in the kit.
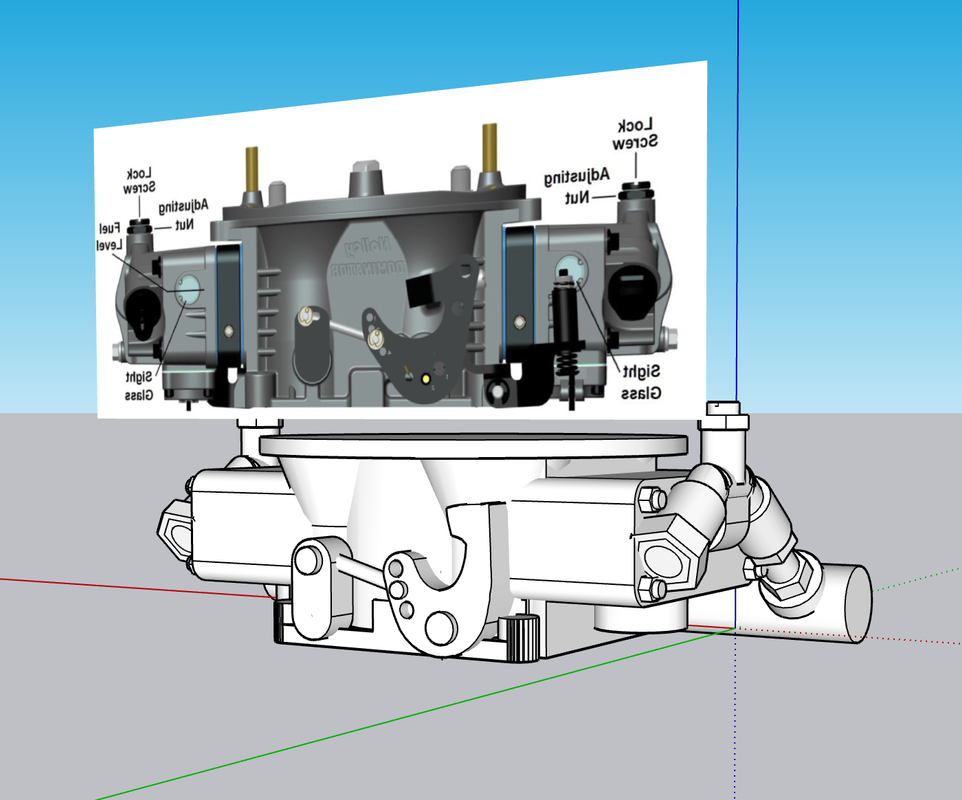
While the carb seems really large, I was able to download images of the carb from Holley's website and the bolt pattern. From the dimensions on the bolt pattern I was able to scale the entire unit. This is how it looked in SketchUp where I drew the carburetor. It's just a big carb.

![]()
Here's the complete drawing in SketchUp. It's not a perfect replica, nor did it have to be. Besides simply being so small AND being partially hidden by the air cleaner, the level of accuracy was sufficient. I also took the liberty of adding the fuel manifold with a pipe fitting on the end for the braided tubing to reduce the level of fussy scratch-building I would have to do.
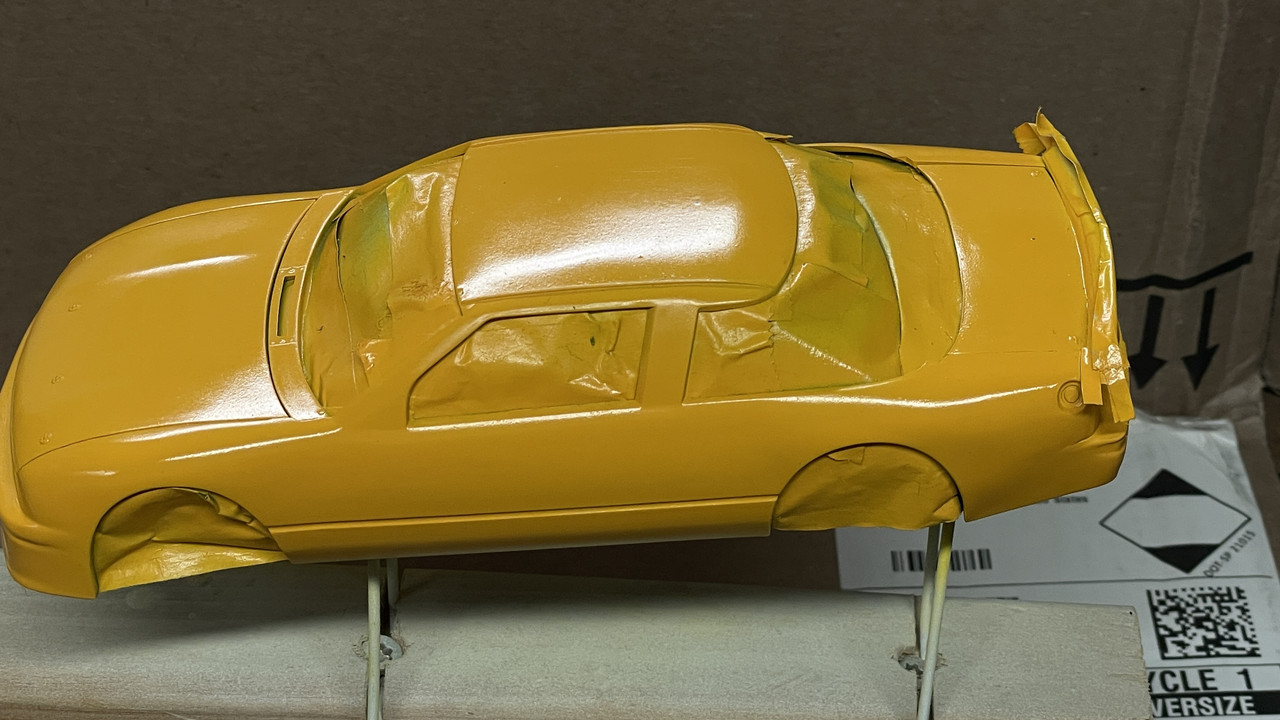
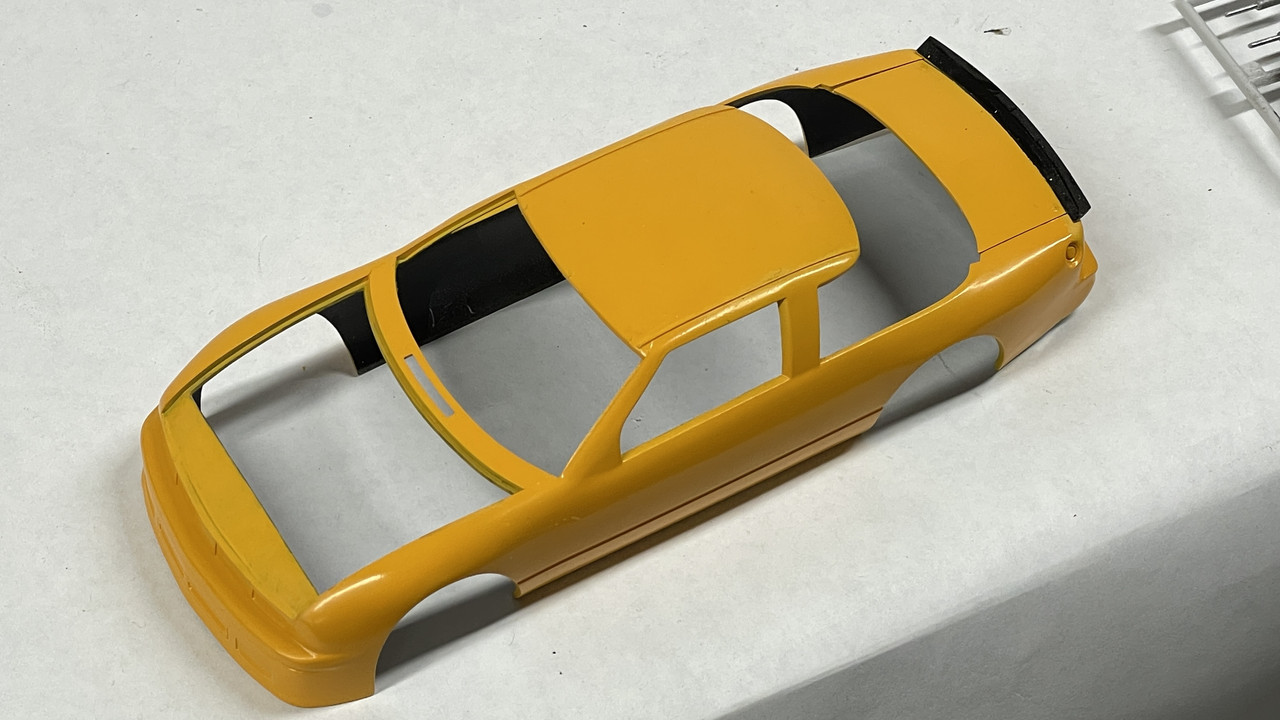
I got the 2nd coat of Alclad Aqua Gloss after a light sanding with 4000 grit.
After polishing the 2nd coat with 6000, 8000 and 12000 grit plus Novus Plastic Polish I'm declaring it shiny enough for a race car.
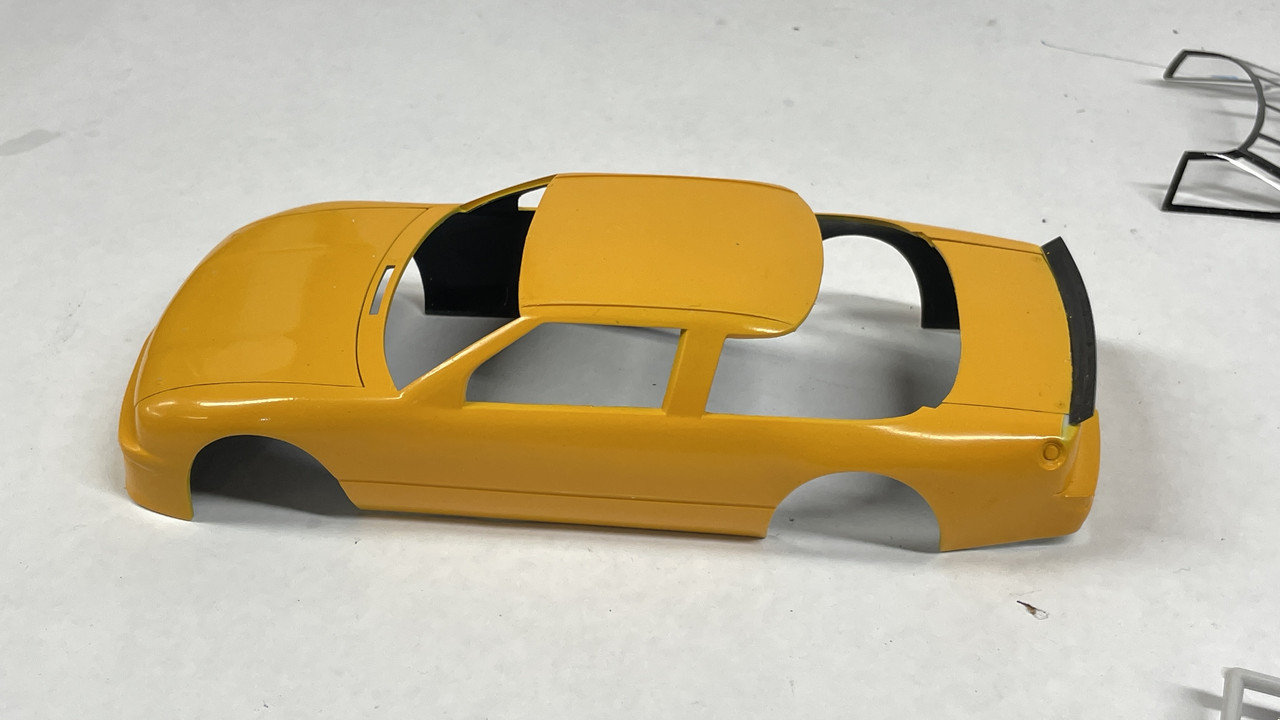
After pulling off all the masking I found that I made a booboo. I SHOULD NOT have painted the hood and trunk lids attached to the body since it hid areas that needed to be body color. This was evident on the hood and trunk edges and more importantly, on the panel that covered over the radiator.

Futhermore; the masking on the spoiler covered part of the body in the back corners.
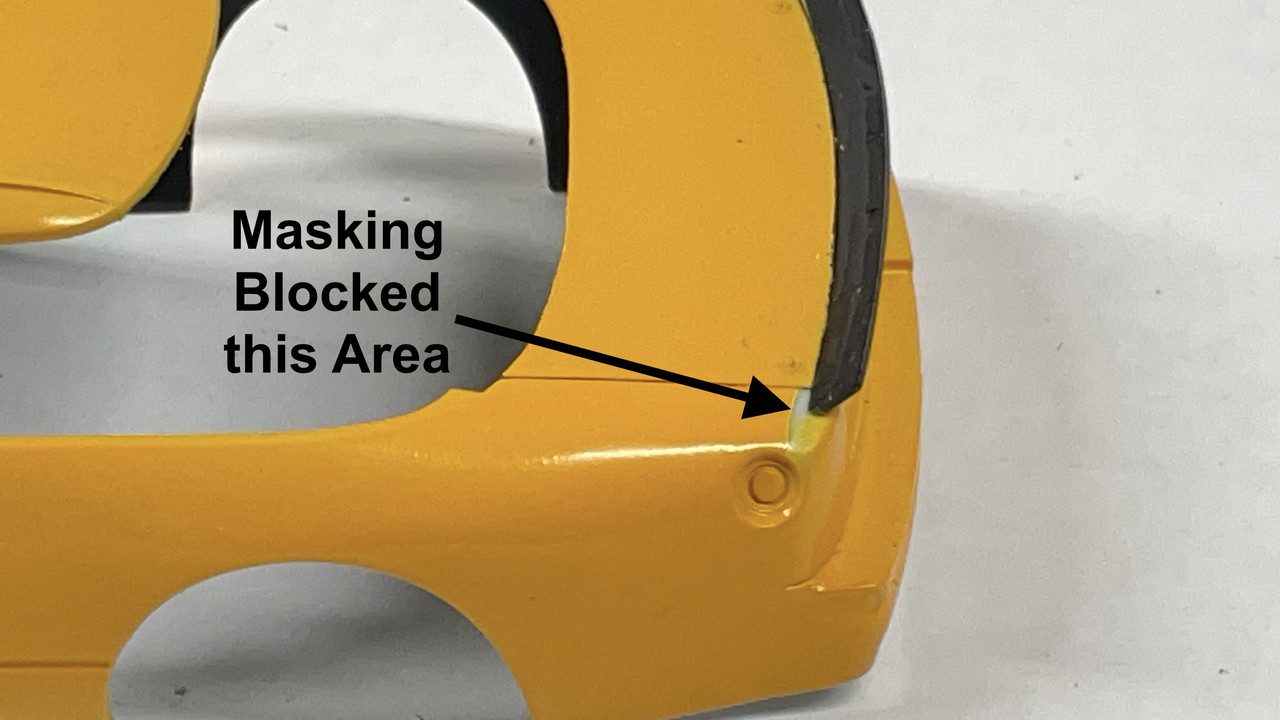
I touched these area by hand. Remember, my base color is a mixture of Tamiya Flats so the area in the rear is going to need some gloss. Annoying!
I also printed the plumbing fittings. Here are the carbs and fittings set up together on the machine. A reminder: Unlike a string (FDM) printer where the amount of material on the building surface affects the print time, here you can load the plate up since it prints everything in one complete layer at a time. What directly affects time is the height of the part, the thickness of each layer, which in this case was 30 mircons, and the exposure time for each layer.
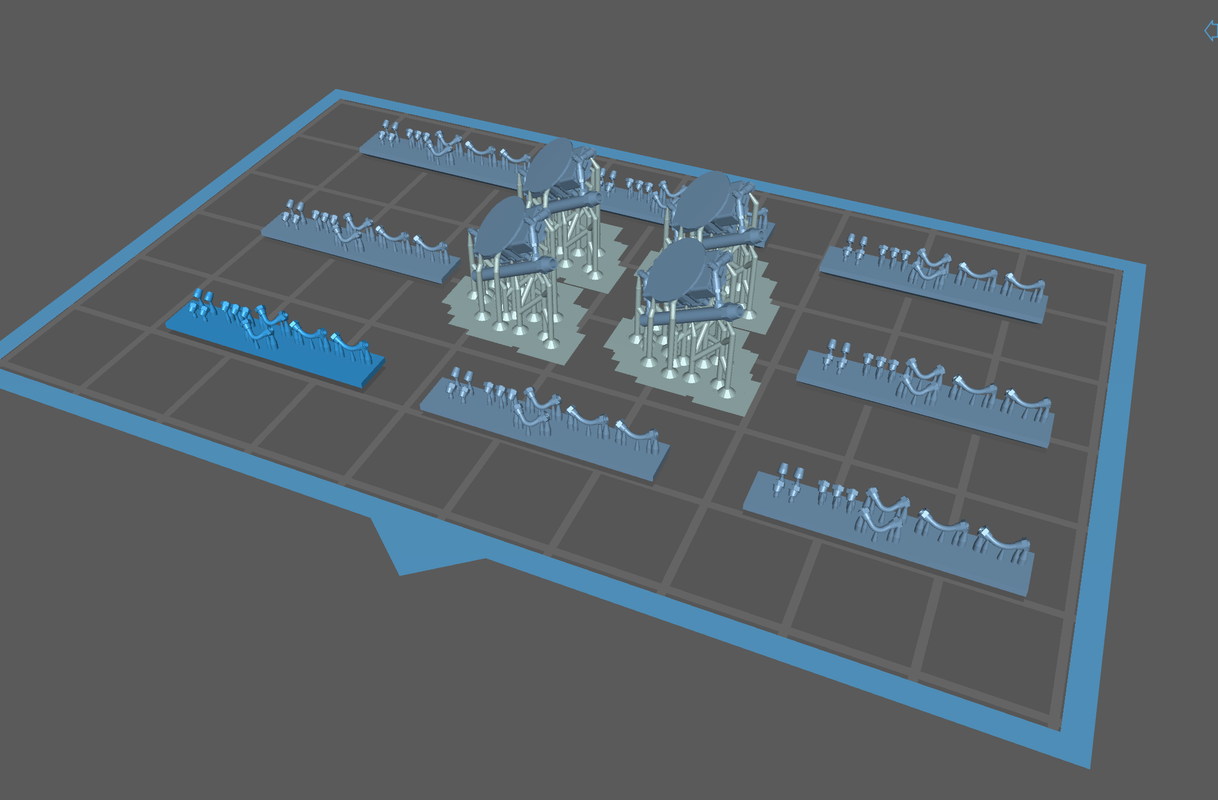
I always print many more parts than I need. There are ALWAYS failures.
My first attempt on the pipe fittings was successful, but they were just too small to handle and get the braided tubing into. I redrew enlarging the opening a tad and the over size about 130%. This printed by failed.
Reason: I drew these supports in SU and made them just a bit to fine. The supports failed to hold the parts intact as each layer was lifted to bring in fresh resin for the next one.
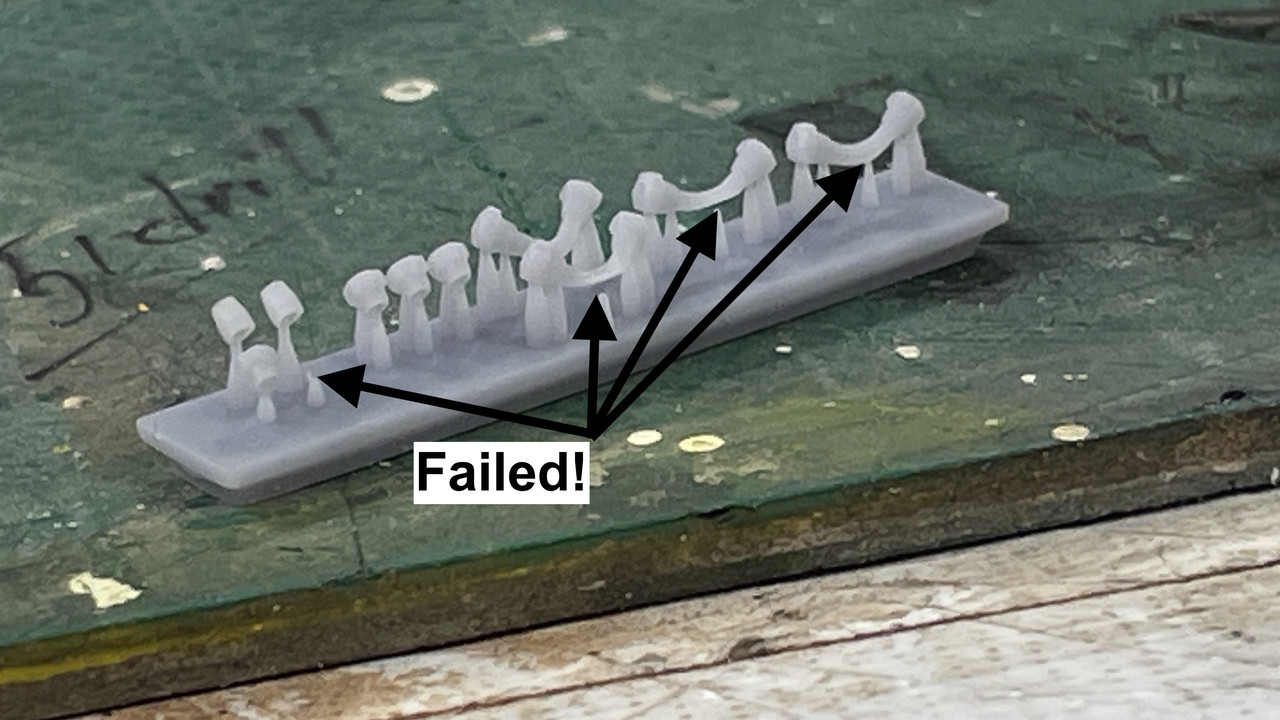
Back to the drawing board. I added more meat to the supports and will print again on Monday.
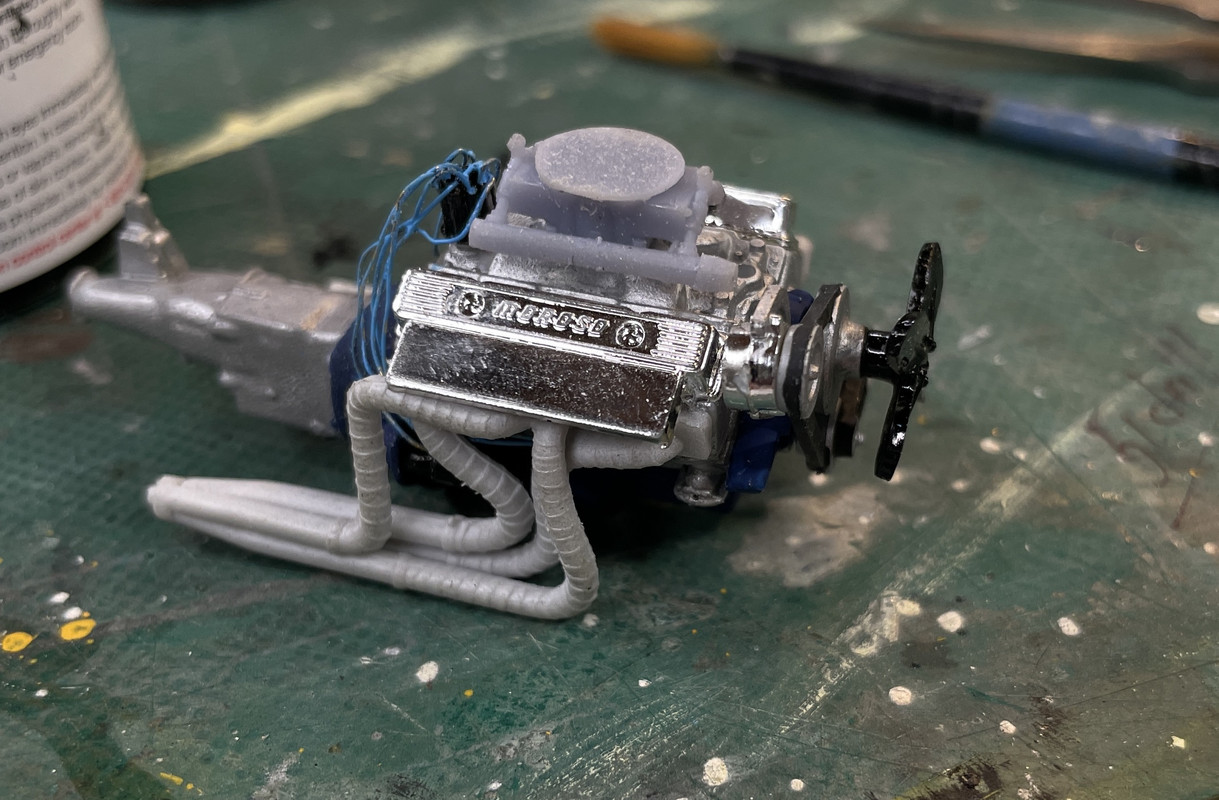
The carbs did print successfully. I trimmed one and post-hardened the whole batch. Of course the glue joint holding the original kit carb on the intake manifold was unbreakable. I had to resort to some pretty hefty flush cutters to cut it off. I had to sand its remains off the manifold and then glue the resin one in place with medium CA.
Notice there is throttle linkage which I can hook up to the rest of the car if I so decide.
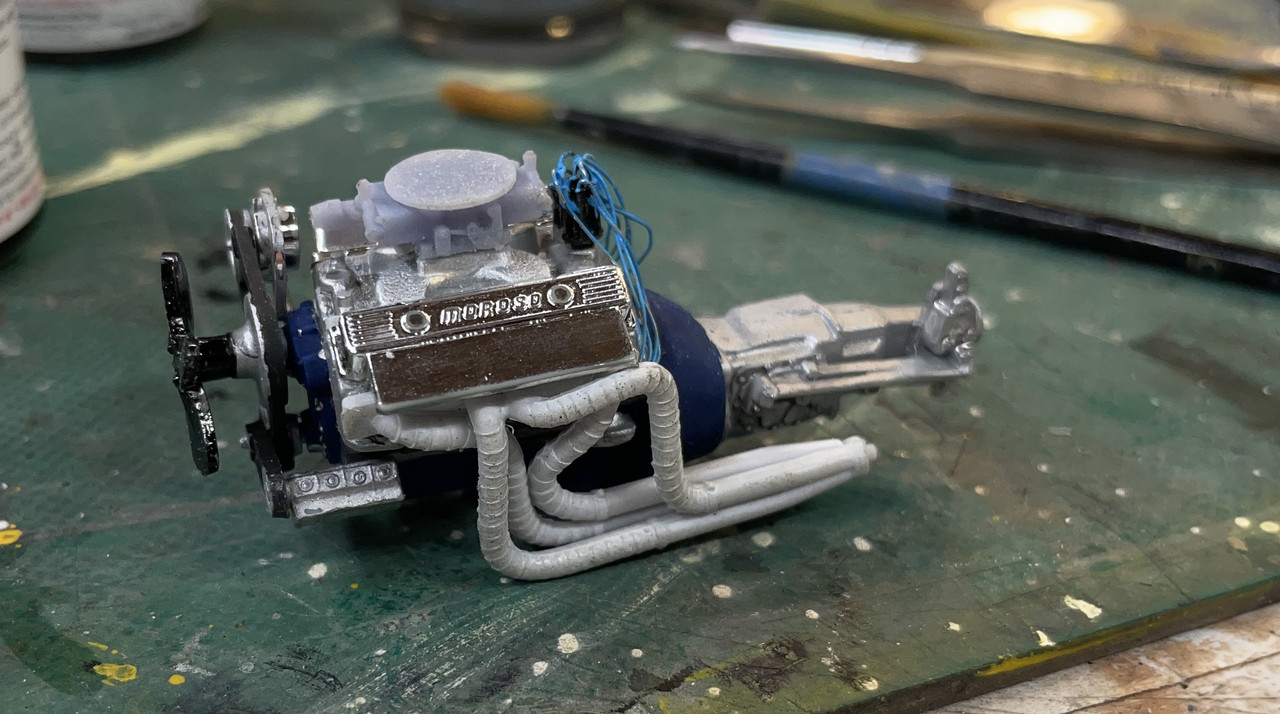
Other view showing fuel manifold.
Onward and upward. See y'all on Monday. Have a nice weekend.