SEARCH FINESCALE.COM

Enter keywords or a search phrase below:

Revell Y-Wing Finished Pg.2

6165 views
32 replies
1 rating 2 rating 3 rating 4 rating 5 rating
  • Member since
    May 2008
  • From: Wherever the hunt takes me
Posted by Boba Fett on Saturday, January 3, 2009 10:30 PM
Nice! Even though this is in the GB, you added more WIP pics here. I weathered mine with a thinned acryl black wash. Looks good man!

  • Member since
    May 2005
  • From: Dublin Rep Of Ireland
Posted by terry35 on Saturday, January 3, 2009 8:42 PM

Thank You for the kind words, its the Revell Snap kit. I know the originals Falcon, Darths Tie, X-wing were only released in europe, with Graham getting one I presume the second batch were released in thte U.S. as well.

Its bigger than the AMT snap kit from like a million years ago, and stands up well against pic's of the original on Starship modeller.

See Here.....

http://www.starshipmodeler.com/starwars/starwars_ships.htm

Terry.

  • Member since
    February 2007
  • From: Casa Grande, Az.
Posted by DesertRat on Saturday, January 3, 2009 8:00 PM
While I'm not even going to attempt the sludge wash you did, she certainly came out looking awesome! Very well done, Terry! Cool [8D]WHich kit was this?

Warmest regards,

Roger

  • Member since
    May 2005
  • From: Dublin Rep Of Ireland
Revell Y-Wing Finished Pg.2
Posted by terry35 on Saturday, January 3, 2009 4:19 PM

Well now, this is being done for the starwars GB, over in Group Builds.

IT not an overly expensive kit, Graham/bobafett got one for $8. They are about 20 euros over here, don't ask what the euro is in real money.

Any hoo lets see pic's.

The good old bagged sprues, had to prove it was still baged on new years eve.Smile [:)]

out of the bags.

The fuselage.

Some pipes etc. painted in. at this stage I had also very lightly drybrushed some very light greys over the entire model with the exception of the nose/cockpit area.

This may frighten some people but I mixed up some Burnt Umber and raw Umber oil paint and liberally covered the model with it, and left it to set in for a few hours.Whistling [:-^] Don't come crying to me if you try this and it doesn't work, Its one technique I do not promote in any way.
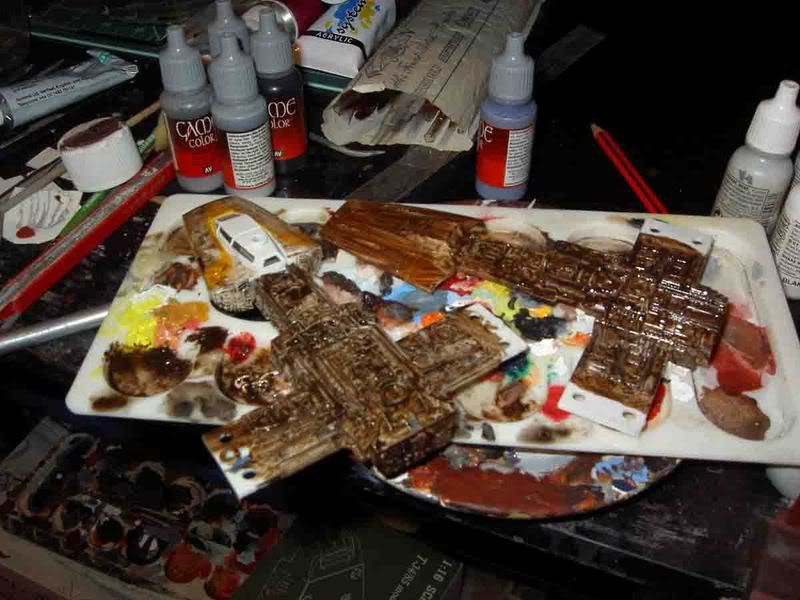
With an old soft cloth dampened in thinner I then wiped off theh entire model, very smelly procedure, at least have a window open or do it outside, it really stinks.

Your left with this.

I did reapply some of the mix for the cockpit panels.

Heres whats done so far, hope you like it, I will post pretty regular with updates as work progresses.

Thanks for looking, all comments welcome.

Terry.

JOIN OUR COMMUNITY!

Our community is FREE to join. To participate you must either login or register for an account.

SEARCH FORUMS
FREE NEWSLETTER
By signing up you may also receive reader surveys and occasional special offers. We do not sell, rent or trade our email lists. View our Privacy Policy.