SEARCH FINESCALE.COM

Enter keywords or a search phrase below:

DeAG Millennium Falcon High Detail Build

19106 views
158 replies
1 rating 2 rating 3 rating 4 rating 5 rating
  • Member since
    December 2010
  • From: Memphis TN
Posted by Heavens Eagle on Tuesday, September 22, 2015 9:09 PM

SO!  Would anyone like to see a video of the Dremel cutting the part off in the previous post?  Let me know.

With the modification I now have a window problem.

That's about it for now.  More Cut-n-Chop later.

  • Member since
    December 2010
  • From: Memphis TN
Posted by Heavens Eagle on Tuesday, September 22, 2015 9:02 PM

OK then,  Here is part 1 of the next EXtreme installment.  Using a rather old Dremel drill press, I set it up and use it as a cheap milling machine.  Can't do that with the newer designs.  Who ever said that new was better!


Here ends part 1, stay tuned for part 2.

  • Member since
    December 2010
  • From: Memphis TN
Posted by Heavens Eagle on Sunday, September 20, 2015 9:50 PM

Here is the first installment of my EXtreme Falcon modificatins.    Part TP-3 is going to get a thorough revamp by the end of this session.  There will be several more installments on this modification session.  Please let me know what you think.  While I know this is supposed to be "The 32 inch scale replica" , it is just too clunky and blah compared to the detail found on the 5 footer  (5F from here on)


Here we go. . .


Let me know what you all think, would ya?   I am curious as to if anyone really finds this build worthwhile.

I should have a bigger post in a couple of days.

Cheers!

  • Member since
    December 2010
  • From: Memphis TN
Posted by Heavens Eagle on Thursday, September 17, 2015 8:17 PM

Here is Issue #4 from Shipment #1


Next I will be posting some pictures for the extremists.  They will look slightly different and will be all kinds of how to and what I have done for some of the extreme modifications that will be coming along.


After that will be posts from Issues #5 and #6 of Shipment #2.  Those will finish up all of the stock cockpit parts.


Until next time.


  • Member since
    December 2010
  • From: Memphis TN
Posted by Heavens Eagle on Thursday, September 17, 2015 7:47 PM

It has been a few days and I have some more of the basic kit info and comparisons to the movie props.  A lot of the interior parts for the kit will give an "impression" of what the movie sets were, but really misses the mark if you are into the details of things.

So here are some more pictures to round out the first shipment Issues 1 through 4.  Please bear with me on the photos as I am uploading them via my phone and FSM's interface is not that easy to work with.  (OK it is a royal pain, as I can do with plain text in 5 minutes what takes 20 on here and the source code tool is worthless.) 


That is all for Issue #3  I find the cockpit ok for a passing glance, but if you were to really take a look and know what you are looking at, it fails.  In addition now that I am actively working on it, the stickers in the kit don't even really fit right.  It is all a mess, so when it is right and studied, it will be a good thing.

Issue #4 is next.


  • Member since
    December 2010
  • From: Memphis TN
Posted by Heavens Eagle on Wednesday, September 16, 2015 6:13 PM

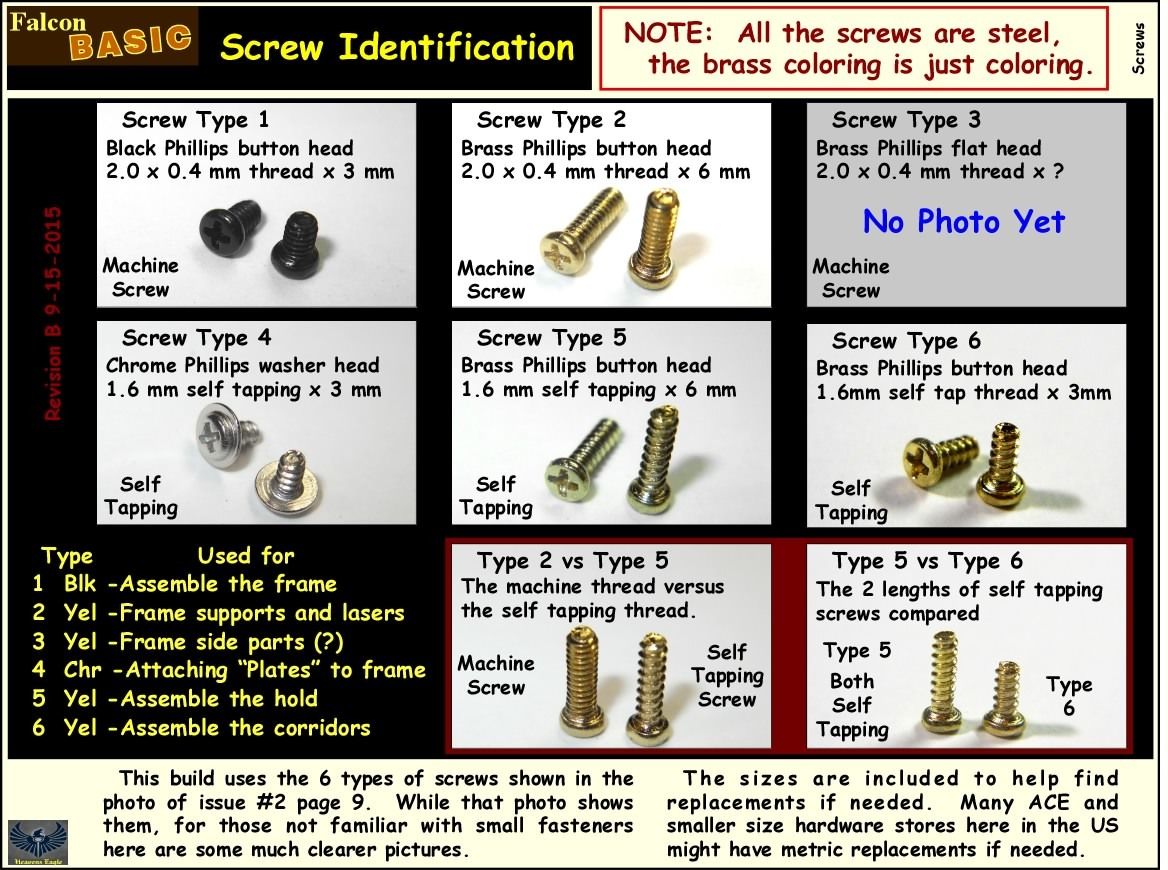
The screws description in the first post has been revised and updated.  The Type 6 screw is now added in and shown in detail.

There will be more photos in a day or 2. 

  • Member since
    December 2006
  • From: Phoenix, AZ
Posted by Fly-n-hi on Saturday, September 12, 2015 9:32 AM

You're gonna need a bigger boat...

  • Member since
    December 2010
  • From: Memphis TN
Posted by Heavens Eagle on Saturday, September 12, 2015 9:18 AM

Continuing on with Issue #2 and the initial piece of rework on a part.


That's all for now folks!

Please let me know what you think and if you have any questions, be sure to ask.   There will be much more to come!

  • Member since
    December 2010
  • From: Memphis TN
Posted by Heavens Eagle on Saturday, September 12, 2015 8:56 AM

Good Morning everyone!  It's time for the first installment of many to come.  I tend to do rather big picture posts but am going to limit the individual posts to 10 or 12 pictures at max then do a second if there are more pictures.  Why pictures instead of just photos?  You'll see.  Big Smile

Ack!  Posting from a phone and am really used to doing this with just text and code (which is MUCH easier and faster)  but the code editing on this site is unusable.  So cleaned up the extras and moving on.

  • Member since
    December 2010
  • From: Memphis TN
DeAG Millennium Falcon High Detail Build
Posted by Heavens Eagle on Friday, September 11, 2015 10:18 PM

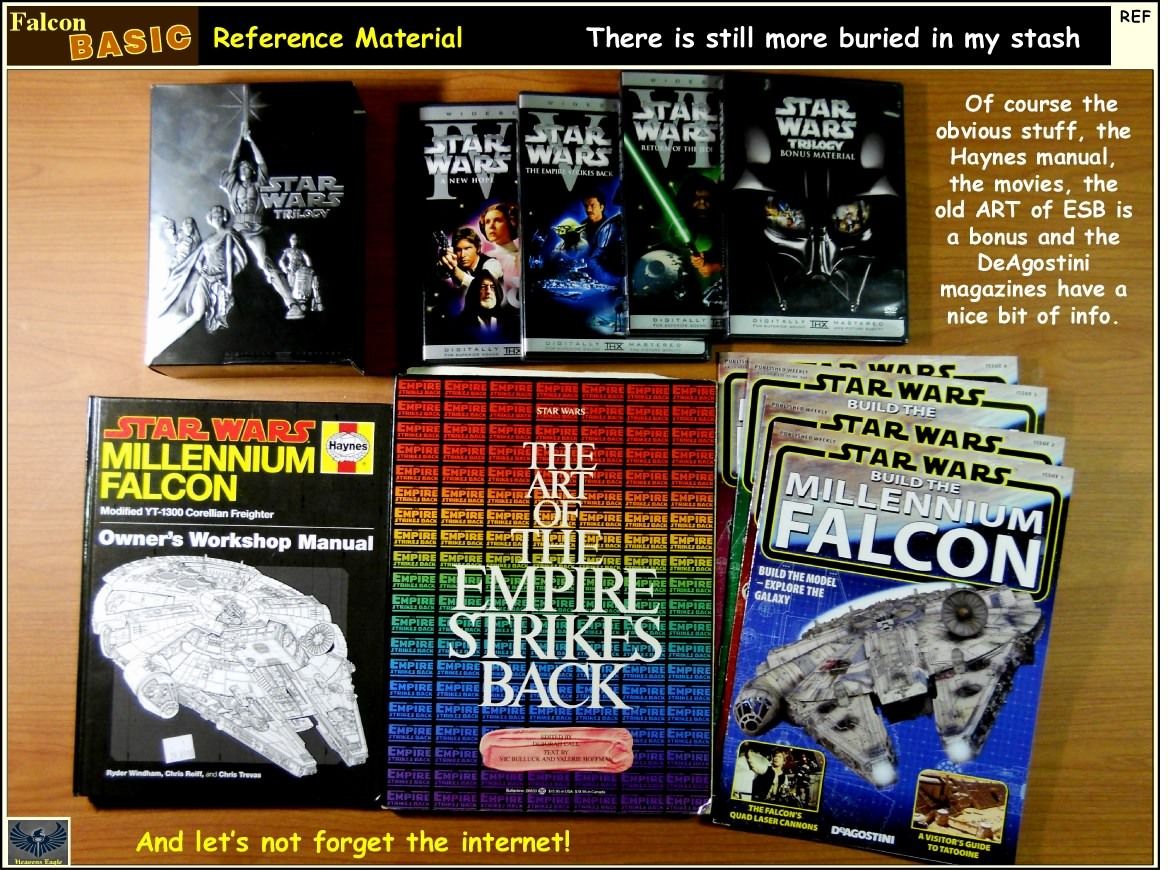
Hey everyone,  I have been working on the subscription build of the Millennium Falcon now for a couple of months.  I am adding in a lot of the details that are found on the 5 footer and are not found on the smaller (32") shooting prop.  As this is a static model that people will eventually be taking a close look at it deserves the extra detailing.

Yes, I know that it is supposed to be a (near) perfect replica of the 32" shooting prop, BUT,  that prop was intended for all the high energy quick zoomy scenes where details can't be seen.  The only scene in the 3 original trilogy movies where the Falcon moves slow enough to see detail is the one where it is tractored into the Death Star.

I just seems that if there should be some detail in a spot it should have "something" there.  While I like the overall shape of the 32" as compared to the 5 footer, I like the detail on the 5 footer.  When I started this project it was to leave it alone unless it needed a correction for a glaring difference.  Well, the first glaring difference to me was the Quad laser, then the top turret plate, and a BIG poof the cockpit!

So here is the start,  I will have all the basic stuff covered at it is out of the box, reference photos with details pointed out, corrections for the basic parts, and extreme modifications to who knows what all at this point.

Here we go!
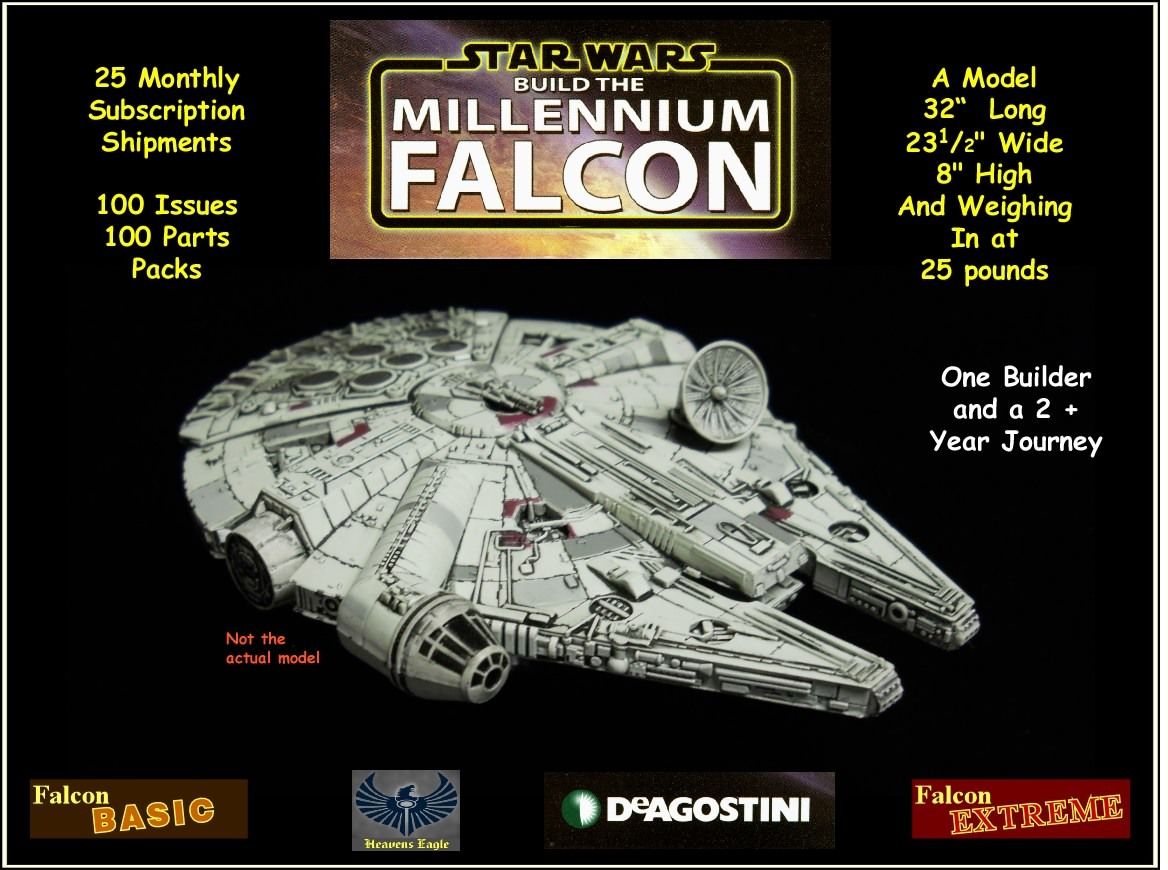


There is the start.  I like to do a small start with some basics.  I have more that will be posted in the next few minutes.  The amazing stuff will be a little while yet.  I just finished a massive rework of the top turret to make it appear much more like that on the 5f.  Normally I won't post a photo of stuff that far down the road but in this case I suspect all of you would love a teaser.  (and I can't resist)
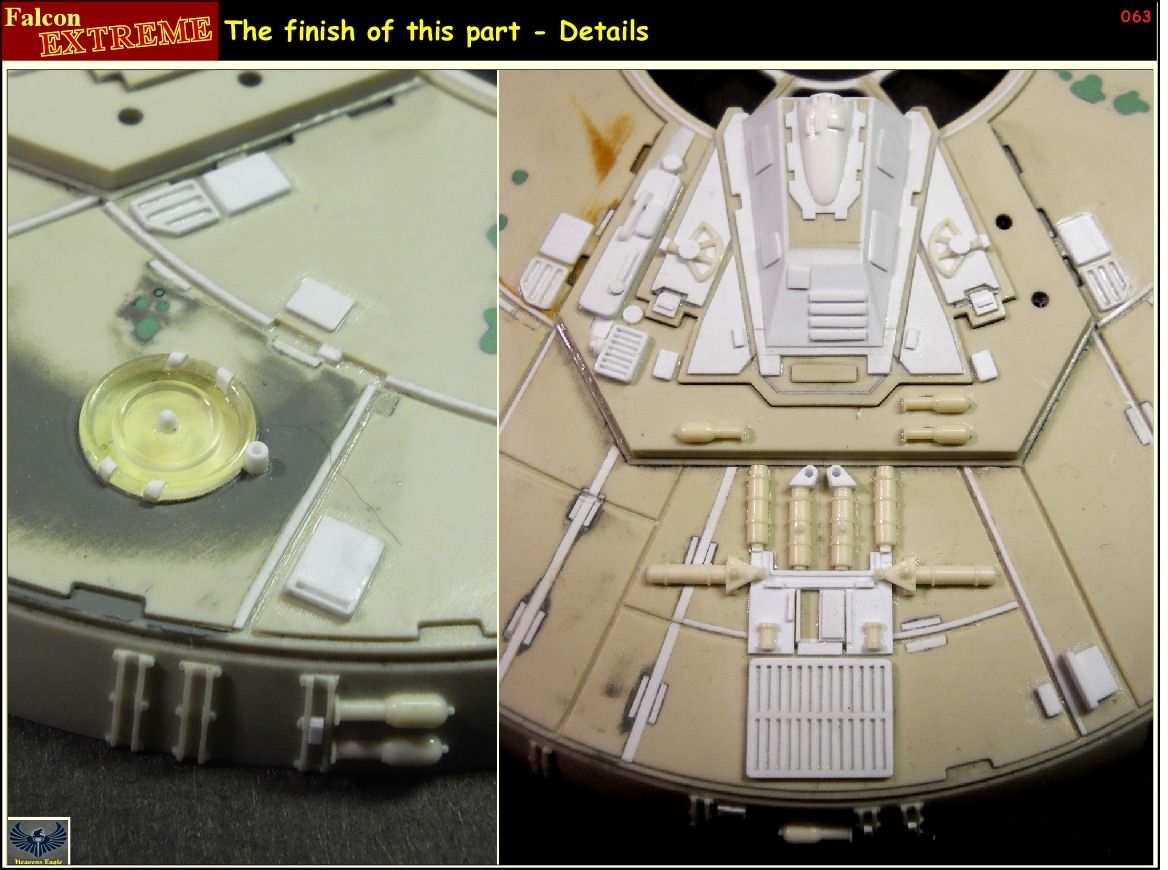
 

More in a few. .

JOIN OUR COMMUNITY!

Our community is FREE to join. To participate you must either login or register for an account.

SEARCH FORUMS
FREE NEWSLETTER
By signing up you may also receive reader surveys and occasional special offers. We do not sell, rent or trade our email lists. View our Privacy Policy.