Thank you so much for the kind comments leemitcheltree and TF! Much appreciated!
The rear cockpit bulkhead is going quite slowly. I did do a prototype test this weekend and found many problems with the execution of my idea. The basic idea is still fairly sound but (as I already knew) the initial sets of square buttons were not accurate enough to work well, but showed the flaws in the test. I have fixed that issue and have some very precise jigs made out of aluminum now to cut the square buttons out and they look GREAT!
The flaws I found are that the alclad chrome will not work on top of the bare acrylic very well. The black primer on top of that chips off extremely easy. Bad is it won't work, good is that I can use this on other builds to do chipped paint.

As to the light coming through from behind, the clear plastic buttons are fairly bright once the paint is removed from the top surface, but can't get a consistent coat of white paint on it where they will be translucent. I do have some .005 thick styrene that works quite well for this though so that should work OK. The buttons won't be extremely bright, but will have a off white glow. So that will work out.
The little round light idea with some .010 dia fiber optic placed in drilled holes is going to be too problematic. It "sort of" works. Sort of in that the lines are fairly straight, but not in that the areas between the strands don't have enough paint and what to really give the lights the separate "spots" they need to be. This issue is what is making me rethink how the panels will have to be done.
So I have another idea. 
As an initial rethink I believe that some .003 or maybe .004 thick brass sheet with holes drilled for all the lights and larger holes drilled for the square buttons is what will be needed. This then also breaks the panels up into smaller parts to be done. I will still use an acrylic back piece like I have already done but the brass will be attached to it. Then I think I can print some decals to overlay that, punch out the holes for where the buttons go and attach them with small amounts of CA. That should take care of the marking problems, light block problems, and I can drill the tiny light holes with VERY small carbide drills. The digital attachment on my mini mill will make that job easy. Time intensive, but easy. It will also be more crisp than a similar panel done as photo etch.
Anyway, enough on that for now. I will have some photos on it soon. For now I need to get some more of the basic stuff posted and get it closer to current. Here are some more of the basics.
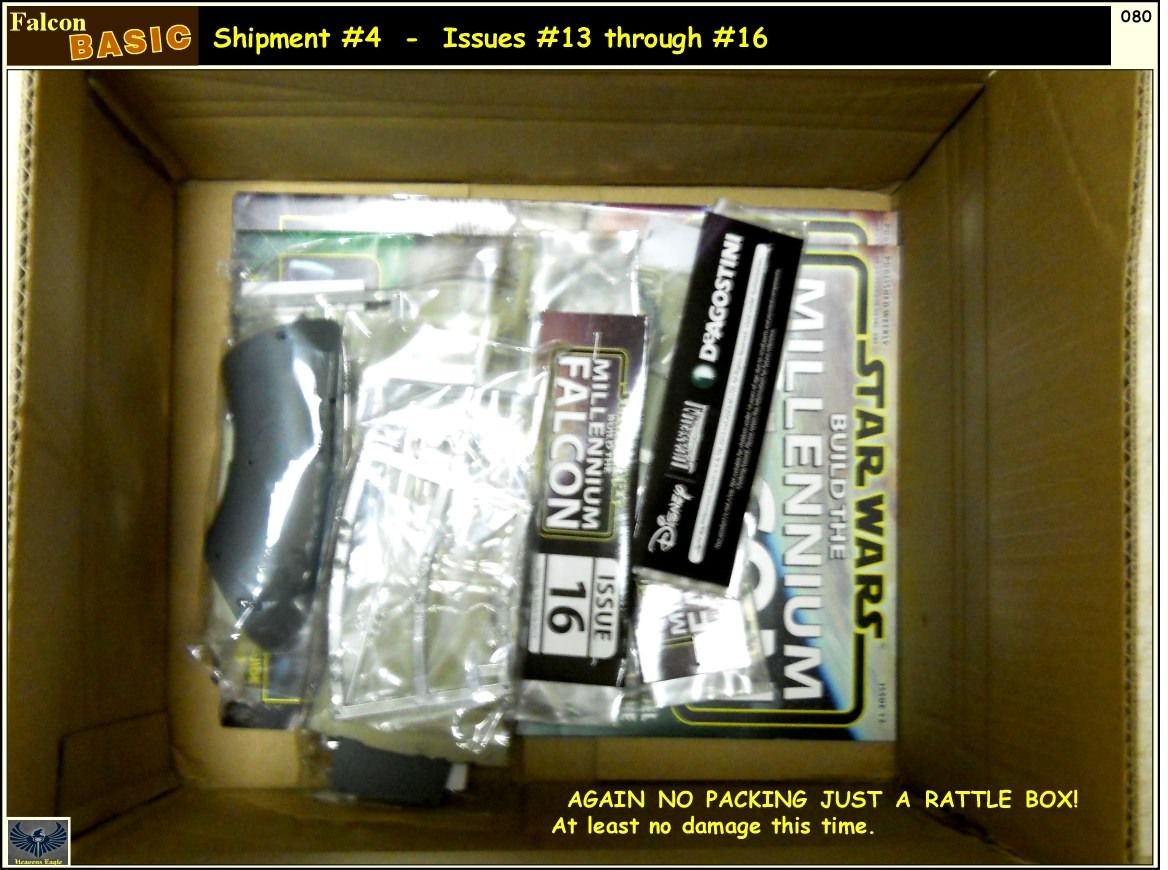
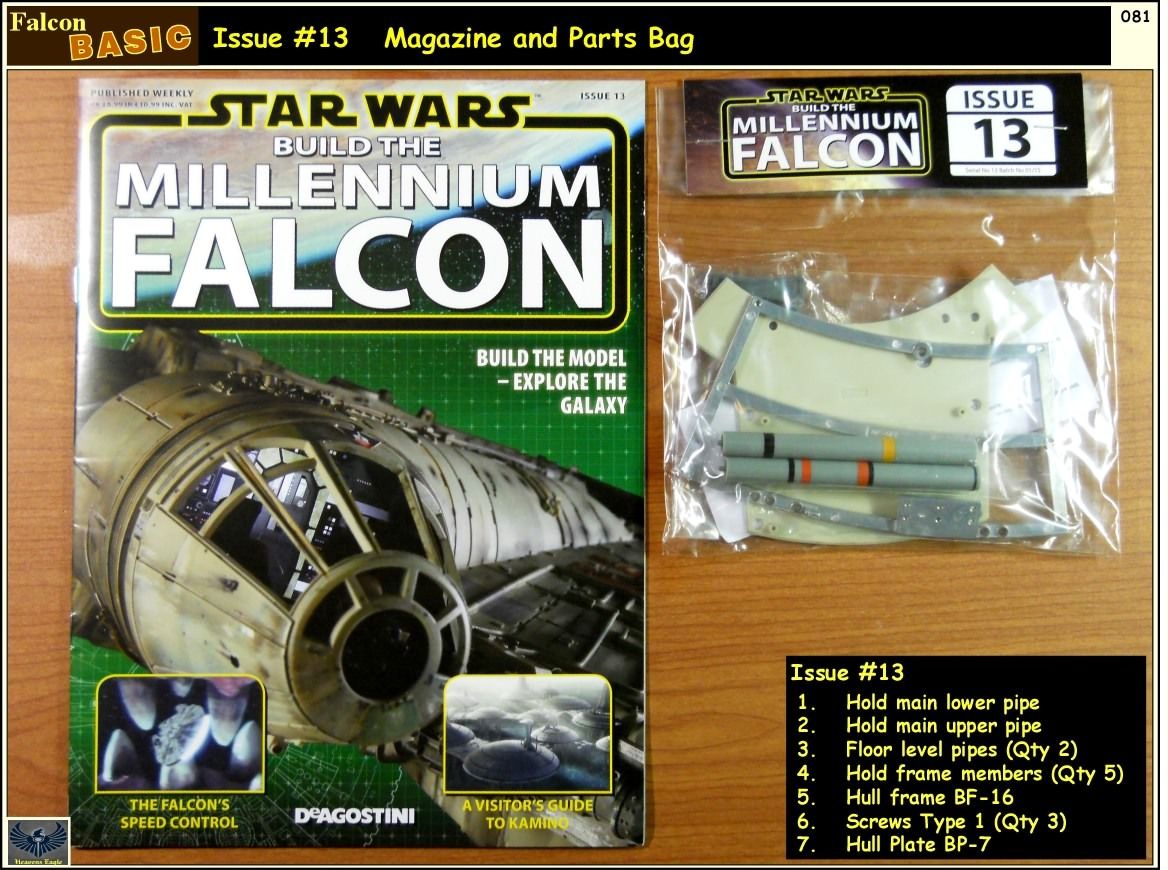
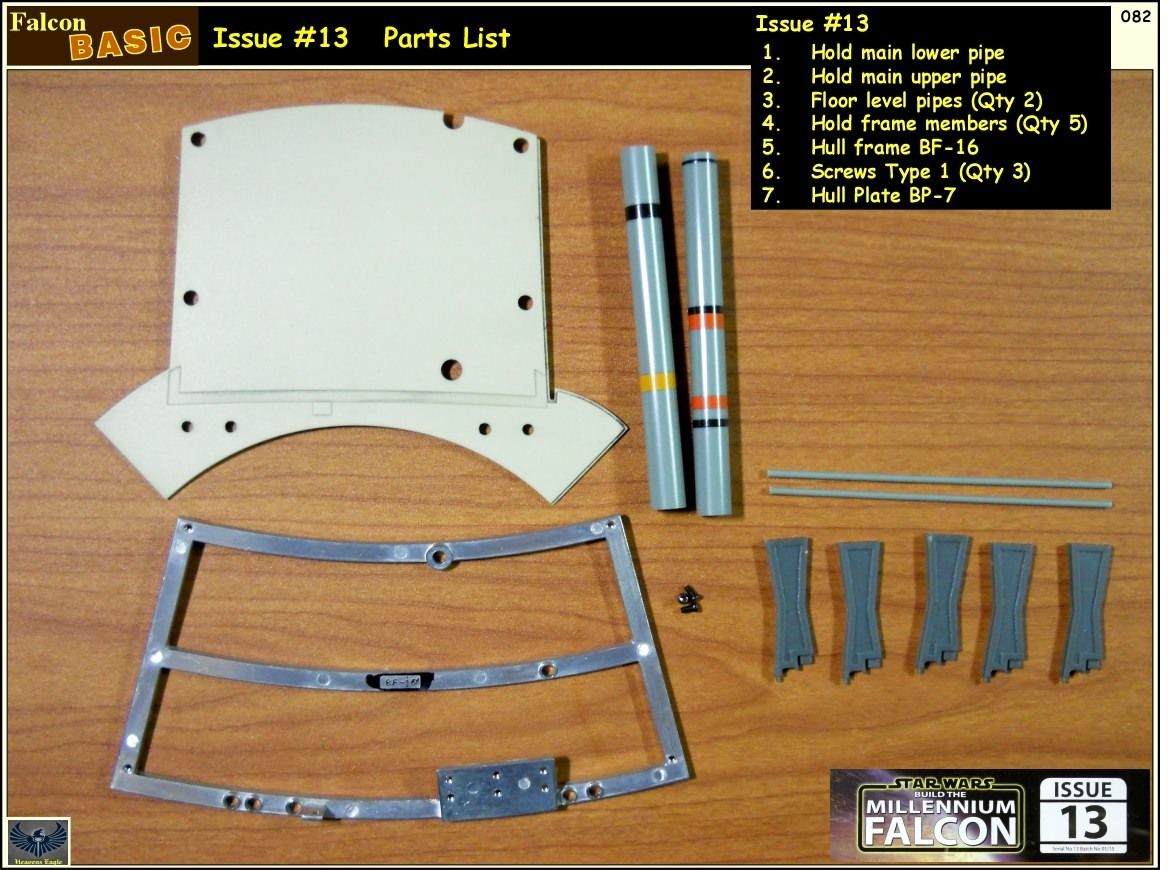
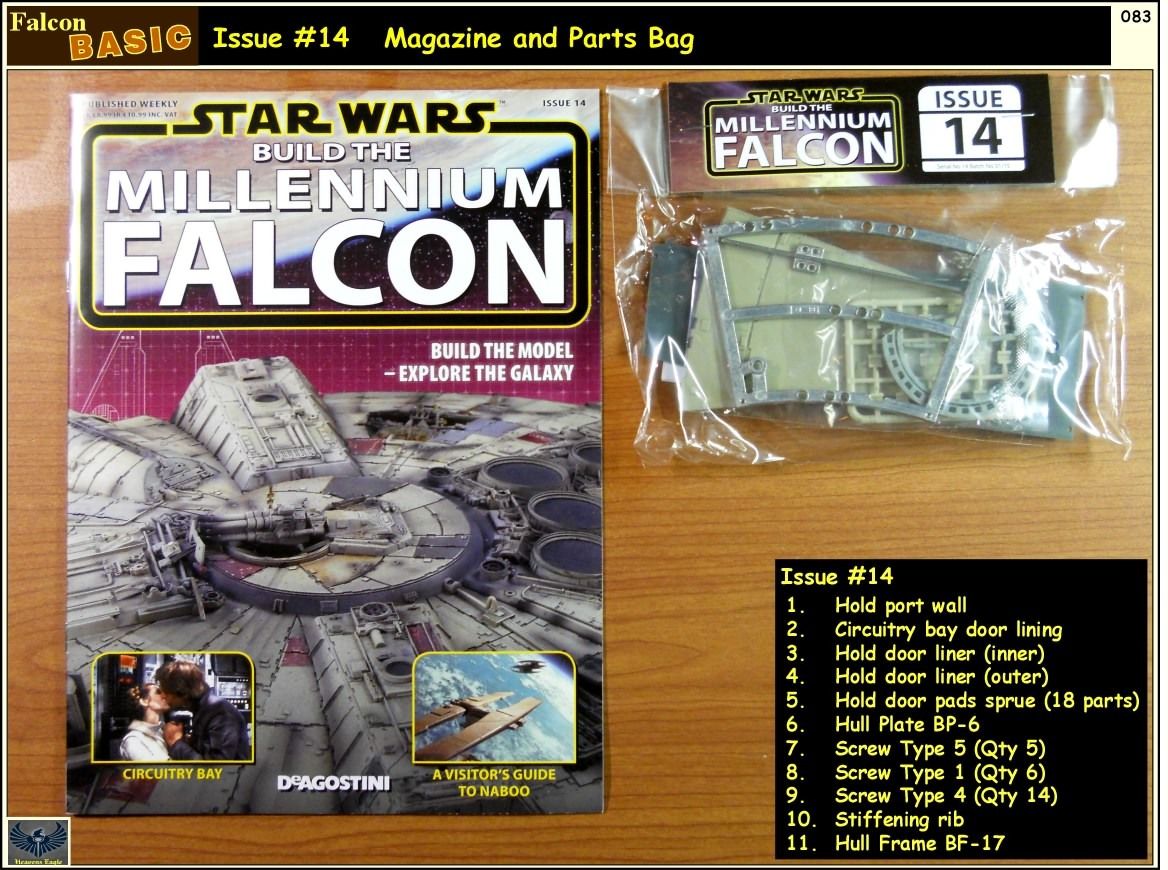
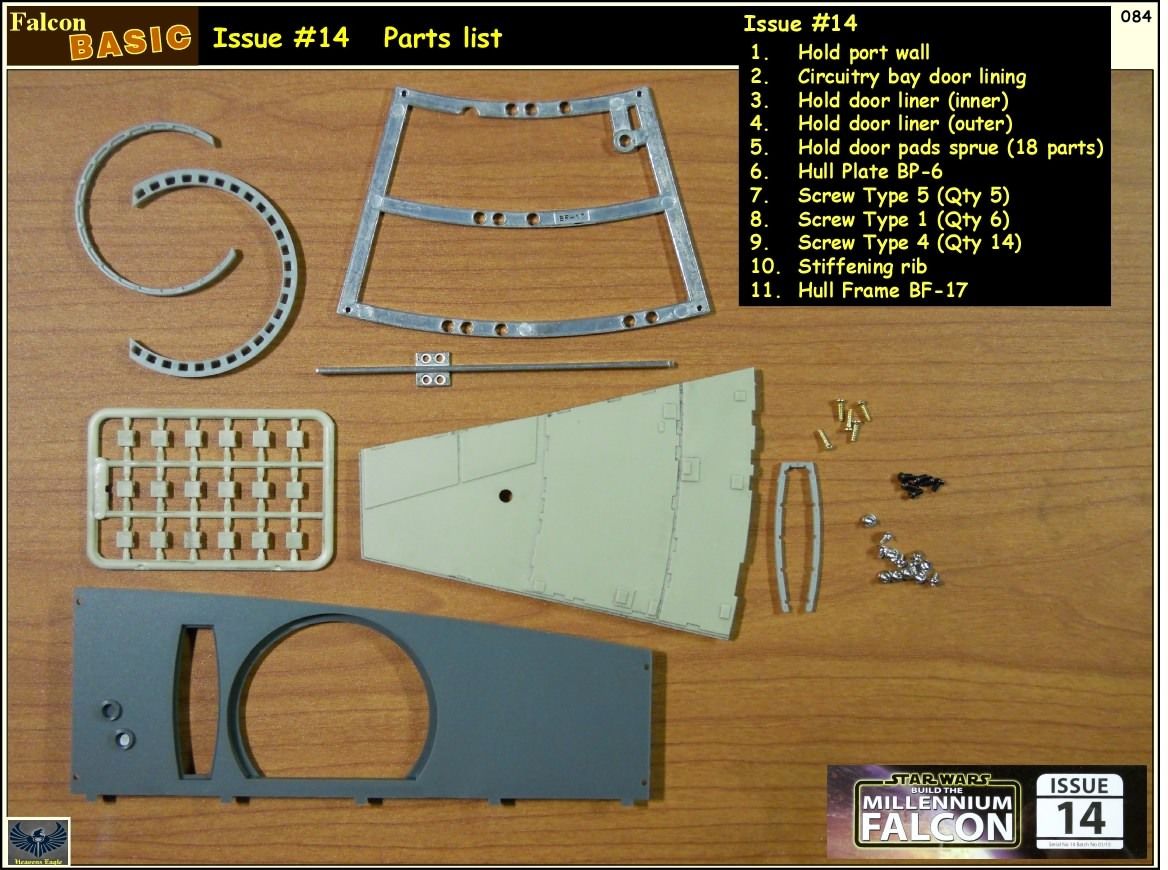
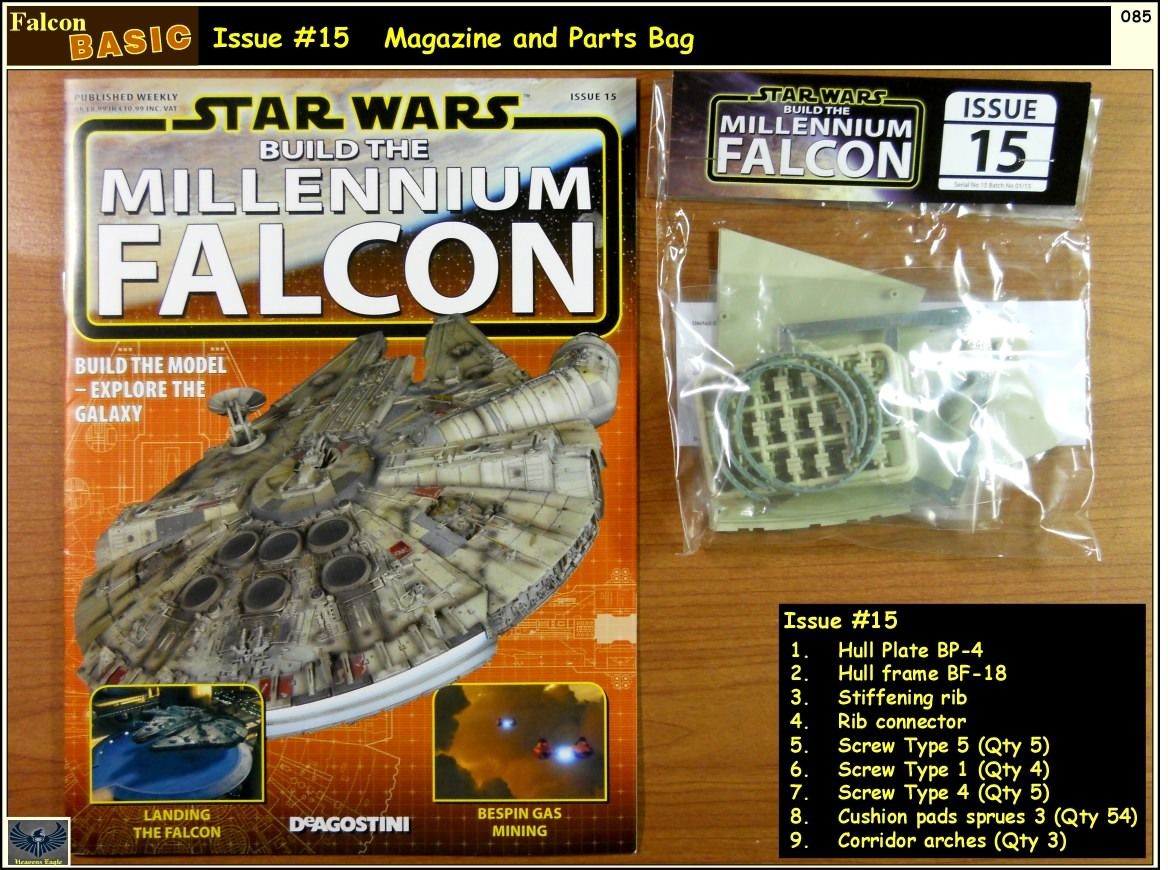
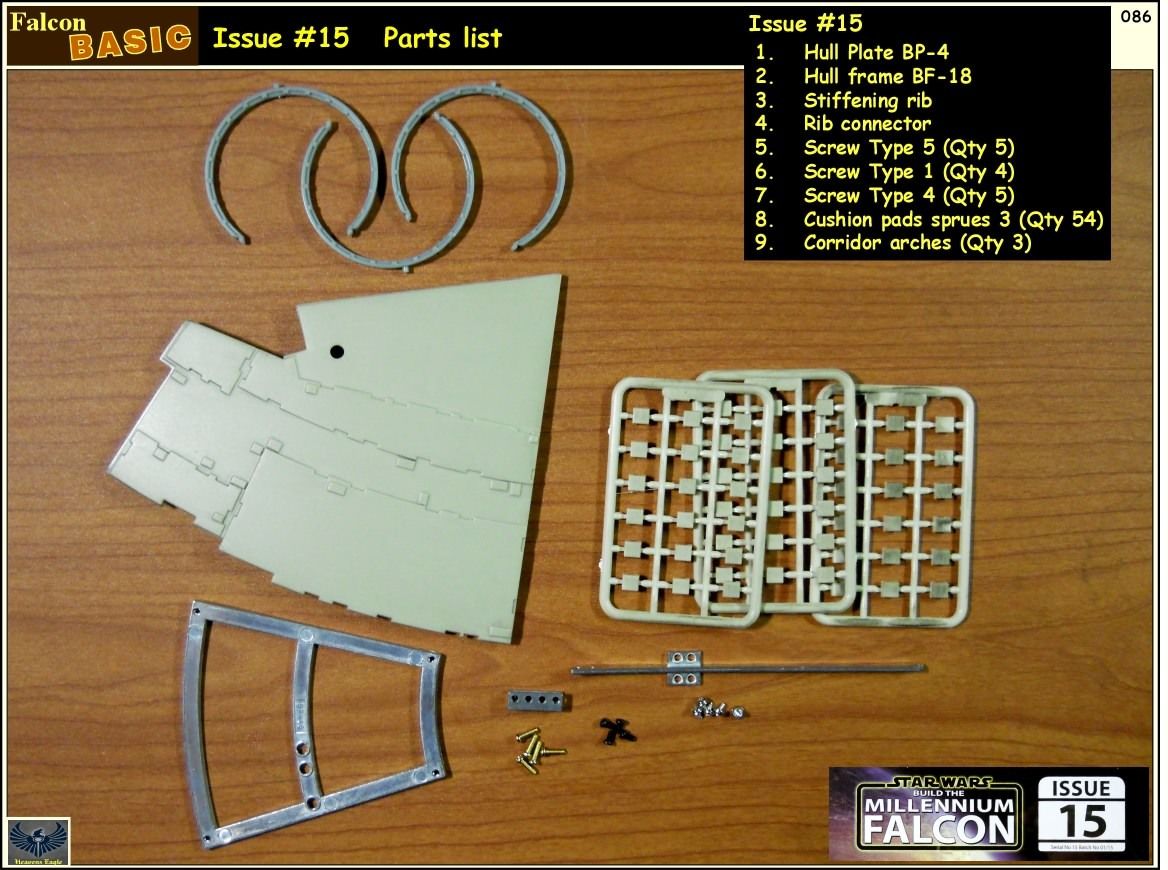
To be continued...