And just as quickly as progress started speeding up, it slowed down. During painting I found lots of places where it would be possible to see internal unpainted sections in the original green. I didn't like the effect this would create. The solution was simple, but it added another step. IE it took more time, but it is of benefit to the overall aesthetic of the build.
Taking the path of least reasistance meant a simple black coat to all the internals which would hide the green and any overspray should look like shadows. That is the hope.
The last few days have been spent blacking and then clear coating for durability due to proximity to rub spots. Then time curing in the drybox so as to harden the paint and clear coat as much as possible.
Progress!

Most of the priming coat went down beautifully.
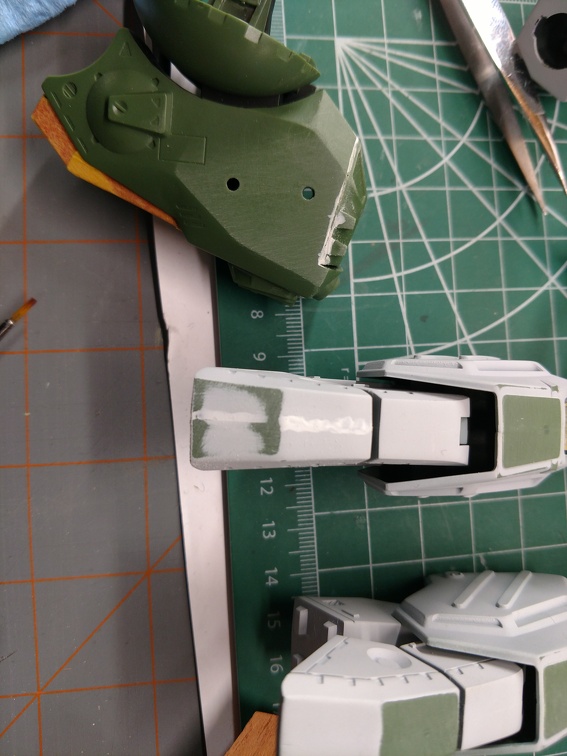
It did reveal a few seams that would have a negative effect on the model. Much sanding has been done and most issues have been fixed. YAY!
However, a few stubborn ones required putty.
Have I mentioned lately how much I loathe putty? Vile stuff. Fills where you don't want it and sticks everywhere but where you need it. 

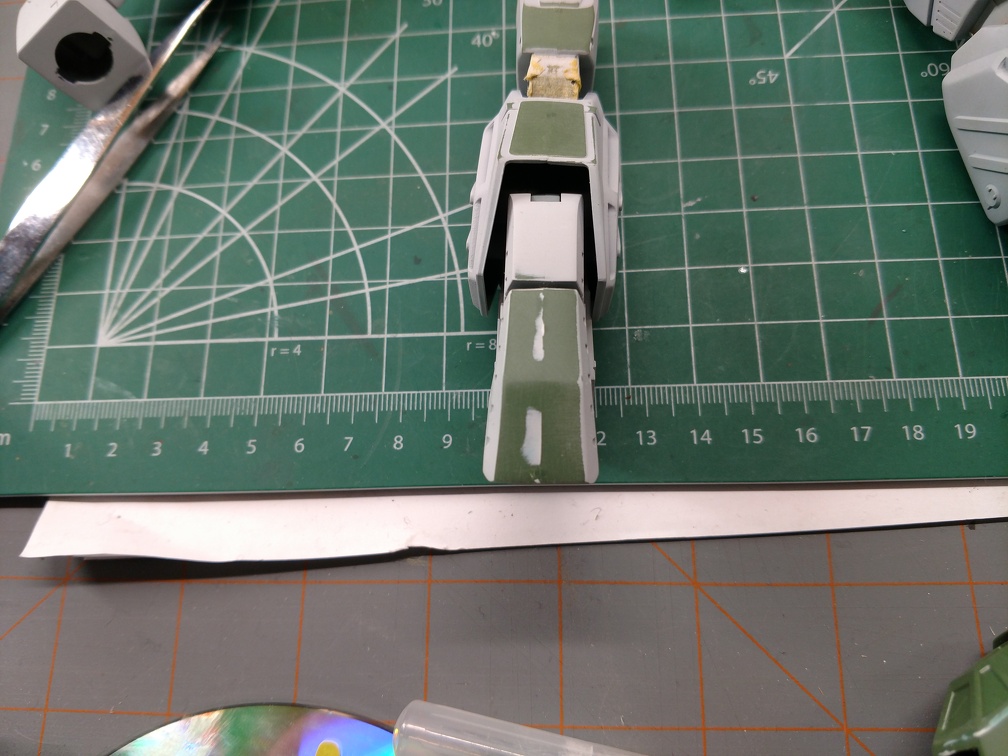
Despite the putty's attempts to sabotage me I did manage to get some decent work in.
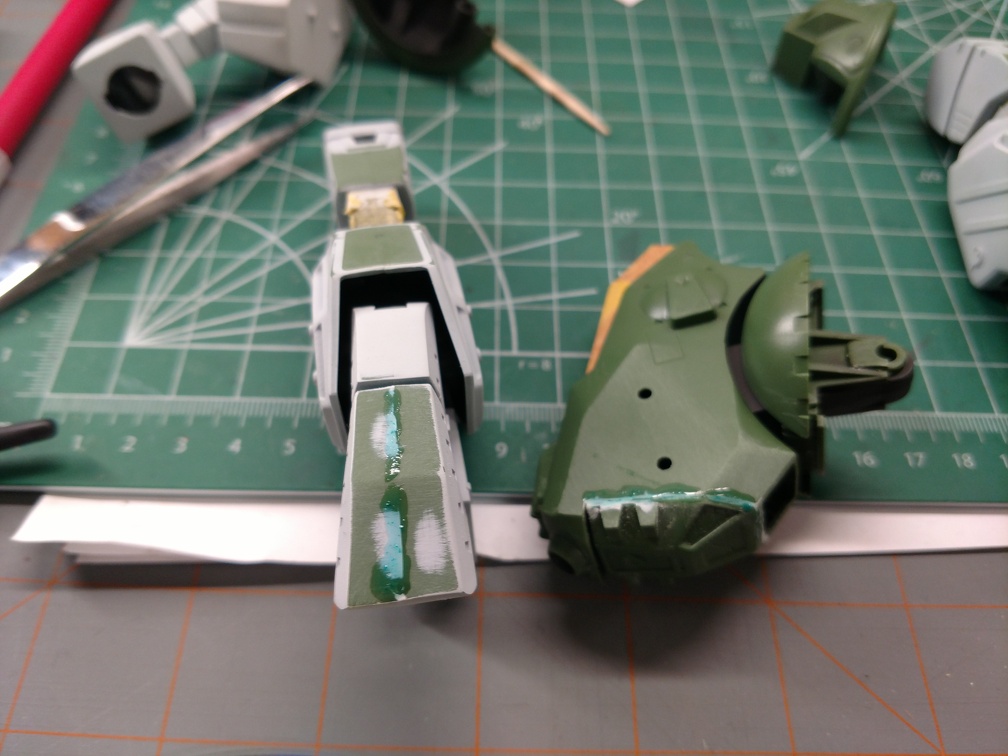
Still, not good enough. I was getting a little fed up with the putty so decided to go back to CA because I tend to have better luck with it. Somewhere I read about coloring the CA so as to be able to better see the work. My paints are water based so that was a no go. Tried adding a little Chalk pastel to it. It sorta worked.

One hiccup though. My pastels appear to act like a slow acting accelerator. After a couple of mixes and applications it turned to rock. Despite that slight drawback it seemed to work pretty well.


But then my bottle of CA glued it's cap to the applicator tip. When I tried to take it off, it broke off at the base.  sigh.
sigh.
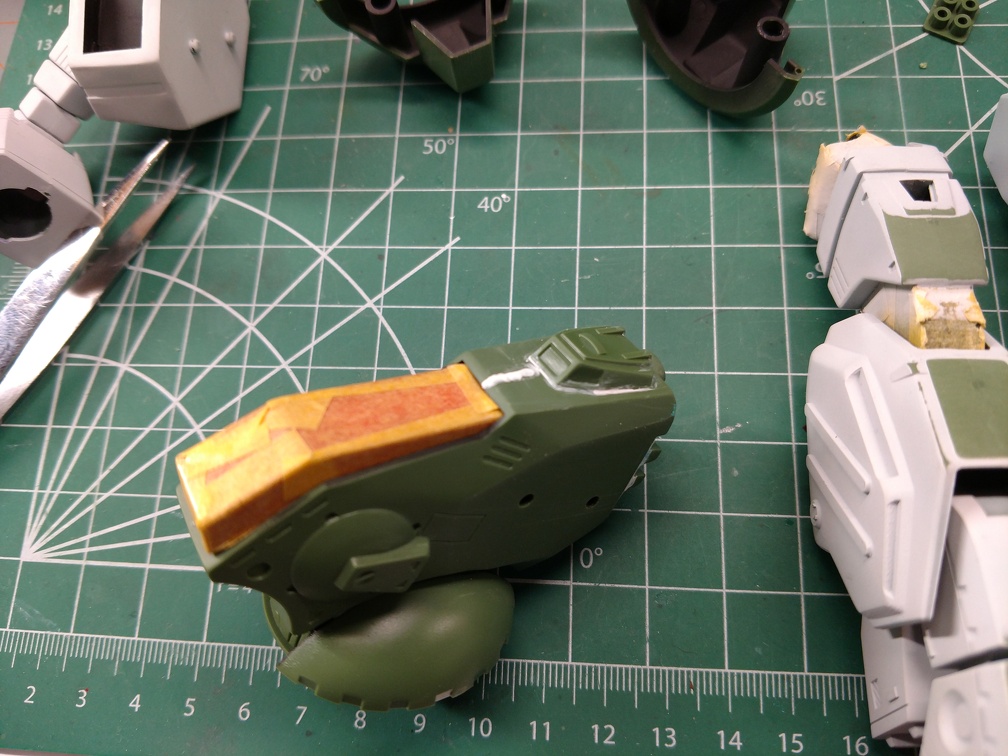
Back to putty till I get a new bottle of CA. Which is inconvenient as the cockpit had several unsightly pin holes appear in the seams around it's base. Apparently the plastic was still soft when I unclamped it a day later and the body flexed just enough to cause it to pull away in a couple of spots.
The putty didn't apply very well. Thinking it could be good enough.

I'm really hoping those streaks of putty won't show up in the primer. Finger crossed.
Despite these little frustrating moments the build is coming together nicely. I'm starting to be able to visualize how the final product will look.
Gamera, I purchased a bottle of Perfect Plastic Putty to try. It will be intersting to see how different it is from the Tamiya and Vallejo putties.
Sometimes the problem is the materials being used. Sometimes it's the person using the materials. The jury is out as to which is which when it comes to me and putty. 