Hitting a section with the Spartan where there is some downtime between actions and decided to work on this.
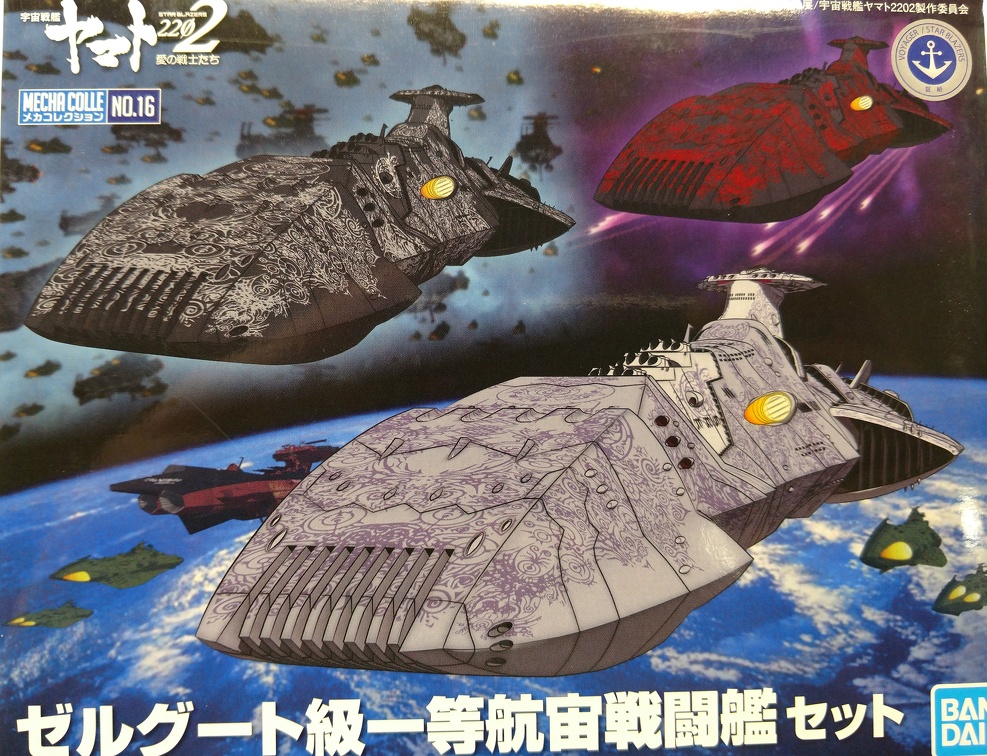
I don't know what the scale is, but the kit includes two of the vessels and decals for all three version you see on the box art. The parts are injected in standard grey and black.
At the moment I only intend to build one of the two vessels because this is meant to be a fun little side project.
I am starting with the grey one. Not a lot of parts, which makes it perfect for a filler build.
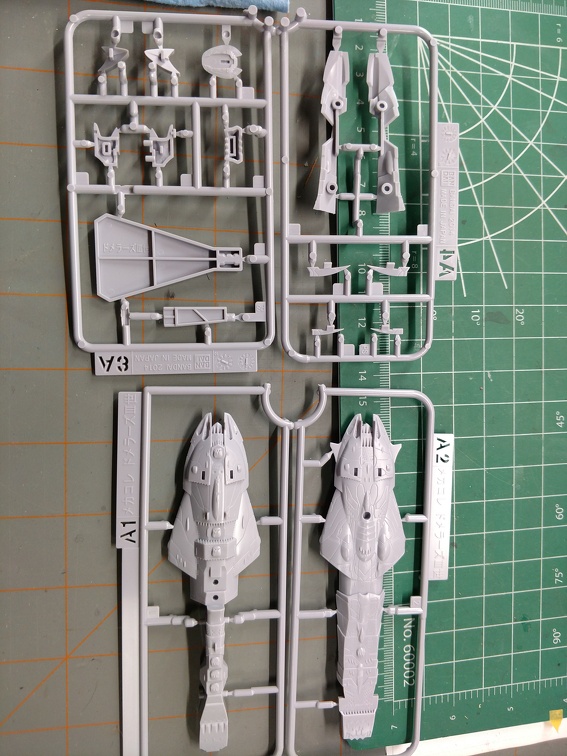
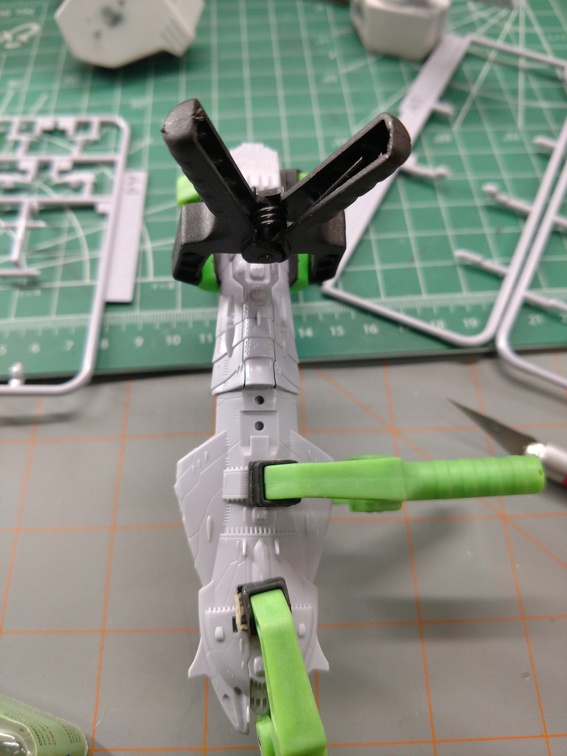
Straightforward assembly, but the pieces didn't quite fit as nicely as I'd like. There didn't seem to be any interference from flash etc. Possibly, a little warping after ejected from the mold. Clamping seemed like a good idea.
Had a small SNAFU when glueing in one of the small fins on the bottom. It wasn't going in very well. When I tried to back it out, I snapped off the front end of it. A little dab of glue on it and almost as good as new.
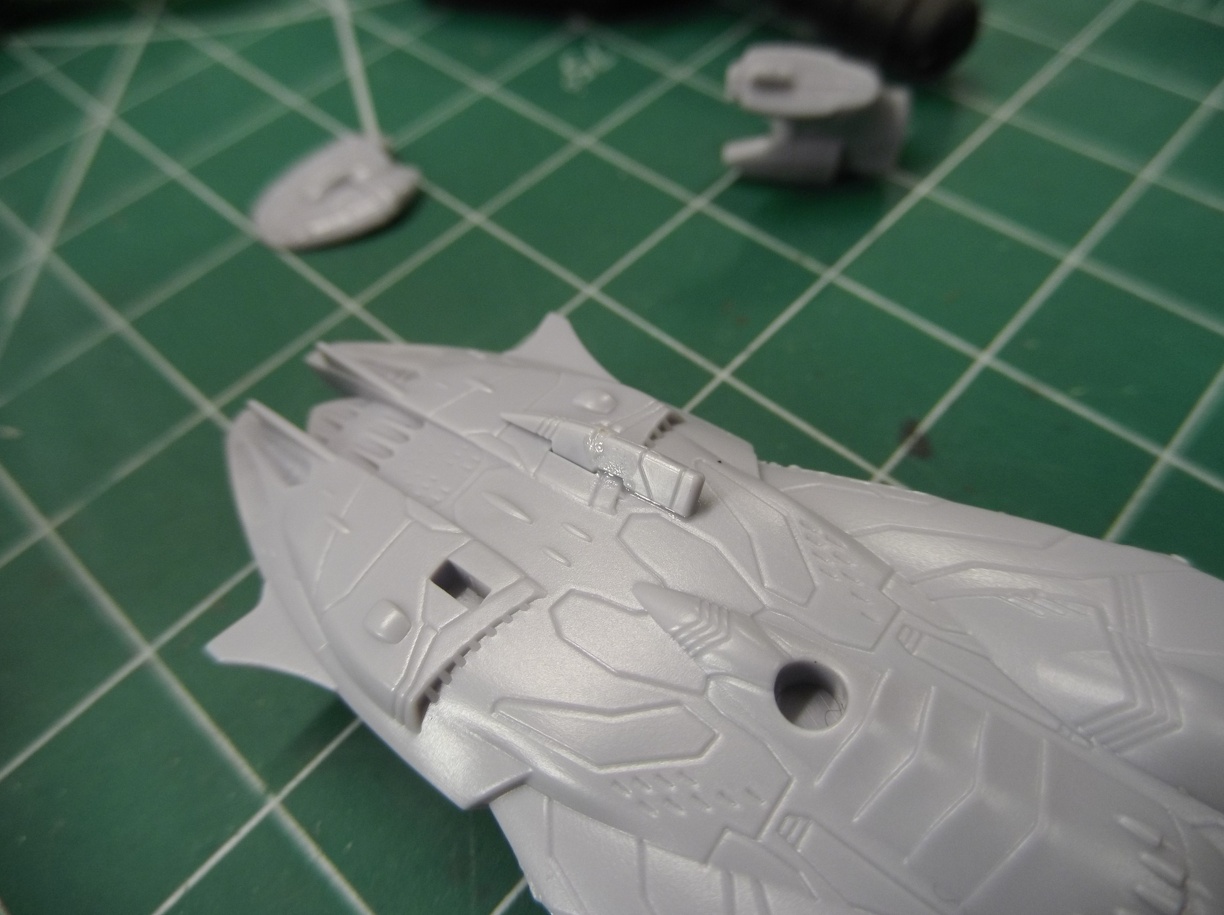
It's hard to see the photo and even harder to see it with the eyeball.
The rest of the assembly went smoothly and it primed nicely. The Q-tip is for scale.
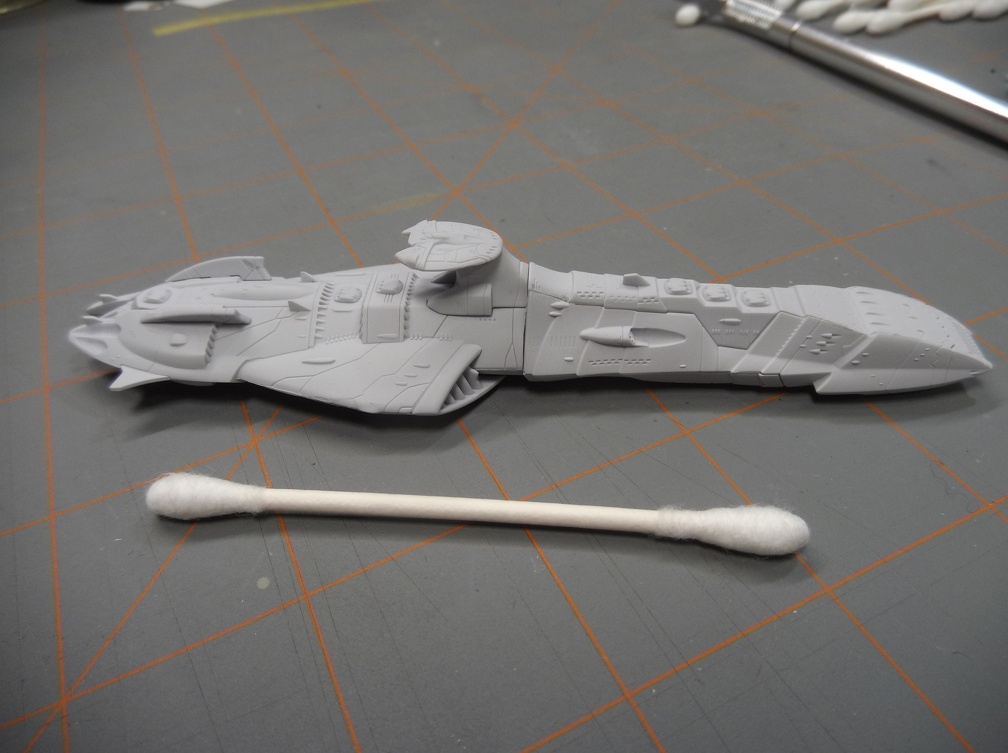
it really is a tiny little ship.
Took me a bit to figure it out, but the greys on the ship aren't just simply light or dark. They actually have a little purple mixed into them.
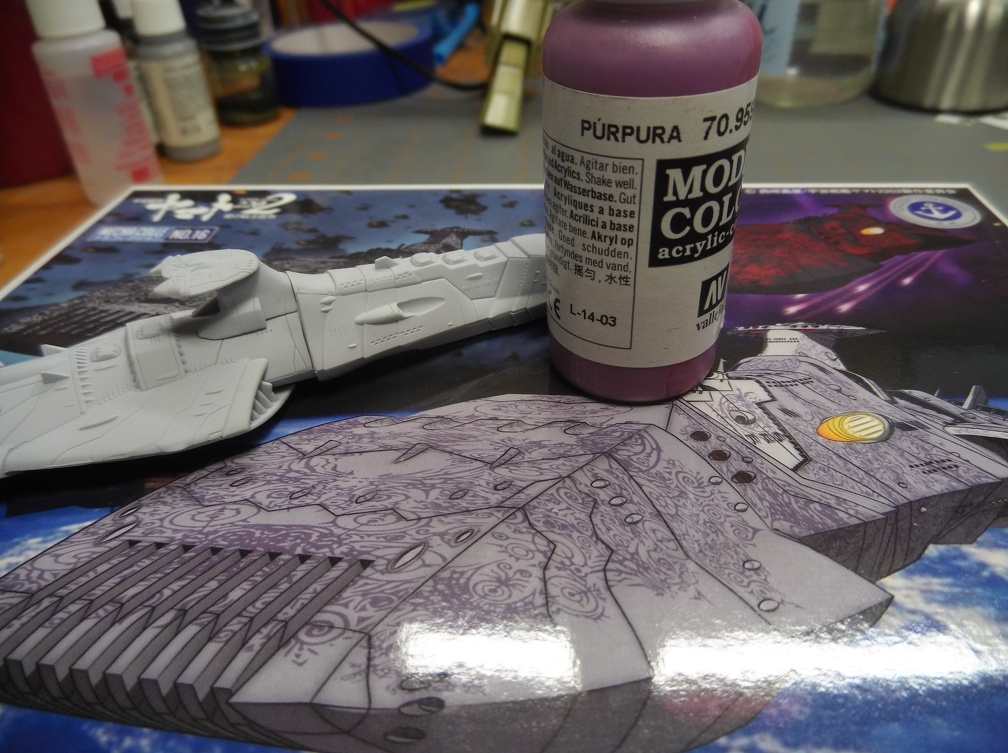
And that's what I am working on now. Figuring out the right ratio of purple to grey in order to achieve a reasonable approximation of the color.
It should also help tie the decals into it a lot better than if I simply use a darker grey.
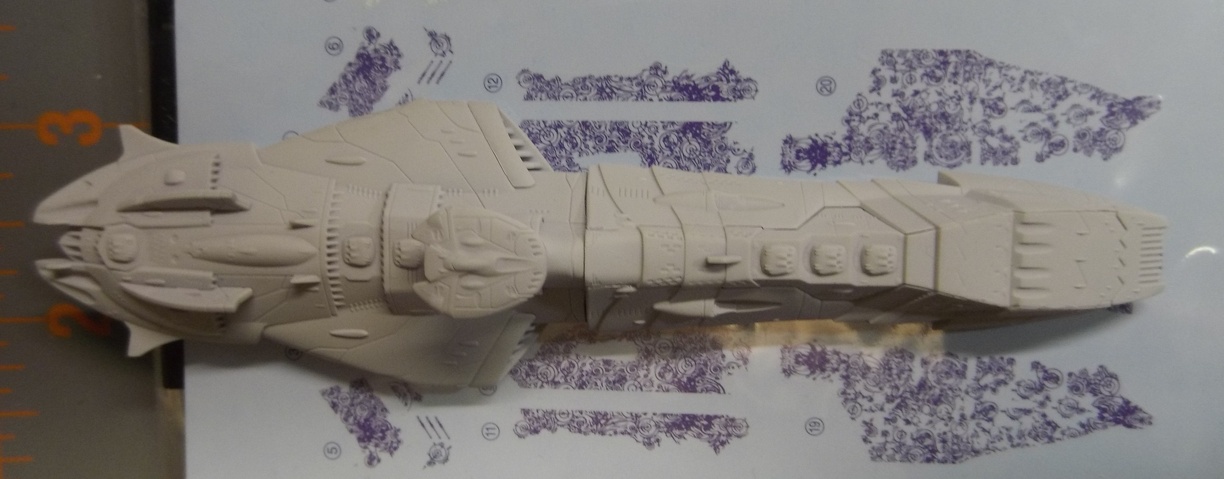
One other little twist. I failed to notice the bridge and cannon section are lighter shades. It would have been easier to do this before assembly.
I think it will be simpler to paint the bridge and cannons first. Mask them off and then paint the rest in the darker color. If I do it the other way I'm going to have to mask twice.
Well that brings everything current. Time to start experimenting with paint. :)