- Member since
September 2003
|
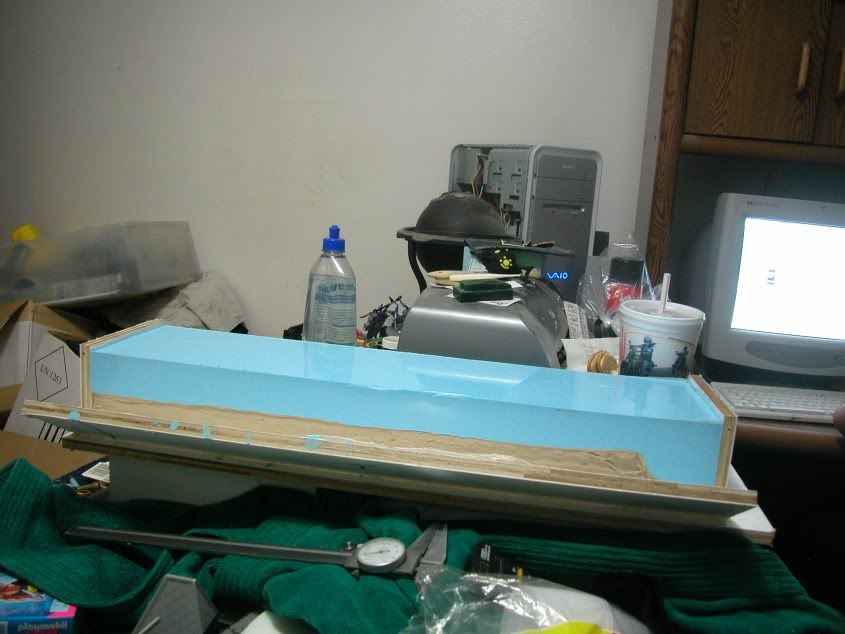
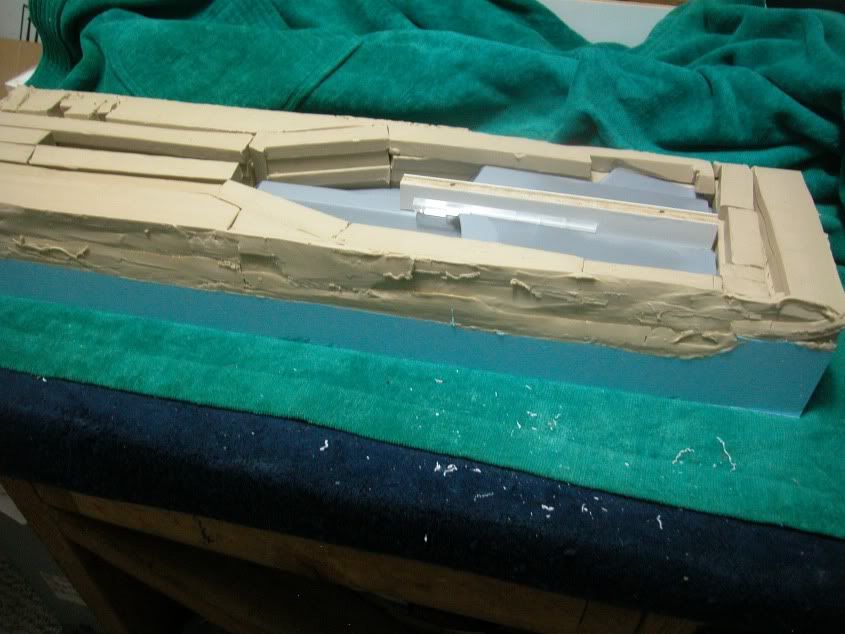
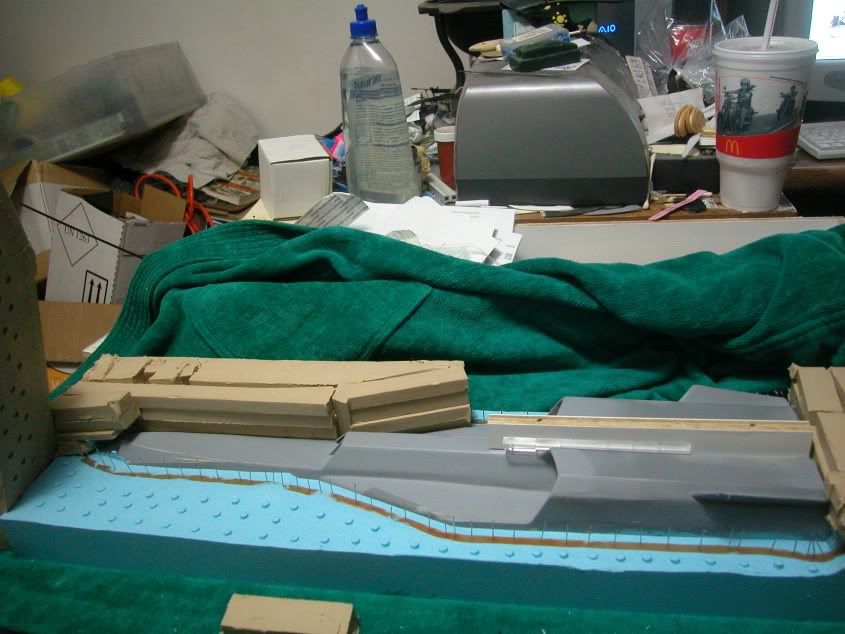
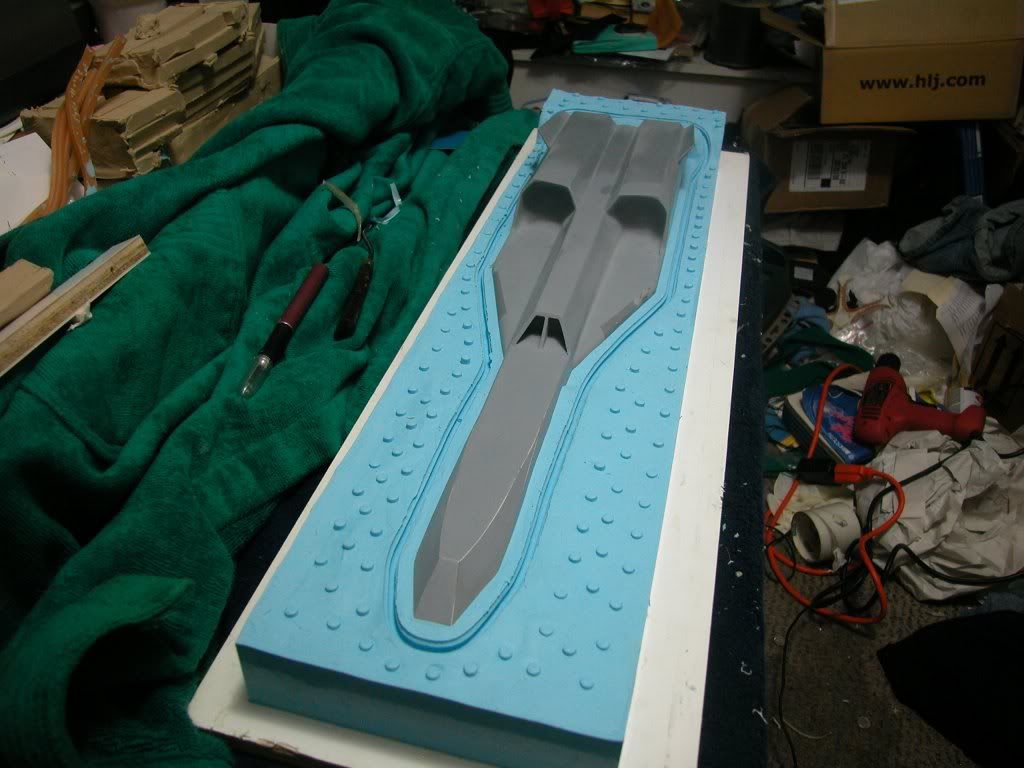
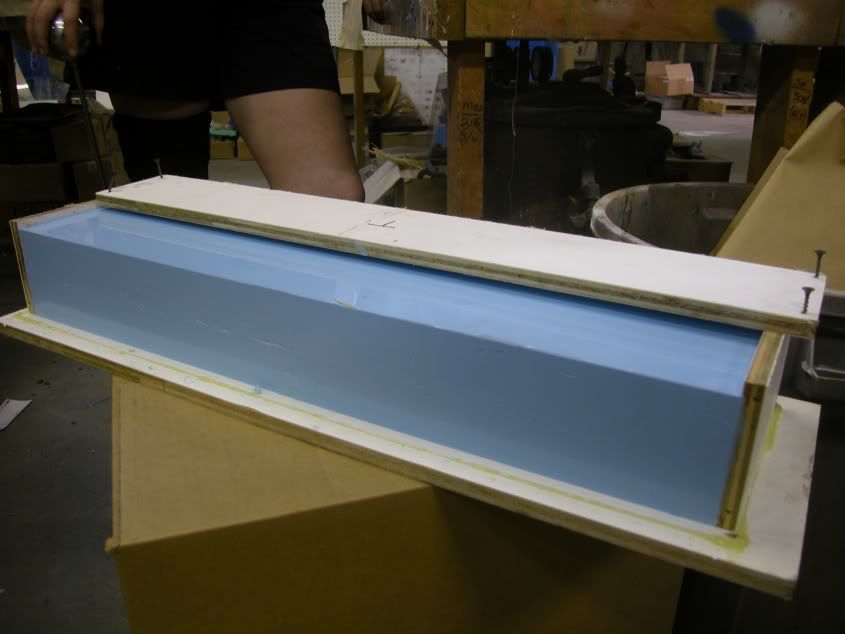
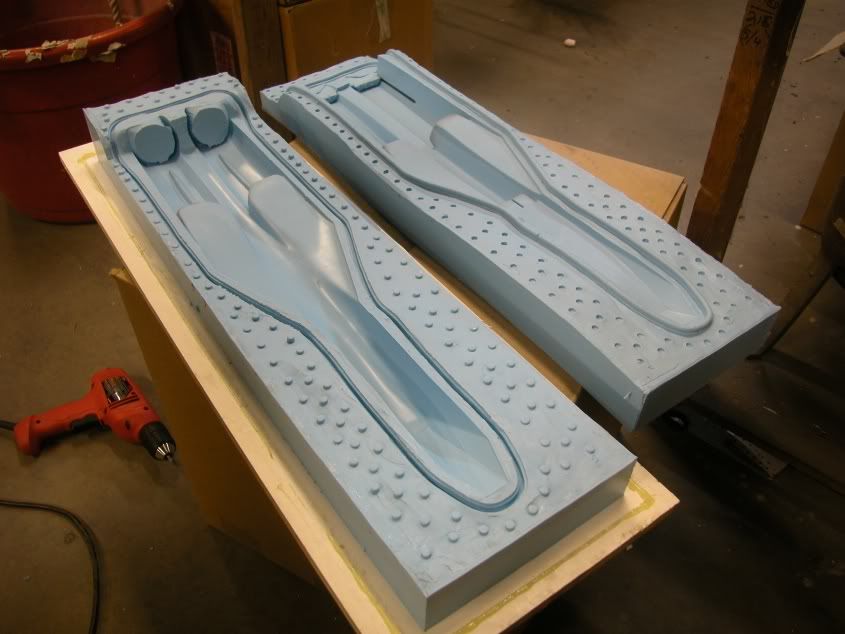
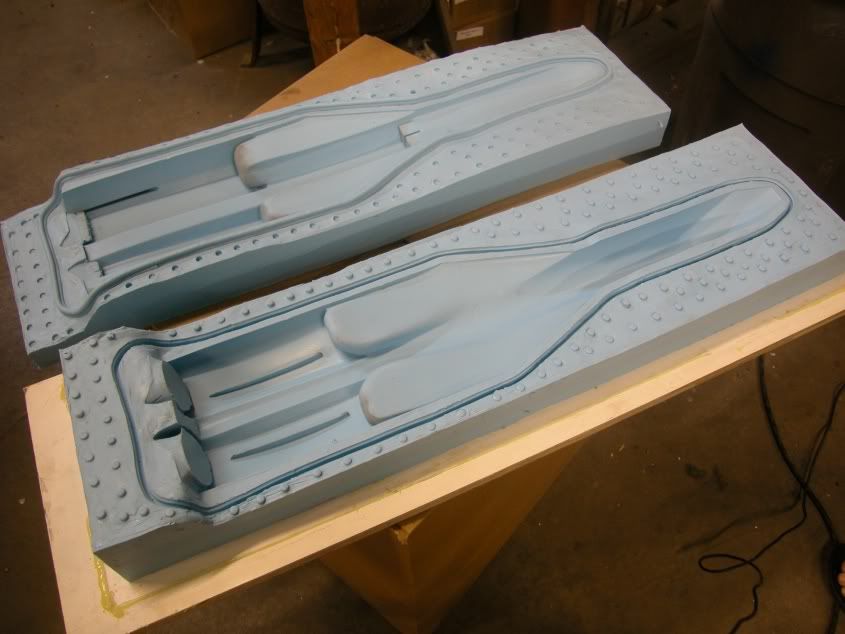
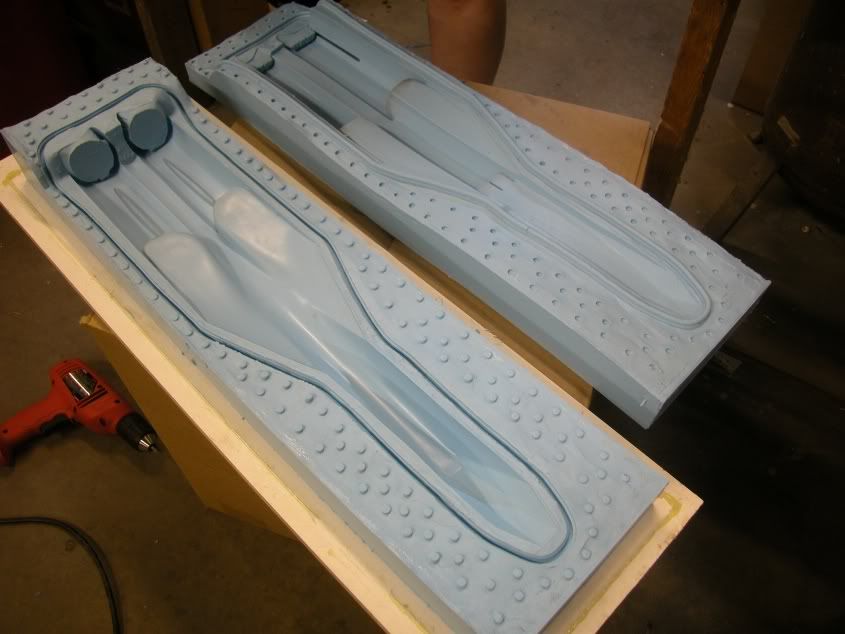
Howdy, Big update here . I've been trying to finish off other pieces but had some time to work on the PP1 project. First, I finished claying up and adding registration keys as well as the perimeter key system. This permimeter key system took a wile to manufacture, but the result is worth it, then mold boxed the whole piece. After this was finished using mold release, I sprayed the entire project thoroughly. Finally after I was satisfied with coverage, poured the RTV. It's a lot of RTV silicone rubber as you will see, but necessary for this two stage molding process to work. After waiting 24 hours to demold, I carefully unboxed the tool and turned her upside down to remove the clay, being extra careful to ensure that the master pattern stayed locked in the upper RTV rubber mold. Removing the clay proved to be a breeze, as the mold release did it's job extremely well. After removing all clay( it actually came aprt in a couple large sections), I removed the perimeter key system, and boxed the tool back up for final RTV pour. Again waited 24 hours which ended this past evening so i undid the mold box once more revealing a large block of RTV silicone. Carefully I pried the halves apart and what you see in the last photos is the final result. My opinion is it came out perfect, no clean up and a major bonus in this field, the Master survived. Now comes the fun part, laying sheet wax in each half and remolding forming the resin cavity necessary to make hollow castings for the new resin hollow masters from which all final details will be added, bays recesses acess panels cockpit details, engine area details and what ever else is needed. Once this is done, I'll make the final tools . In the mean time, enjoy the photo documentation. Sincerely, Will 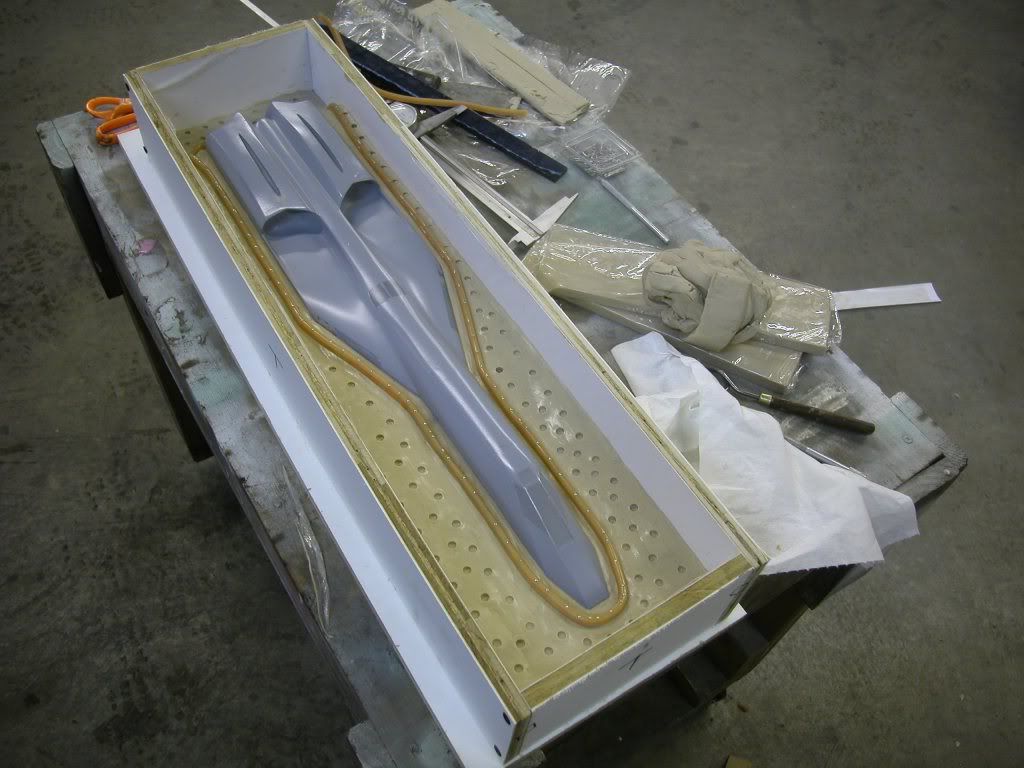 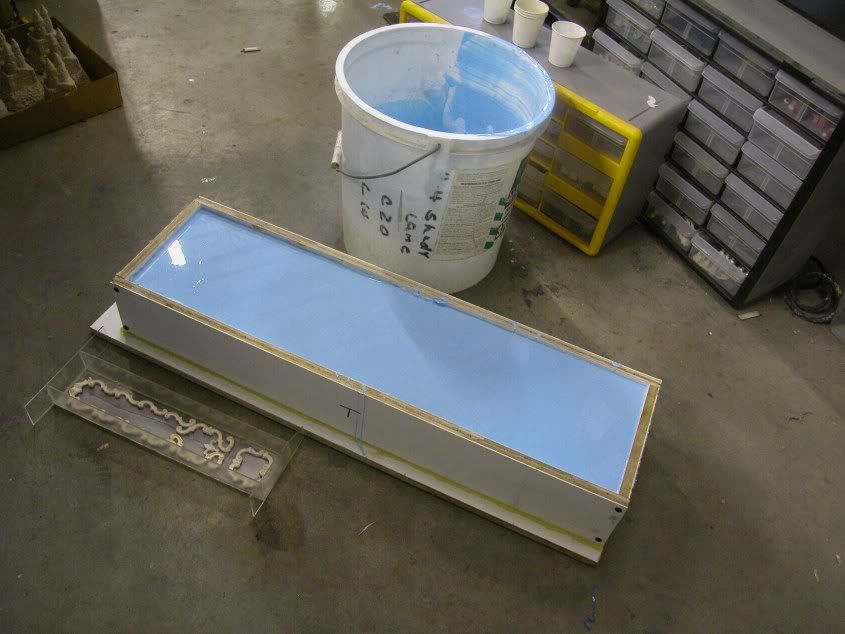
|