Hi Everyone.
We all know that even the best resin parts can and usually do have some pinholes, and some simply refuse to be filled--ever! So, I take a more drastic approach to filling these that simply refuse to comply that works for me. It is not a five minute solution, but if you are fed up with slathering on Mr. Surfacer, Milliput, putty, etc etc etc just to have it show up again, here is one you can try.
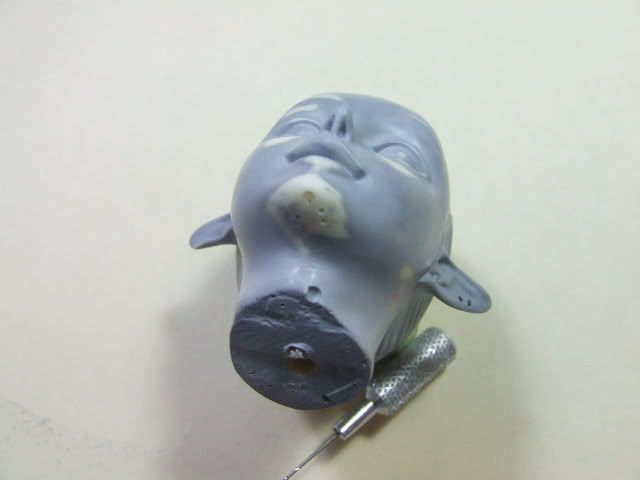
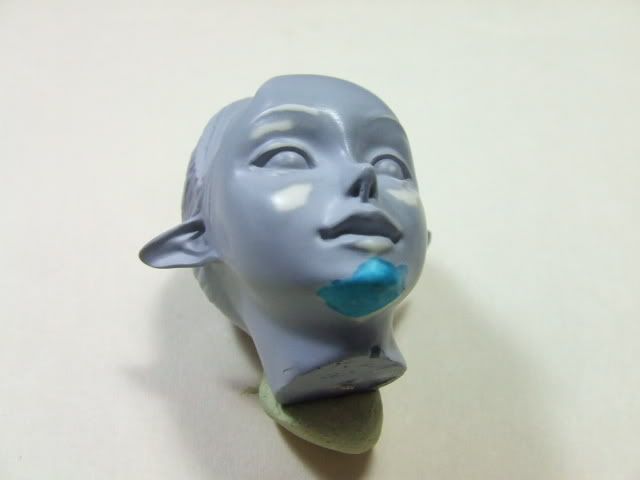
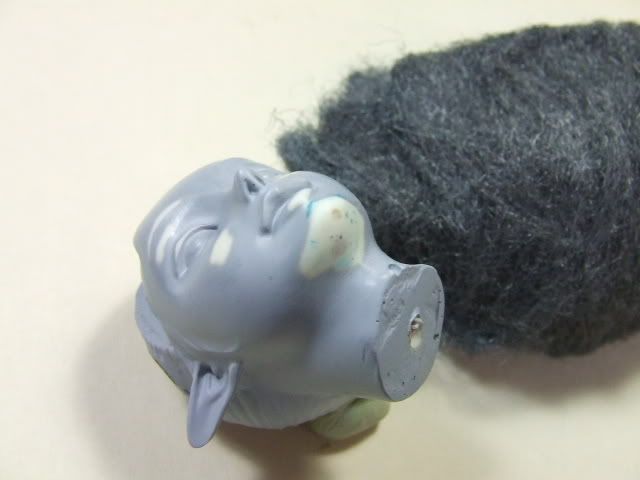
This is my 1-6 scale Usimutu bust in wonderful resin, but the tip of her chin has myriad micro pinholes that have resisted all previous attempts and "old standbys" to fill them. I drill them out deeper with a 76 or 77 drill, apply superglue and polish that off after a few minutes. I pack the superglue down in the hole with wire to fill the hole completely. You can probably add some talcum as well to help fill the hole. When the glue is dry, take a light colored sharpie marker ( I use Orange first, then blue then black last) and color over the region. Give it a few seconds and polish the superglue out; this will remove the (orange, blue, black) Sharpie ink and leave it in any low spots. I use the same sharpie trick to show any unfilled/ low spots in glued up joints in plastic kits. (This works wonders showing defects n motorcyle tanks and helicopter tail booms) . {The big chip in the neck will be totally covered by the high leather collar and the two holes in her ear are for earrings}
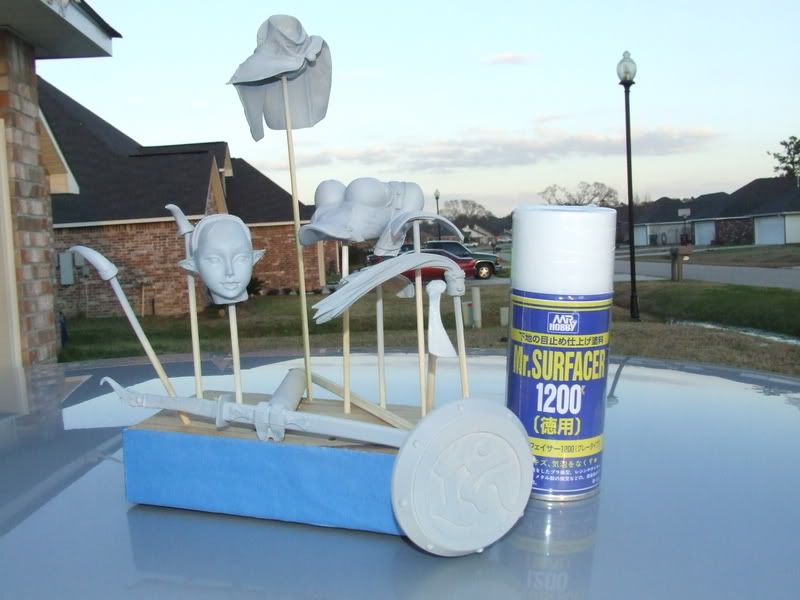
Here are some photos to illustrate the process. I am using Mr. Surfacer 1200 as my resin primer. It does not fill scratches, so polishing with 000 steel wool reveals any low spots that will show under your paint and ruin your presentation. The pens are common Sharpie markers that come in some new colors that you can get jus about anywhere now.
David


Build to please yourself, and don't worry about what others think!
TI 4019 Jolly Roger Squadron, 501st Legion