I mounted all the detail parts (another 3 assembly steps) which will be painted green and not to delicate to be broken off during handling. The remaining steps on the upper hull are for mainly the lights, tools mirrors, tow bar mount and screens
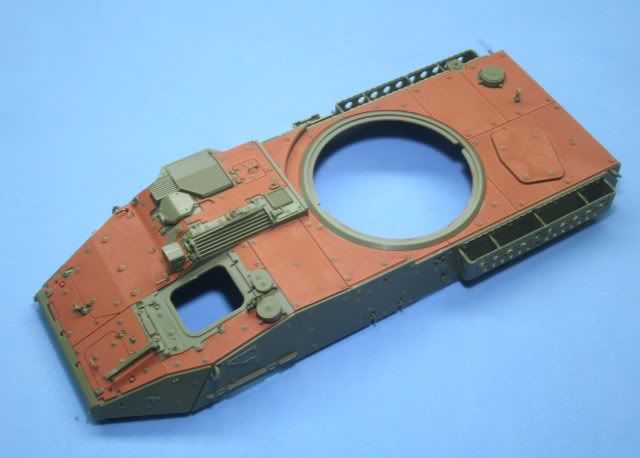
For those of you who wanted to see the anti-slip coating up close, here is a detail shot.
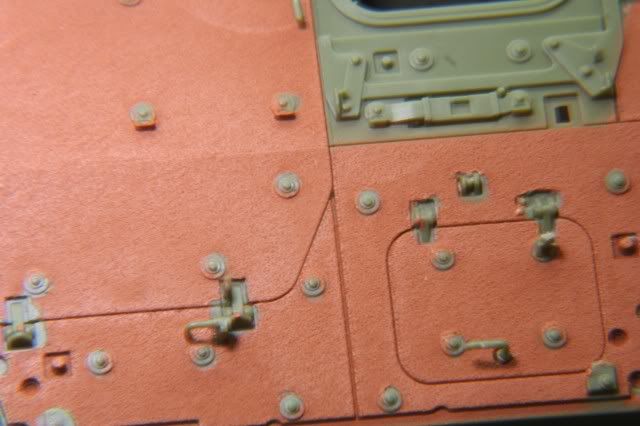
While I waited for glue to dry I finished the drives hatch except for the armor glass, a whole step in itself with all the small parts and also finished the rear section except the antennas which was another two steps. The grab handles over the lights and for the rear door handle were broken on the sprue so I replaced them with 22 gauge wire.
The kit is well built but has a number of very small and delicate parts which make this kit not for the faint of heart.
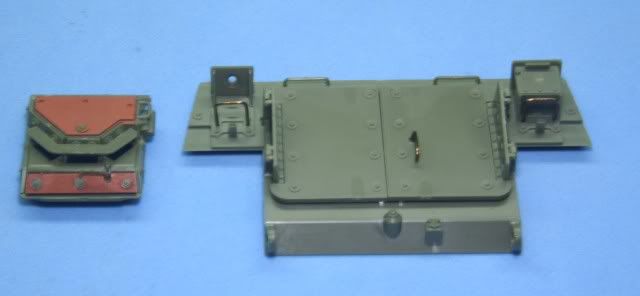
Before we start up the spray booth I completed the first 3 steps for the main gun. Again the fit of the parts are good but AFV defeated the purpose of a metal barrel by having two wrap around halves for the bore evacuator and details. The seam is minimal but will have to be dealt with.
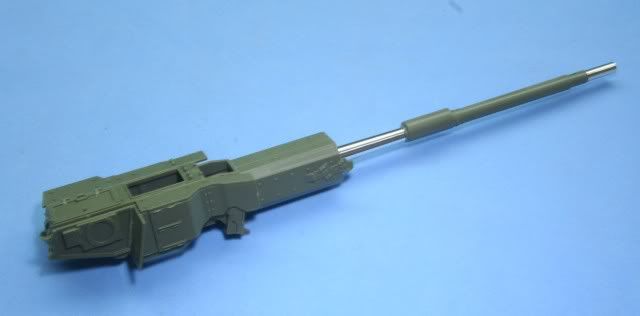
I continued on the gun through another 3 steps and what remains is the last two steps which are mostly grab handles, straps and smoke launchers. Also missing is the gun sight system which has armor glass front.
I also moved through the first 3 steps of the turret assembly, again except for armor glass.
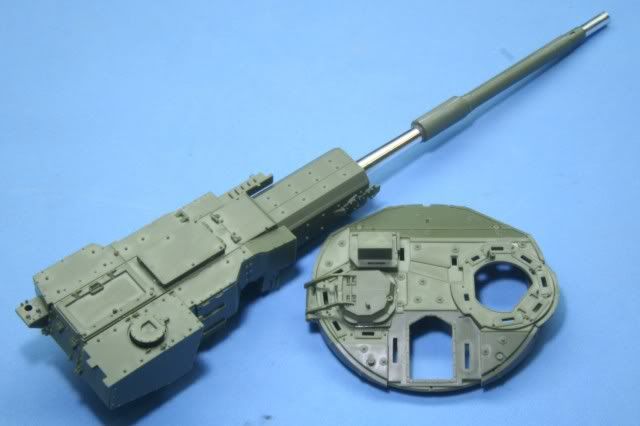
I moved to the spray booth and base coated the upper hull and rear section with Tamiya Flat Black and then put on a coat of Tamiya NATO Green.
Once the paint was dry I assembled the upper, lower and rear sections. First I glued the rear section to the lower hull. Once that set up I assembled the upper and lower hull. The assembly takes time to line up but once in the proper position, the sections snap together nicely. The fit is almost perfect except a slight gap between the upper hull and rear section. I closed this up with a little MR Surfacer and touched up.
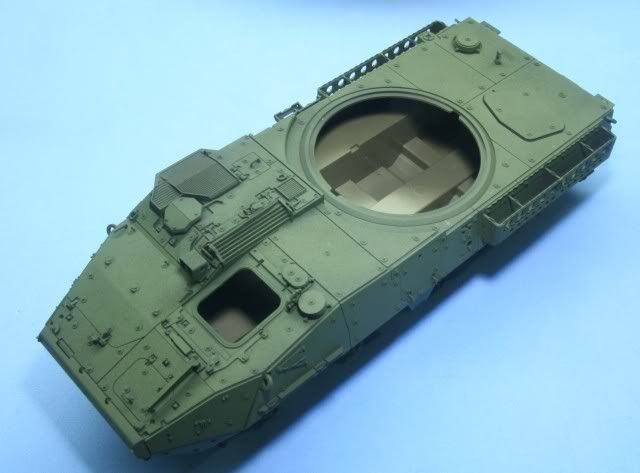
Here is the view from the rear
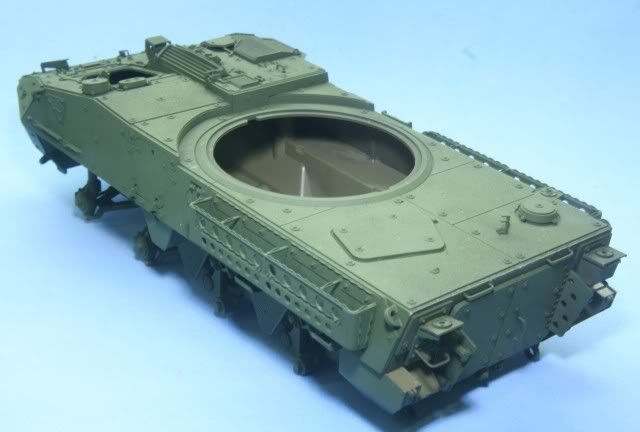
For those wondering what the anti-slip looks like painted, here is a close shot to give you a better view.
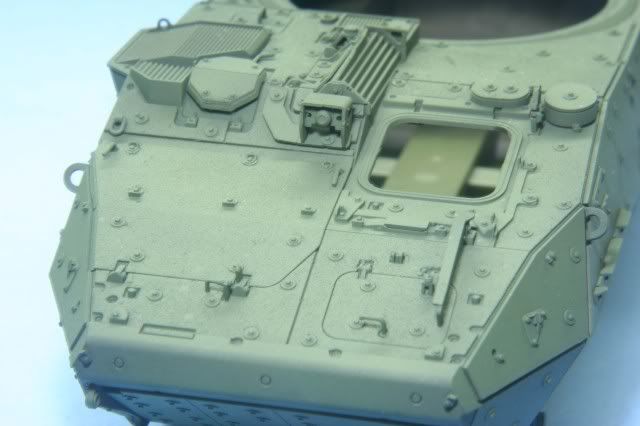
In between these major items, I painted the wheel hubs, removing the right side front wheel cage as it was pointed out to me that the actual M1128 only has one cage (as opposed to what the directions tell you) on the left side.
Also painted the light assemblies and chromed the inside part of the lights along with a few other minor tasks.
That's it for now. Lots of little details still left, the biggest of which is painting all the armor glass. Even with my jumping around, this represents about 75% complete, based on instruction steps.
So far the kit is outstanding. The only drawbacks so far is the split barrel cover, a few broken small parts (mostly hand holds), and a few mistakes on part numbers in the directions. All of this is minor thus far compared to the overall kit quality.
All comments are welcome, thanks for looking.
Rounds Complete!!