Well I finally finished my first Huey and only my third model. man, do i have a lot to learn! Anyway, I thought i would post some of the build pics and info on the mods I made as well as some finished pics. I'm hoping for some constructive criticism on how to do some of this better. First, here is the goal:
I wanted to build a model of my father's gunship Gladiator 36 from late 1969. I had these photos to go on:
[img]http://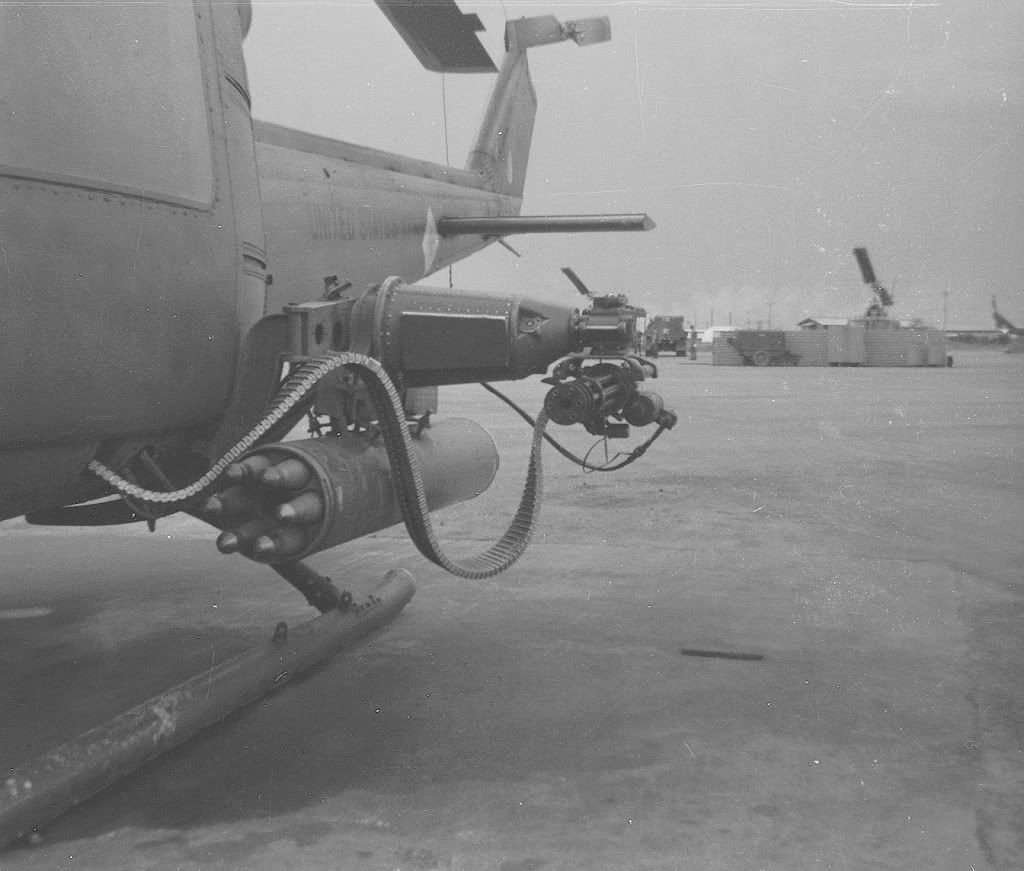
I'm not sure if this is Gladiator 36 or not and dad can't remember, but I decided to use this loadout with the XM157 pods and minis. also, I liked the C model tailboom replcement seen here so I incorporated that as well. The best photo I have by far is this one:
[img]http://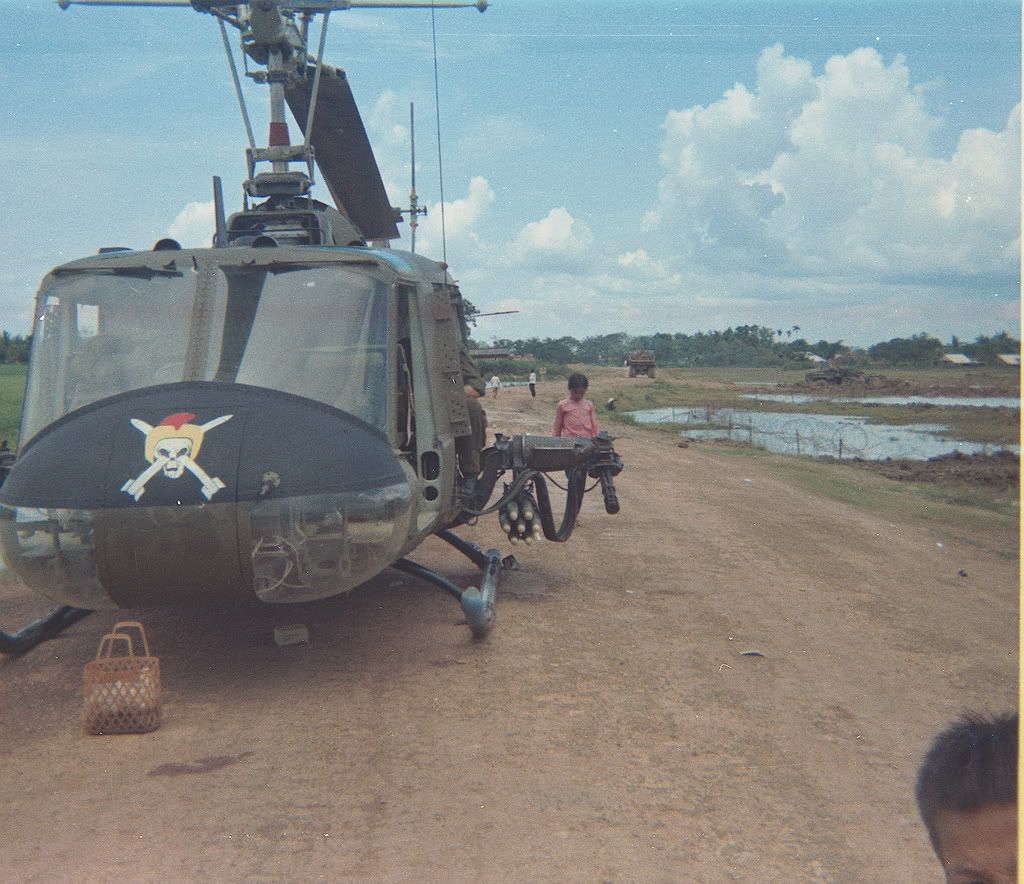
This was my main reference. So no pilot/copilot doors, no FM antennas, late VN style particle separators, towelbar on the roof, windscreens for the gunners, green drab M156 mounts, blue skid tips, and of course the cool Gladiator nose art. i would have loved to do the m158 pods, but I didn't want to spend the time scratchbuilding 'em. I also had a couple of photos of other Gladiator ships showing the diamonds on the tailboom and stabs. Anway here is the final results fro those who don't want all the details:
[img]http://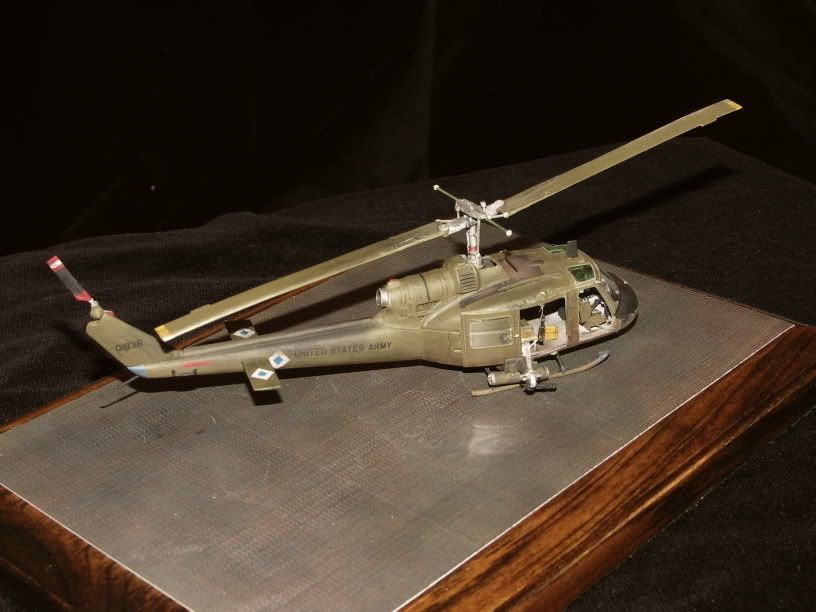 [img]http://
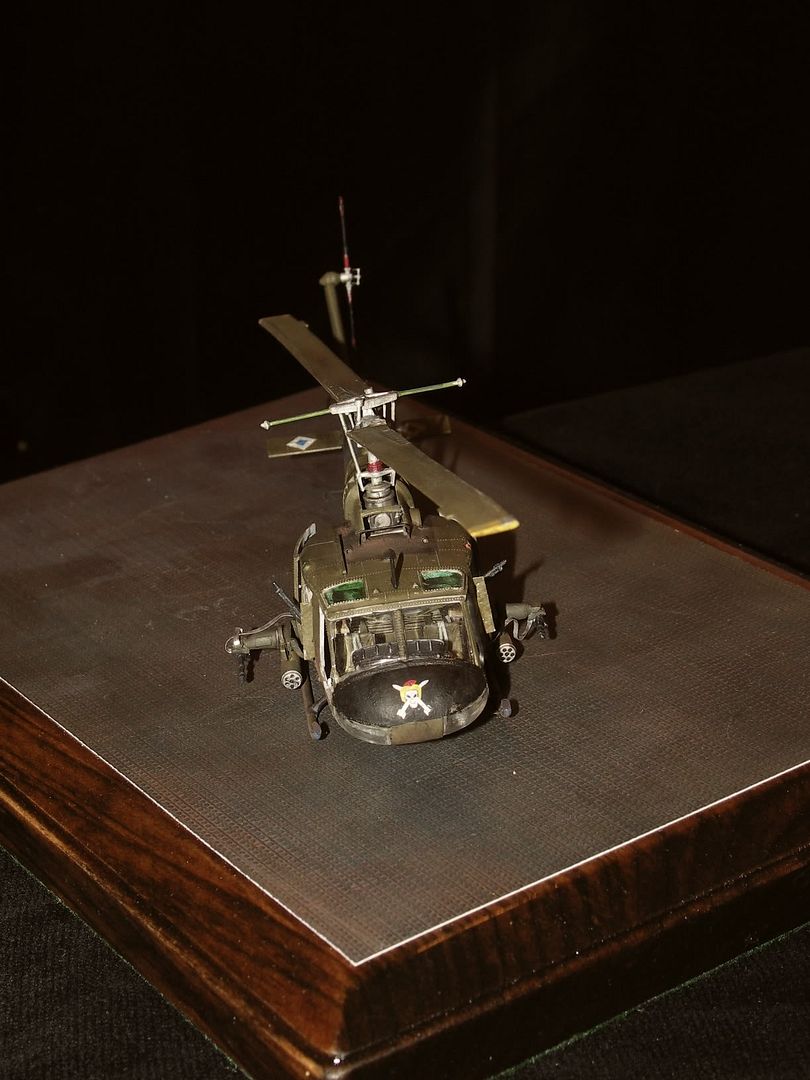 [img]http://
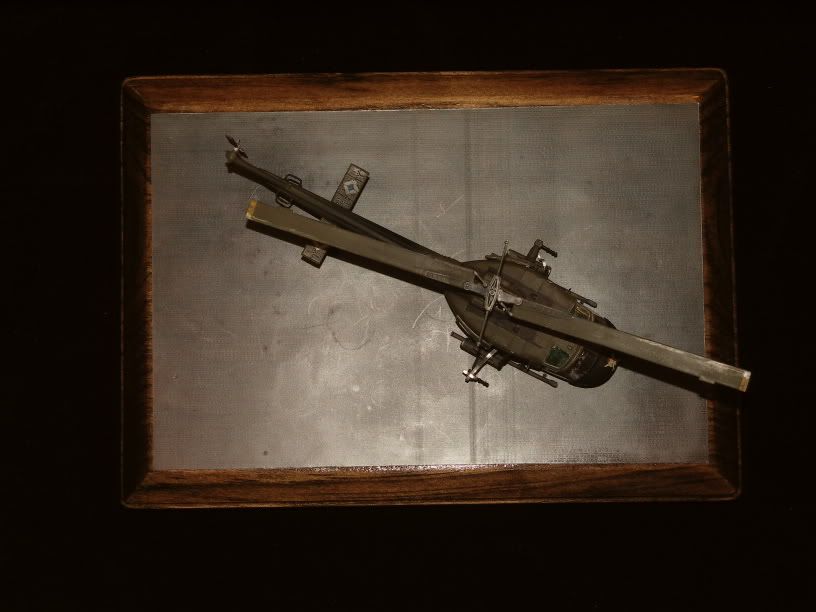
[img]http://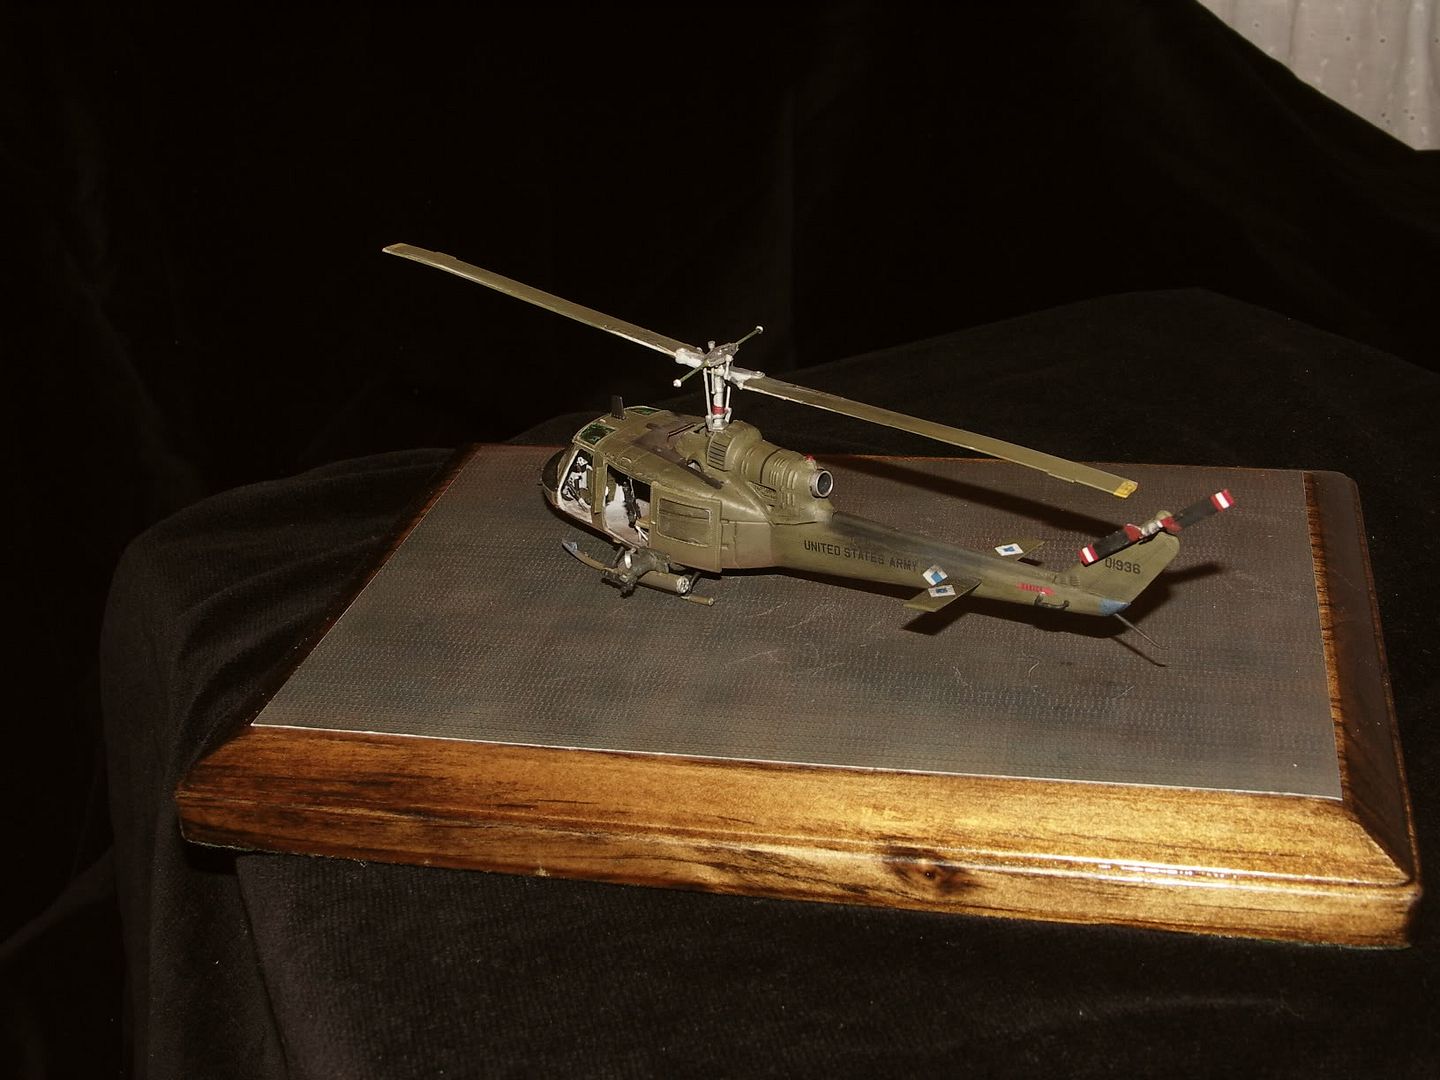
The PSP Base was made by Richard B Kern of Emodelsandmore.com The decals were made by Joseph Osborne of Fireball Modelworks. The decals are Awesome and I think they would make a couple of pieces of painted styrene strip look nice! Thanks again Joseph! Now if you want to know what I did read on.
This build was a kitbash with lots of AM thrown in. The base kit was the Italeri UH-1C kit actually with only the horizontal stabs coming from the B model kit. As a note, and accurate Charlie model CANNOT be built using the Italeri kit because the rotors are totally wrong! You would need the Cobra Company 540 rotor to make a accurate C model. Besides the two Italeri kits, I used the roof from the ESCI/Italeri UH-1D as well as the rockets, ammo box and miniguns from that kit. I also bashed the ESCI rotors with the italeri rotors as the Italeri ones were too short and the D model rotors were too long for a Bravo. The minigun mounts came from an old Hasagawa/Revell UH-1D/H "Gunship" kit. The M60's were originally going to be Extratech photoetch only, but they looked too thin so I stole a couple of 60's from the Italeri OH-13 kit and sanded down the sides and added the photoetch to them. I think they turned out OK. As far as the other AM goes, I used the Czech Masters UH-1B interior set and the Eduard UH-1B set. I also scratchbuilt a map case, gunners ammo box, legs for the gunners seats, ammo chutes fro the minis, towelbar antenna, windscreens for the gunners, part of the mounts for the minis, a pitot tube (25 guage needle), and smoke grenades for the rear cabin wall. Here are some pics of the process:
The Czech Masters and Eduard detail sets:
[img]http://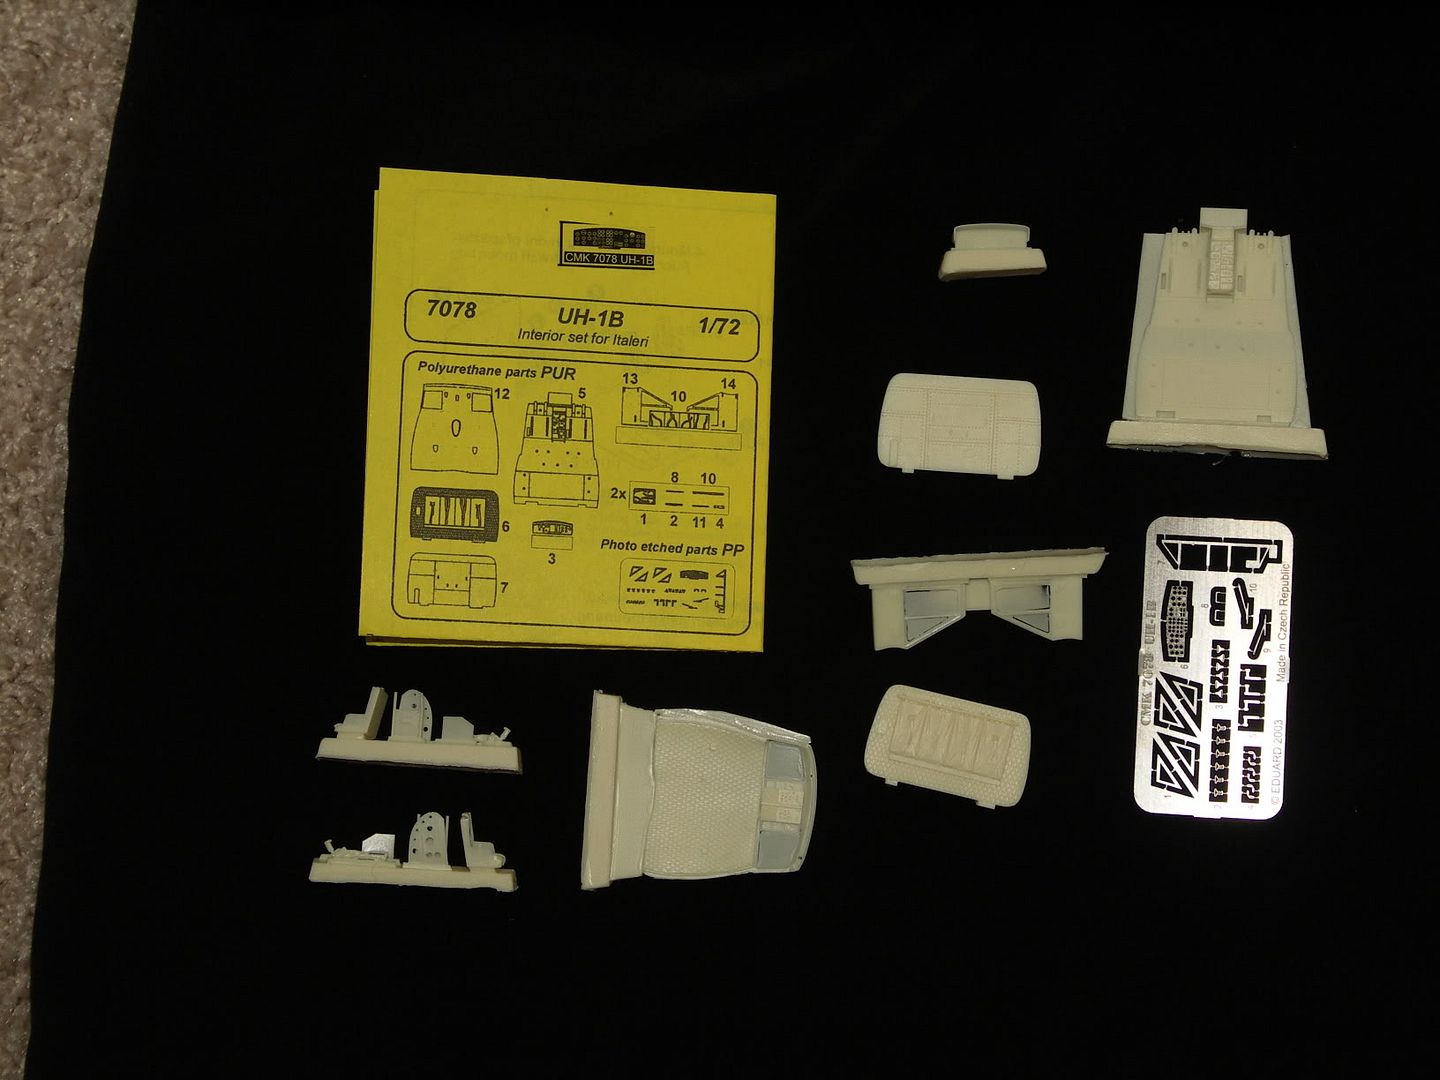 [img]http://
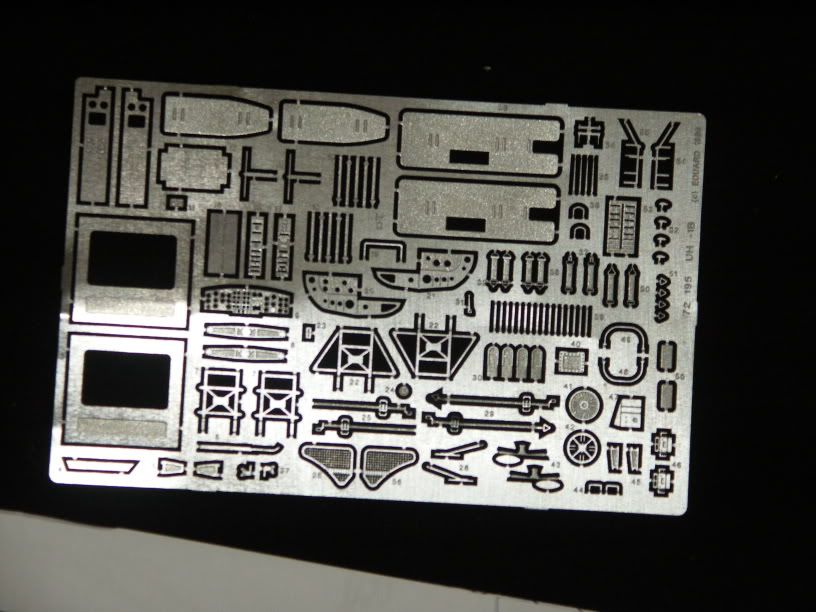
I only used part of both sets. First step was to strip the Italeri floor of all but the center console:
[img]http://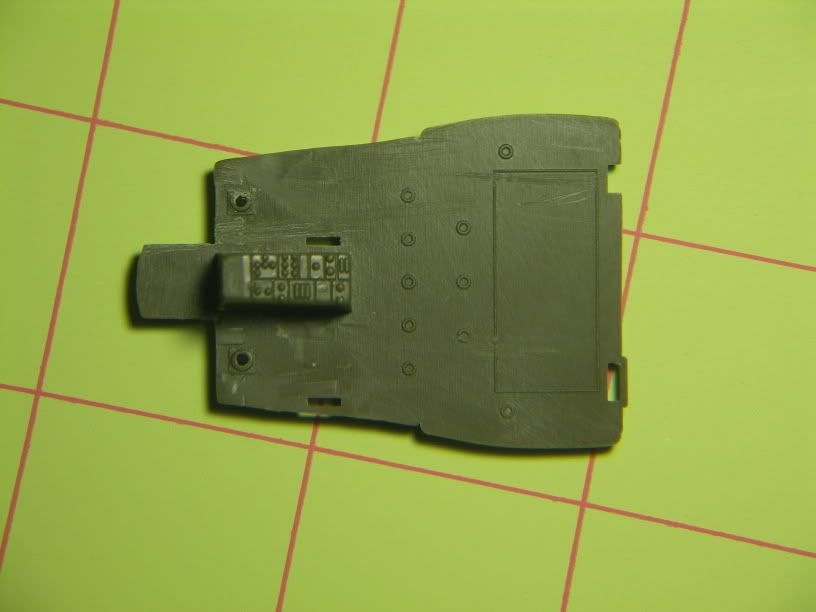 Sorry for the color on these next few. Anyway, then I added photoetch:
[img]http://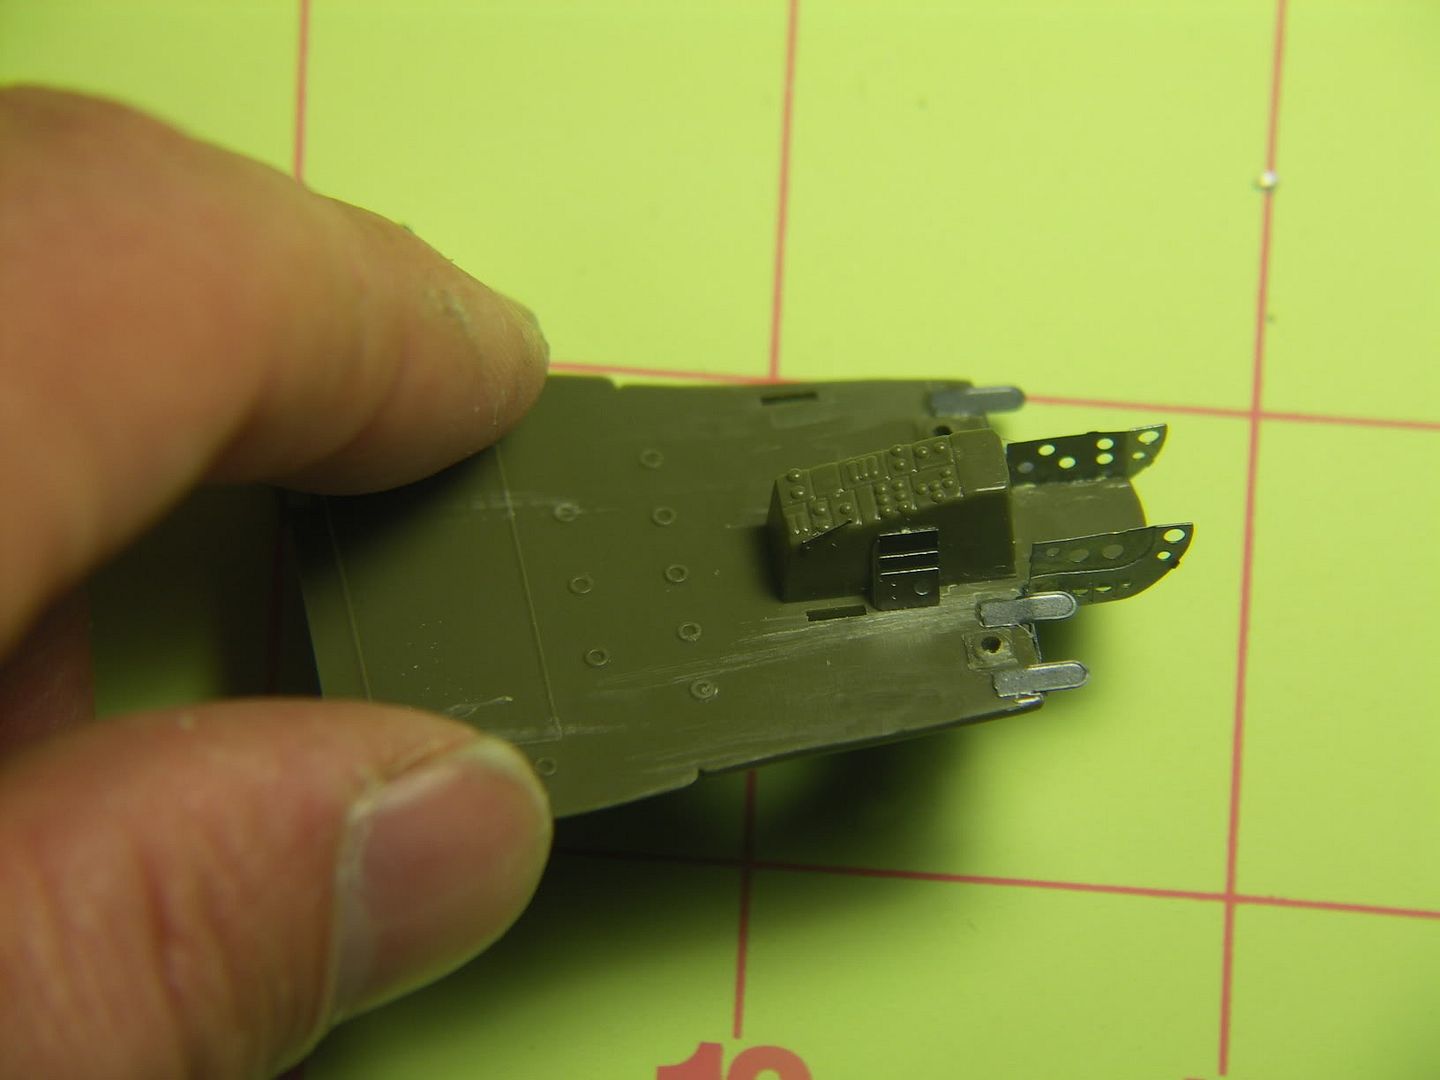
Next were the screens in the transmission housing. I just cut out the old ones and added the PE on the back. Too bad my heavyhanded painting clogged some of the holes:
[img]http://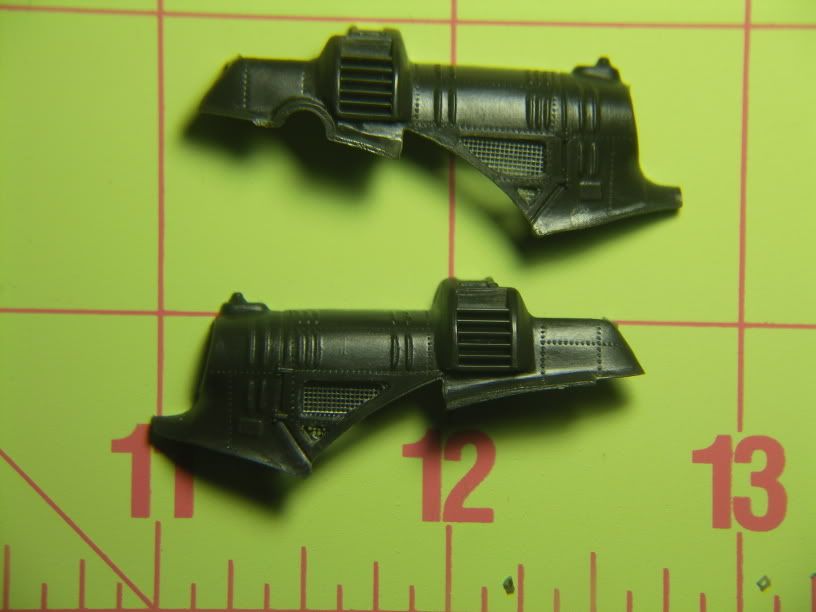
i first tried my hand at making a scatchbuilt armored seat using the seat from the Esci kit as a base. It looked oK, but alas did not fit in the space provided by the kit. So I used the resin seats instead and I think they looked pretty nice (scratchbuilt seat at left, partially built resin seat center, unpainted resin seat right:
[img]http://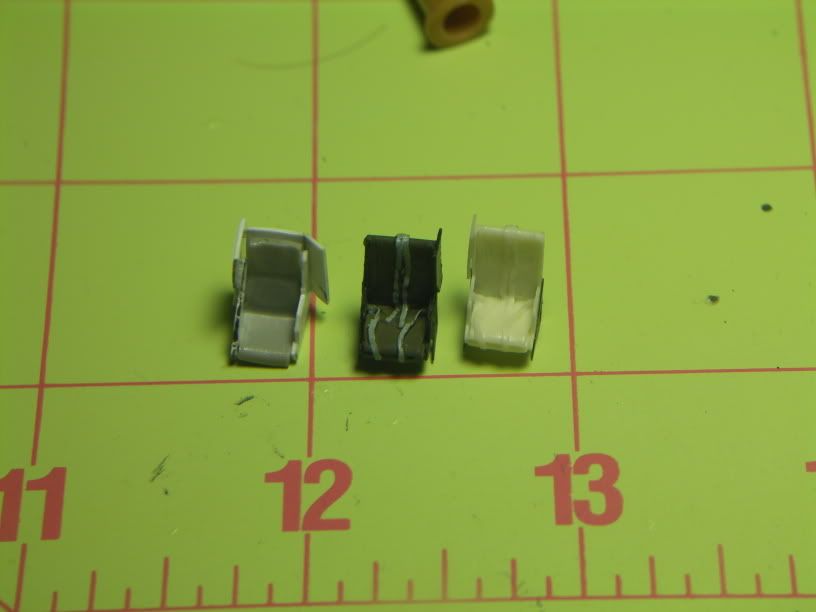
One of the shortcomings of the Italeri kit is the lack of a ceiling. The Czech Masters set comes with a replacement roof, but I decided to use the ceiling from the Esci kit with the Italeri roof. The overhead instrument panel will be a decal (Original kit roof left, original esci cieling bottom, merged roof and ceiling, right):
[img]http://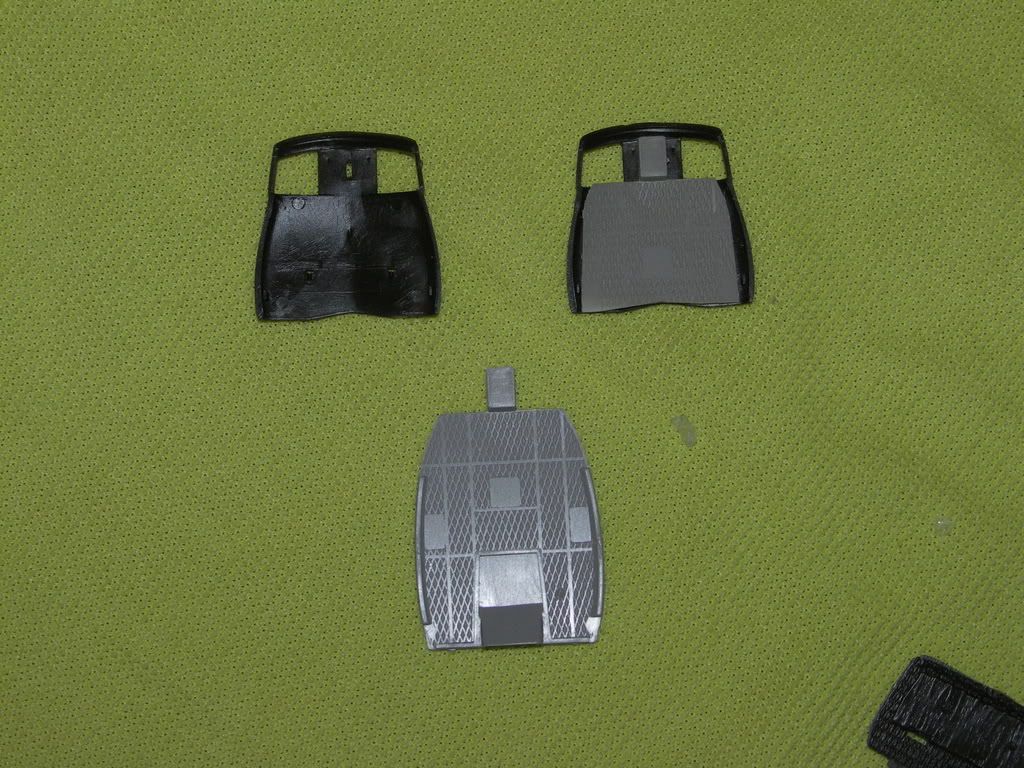
Here is the control panal with the PE and acetate gauges added. too bad you can't really see it after it was all finished:
[img]http://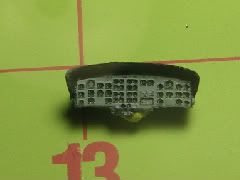
Here is the cabin floor with the ammo box from the Esci kit added and holes for the ammo chuts cut out. An iteresting note here is that Italeri must have meant to release a kit armed with miniguns or twin 60s cause after i cut these holes, I turned the floor over and saw this:
[img]http://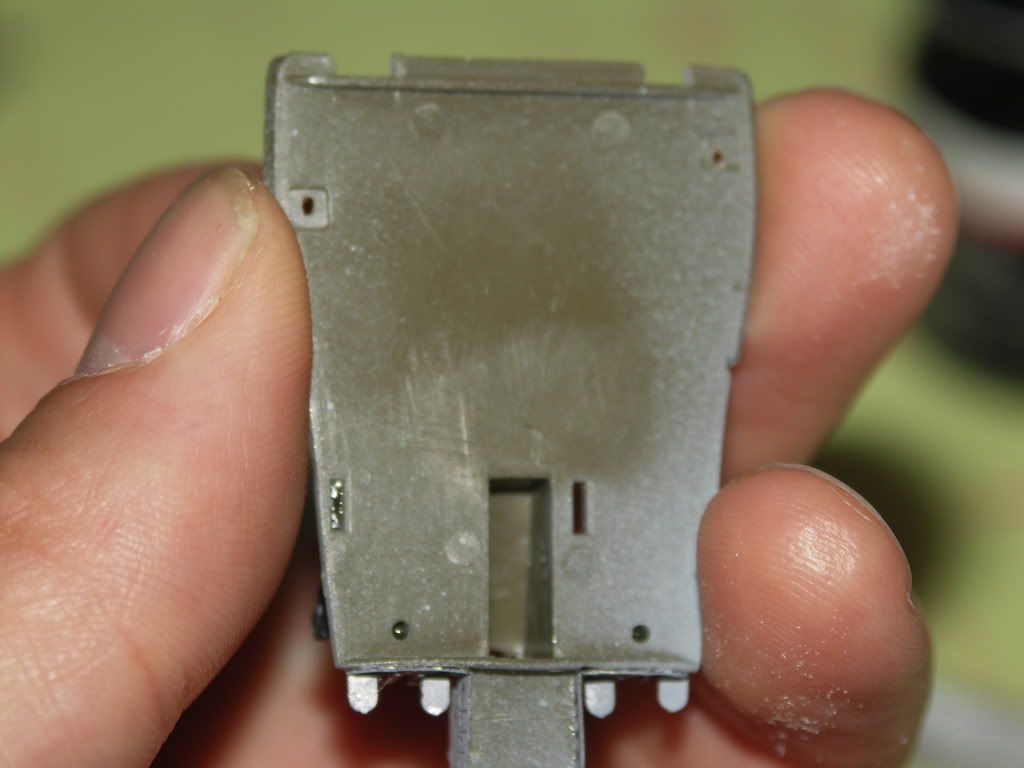
There were two small divits in the plastic exactly where i had placed the holes for the ammo chutes, assymetrical and in the correct positions! To top it off the holes are also in the fuselage for the ammo chutes to exit. A very pleasant surprise.
The rear cabin wall is another area that i don't really like in the Italeri kit. Those molded curtains are just aweful. i originally planned to sand them off and scribe panel lines, but i decided to use the nice rear cabin bulkhead provided in the Czech Masters set (actually there are two in the set both with and without curtains). The center panel was an access panel that was painted chromate green. this gave me a chance to add a little color back there. i also added smoke grenades made from pieces of cut plastic rod and painted OD on a piece of fine metal wire:
[img]http://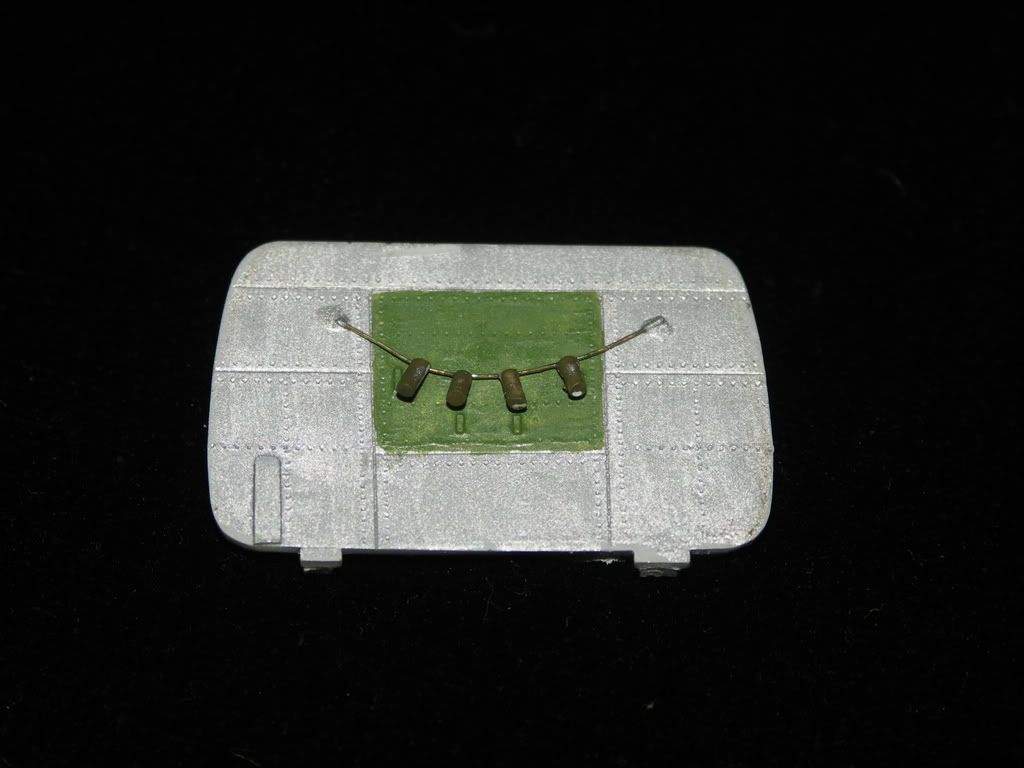
You will need to cut out a place for the transmission to sit if you use the replacement bulkhead:
[img]http://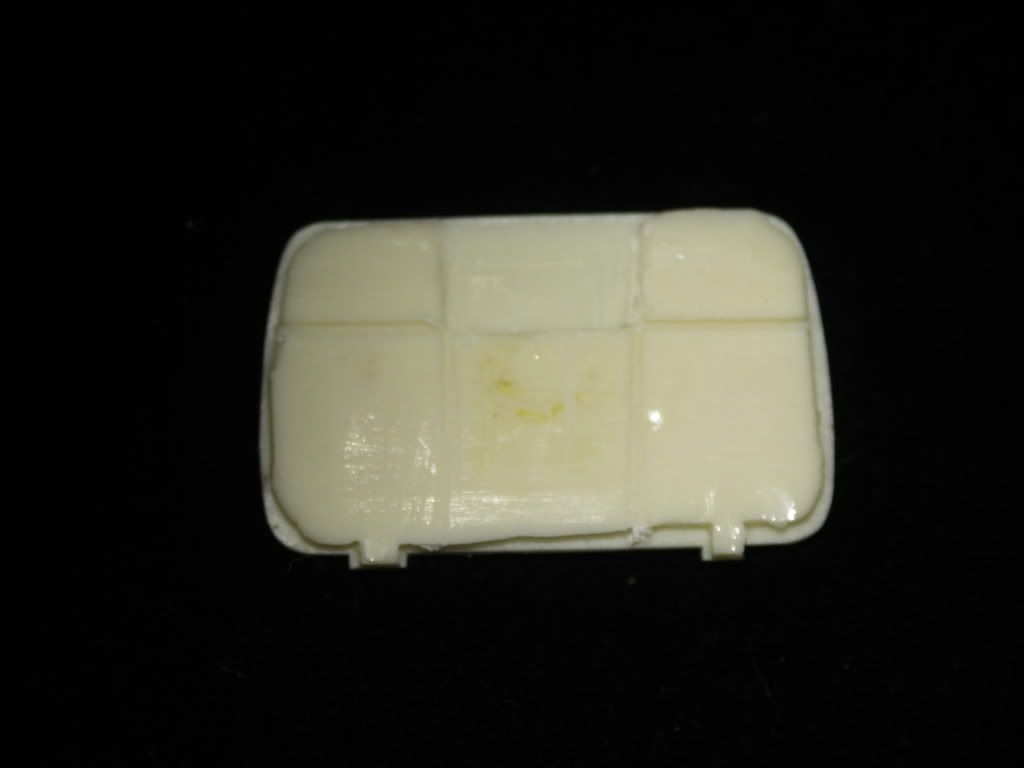
Next were the 60's. here you can see the PE added to the OH-13 kit parts. i put a tiny piece of styrene in between the handles to fill between the PE panels:
[img]http://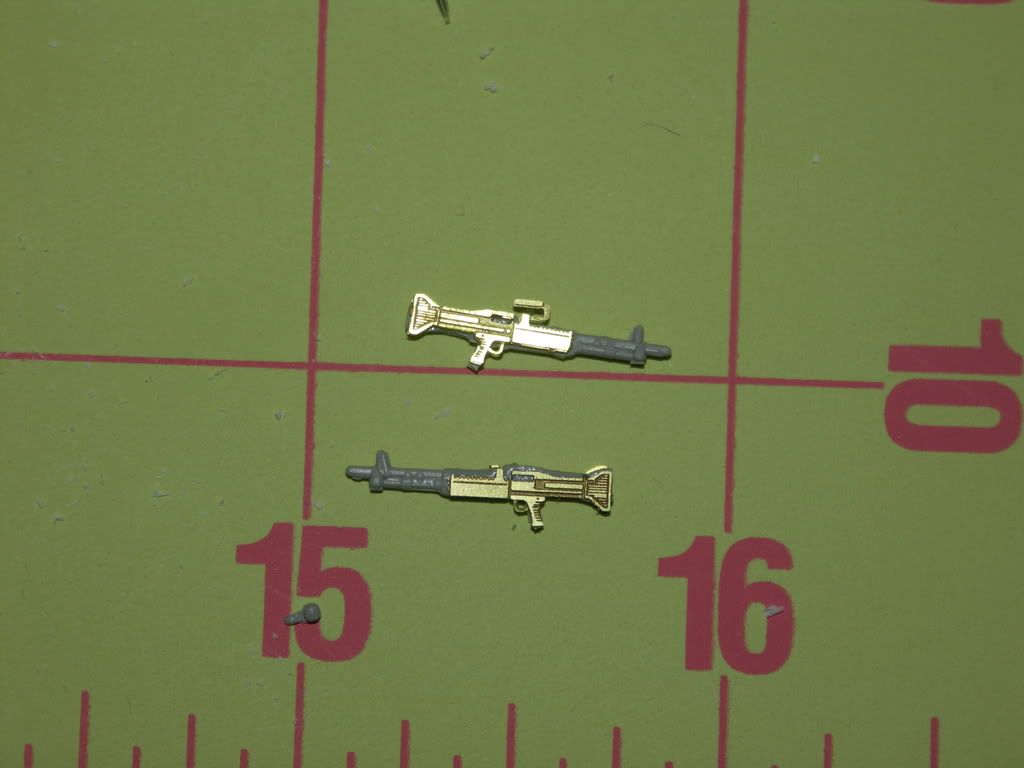
I painetd the 60's with MM gunmetal and flat black.
Here is the completed cocpit and cabin:
[img]http://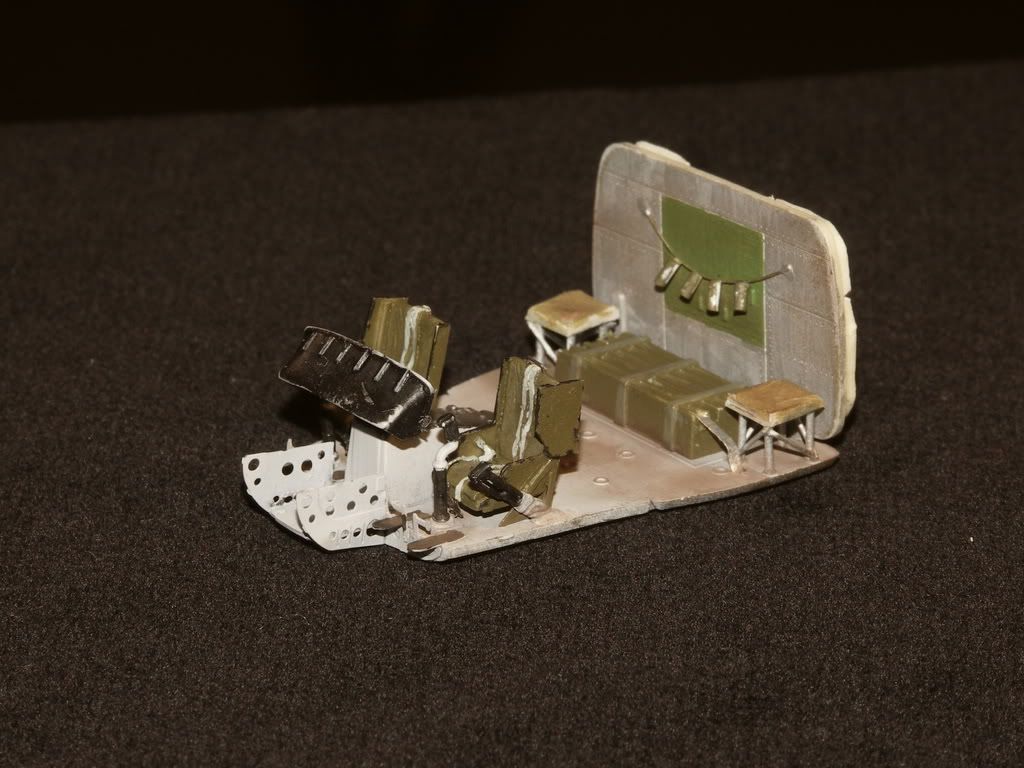
I weathered the cabin with dry patels and sealed with MM clear flat. Then i used a thinned gunmetal acrylic wash to help bring out details:
[img]http://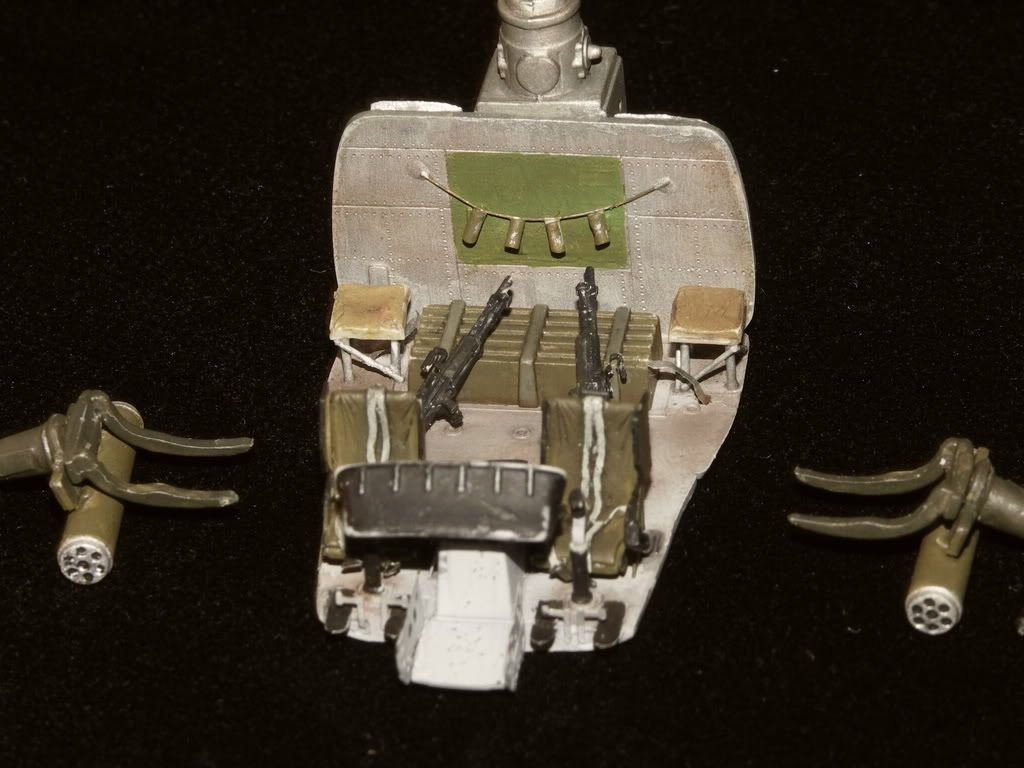
The gunner's seats are made from the Czech Masters bench seat which has four sections that are easy to cut apart. all i did was add the legs and supports.
I see this is getting way too long so I'll finish up with another post later if anyone is interested. basically that finished up the cabin and closing it all up is next.
Ray