Having jumped into the camp that a model, every model, needs a base, I have come up with an idea to display my next armor build.
The genesis is that I have notices at local contests that "___ crossing a section of railroad" seems to be an attractive, effective, and judge favored method of displaying a model, and articulating the suspension. Two models are making the rounds, both on nicely done RR bases, and I must say, it catches my eye.
Of course, anyone who follows my goofy builds knows that I am kind of marching to a different drummer, it might not even be a drum, but it's a noise in my head, so I feel that I cannot, ever, do a RR crossing base. I was stuck brainstorming some other way to depict an articulated suspension, assuming its not beyond my abilities.
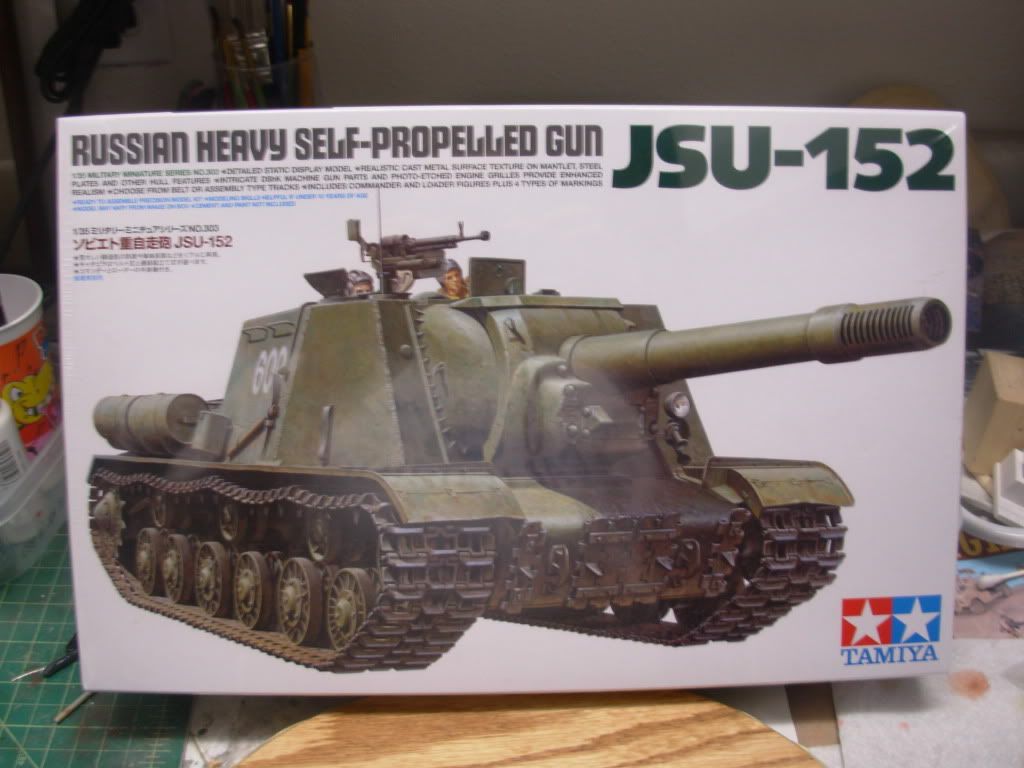
Here's the subject: Tamiya IUS 152 in 1/35.

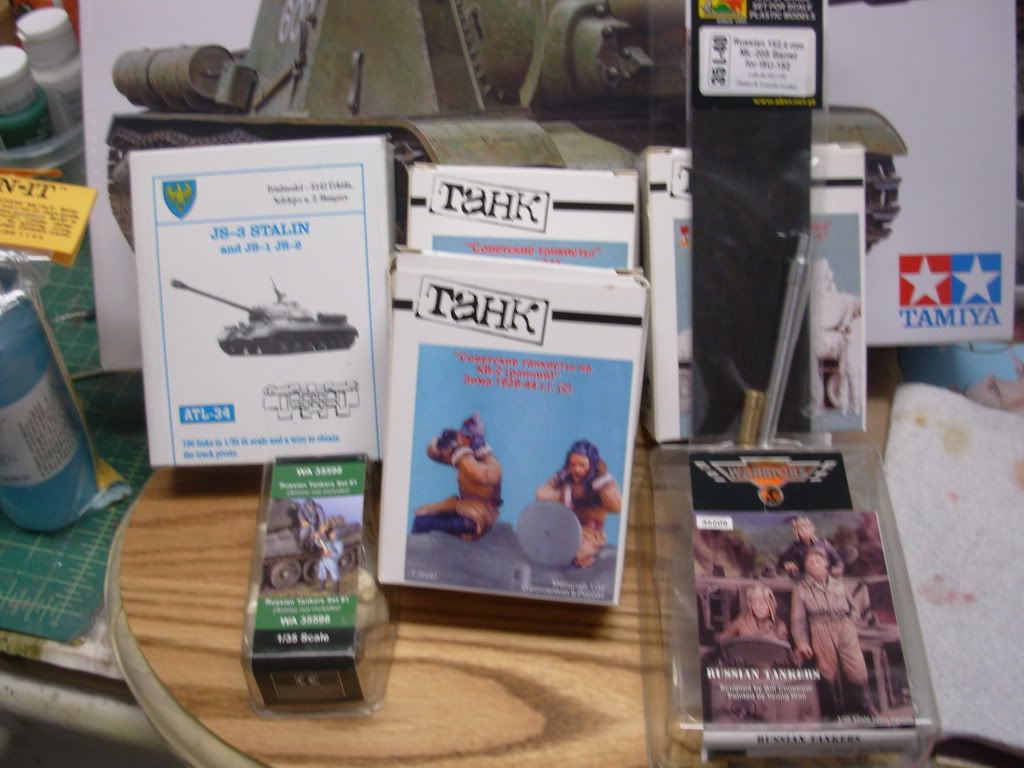
Before we move on, the guys who know me know this next shot is coming, a few goodies I accumulated to enhance the build...

Of course, most of these figgies are just random Russians, and they won't end up on this one, maybe the two winter dudes, though. The Fruils and the AM Barrel, though, are spoken for on this build. I have a bunch of other Russian Armor in the queue, including IS3, KV-1 and KV2 Big Turret, T-35 land battleship and a BA10. The 3 figure pack is for hte T35. Incidentally, with careful shopping and sniping good deals, these figures were ridiculously cheap, the Tank figs came from Mickster, who is unfortunately closing up shop, and the other guys were from Squadron, everything on sale.
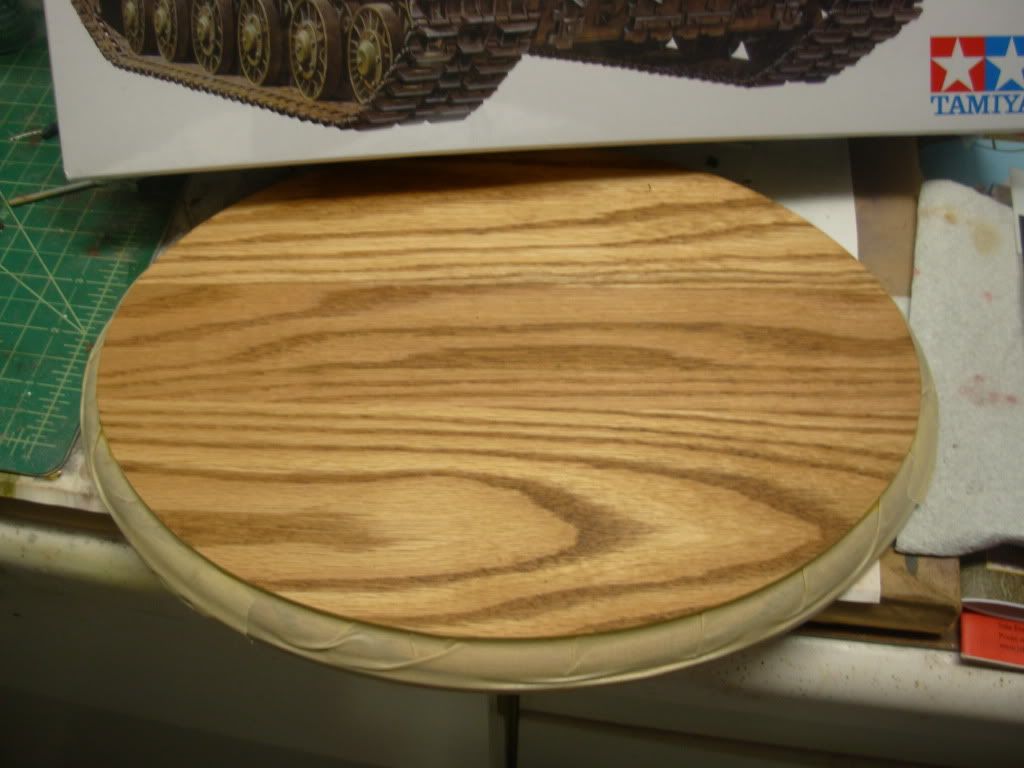
Here's the base I plan to use, a nice Oak plaque I picked up at Michaels, sanded it, stained it, and then carefully masked the edges to protect them from whatever is to come on this journey.

OK, here's the setup--ISU is tooling down a dirt road, with other ISUs, let's say, a few miles or more out of, let's say, Berlin, maybe Spring 1945, maybe earlier, maybe snow, maybe not (probably not!). The commander sees something to the front, maybe some sort of ambush or prepared defensive position, and the SPs decide to exit the road to spread out. He will be pointing left, off the road, and the gun will be just leaving the elevated road, in that direction, about half on and half off, hopefully articulating the suspension, and hopefully not a super over my head project.
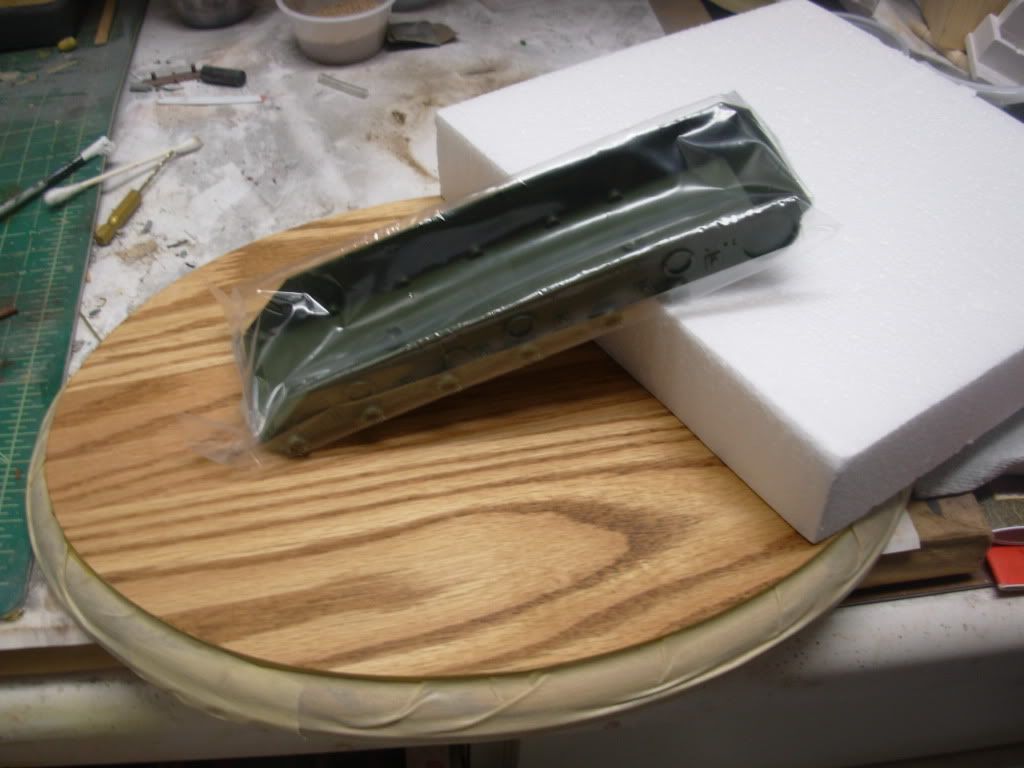
Here's a ridiculous early mock up using the hull as it comes out of the box, and a piece of foam to represent the road bed. I have a bunch of 3M foam board that I may use to build up the road instead of this foam, but this was handy. Over this, I will put a thin layer of wood filler, courtesy of Mr 21st Century Materials, INDY-Adam. A thin layer on the road, and blending to represent the shoulder/field. I plan to (and this will no doubt change when the guys who have done this weigh in) build up a road bed as the highest points, and have a somewhat lower shoulder/field, probably grassy, maybe a fence being knocked over to lend a feel of movement?
Here's the ridiculously simple mockup to my half page setup:

This is my FIrst Tamiya kit in over 30 years, the last was either a T62 or an SAS Jeep, literally, in high school. Let me tell you, this thing is nice so far. Note the individual bag for the hull bottom, it's hermeticaly sealed! The indy links, complete with a sag jig, are also separately packaged and provided in a light brown styrene.
I will probably do a parallel build in Armor, but I need to get the base countour down before I tackle the suspension, so I can get the suspension to properly conform to the ground.
So there it is. I haven't started this because I am stymied, a bit afraid, and, frankly, I don't know what to do first. It seems like I need to decide where the road will be, then finish the base contour, then start the model/suspension? I plan to surround the groundwork with some oak veneer stained to match the base. I don't even know when or how to do that???
Help a fellow out?
P.S., I have closely followed other dio builds, and have bought and read, several times, How to Build Armor Dioramas, by Lynn Kessler, and cannot recommend this book enough. I also have the Osprey book Building the IS heavy tanks, and have read that several times, too. My questions are limited by design to practical issues that I cannot find answers for.