UPDATE 4 – 8/18/2014
Hi Everybody!
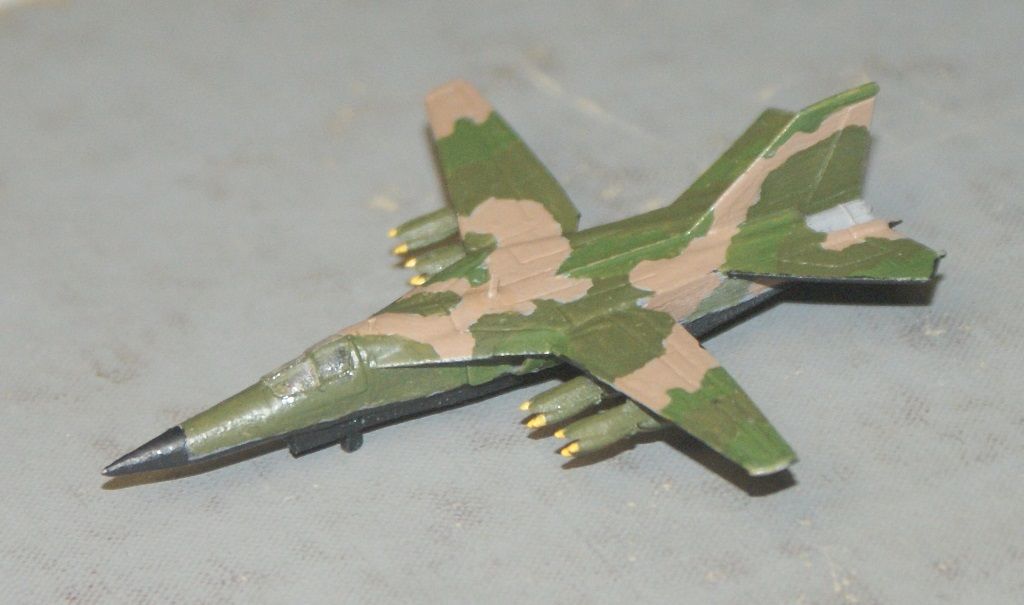
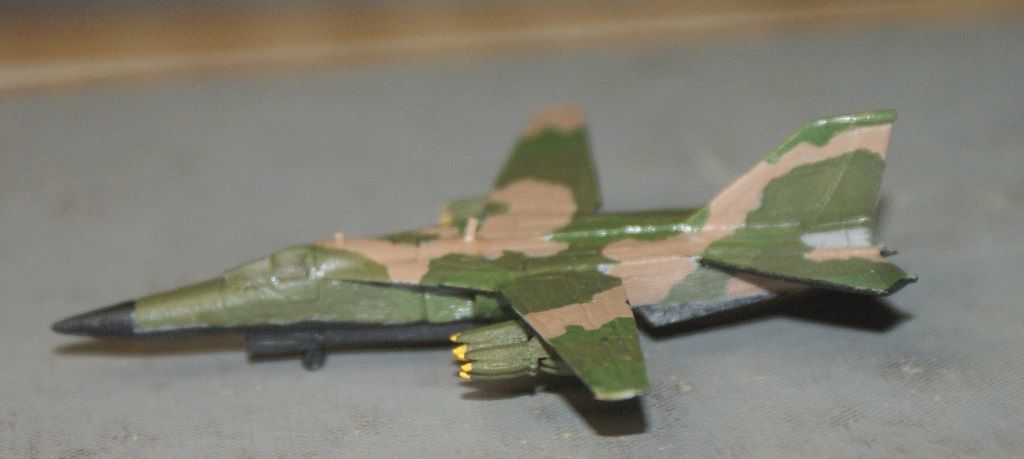
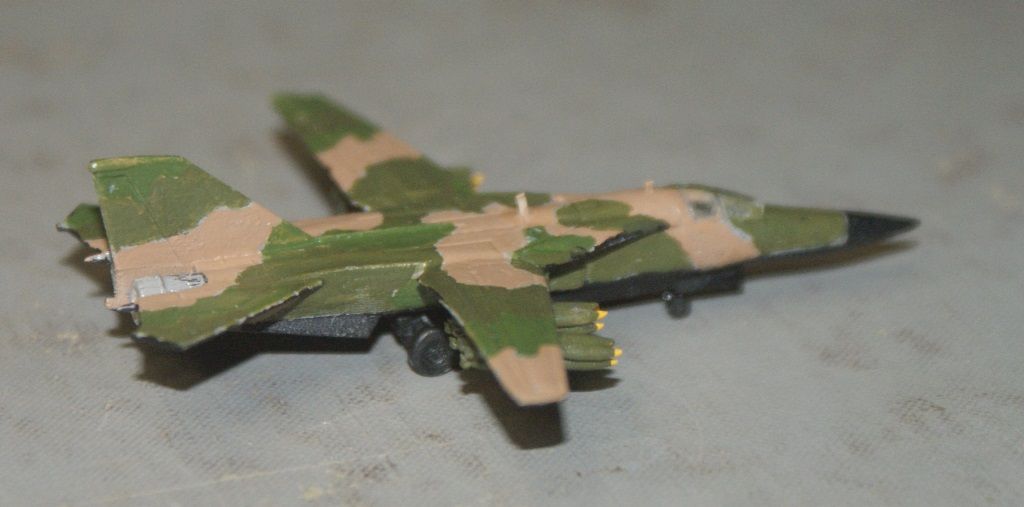
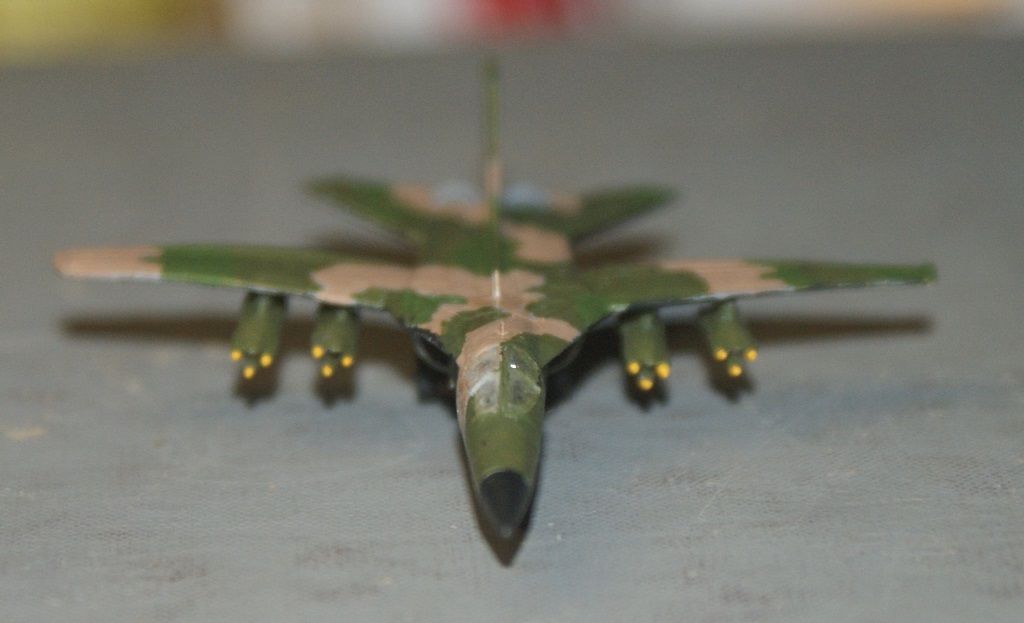
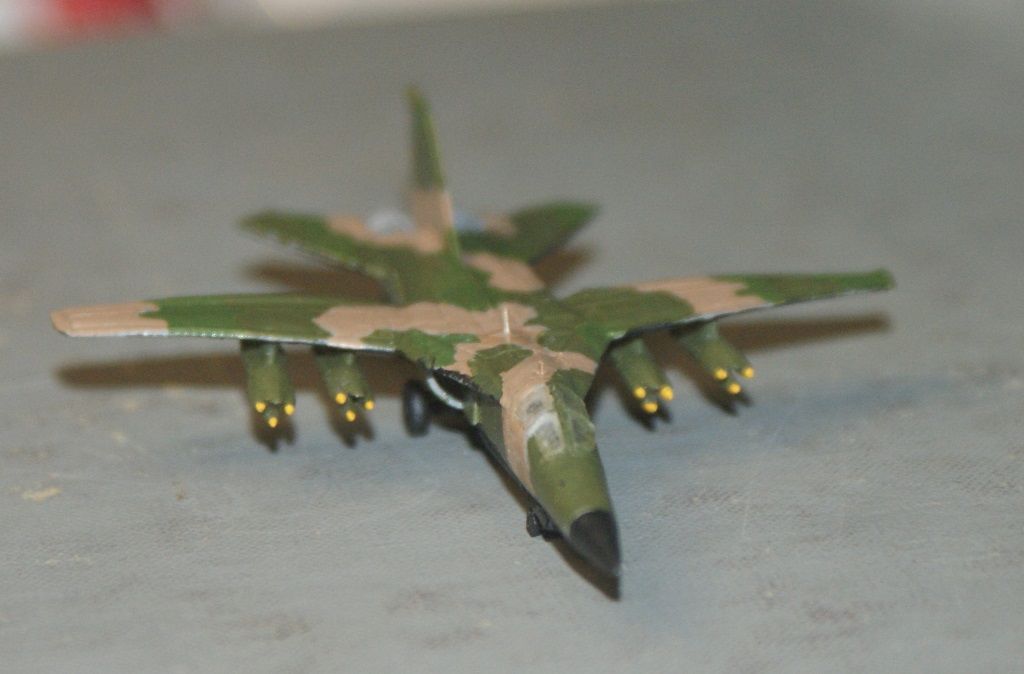
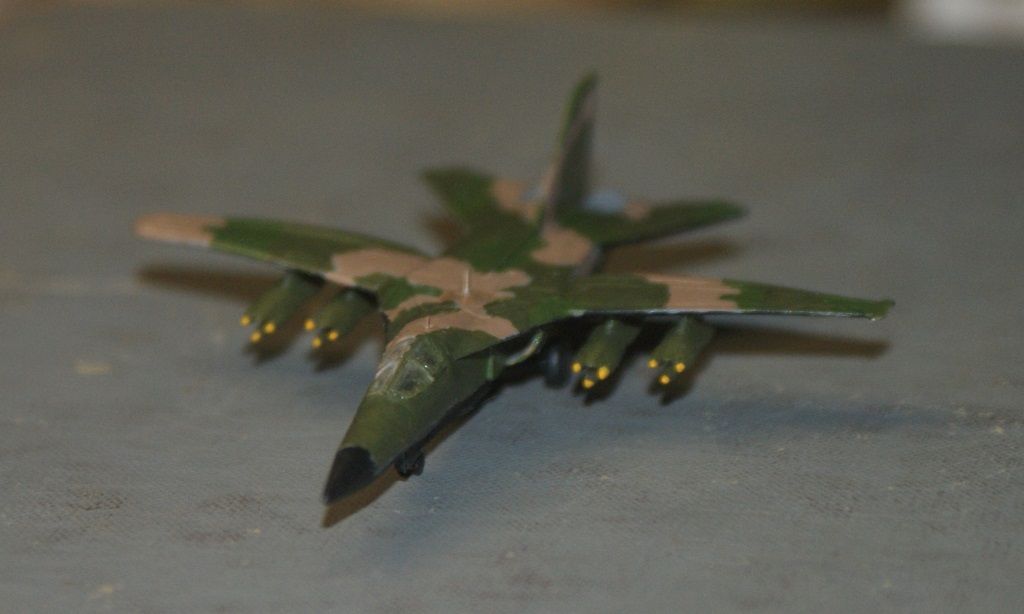
I have had a good evening so far, as I mostly completed the F-111A. I started by painting the gear and bomb clusters, black and dark green, respectively. I used the same Model Master’s acrylic, which I like because it goes on smoothly and dries fast. I painted the clear plastic parts with Future, just dabbing it on, rather than painting.
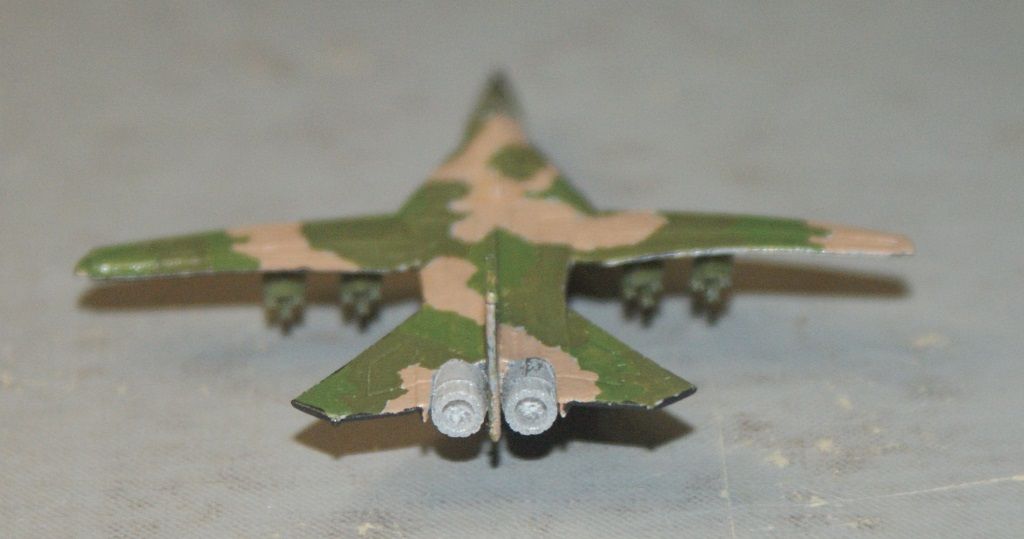
The assembly was fun and I learned something. To make my locator tabs, I use spheres, subtracted from one part and joined to the other, the tab being 0.002” less diameter than the recess. This is the easiest way to do it, but it doesn’t allow for good alignment. I should have used two of them, or made them using oblong rectangles, so it would force the parts to be straight. In the pictures below, you can see that one of the bomb clusters is ***-eyed. (I have since fixed it.)
Everything went fairly smoothly for a while. I started with the windows, beginning with the side attached to the fret. They were somewhat tricky to get in, and one of the tricks was making sure the tabs were cut cleanly, and that the paint was scraped from the edges. Through trial and error, I learned that the best way to put them in was to stick an Exacto knife blade into the part on the side facing out. I could then move it carefully into position, then shift the knife slightly and the part would come off. After a few tries, I could get it to come off where I wanted it (or close) and nudge it into position. A dab of super glue filled the spaces, thanks to capillary action, and I soaked up the rest with a paper towel. This method seemed to work fairly well, so I did the same thing on the airframe side.
The main gear were next, and they fit like a glove, and the bombs went on fairly easily. Even the crooked one went on nicely. I’m not sure how it got crooked.
The front gear did not go so well. I didn’t get the hole it fit in cleaned out enough, I guess, and it was crooked. In the process of trying to straighten it, I accidently hit the wheels and knocked them off. No big deal. I straightened the base and glued it in place. Then I picked up the wheels with tweezers and was getting ready to attach them to a dab of glue I had ready and TWING. They disappeared. I felt something hit my arm and heard something hit a plastic bowl. One of the wheels was by the bowl. The other one, the one that hit my arm was gone. 30 minutes later, on my hands and knees with a flashlight, I found it, just as I was about to give up. After I found them I used the Exacto knife stick trick to easily get them on, and although they are not perfectly straight, you have to look pretty hard to tell.
The camera, with telephoto lens, that I used to take the pictures, really shows my flawed painting. It looks a lot better in person than the pictures show, but thanks to the pictures I know that I have some touch up painting to do. There are a lot of holidays, as my dad calls them.
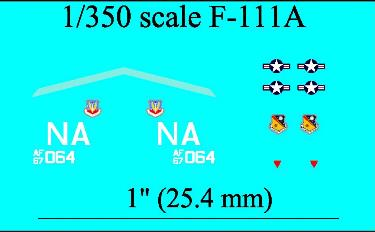
Besides the paint touch ups, all that is left are the decals, which are in the mail. The last image shows the decal sheet I made for the F-111A, and were printed by Yuuichi Kurakami.
It was a fun model to build.
CHEERS!
