SEARCH FINESCALE.COM

Enter keywords or a search phrase below:

Quick-n-Easy tarp-torial W/pics

3633 views
12 replies
1 rating 2 rating 3 rating 4 rating 5 rating
  • Member since
    February 2005
Quick-n-Easy tarp-torial W/pics
Posted by Kevleerey on Sunday, December 16, 2007 1:02 AM

Hi,all!
I'm sure most of you know how to do this, and I'm by no means an expert on the subject myself. But here's a quick how-to for tarps. Here goes...

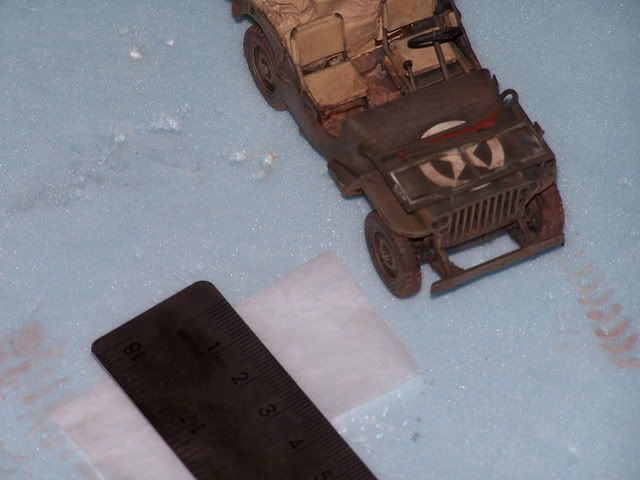
First, measure the size of tarp you'll need. Then mark and cut this from a doubled sheet of tissue paper. I cut along a ruler for a straight edge.
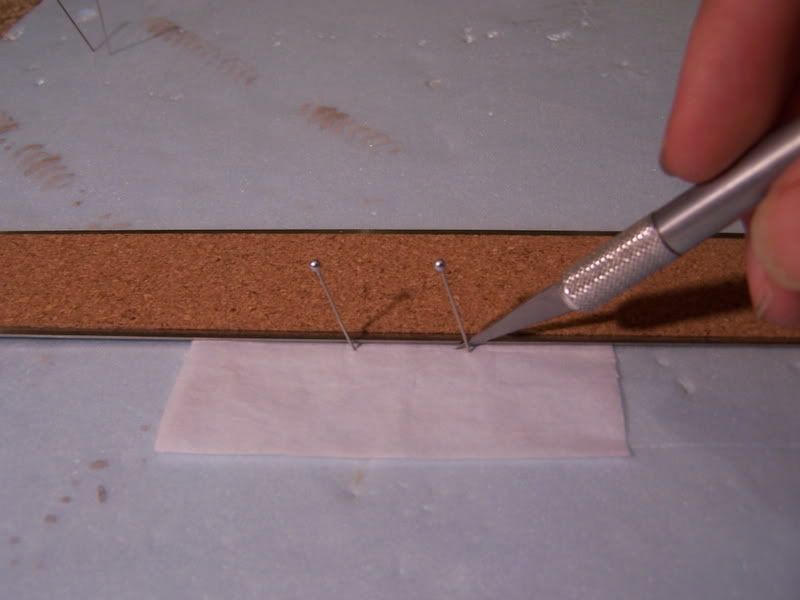

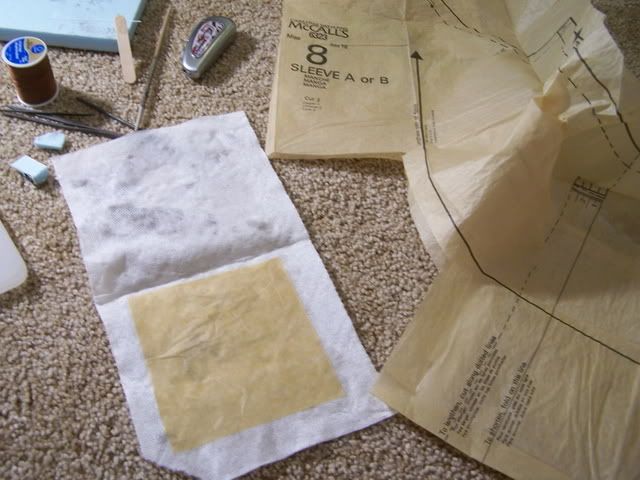
You can use any kind, kleenex, TP, etc. I use the kind that comes in shirts; sewing patterns also yield a lot of material.(That's not mine, by the way.)
Mix up some water with white glue and the color paint you want your tarp to be. Crumple the tissue paper(TP) and straighten to get a wrinkled look, then dip in the glue mix.
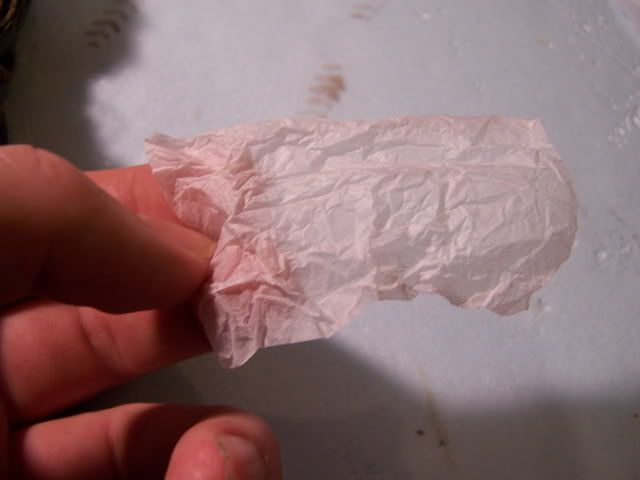
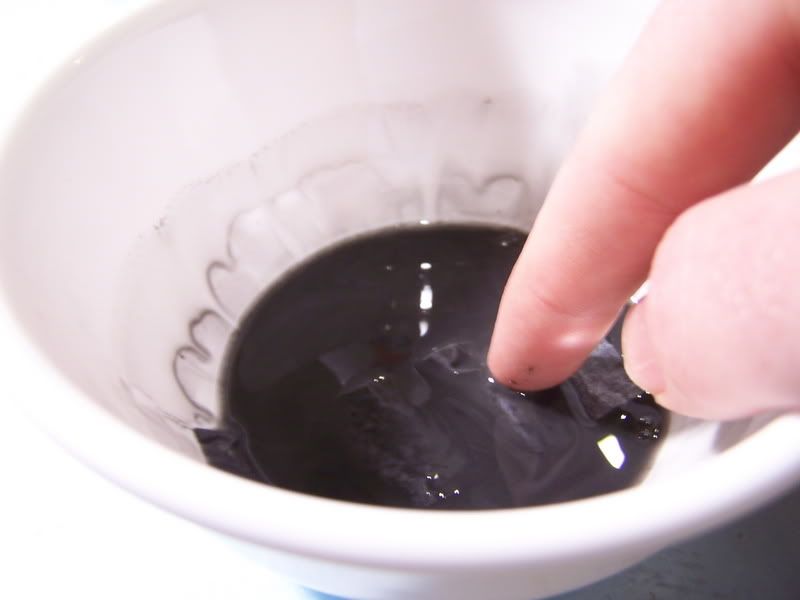
Lay the tp on a paper towel to dry. Use a pin or press air bubbles out the side.
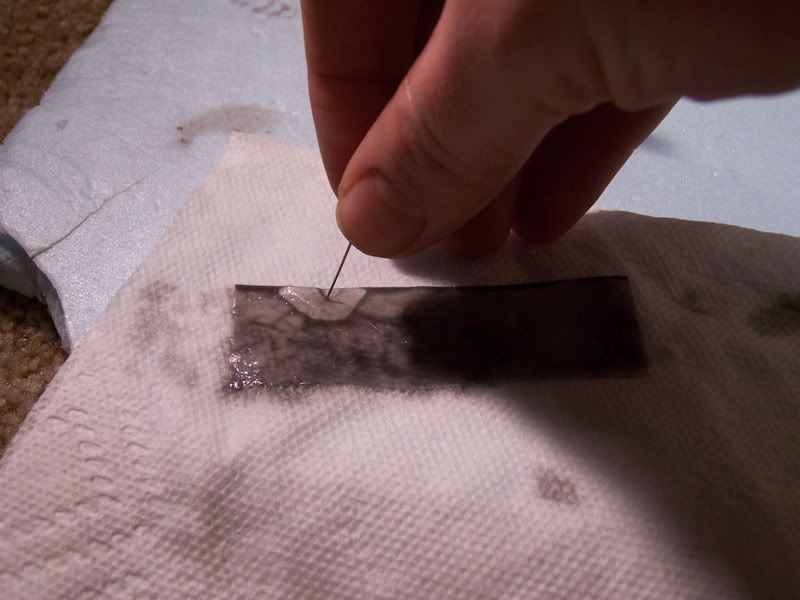
Lay out the tarp and position it where you want it.  Mine is for a windshield cover, and will be folded around. You can also cover just about anything with them - hide missing detail, etc. Avoid using super glue on parts that will show; it's waterproof and will look bad painted. I use it where it won't be seen.
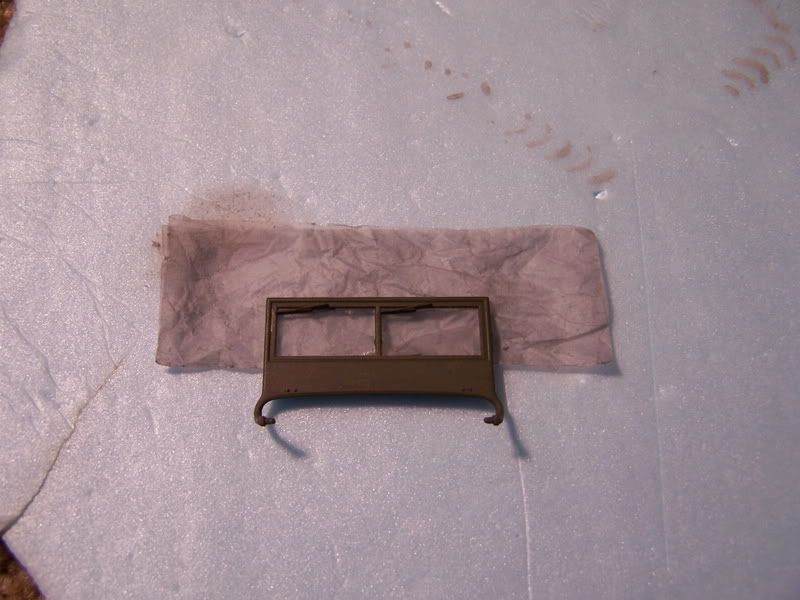
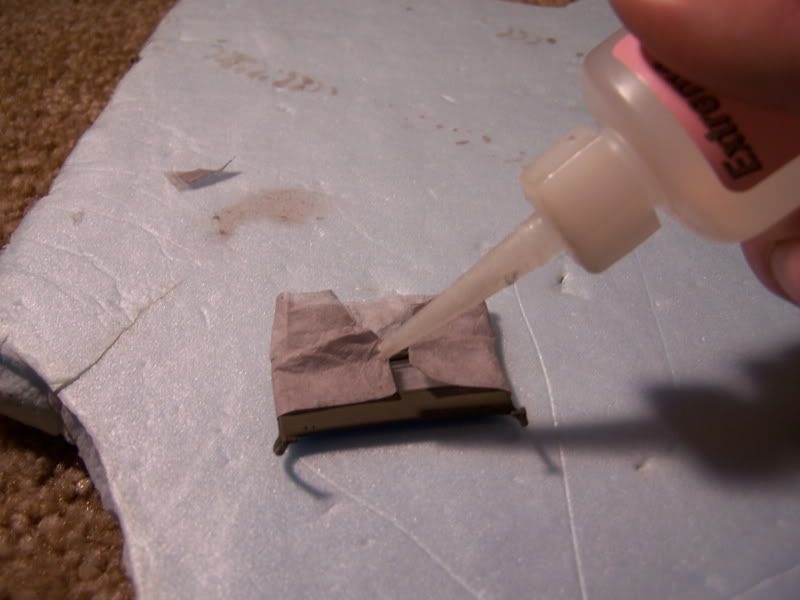
Next, "paint" down the TP with more of the glue mix. Use a paintbrush, the handle, putty tools, etc. to put in wrinkles and detail. If your tarp will have straps, tie a string where they will be for a tightened-down look.
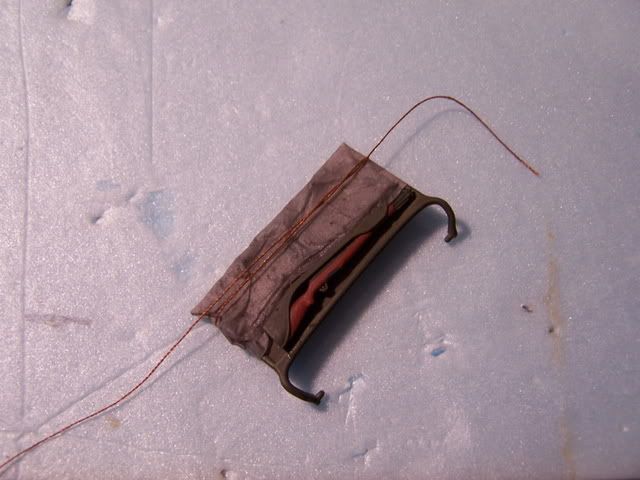
Add straps later, after painting or at least drying.
Once dry, the tarp can be painted more if needed, and drybrushed to bring out detail. You'll want to seal it before you do any washes though.

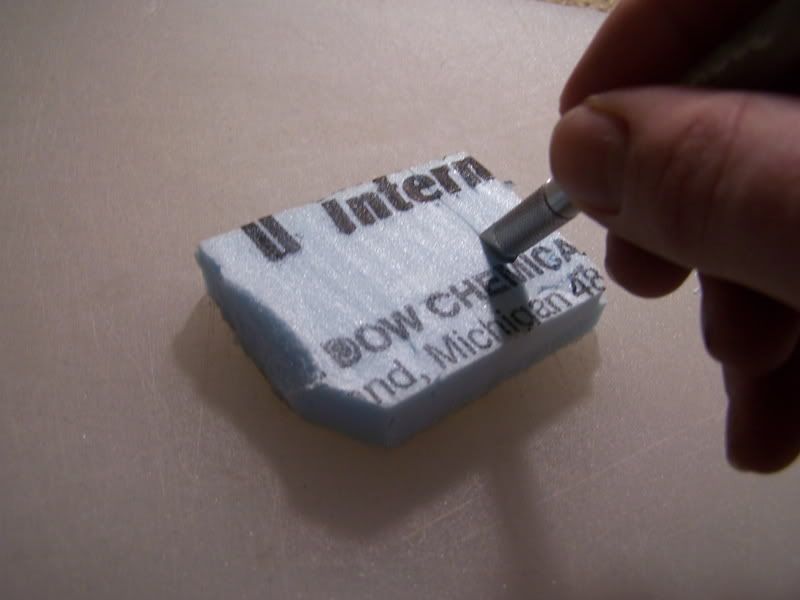
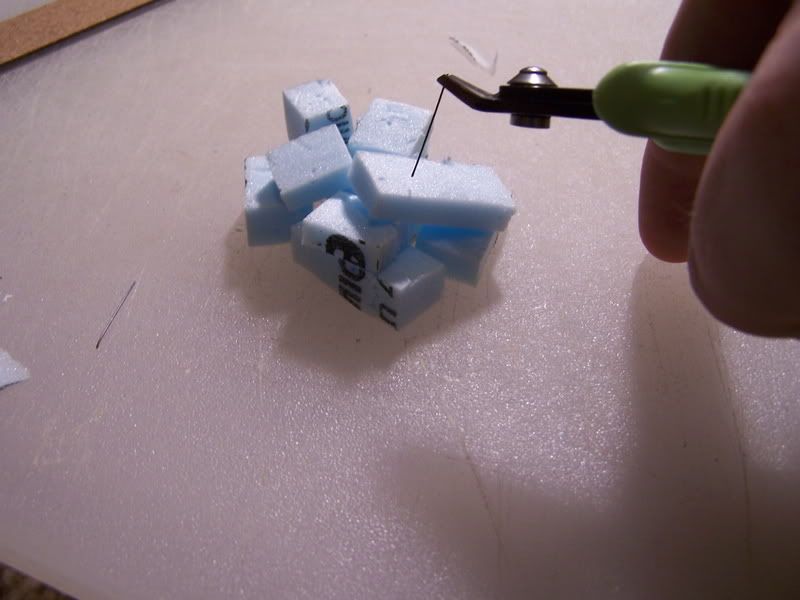
This method also works for bedrolls, tents, clothing, basically any cloth item. I used the same method to cover a stack of "boxes"- an effective, cheap(or free) space filler. Foam insulation makes a good form, set up a stack with pins - superglue eats this stuff up.Dinner [dinner]
I used a sewing pattern for this, so it didn't need paint in the water/glue. Otherwise it's the same method.
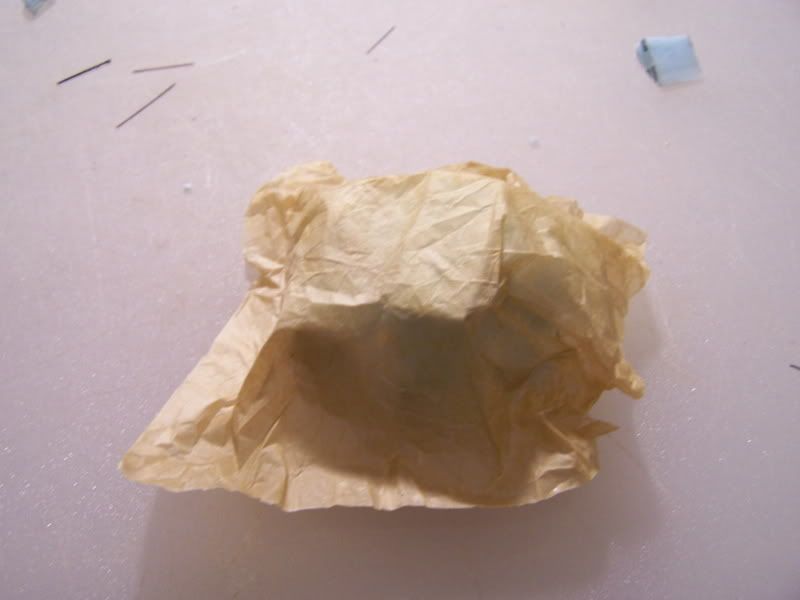

Here's the finished product. This is before drying and painting. I think I'll put another layer on the windshield though.
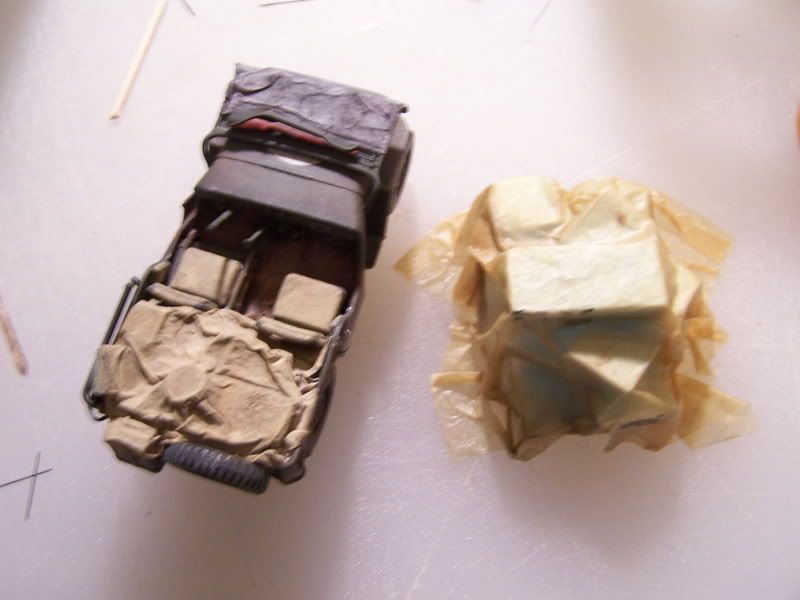
Hope I didn't make it sound too difficult or put you to sleepZzz [zzz]; the whole process takes but a couple minutes(not including drying time) and is very simple. Let me know if it helps at all, or share your own method!
Thanks for looking!
--------------Kevin

  • Member since
    November 2006
  • From: Massachusetts
Posted by jadgpanther302 on Sunday, December 16, 2007 8:42 AM
Thank you for this wonderful tutorial. Now another added to my stash of techniques. Thank you
  • Member since
    September 2003
  • From: South Central Wisconsin
Posted by Daywalker on Sunday, December 16, 2007 11:51 AM

Kevin,

Excellent work there!  I have used a similar technique in the past, but never quite acheived your results.  I am DEFINATELY gonna try your method next time around, thanks! Thumbs Up [tup]

Frank 


  • Member since
    November 2006
  • From: Coastal Maine
Posted by dupes on Sunday, December 16, 2007 5:38 PM

Wow...you certainly make it look easy! I've never tried my own tarps before, but I certainly want to now. Wink [;)]

Nice tutorial! 

  • Member since
    July 2003
  • From: Perth, Western Australia
Posted by madmike on Sunday, December 16, 2007 5:49 PM

A very useful tutorial, thanks!

One thing though, you say you lay the glue mix saturated tissue down to dry on kitchen paper? Is that to dry completely or to simply wick away excess glue mix?

I would have thought the glue mix was the best way for the tarp to adhere where it was placed and easier to form shape while it was wet.

cheers and thanks

Mike 

"I do not feel obliged to believe that the same God who has endowed us with sense, reason, and intellect has intended us to forgo their use." - Galileo Galilei
  • Member since
    February 2005
Posted by Kevleerey on Tuesday, December 18, 2007 10:13 AM
Thanks, everyone for your comments!
Mike- Sorry it took so long to get back. You don't dry the tarp completely, just so that it's not dripping wet. I sometimes use a towel that's already damp so that it doesn't dry it out too much. This makes it easier to handle, but it should still be wet enough to be pliable. Once in place, you apply more of the glue mix to settle it down into place and make it stick. Hope this clears things up a bit!
--------------Kevin
--PS--What are those stars for?
  • Member since
    July 2003
  • From: Perth, Western Australia
Posted by madmike on Tuesday, December 18, 2007 5:18 PM

Kevin

Thanks for the reply to my question. I thought that that was the case Smile [:)]

Your question regarding the stars was directed at me? 

cheers

Mike 

"I do not feel obliged to believe that the same God who has endowed us with sense, reason, and intellect has intended us to forgo their use." - Galileo Galilei
  • Member since
    February 2005
Posted by Kevleerey on Saturday, December 22, 2007 11:26 PM
Hi!
The question is for anyone; I was referring to the 4 stars that show by the post under the Dioramas section.
----------Kevin
  • Member since
    July 2003
  • From: Perth, Western Australia
Posted by madmike on Sunday, December 23, 2007 8:44 PM

I beleive that is a popularity rating based on number of views?

cheers

Mike

"I do not feel obliged to believe that the same God who has endowed us with sense, reason, and intellect has intended us to forgo their use." - Galileo Galilei
  • Member since
    January 2007
  • From: BC
Posted by Deputy_Brad on Sunday, December 30, 2007 2:39 AM

The stars mean someone liked your thread and rated it 4 out of 5 stars. Good job too.

I actually just recently did a few rolled up uhh.. things, not big enough to be tarps I dont think so Im not sure what they are. Anyways I recently dressed up my older 1/72 Sherman with some camo netting and rolls out of tissue paper. It works really good I think but I might redo them in more appropriate sizes.

Btw is that a 1/72 Jeep? It looks a lot like the Heller kit I just bought, it comes with a trailer and I just messed up the window with glueing so I think Ill cover it with a tarp now too.

My real name is Cam. Interest: anything 1/72, right now mostly sci-fi and modern In progress: 1/72 Sci-fi diorama (link in my web) 1/72 Leopard 2A5 1/72 APC Conversion to a MEGA DESTROYER
  • Member since
    February 2005
Posted by Kevleerey on Monday, December 31, 2007 3:59 PM
Hey,Cam!
Actually, this is Tamiya's 1/35 kit. I actually tarped the windshield for the same reason, running glue. Good luck with yours!
---------Kevin
  • Member since
    March 2007
  • From: Houston, TX
Posted by MattSix on Monday, December 31, 2007 4:14 PM

Good stuff! Thanks for all the great pics!


  • Member since
    December 2003
  • From: Los Angeles
Posted by dostacos on Wednesday, January 9, 2008 7:52 PM

I have tried this but used old hankerchiefs

I rolled up one on either side of the universal carrier {no photo but I also did 2 1/48 jeeps with the windshield cover} and the cover for my M10 to keep some of the snow out of the fighting compartment.


Dan support your 2nd amendment rights to keep and arm bears!
JOIN OUR COMMUNITY!

Our community is FREE to join. To participate you must either login or register for an account.

SEARCH FORUMS
FREE NEWSLETTER
By signing up you may also receive reader surveys and occasional special offers. We do not sell, rent or trade our email lists. View our Privacy Policy.