Hey fellows! Sorry I am slow in replying, I jumped right into a 109 G-10 build and it has kept me occupied! Thank you for all the excellent comments! The FAA guys made be another badge to display in my sig as well. I really have a fun time in that GB! Almost too much fun! ![Pirate [oX)]](/emoticons/icon_smile_pirate.gif) I got most of youz mugs replied to over there!
I got most of youz mugs replied to over there!
Jeremias , You are absolutely correct! My Photo skills suck wind! Maybe I'll make up some kinda photo box on a spare table to scren light and neutralize the background. May want to try to submit some pics to the magazine then if I can get a knack for it.
Harv, Right back at ya! Your stuff is looking good as well!
soulcrusher , get that MC 202 done! What you doing? Gonna have to sick Herr Goering on ya again!
scorpr2 , Thanks! Most kind!
chukw , If I could illustrate as well as you I'd be a nose art king! My refs were whatever I could find! The Pv-1 Ventura in action book and some older Us Marine and Navy aircraft of WWII Pamphlets and booklets from My ROTC days and a bunch of Marine and Navy aircraft books and records from the library of the late Astronaught Sonny Carter whose daughter was kind enough to give me. Facinating stuff!
Also Forum members helped! Immensely!
/forums/992053/ShowPost.aspx
And this build thread is golden!
http://www.aircraftresourcecenter.com/Gal-Fea%20Archives/Prop/Ventura/Ventura.htm
Ranger2Seven , Thanks! You know there was a 1/48 Vacuform kit done as well!
Swanny , Still got a DO-24 to go someday and hope it's 1/3 as good as yours turned out!
http://www.swannysmodels.com/Do24T.html
ian lanc ! You got me started on these beasties! Were gonna get that 1/48 Sterling done some day! ![Bow [bow]](/emoticons/icon_smile_bow.gif)
| |
vetteman42 Here are some highlites as it seems a few of these beast are lurking in peoples stashes! Daywalker has been entertaining the thought of an Aleutian Scheme! ![Whistling [:-^]](/emoticons/icon_smile_whistling.gif) |
Work in Progress updates.
I think I have saud that the 1/48 Fonderie Minature's 1/48 PV-1 Ventura has to be a contender for the worst kit ever! Soft but brittle plastic that reminds me of kitty litter when sanded extc. Cutting Sprue attachment points even away from the parts still leaves craters extc. Nothing fits. Don't expect it to. Every part seems to be made for something else. A real shame as the pit and resin parts are pretty nice. They just aren't even close to fitting.
Here is how it has progressed this week.

I whipped together a crude scratch built interior. Couldn't find any pics inside of a PV-1 but used some of the Harpoon which I figure will be close. Not a jaw dropping effort but more than enough to look good inside when the halfs are closed together.
Battling cutting chopping and grinding I have some how forced things together minimizing detail loss and damage where I could. I can't even start to list all that had to be done and not sure it would help much anyways as no two of these kits are really alike or standardized. Lets just say it is an adventure and leave it at that.  " border="0" width="25" height="20" />
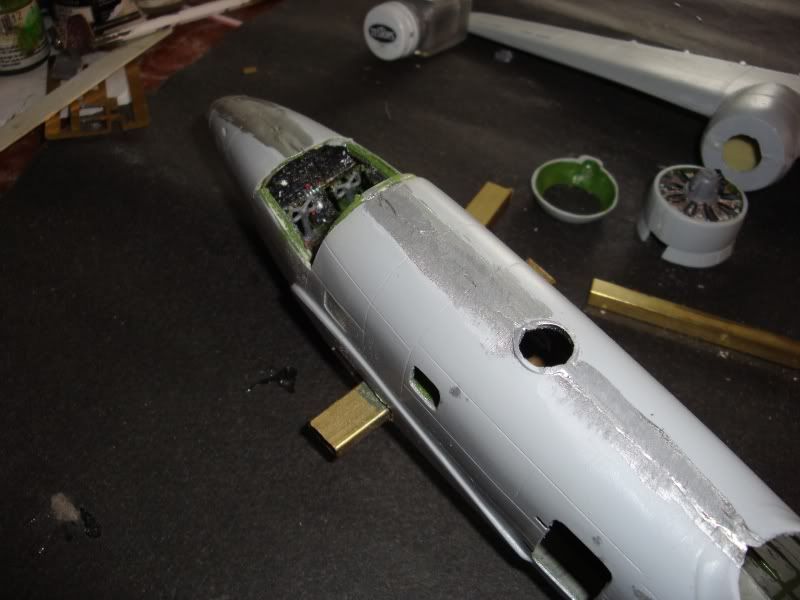
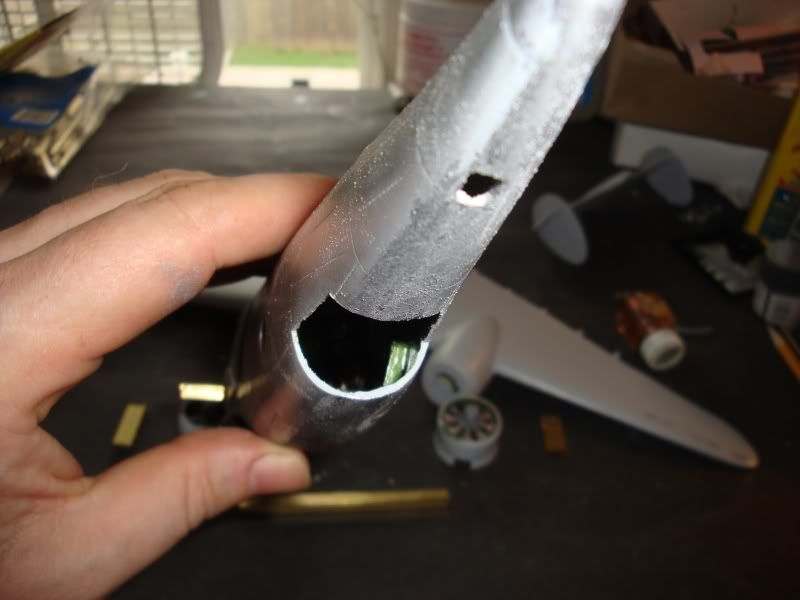
The wings have fat chunky locating tabs that are made to fit in slots that are less than half the right size. Square pegs / round holes. Even if you adjust them some how the tabs will hit the resin pit walls before actually helping in anyway to secure and position the wings. Cut them off and put a brass bar through to aid in placement and strength for the hell that will be the wing attaching and filling.
Actually when I made the holes in the wings to match up I found I made it too long and it struck the resin wheel wells in the wings. Dremel dremel dremel! The best most essential tool while working with these Ill fitting madly engineered FM Beasties! You will find yourself actually using all those attachments in the dremel box!
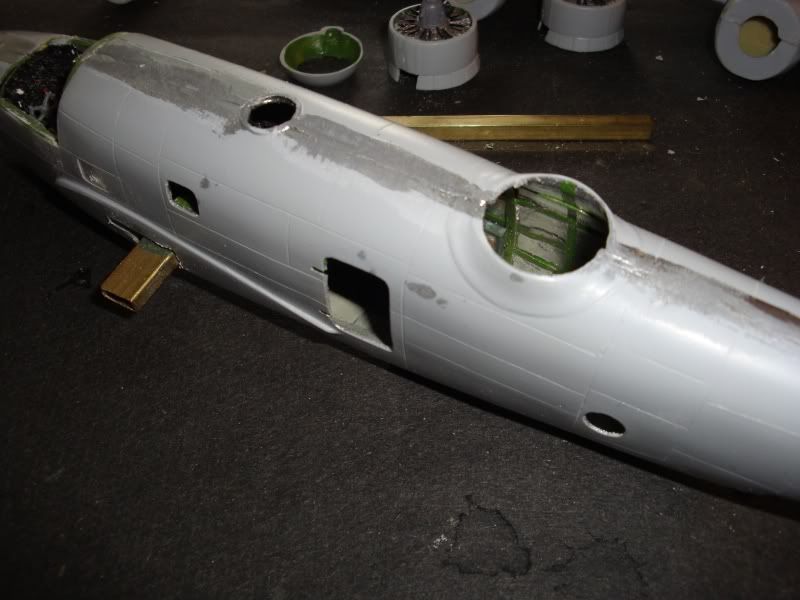
Sanding seams and filling those craters. The composure of the low pressure injected plastic has necessitated the use of gap filling super glue and acclerator as otheer wise you can sand forever and the plastic will simple keep crumbling away making things worse.
Top and bottom
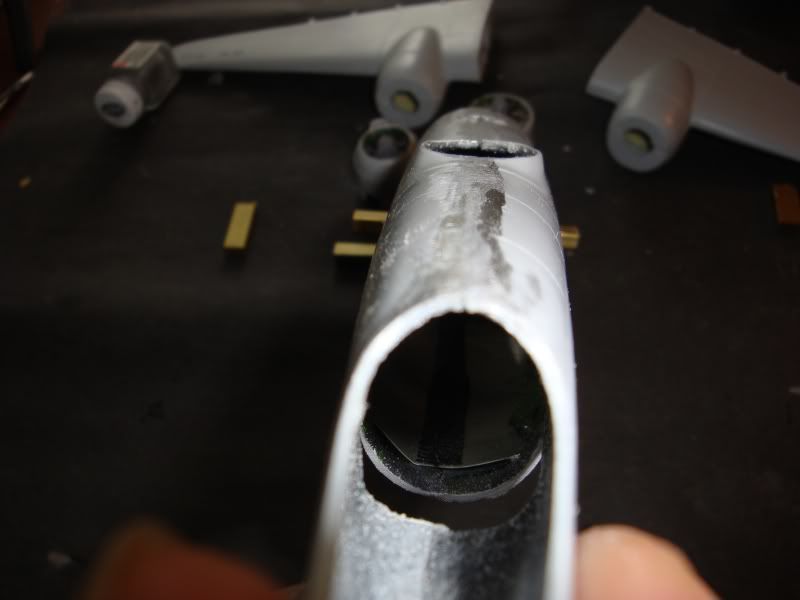
I replaced the white metal engines. ( Mine were chunky and mis shaped) with the resin R-2800-31 2000 HP P&W series used almost exclusively on Ventura's. Now if you ask me what looks different in the series? I dunno. Looks like a Corsair engine to me and I wired both the same as I did the 1/32 corsair. The details aren't as sharp as say an Aires engine but still they are not bad and the price tag was much more reasonable.
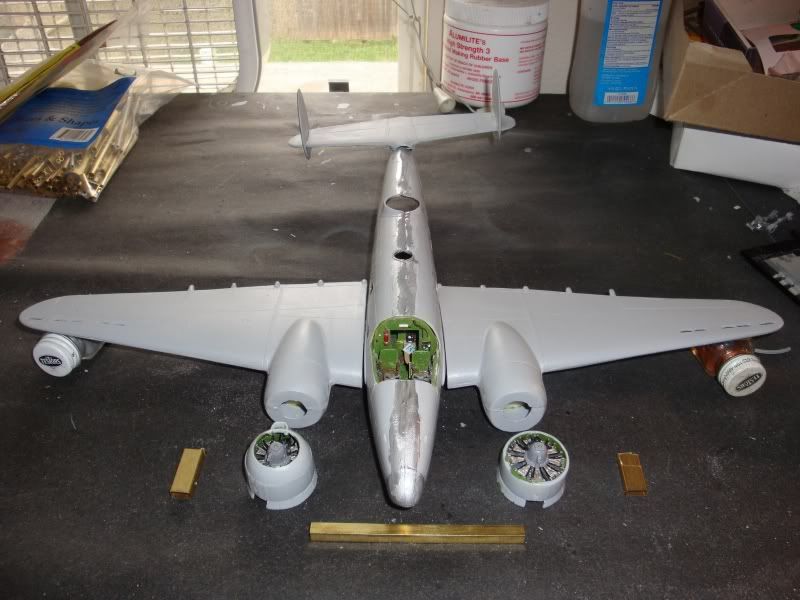
Well wing filling and finding a way to get the tail on will be next! Wish me luck I am going to do my devil best to get this thing done by May 1st. It is definatly not a kit for the sheepish. Actually it makes you feel like you are being punished for some great sin from a past life! WWWWOOOOOOOOO!  " border="0" width="34" height="15" />
Frank did you see Nam was asking about my badge of shame that I wear as a Scarlet Letter in my sig? LOL!
Well work tonight and some more progress to report on! I really appreciate all the comments as they are serving to keep me motivated! As far as staying married? I just haven't figured out how to get her to leave? She came to visit in 1987 and just stayed...  " border="0" width="15" height="15" />
 " border="0" width="15" height="15" /> That was many models ago...
Last night I sprayed the base colors as to check for imperfections in the finish.
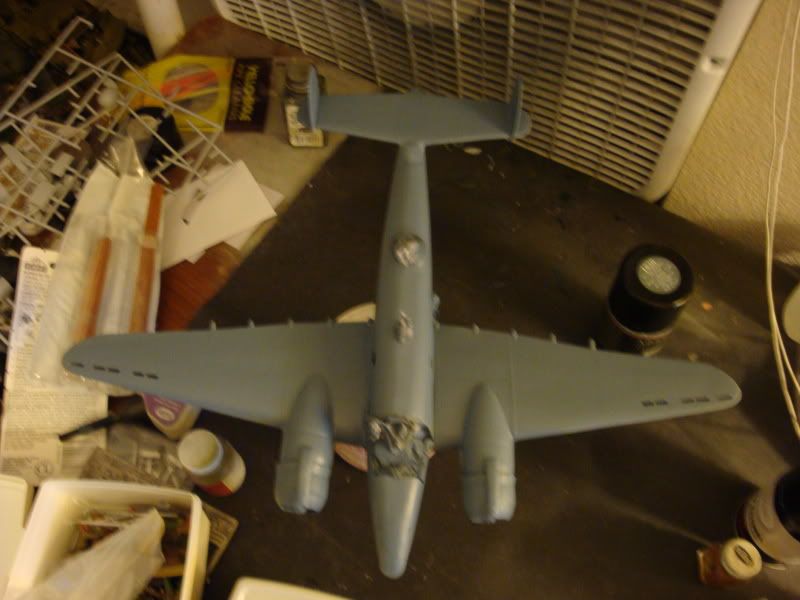
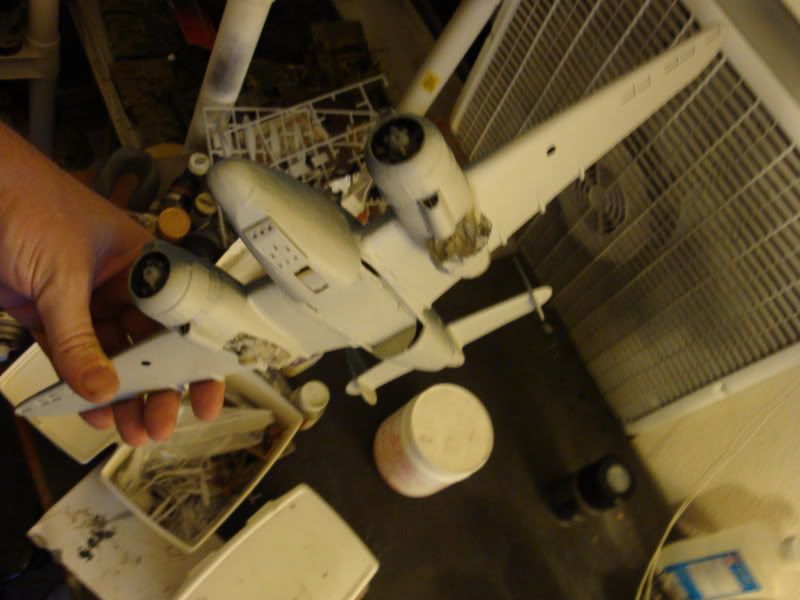
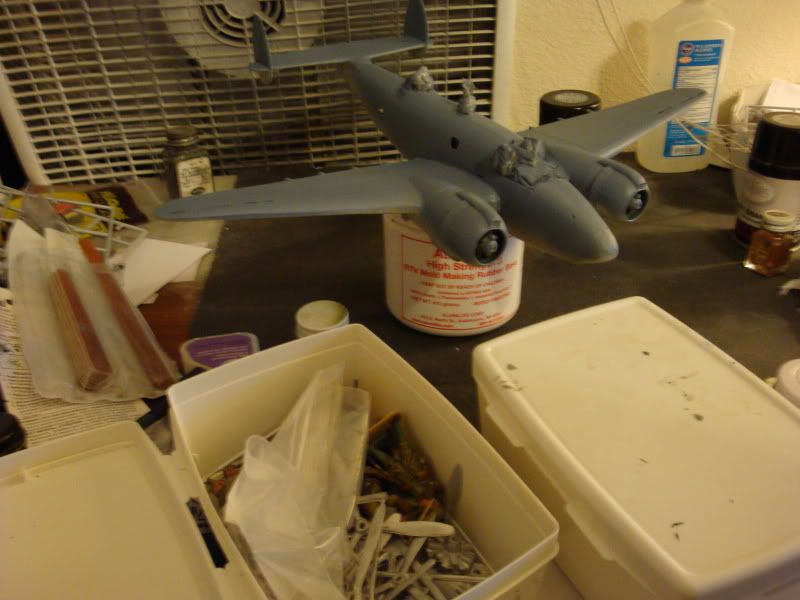
These earth lights may save energy but really aren't much good for pictures.
So I waited for daylight and got shadows from the sun? Guess I should set up a better pic taking table. But you can at least see something of what I am writing about.
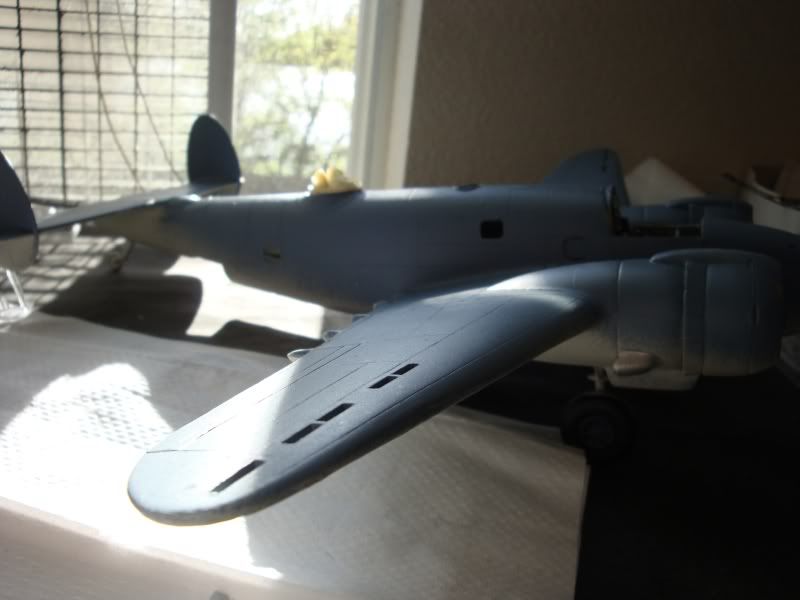
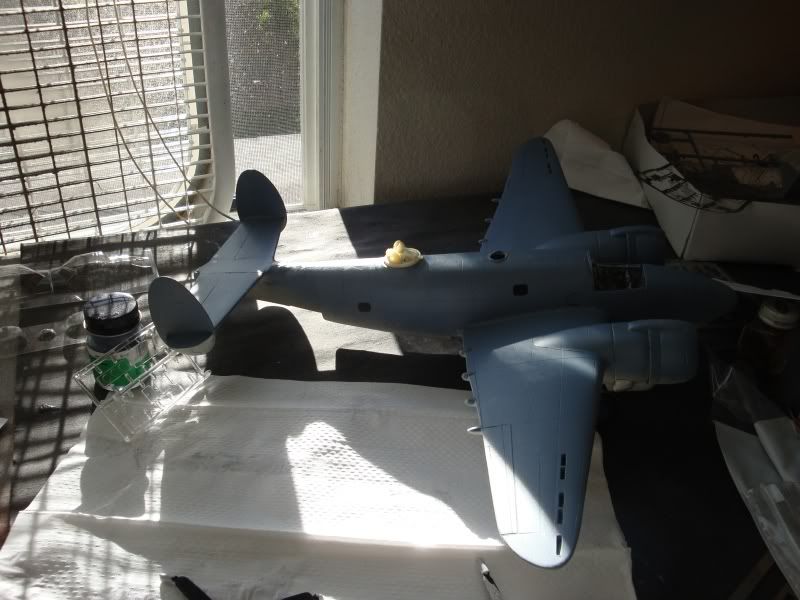
Checking on seams and filling sink holes I missed. There was so much work there I know I am missing something so taking my time deciding on a scheme for it. Trying to stick with US NAVY.
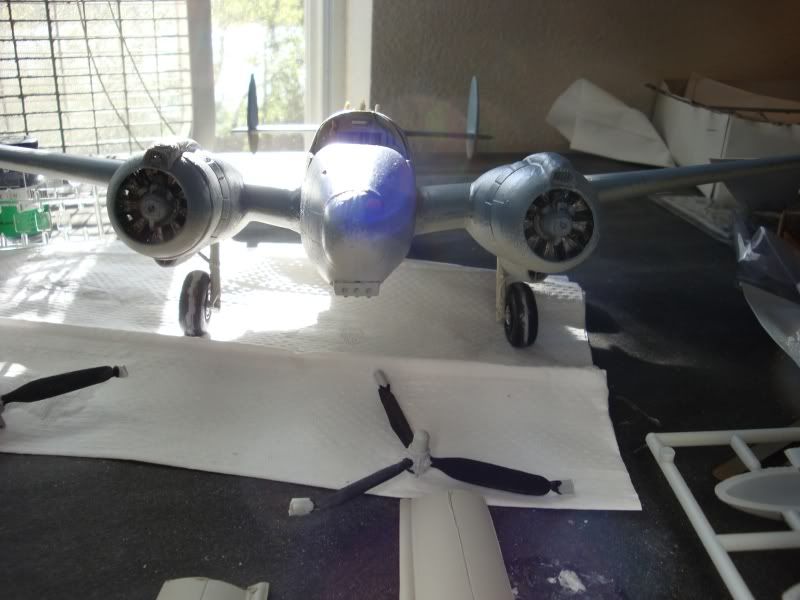
Added the gear and wheels. Just stuck the gun box under the nose temporarily as a mask in case I use a diff configuation. A good angle to view how things are lining up!
A few more sunny views as the bright sunshine really can show faults. Lets you all see what I am looking at.
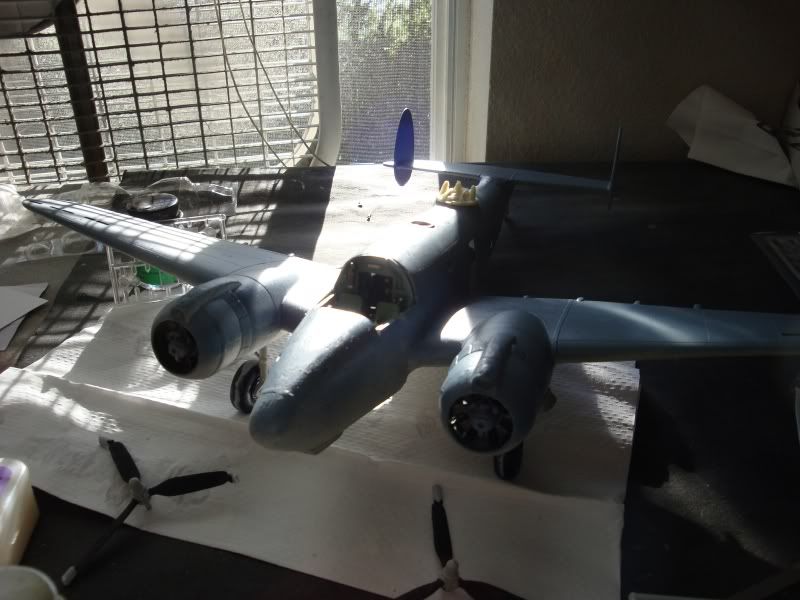
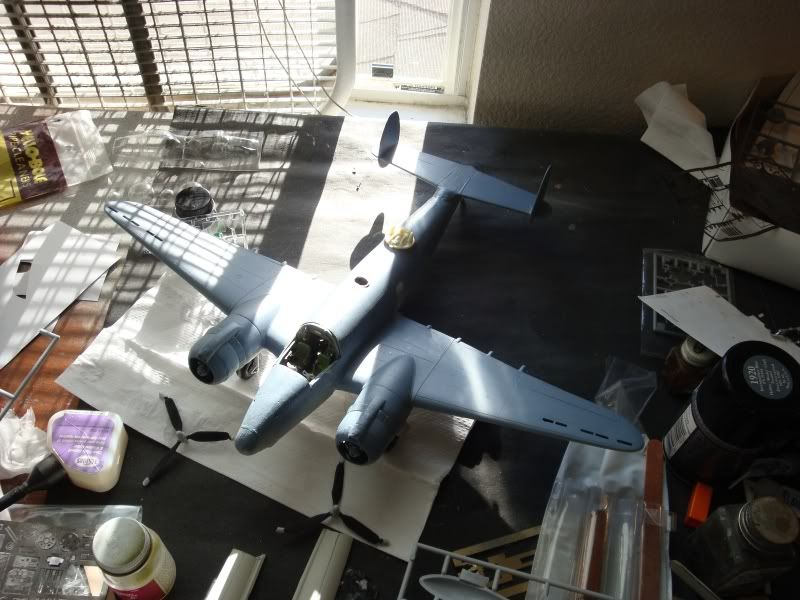
Gotta rescribe some sanding damage. Add a few rivit details that are missing and wet sand some of the Mr Surface streaks. Not too many.
I added the gear so It can sit on its own while I scratch a bomb bay then it's onto the Vacuform Canopys and turret and stuff. I have read that this is a tough part. I forgot to dip them in future so they are drying now overnight. We shall see how it comes together. Getting the fresh Silly Putty ready!
Right back to business. I have been scratching this bomb bay for the Ventura for days it seems. Think I can call it nearly wrapped up. At least bombbay wise.
Two reasons I chose to do this was one it has a really cool bomb bay that is kinda odd to me and two a lot of people think this Aircraft was a recon or runabout transport. Not so this was a beast of a combat aircraft that served as a Medium Bomber, Nightfighter, anti-sub and even an escort for the failed remote controlled Liberator Bomber that flopped killing President Kennedy's oldest brother who was the pilot.
Ok refs are hard to get so I based an awful lot on pictures of the Harpoon that I had access too. Figured it has to be close. Also found an old add that had a picture of a 1/72 scale Photo etch set for a PV-1 Ventura Bombbay. How accurate is it? I dunno but better than nothing right?
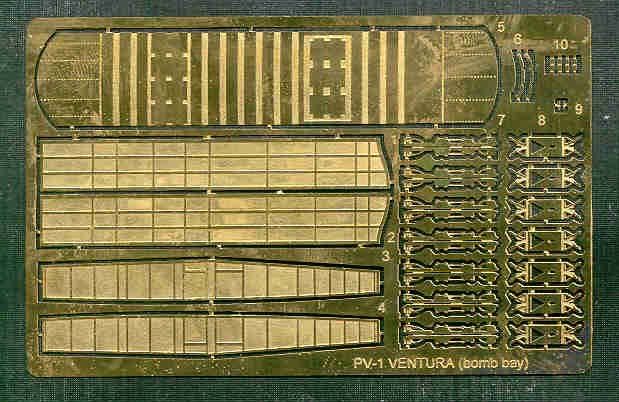
Good picture so I simply blew it up to 1/48 scale or close enough to fit the FM Ventura. Used metal shears and scrap PE frets to cut parts using this as a pattern and create a 1/48 PE Bomb bay for my model. One of a kind I guarantee it!  " border="0" width="15" height="15" />
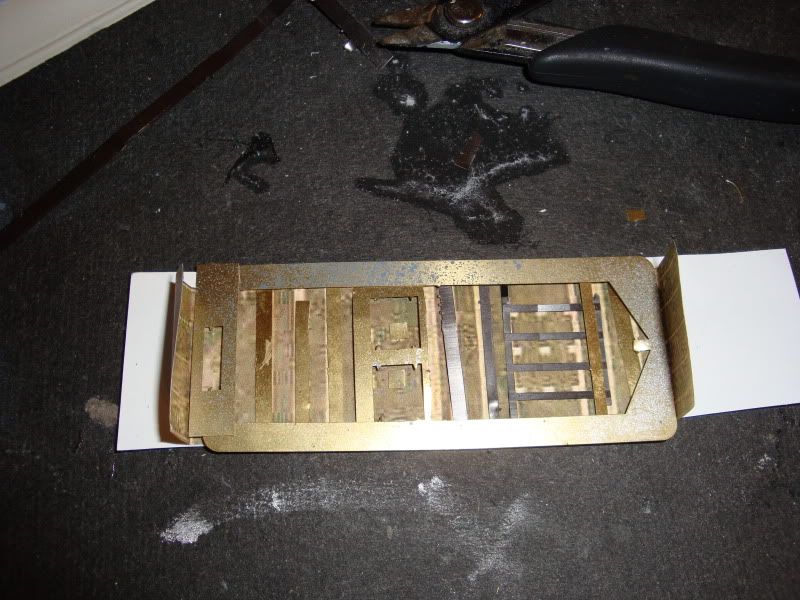
Lots of work and made a lot of sharp little brass spinters in the process so be careful if you try it! Owie!
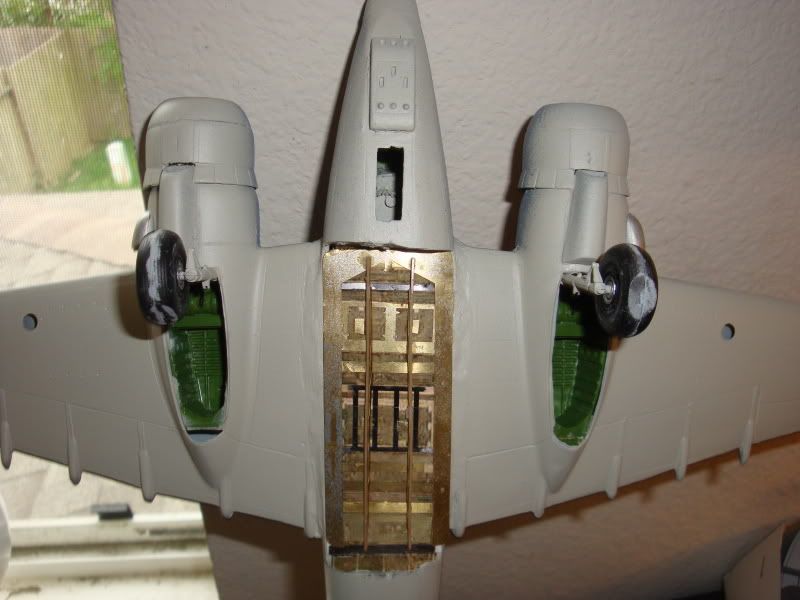
The doors were cut and details added much the same way. Small higes of Tamiya Tape were made so they could be positioned. Had to make things temporarily moveable to get everything into a correct position.
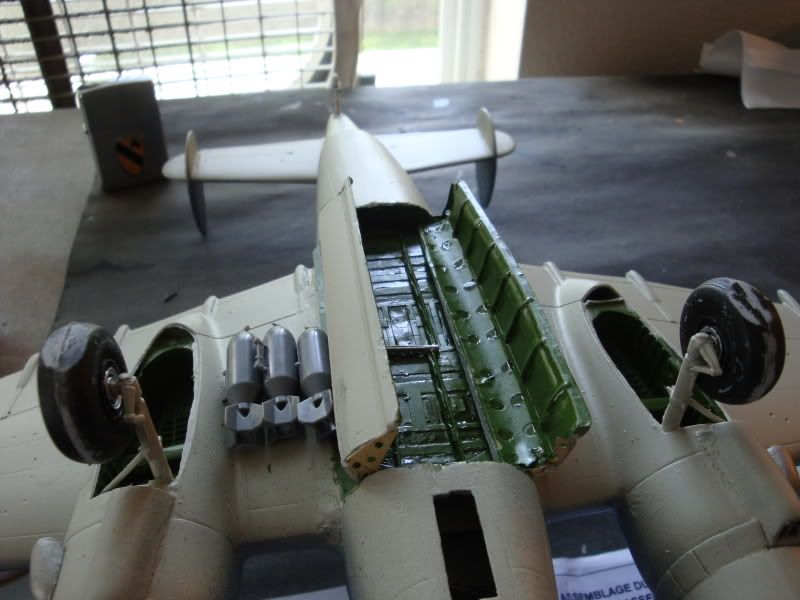
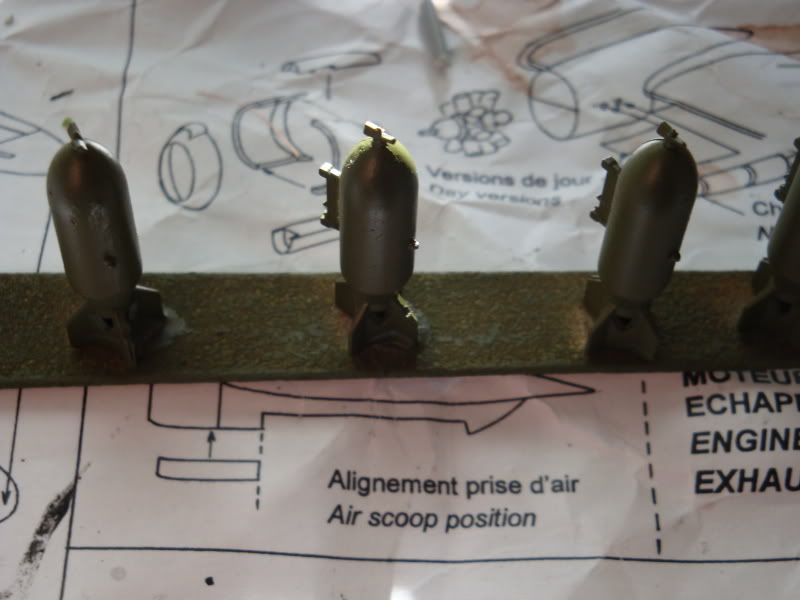
I decided to arm this newly created hole with 4 500lb GP bombs from the Academy 1/48 Armament set. I liked the detail and size of them. Tacked them to one of the many worn out emery boards and gave them a squirt or 2 of Olive Drab!
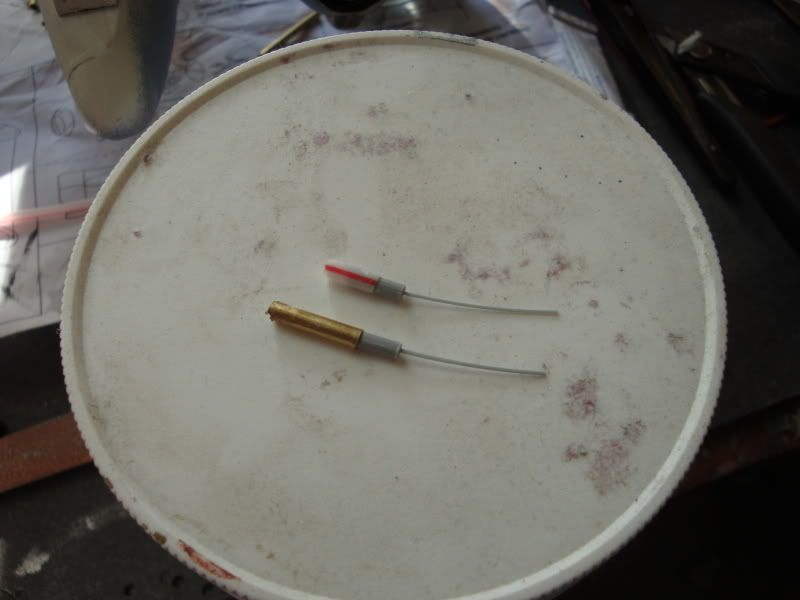
To open and close the doors in the real thing was a pair of hydralic pistons attached to hinged braces. Well where am I getting those. I made them from brass tube some sprue that was the right diameter and stretched sprue linkage. They also move in and out for positioning. A must!
Put it all together and it looks like this.
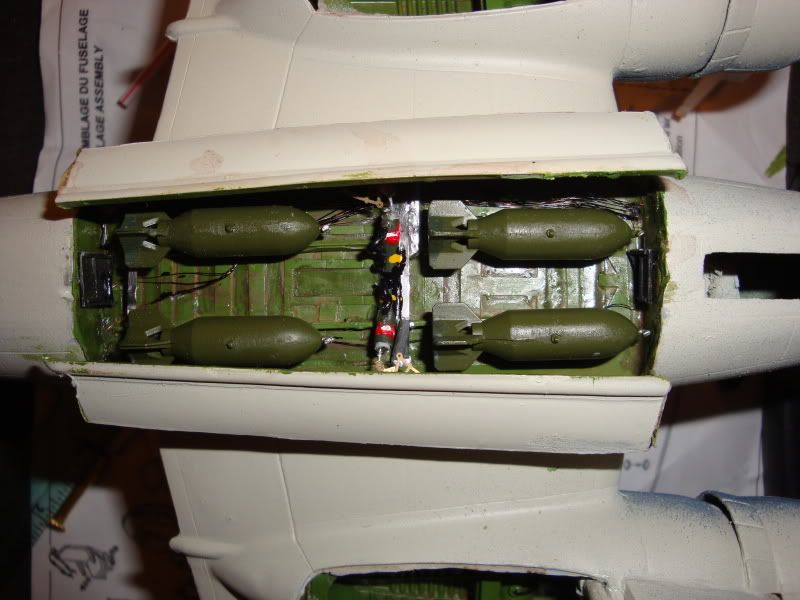
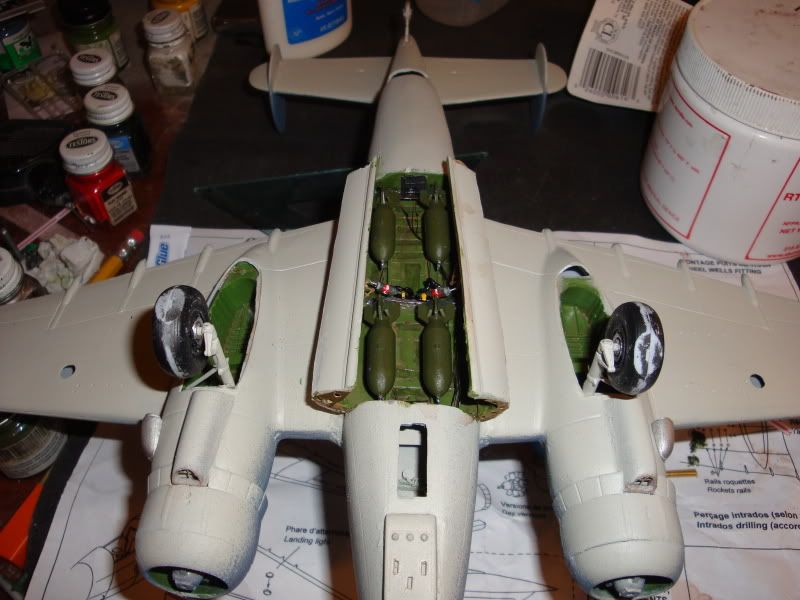
Not too shabby considering what was there before was just molded in recessed lines representing doors! All it needs is 4 pieces of stretched sprue or wire from the tips of the doors to the front and back bay wall and then some touch up paint.
Whats next? Probably the Vacuform clear parts! EEKS! At least the future is dry by now
Got out the silly putty ( a special glow in the dark brand so Bondo can see it! ) It is so good at just adding the right amount of support to cut out those nasty Vacuform Canopies!
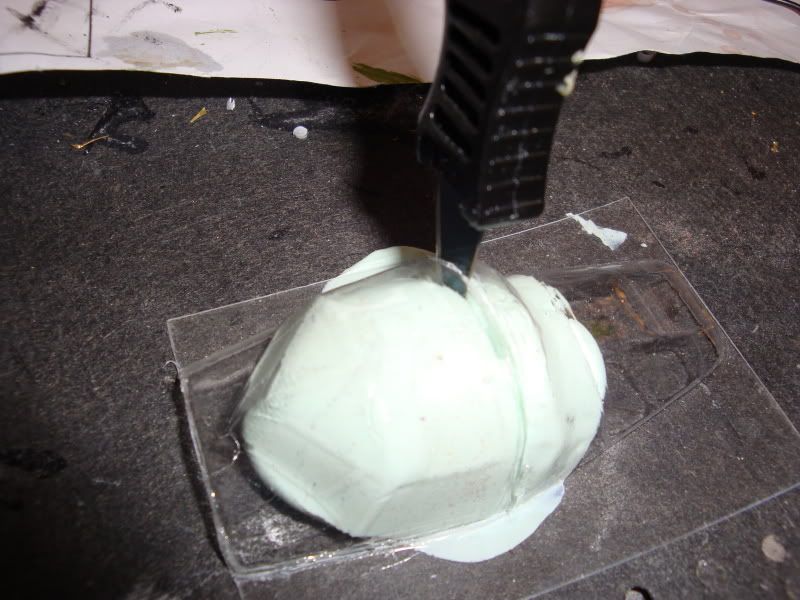
Then holds everything good and steady for a good sanding and shaping! I know I speak of this often but it is just the easiest way I have found to deal with Vacuform canopies. henyou sand it it simply pushes away the putty and sands only the part. No gumming up on your stick see. Just markes from the sanded plastic!
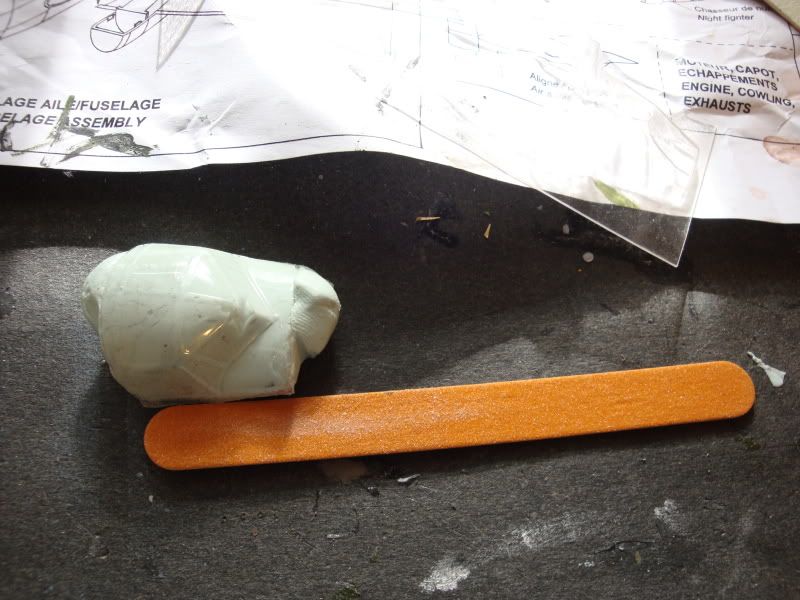
Absolutely essential when messing with complex curves or cutting out gun slots!
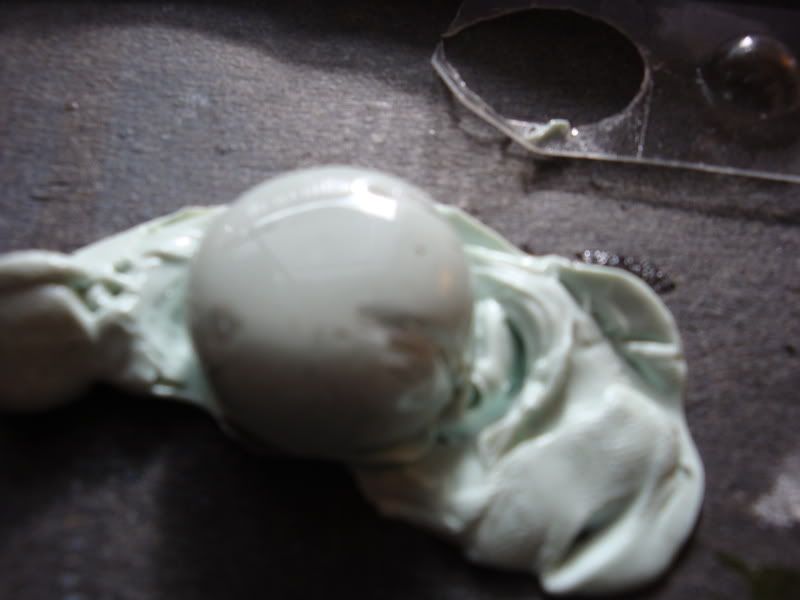
That was yesterdays piece as I spent much time filling, rechecking and resanding seams and sinkholes. Bad part was once I use filler and Mr Surfacer I have to let it all dry and set up before proceeding! More time!
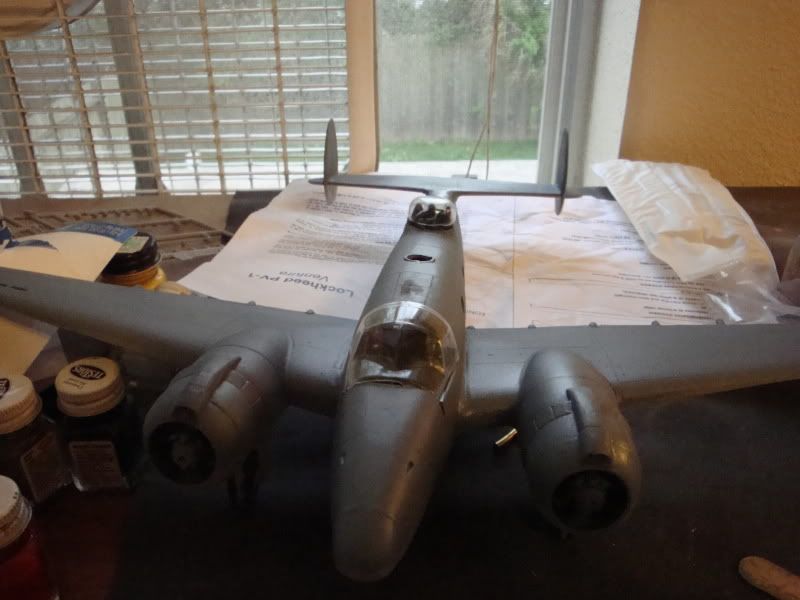
Getting there. Today has been scratching Guns and the top turret. More time but it shows when you look in the open door and I don't want to take a short cut now! ! I will get
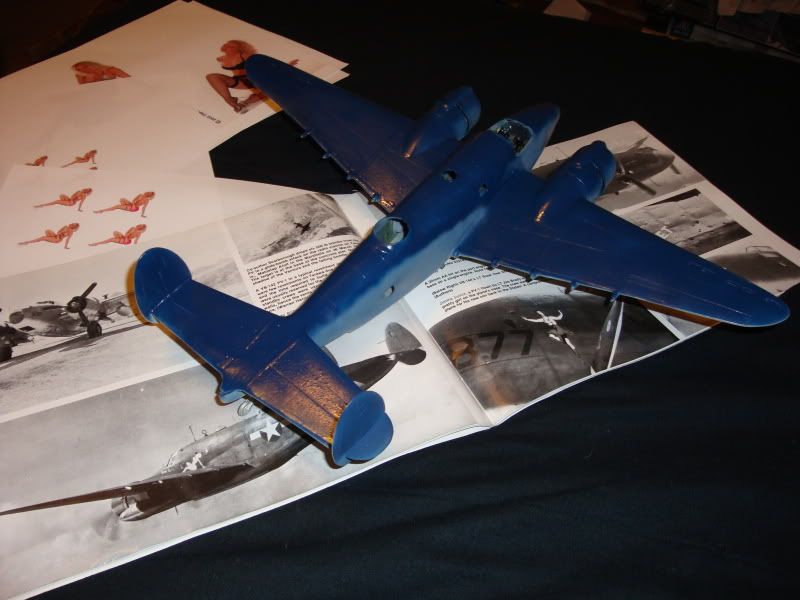
One thing that grabbed me that I didn't notice before was the stars and bars! The Book picture says it is the intermediate style without the red surround. Well without the red surround whats the diff? Size? Well that and what is really noticable is the bars. The actually penetrate into the star surround by a good 16th of an inch on the later version.
I put up a couple pics so you can see what I am talking about.
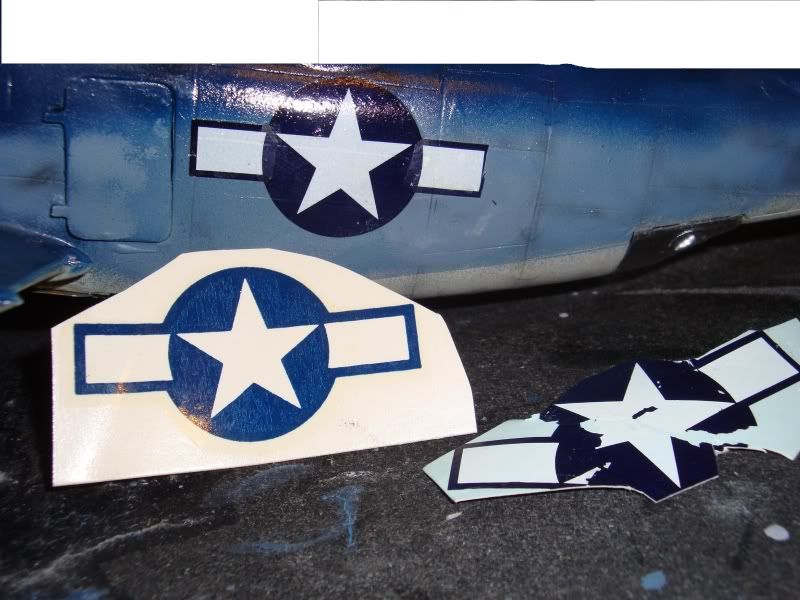
All I had was late style but my first decal fell apart. Like decals sometimes do. I had plenty spares but it dawned on me that there was my fix! I put the wrecked decals back on the backing sealed them with a bit of decal bonder and after they dried simply cut off little slivers of the dark blue circle surround and covered the 8 total intruding white bars and completed the dark blue circle!

Ok got the decals all on and dried. Sealed with future again and dried, Worked on the props and last details while I waited to pass time. Then started dulling this shiny dirty looking thing down.
All done!
