She is finished!
Here are the last pics of the build process. Firstly the rigging, I use a cheap drafting compass to measure the distance required:
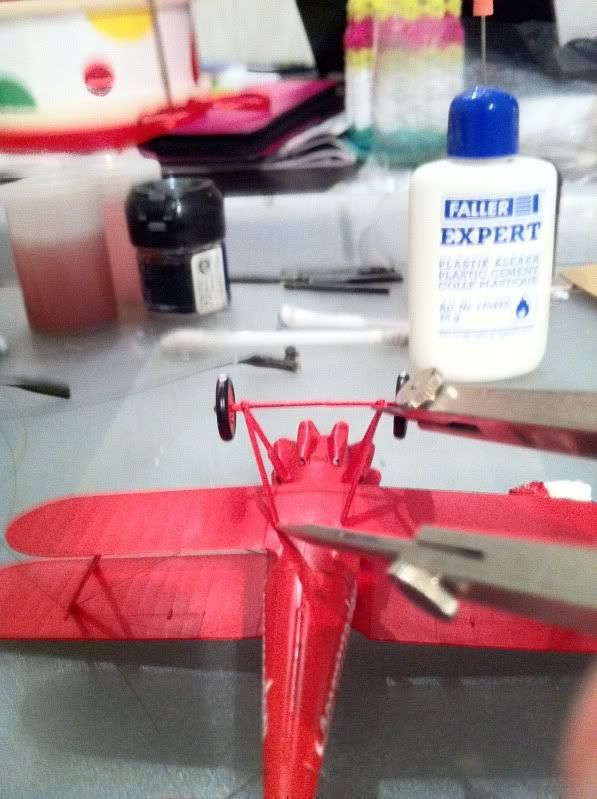
Then I cut the sprue. The sprue has been stretched, I like using a dark colour sprue so I do not have to paint the rigged wires.
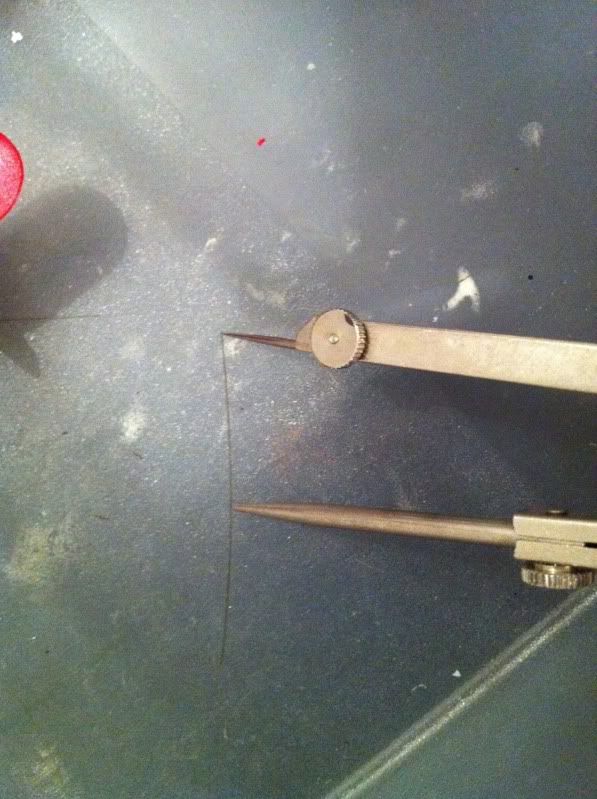
And use CA glue (gel) to glue it into place:
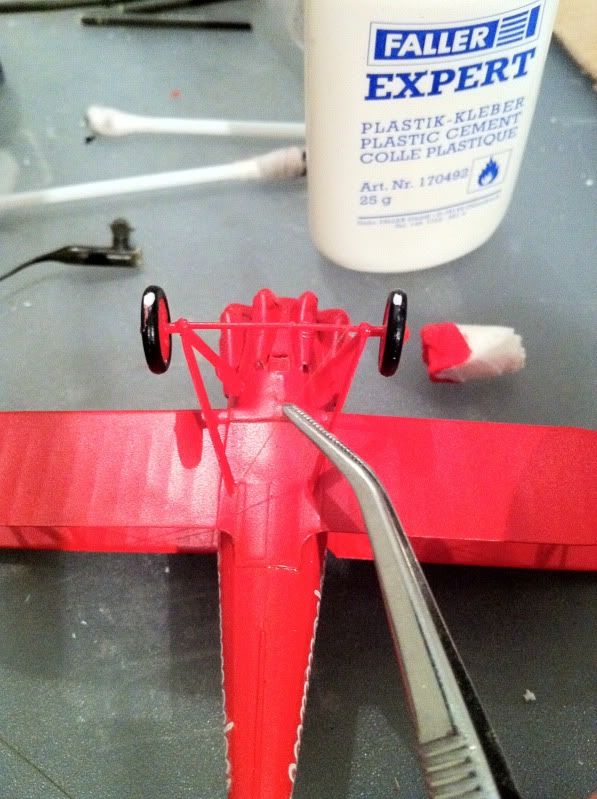
Some small details (a step and some aerials) where made with stretched sprue. Interestingly enough ICM shows those parts on the instruction notice stating that you should scratch build them. Maybe their moulding technology does not allow them to make such small pieces.
Making the step, the vertical rods have been placed:
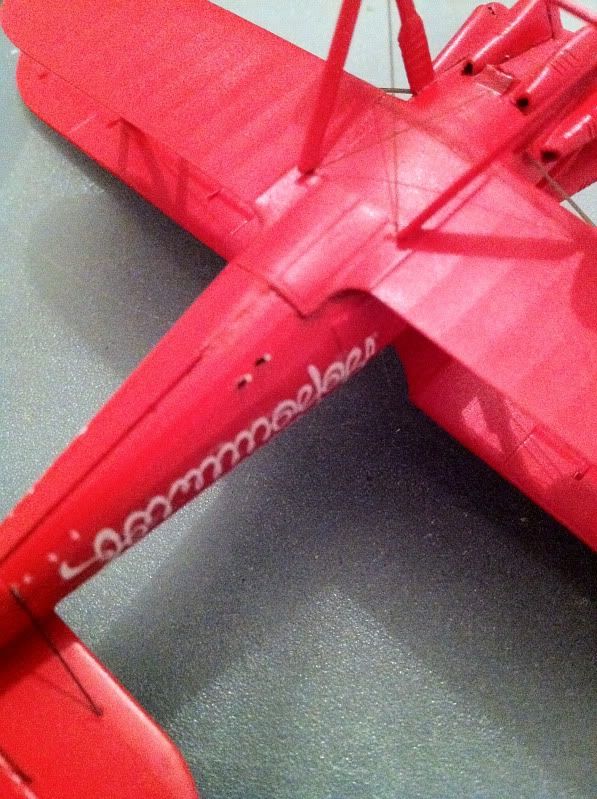
Then the horizontal is glued, et voilá, a step:
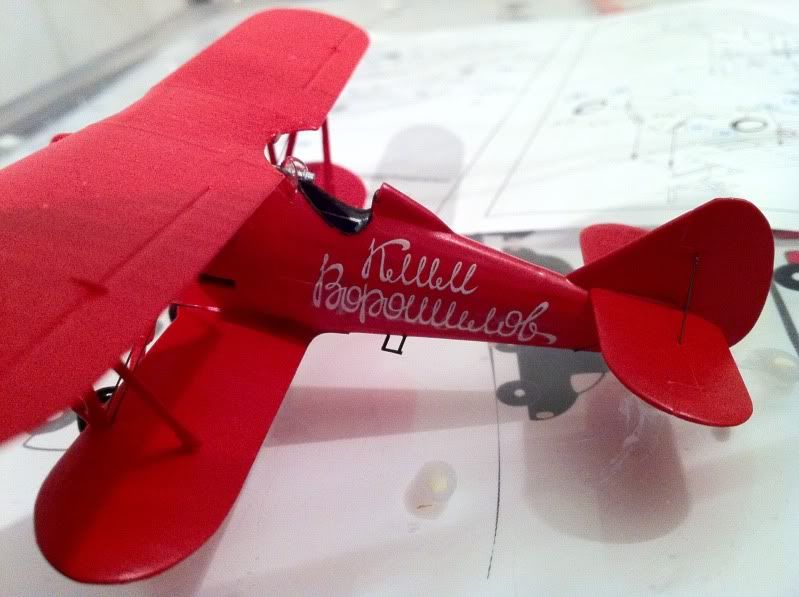
Same goes for the aerials (I think that is what they are) at the rear of the fuselage:
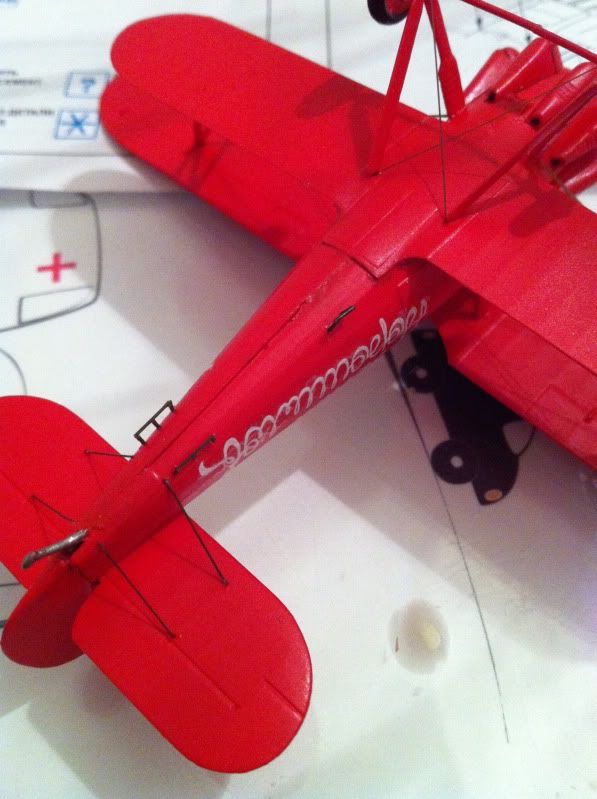
Here is the finished Polikarpov I-5! (the pics are not great, I will retake them with daylight)
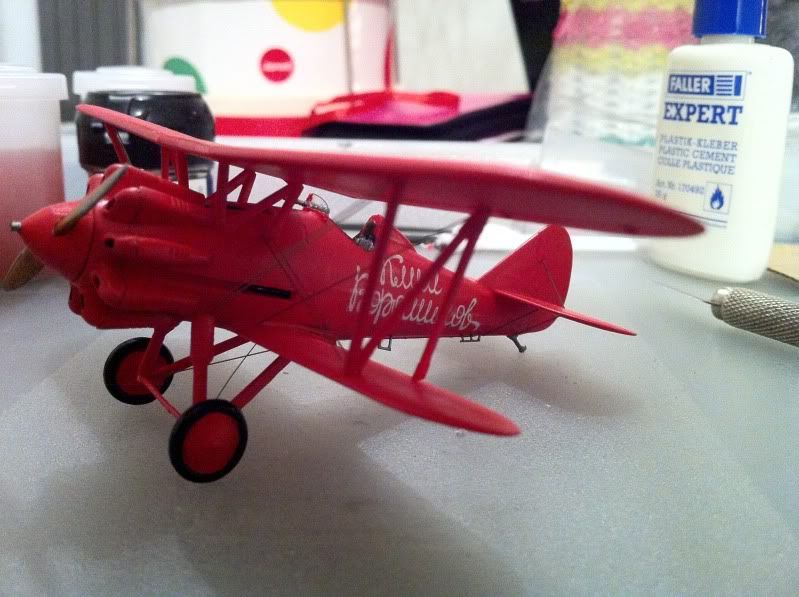
With a different colour setting:
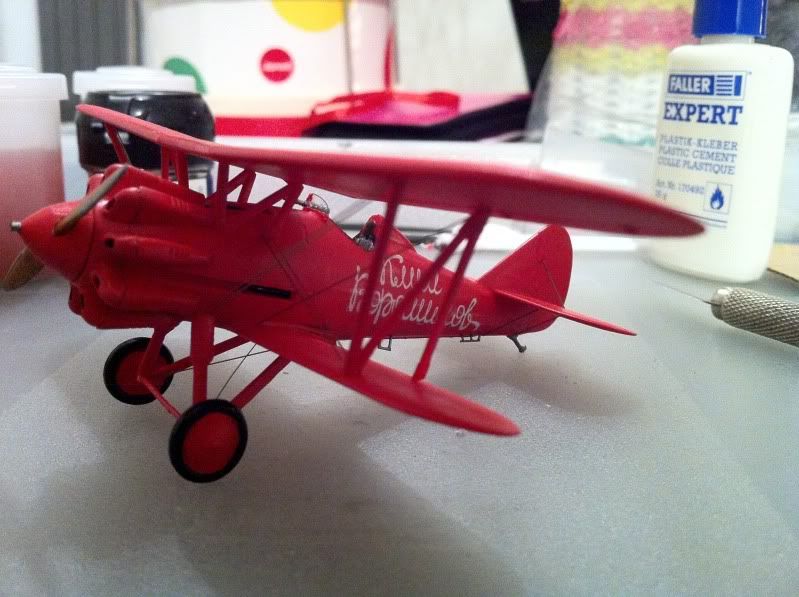
As said, I had some difficulty with the double wires. This was the second time I tried doubles wires and the first time I succeeded. But the ones in the middle of the fuselage are to far apart. The front double wires are good.
Anyway, all in all this I-5 has been a nice build. There where a few minor setbacks and the connection of the wings is quite fiddly but the overall fit is good and the surface details are outstanding. So I can definitely recommend this kit but due to the fiddly wings and the rigging I would say it is for the experienced modeller.