SEARCH FINESCALE.COM

Enter keywords or a search phrase below:

1/32nd Hasegawa Focke-Wulf Fw-190D-9 - FINISHED ON 01 Sept 2014!!

11042 views
42 replies
1 rating 2 rating 3 rating 4 rating 5 rating
  • Member since
    January 2009
Posted by F-8fanatic on Monday, May 13, 2013 1:29 PM

strange...I've built this kit and several of the A models from Hasegawa.....didnt have any fit problems on any of them.  In fact, for a while, whenever I wanted to relax with a 100% predictable fun build, I would grab another 190A hasegawa kit.  Must have built a half dozen of those kits at different times....I have two in the stash right now.

  • Member since
    March 2005
  • From: Lancaster, South Carolina
Posted by Devil Dawg on Sunday, May 12, 2013 9:07 PM

Great tip, Eric. A pencil seems to me to be the better of the two. Thanks!

Gary

Devil Dawg

On The Bench: Tamiya 1/32nd Mitsubishi A6M5 Model 52 Zeke For Japanese Group Build

Build one at a time? Hah! That'll be the day!!

  • Member since
    December 2006
  • From: N. Georgia
Posted by Jester75 on Sunday, May 12, 2013 11:01 AM

Looks great so far Gary! I use a pencil to outline the camo areas on my builds and usually write the RLM number in the area to be painted i.e. 71,72...

Even pencil can be a bit fun to cover when using MM acryl.

Eric


  • Member since
    March 2005
  • From: Lancaster, South Carolina
Posted by Devil Dawg on Saturday, May 11, 2013 10:35 PM

Thanks, Reasoned. I was using the Sharpie to mark where different colors of paint would be sprayed so I wouldn't need to constantly look at the instruction sheet for the info. Little did I realize that the color numbers would bleed through the paint (they were Model Master RLM enamels). Good learning experience on this one! At least most of the Sharpie marks are where they can't be seen. Never thought about using a Sharpie for panel lines - I have used them for the rubber areas on tank road wheels. Good tip!

Gary

Devil Dawg

On The Bench: Tamiya 1/32nd Mitsubishi A6M5 Model 52 Zeke For Japanese Group Build

Build one at a time? Hah! That'll be the day!!

  • Member since
    February 2011
  • From: Bent River, IA
Posted by Reasoned on Saturday, May 11, 2013 10:14 PM

Looking good so far but I see the the seam challenges in the nose area.  Is there a seam in the middle of the wheel well?  BTW, I've found the Sharpie works great for panel lines.... as long as you are using enamel paint.

Science is the pursiut of knowledge, faith is the pursuit of wisdom.  Peace be with you.

On the Tarmac: 1/48 Revell P-38

In the Hanger: A bunch of kits

  • Member since
    March 2005
  • From: Lancaster, South Carolina
Posted by Devil Dawg on Saturday, May 11, 2013 3:48 PM

Thanks for the positive feedback, Bill.

Unfortunately, my problems lie in the fact that it might two or three months between build sessions, so I forget all that I've learned up to then Sad . Oh well, that's the way it goes, I guess.

I usually don't have problems with Hasegawa kits, either. I've built quite a few of them over the years, and, at the worst, just little issues crop up. But, I'm definitely looking forward to completing this build, just to see if I can duplicate the paint scheme on this one (the same as the box art). I've done the splinter scheme before, but not with the mottled paint to go along with it, plus the red belly. Looks challenging, to say the least. 

Devil Dawg

On The Bench: Tamiya 1/32nd Mitsubishi A6M5 Model 52 Zeke For Japanese Group Build

Build one at a time? Hah! That'll be the day!!

  • Member since
    April 2013
  • From: Minnesota City, Minnesota, U.S.A.
Posted by FlyItLikeYouStoleIt on Saturday, May 11, 2013 2:17 PM

Hey man, don't be so hard on yourself. You ARE doing what's needed to improve the build. It's coming along with time. I find that more head scratching and less gluing gives much better results. I'll test fit something a hundred times before finally gluing. For me, the solution somehow presents itself after numerous viewings of the same thing. Go figure.

Honestly, I think Hasegawa is sooooo GOOD that they actually built into the model the same troubles Focke Wulf had when they decided to retrofit an inline motor into a radial designed air-frame. Silly guys.

Really, what you have so far is looking awesome. I'm not building the D variant but my A-5 is driving me nuts with the cockpit fit into the fuselage. It'll come together somehow, it just hasn't happened yet. It's all part of learning, I guess.

Bill.

On the bench:  Lindberg 1/32 scale 1934 Ford Coupe and a few rescue projects.

In queue:  Tamiya 1/35 Quad Tractor or a scratch build project.

  • Member since
    March 2005
  • From: Lancaster, South Carolina
Posted by Devil Dawg on Saturday, May 11, 2013 1:22 PM

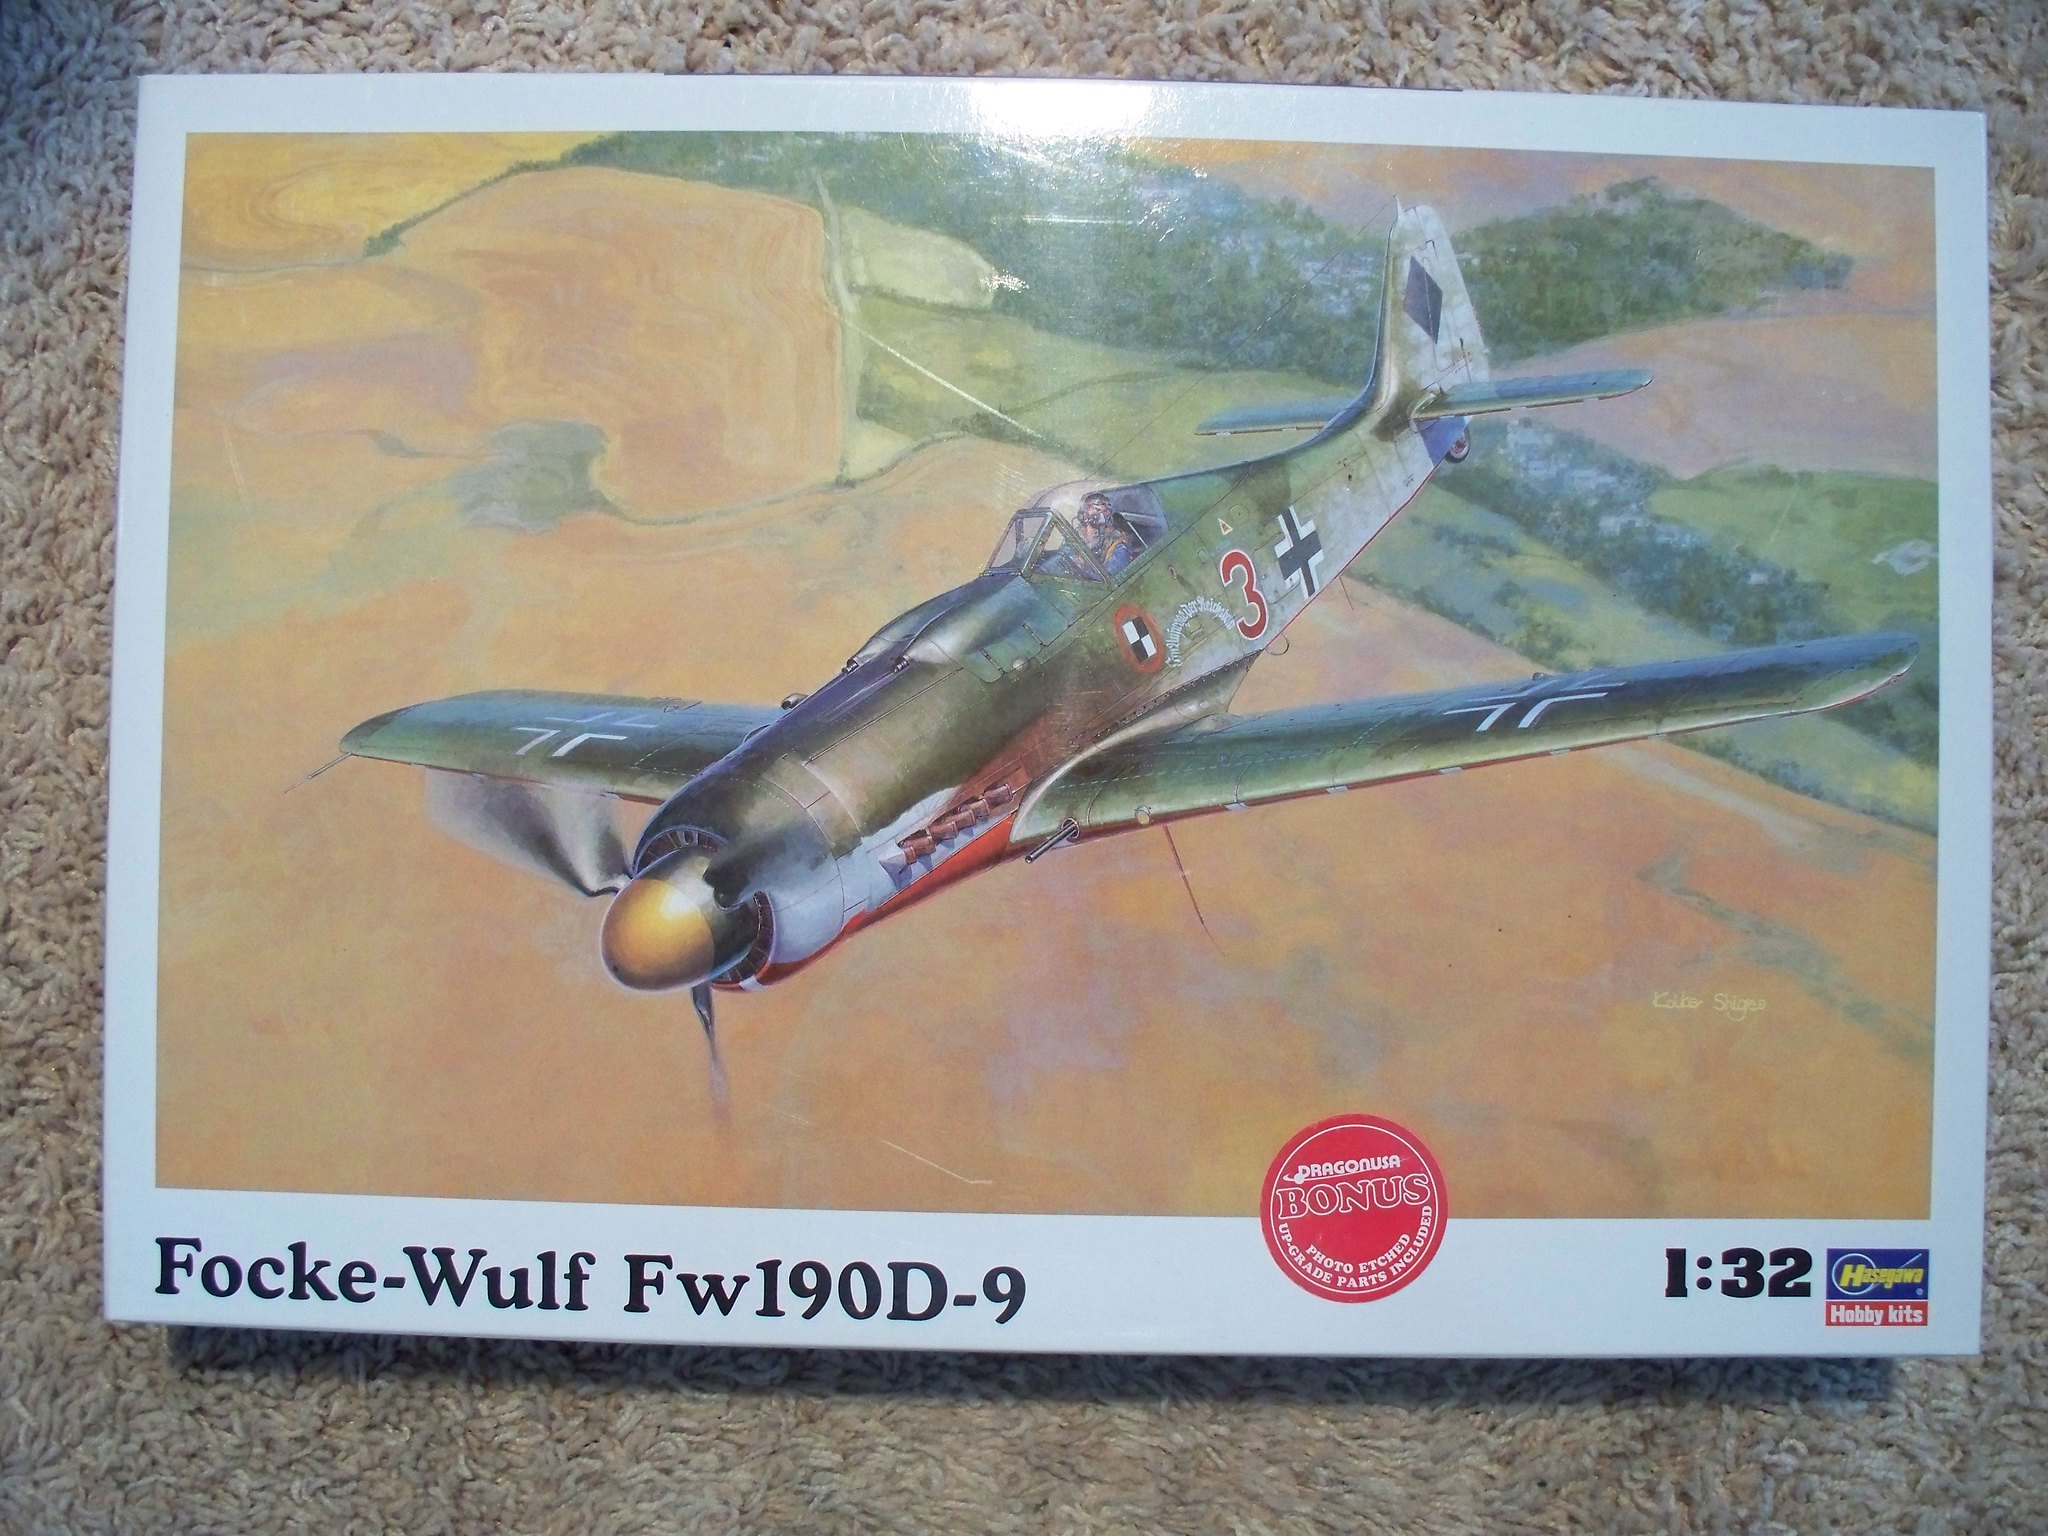
This is the box art for the kit that I'm working on. Bought it at a show in Marietta, GA, a couple of years ago. I think I paid $25 for it, which isn't too bad. Got another $15 in an Eduard ColorZoom photo-etch set for the cockpit.

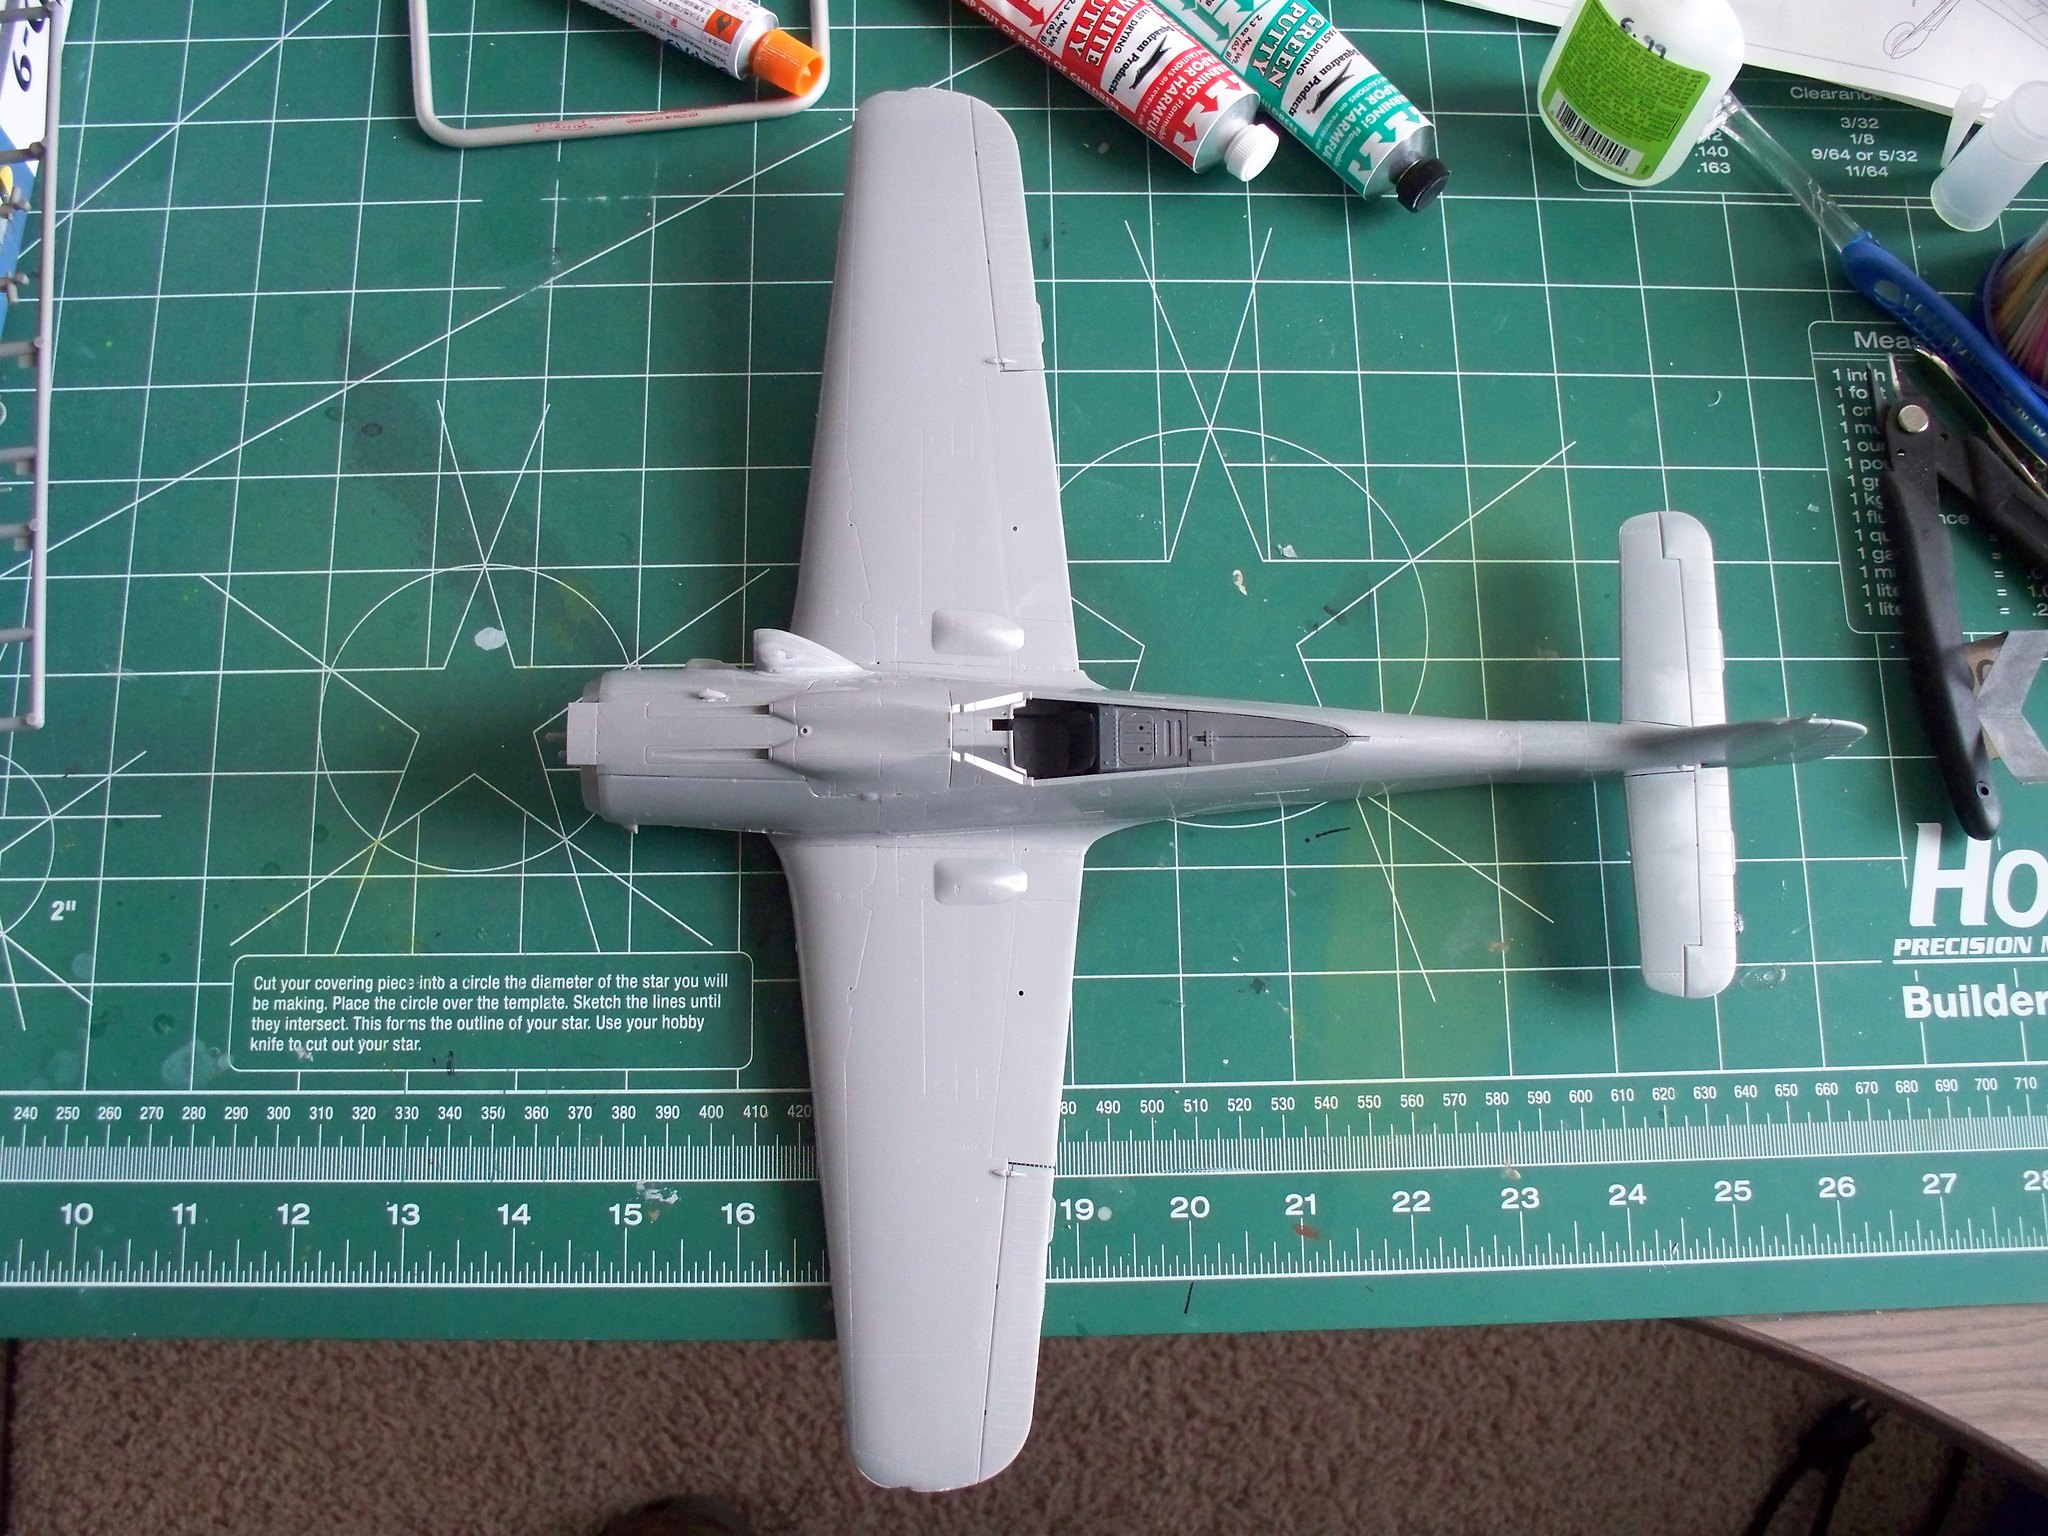
Top view of the kit. If you look closely, you can see that the horizontal stabilizers don't fit well against the fuselage. I test-fitted them before gluing, and didn't notice this issue. Oh, well - that's what putty/filler is for, right?

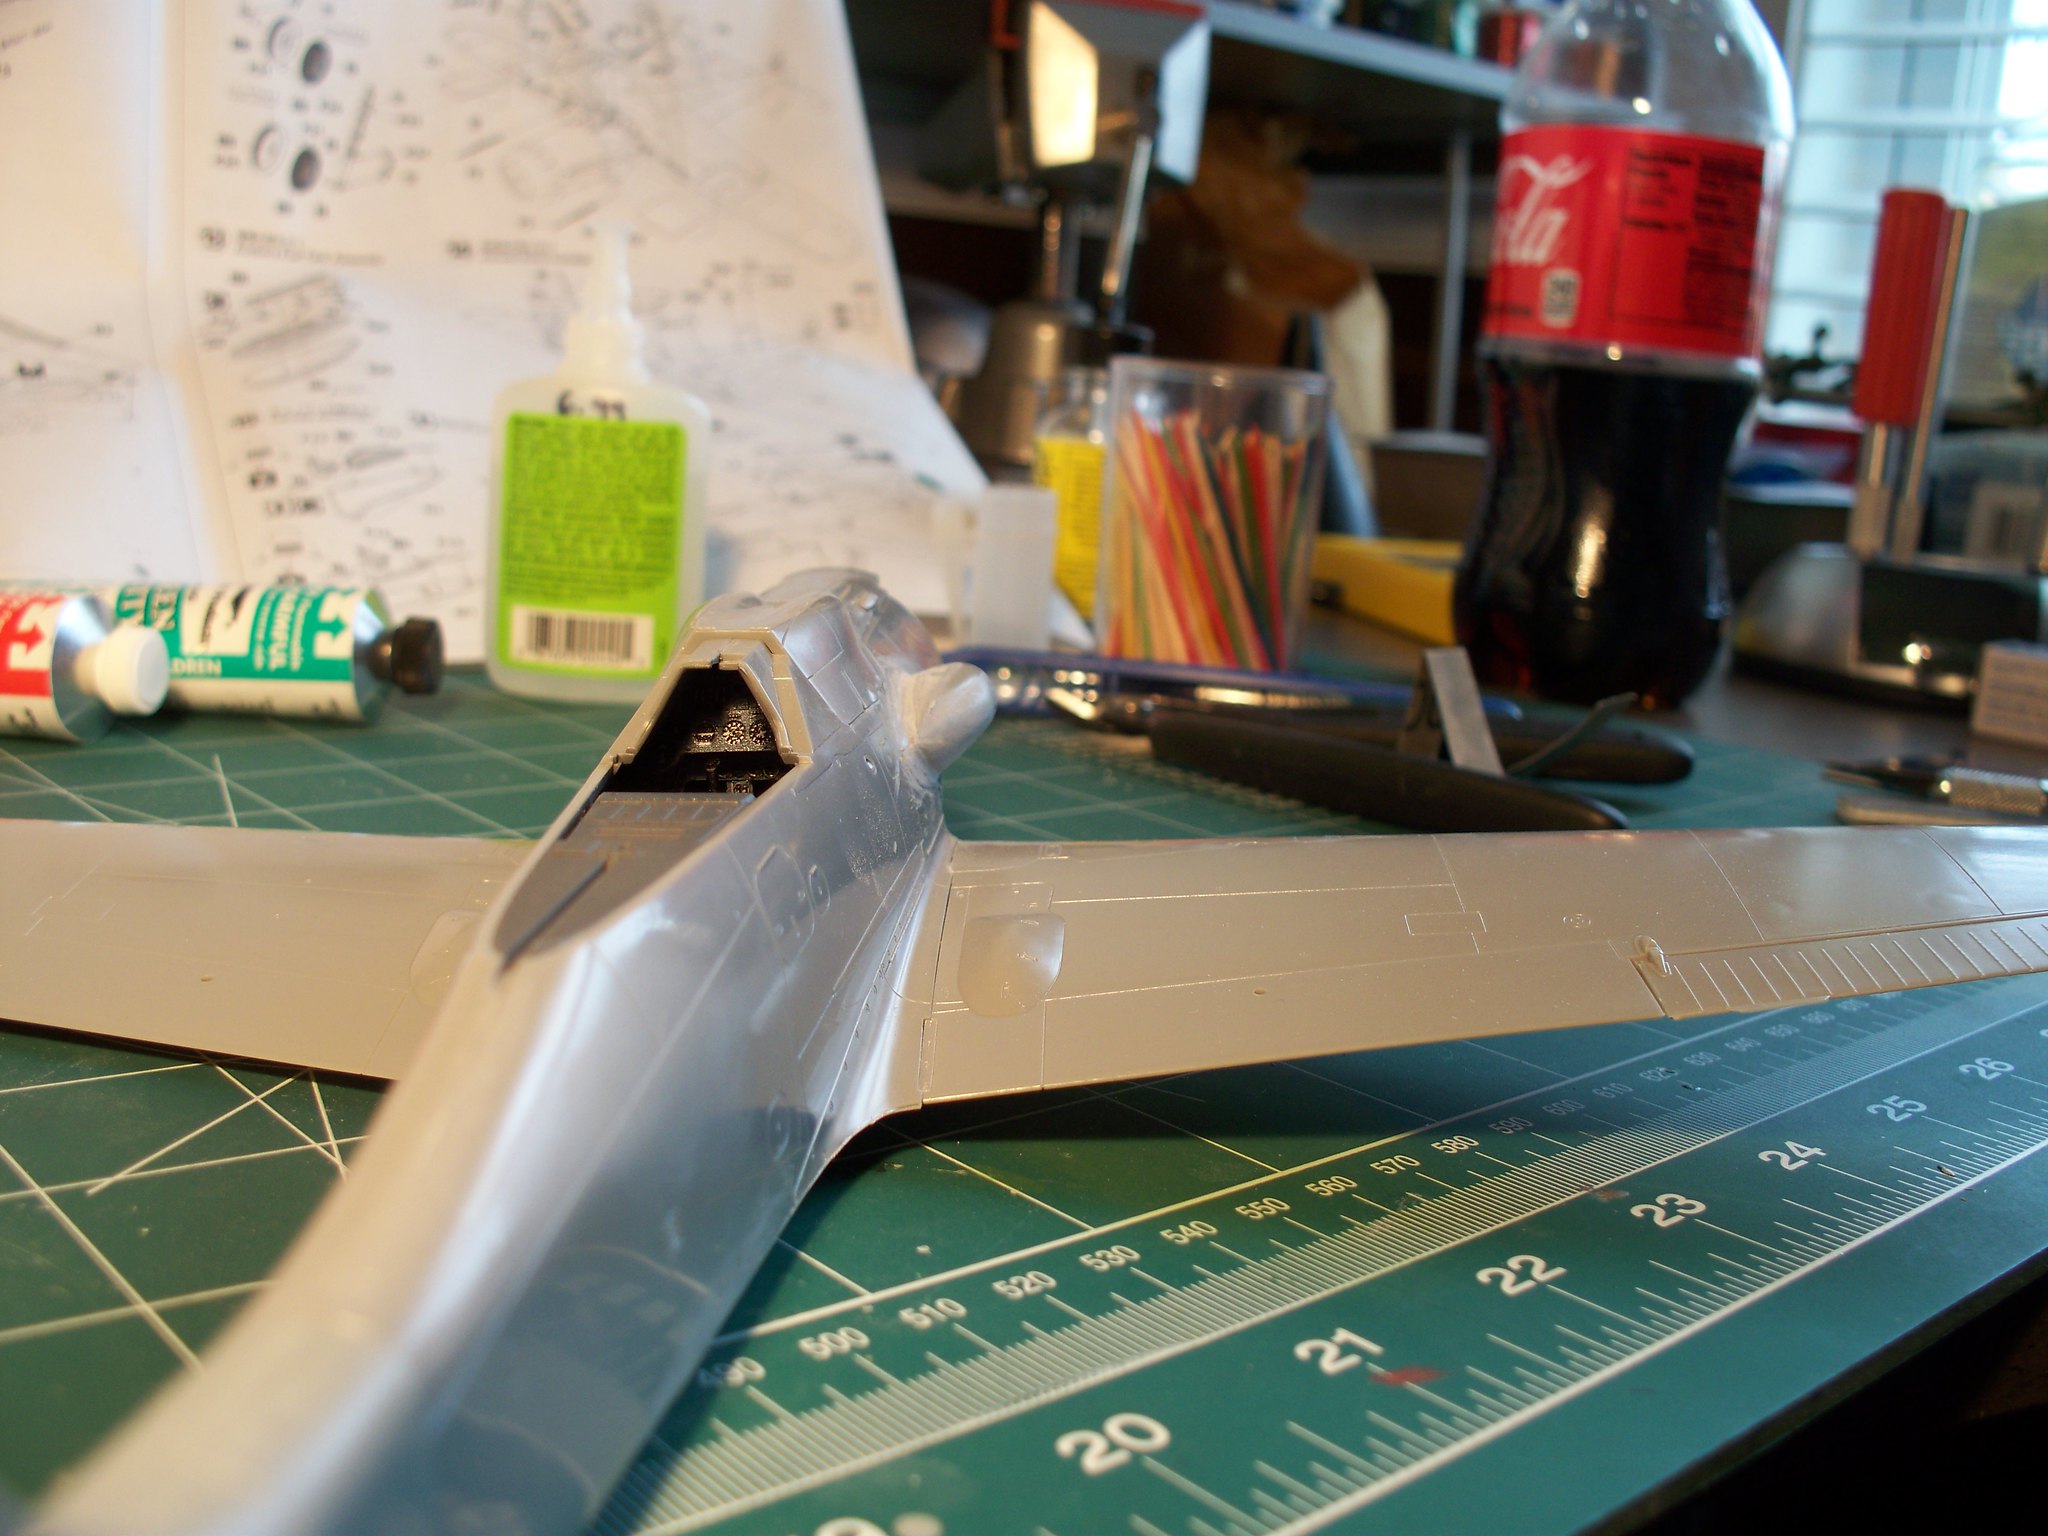
Bottom view. The bottom of the nose & the joint of the wing root to the nose area is where I had the most fit issues. The nose had to be glued on three separate occasions to get it to stay glued.  

View inside the cockpit. I used the Eduard ColorZoom photo-etch set. The kit came with a photo-etch set, but there was NO way I could paint that with my eyes and shaky hands. Eduard's set works pretty darned well. You can also see the putty that was used on the supercharger intake (bulge just above the right wing) from this view.

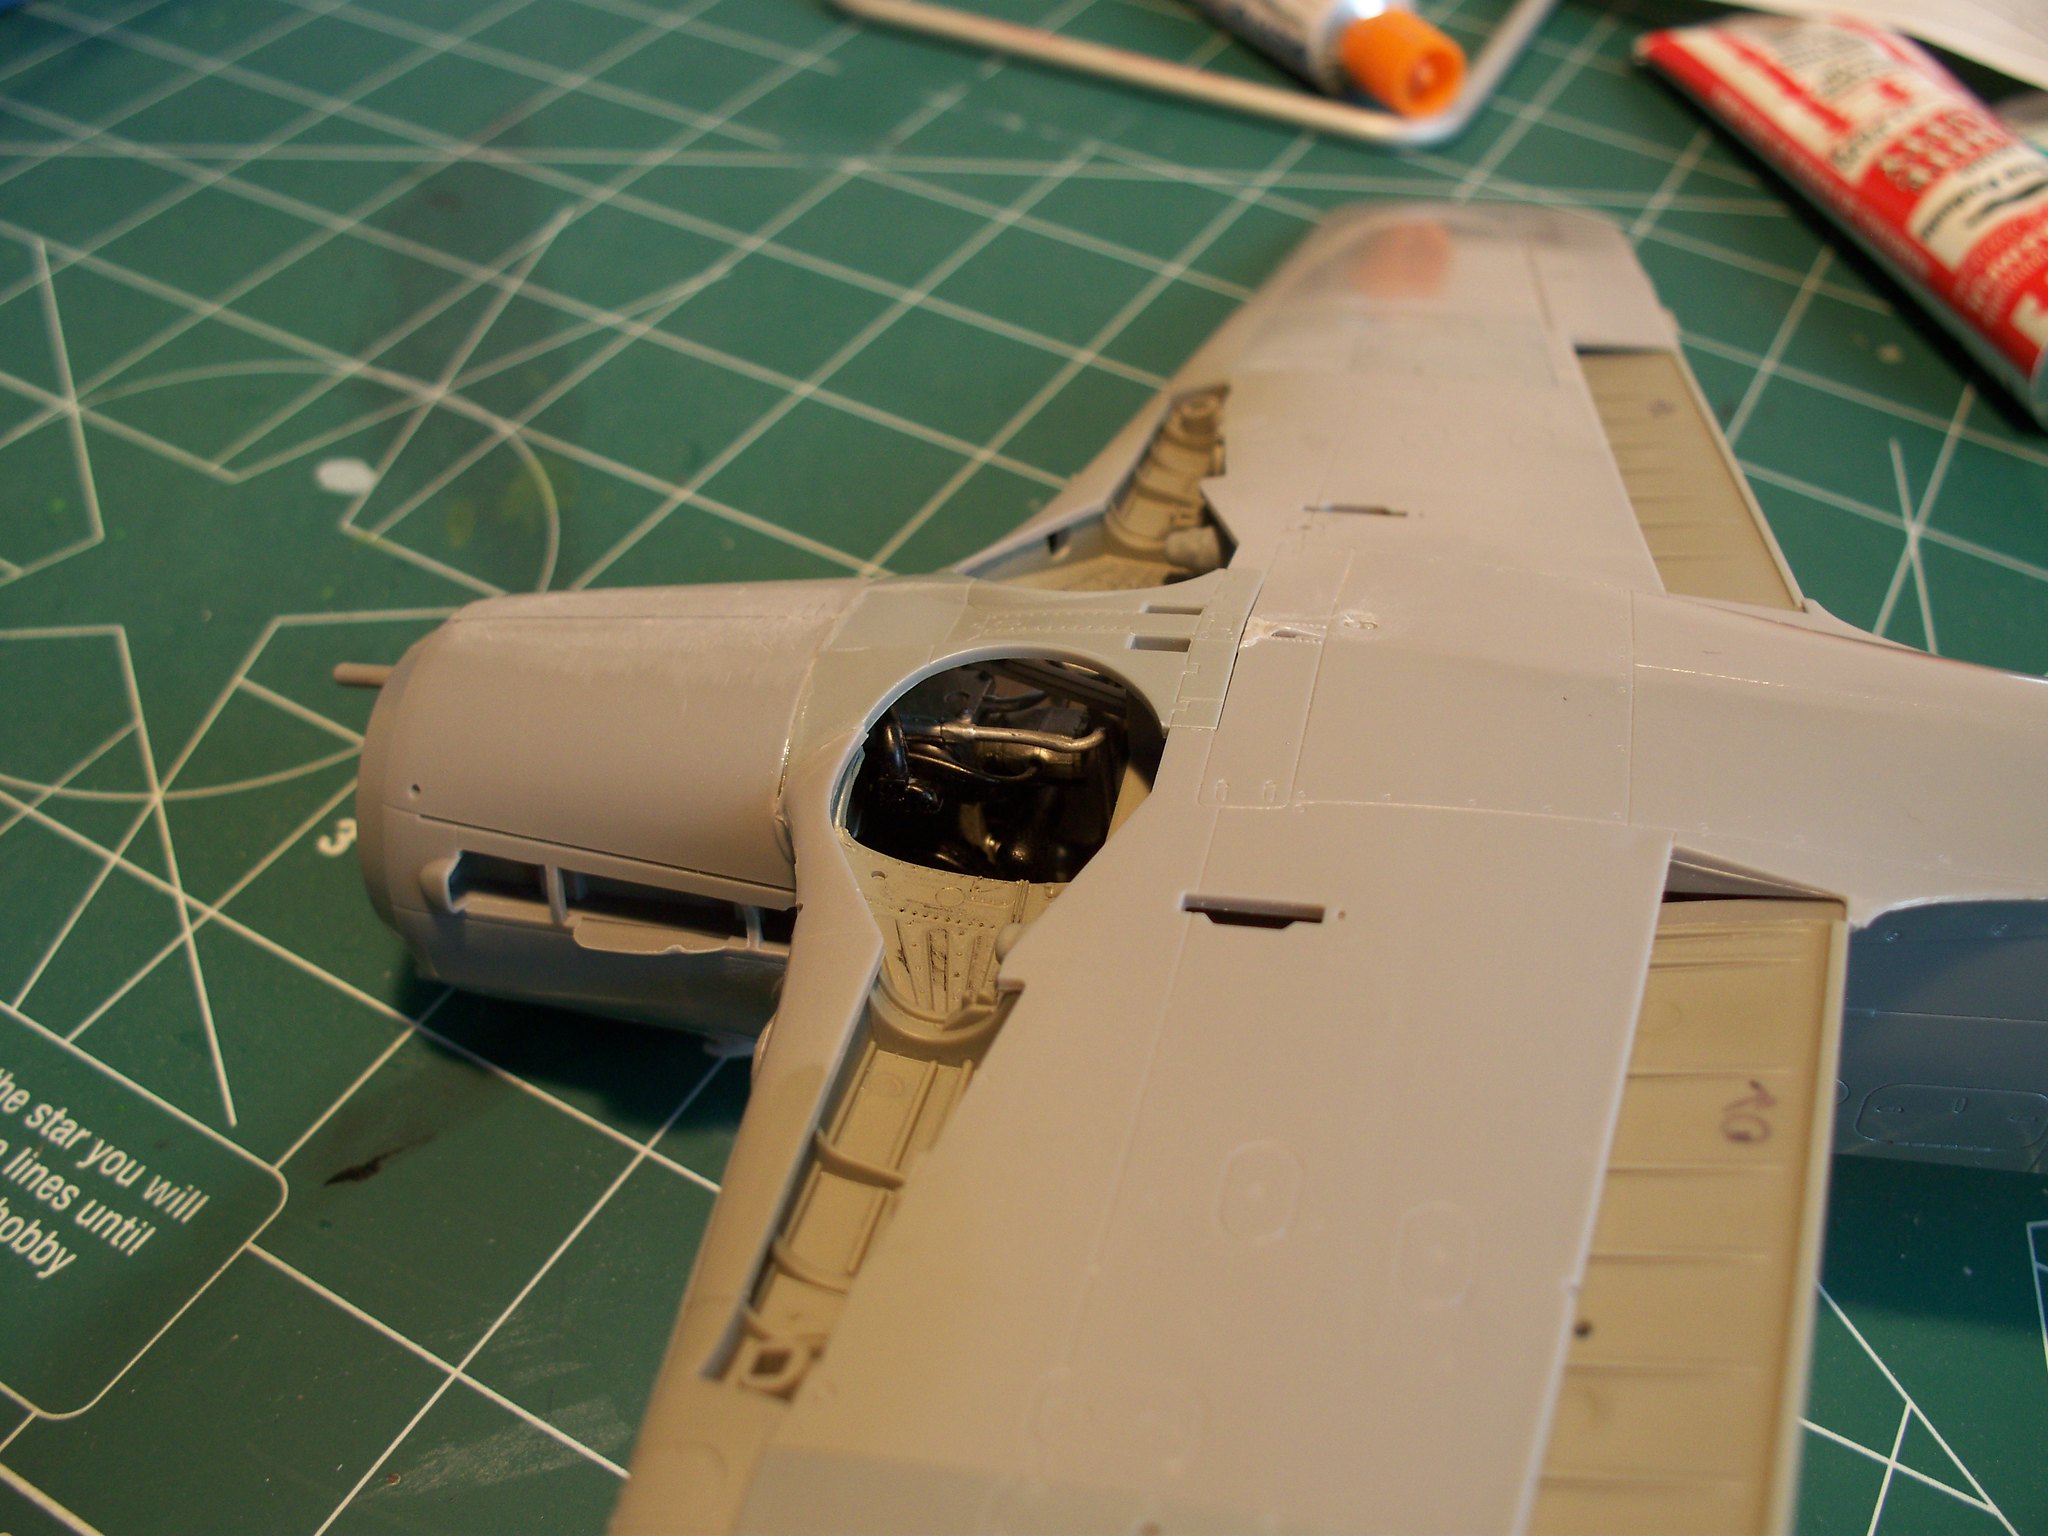
Another view of the bottom, showing the engine detail visible through the wheel wells. You can also see the area where the wing root joins to the nose. Wasn't an easy fit, at least for me. Also, I've learned not to use a Sharpie to mark the paint colors (see the inside of the flap area) - it will bleed through the paint.

Opposite view.........

Right-side view. Still working on the upper cowling. Only the area just in front of the cockpit has been glued - I will glue the front of it down after the just-applied glue has set.  

Opposite view.............

Okay, folks - all criticisms are welcome! Don't hold back - let me know what I can do improve this build. 

Devil Dawg

On The Bench: Tamiya 1/32nd Mitsubishi A6M5 Model 52 Zeke For Japanese Group Build

Build one at a time? Hah! That'll be the day!!

  • Member since
    December 2006
  • From: N. Georgia
Posted by Jester75 on Saturday, May 11, 2013 12:23 PM

Grats on the move DD! Looking forward to seeing some pics of this project!!

Eric


  • Member since
    March 2005
  • From: Lancaster, South Carolina
Posted by Devil Dawg on Saturday, May 11, 2013 12:08 PM

Got the tail, horizontal stabilizers, supercharger intake, and upper cowling glued on. Tamiya putty is getting a lot of use on this kit. I will be posting some pictures soon.

Devil Dawg

On The Bench: Tamiya 1/32nd Mitsubishi A6M5 Model 52 Zeke For Japanese Group Build

Build one at a time? Hah! That'll be the day!!

  • Member since
    March 2005
  • From: Lancaster, South Carolina
Posted by Devil Dawg on Saturday, April 27, 2013 12:59 AM

Well, folks, I've finally gotten moved from Georgia to North Carolina, and am starting up on this project again. Seems the massive amount of super-glue and a C-clamp (not to mention about two months back in the box with the glue curing while we moved) worked on the lower fuselage joint. Glad to get going again on this.

Gary

Devil Dawg

On The Bench: Tamiya 1/32nd Mitsubishi A6M5 Model 52 Zeke For Japanese Group Build

Build one at a time? Hah! That'll be the day!!

  • Member since
    March 2005
  • From: Lancaster, South Carolina
Posted by Devil Dawg on Monday, December 24, 2012 9:05 PM

Actually, forcing part C9 into place spread the front fuselage just a tad bit too much, causing the glued lower front fuselage seam to separate - three times already. I just now re-glued it for the third time, using a large C-Clamp to hold it together while the super glue dries. The previous attempts used Tenax 7R, of which I've never had a problem with before. It's almost as if this kit just doesn't wanna get built.............

I've read quite a few positive reviews of this kit, and no negative ones (other than price). I'm really disappointed with my experience with this one. I've built many Hasegawa kits, and never had fit issues like this. Oh well. I guess a lemon can be had with any brand........... Won't keep me from buying and building other Hasegawa kits.

Devil Dawg

On The Bench: Tamiya 1/32nd Mitsubishi A6M5 Model 52 Zeke For Japanese Group Build

Build one at a time? Hah! That'll be the day!!

  • Member since
    June 2010
  • From: Austin, TX
Posted by DoogsATX on Monday, December 24, 2012 8:48 PM

Maybe a spreader in the fuselage would work?

On the Bench: 1/32 Trumpeter P-47 | 1/32 Hasegawa Bf 109G | 1/144 Eduard MiG-21MF x2

On Deck:  1/350 HMS Dreadnought

Blog/Completed Builds: doogsmodels.com


  • Member since
    March 2005
  • From: Lancaster, South Carolina
1/32nd Hasegawa Focke-Wulf Fw-190D-9 - FINISHED ON 01 Sept 2014!!
Posted by Devil Dawg on Monday, December 24, 2012 8:43 PM

I am currently working on the subject kit, and am having severe issues with the fit of the wing roots to the fuselage, plus the fit of part# C9 to the bottom of the fuselage and wing (it has half of the main landing gear cut-outs in it, and is attached to the bottom rear of the engine cowling and the wings). I've never had this type of issue with a Hasegawa kit before. The fit of the fuselage was outstanding, as was the fit of the upper wing sections to the lower wing section. Putting the two together, though, along with part C9, was not an easy task. It seems that C9 was slightly too big (slightly too wide) on the front portion, causing it's diameter to become a larger diameter from that of the engine cowling when mounted, and the wing roots just did not line up correctly with the wing root fairings on the lower fuselage. No matter how much trimming and sanding I tried, I just could not get any of these shapes to match up to each other. Using a C-Clamp on part C9 worked satisfactorily (not perfectly, but close), and the wing roots.... well, I'm just gonna have to be satisfied with how they now fit. This one will definitely be a 5-foot model. I was hoping to have a contest-worthy model with this one, but no luck on that. Anyone else ever have these issues with this particular kit? Sorry, no pictures to post of these fit issues right now. I'll try to get some posted soon.  

Devil Dawg

On The Bench: Tamiya 1/32nd Mitsubishi A6M5 Model 52 Zeke For Japanese Group Build

Build one at a time? Hah! That'll be the day!!

JOIN OUR COMMUNITY!

Our community is FREE to join. To participate you must either login or register for an account.

SEARCH FORUMS
FREE NEWSLETTER
By signing up you may also receive reader surveys and occasional special offers. We do not sell, rent or trade our email lists. View our Privacy Policy.