Ok, folks, after over a year's hiatus on this model, I got the gumption again to get her finished. Below are some photos of her most recent build & paint sessions.........
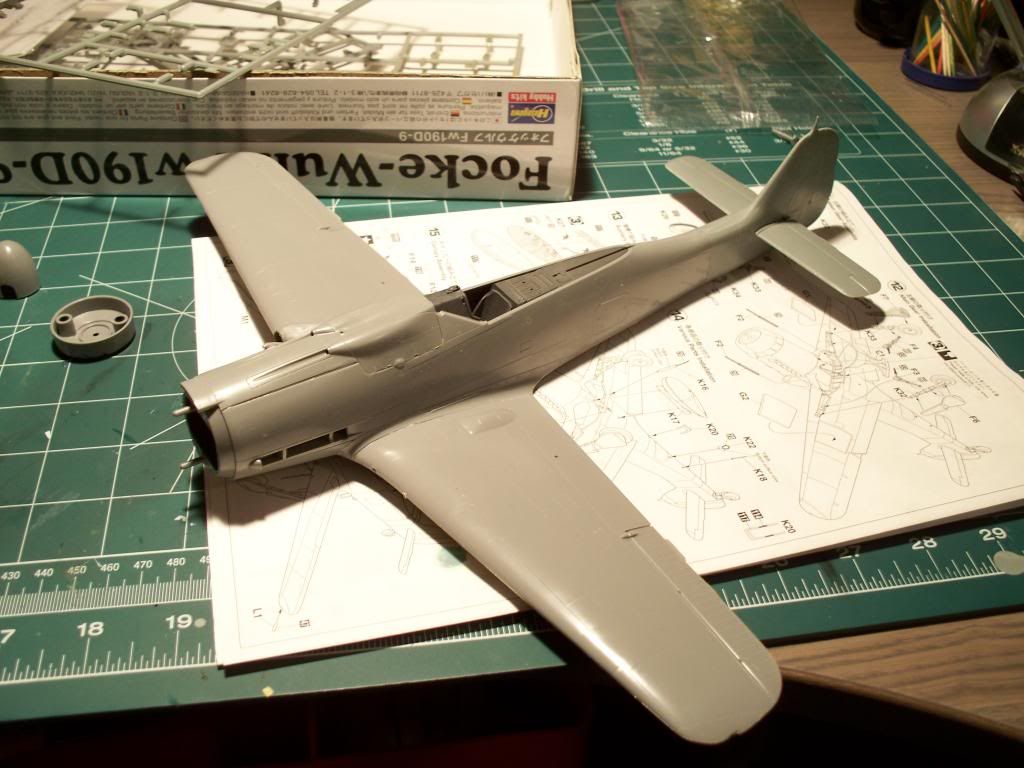
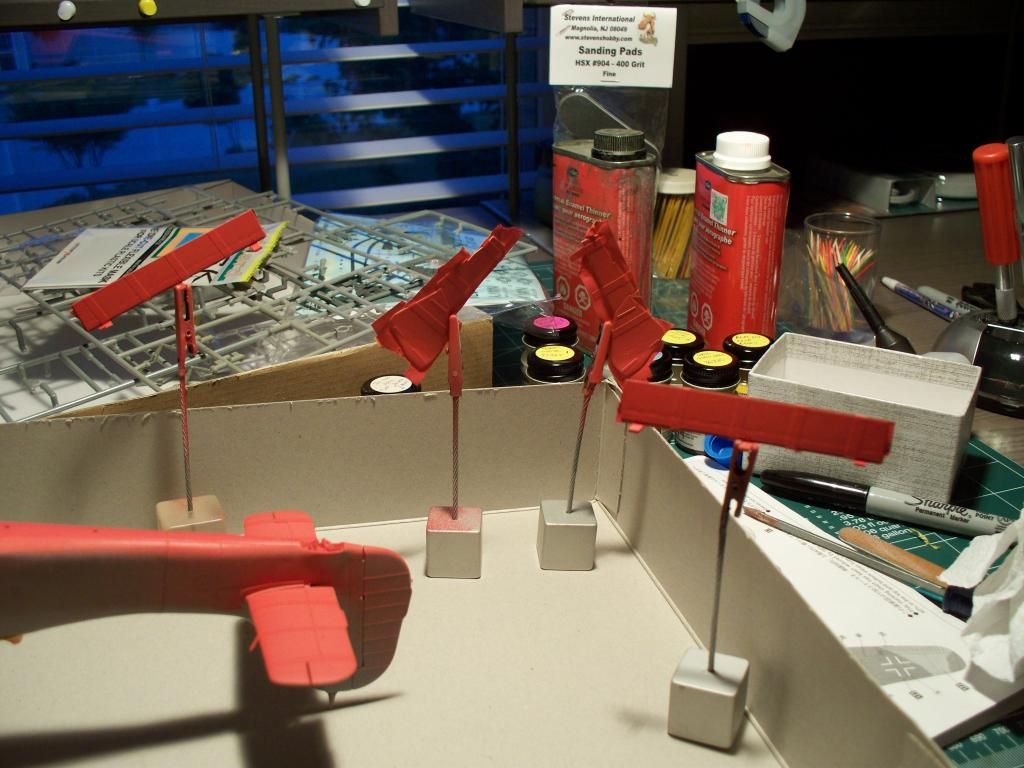
This is how she looked about two weeks ago, after I decided that I was as far as I could go without some paint on her........
.

I masked off the clear parts so that I could use them to mask off the cockpit. After I had spent about 2 hours on them both, I looked to my right and what did I see, but an Eduard masking set staring back at me!!!! AHHHHHHHHHHH!!!!!! I had forgotten that I had bought that set when I bought the kit a few years ago. Oh well. If I ever build another of these kits, at least I'll have a masking set for it (if I remember it.......).
.
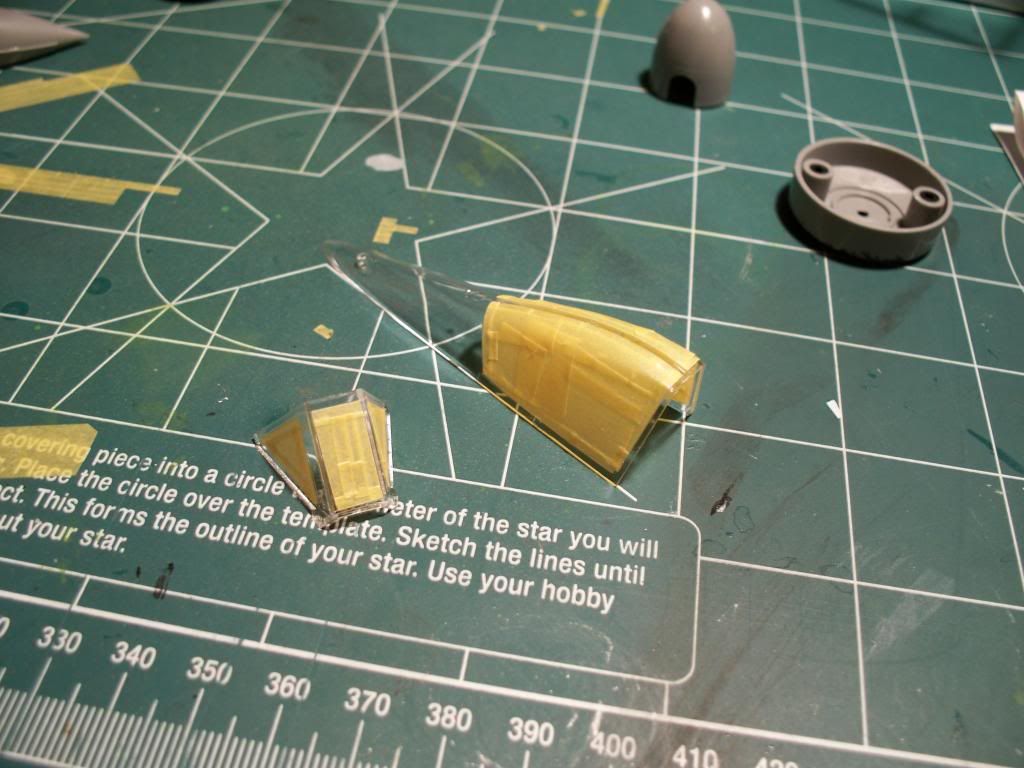
Another view of the masked clear parts........
.
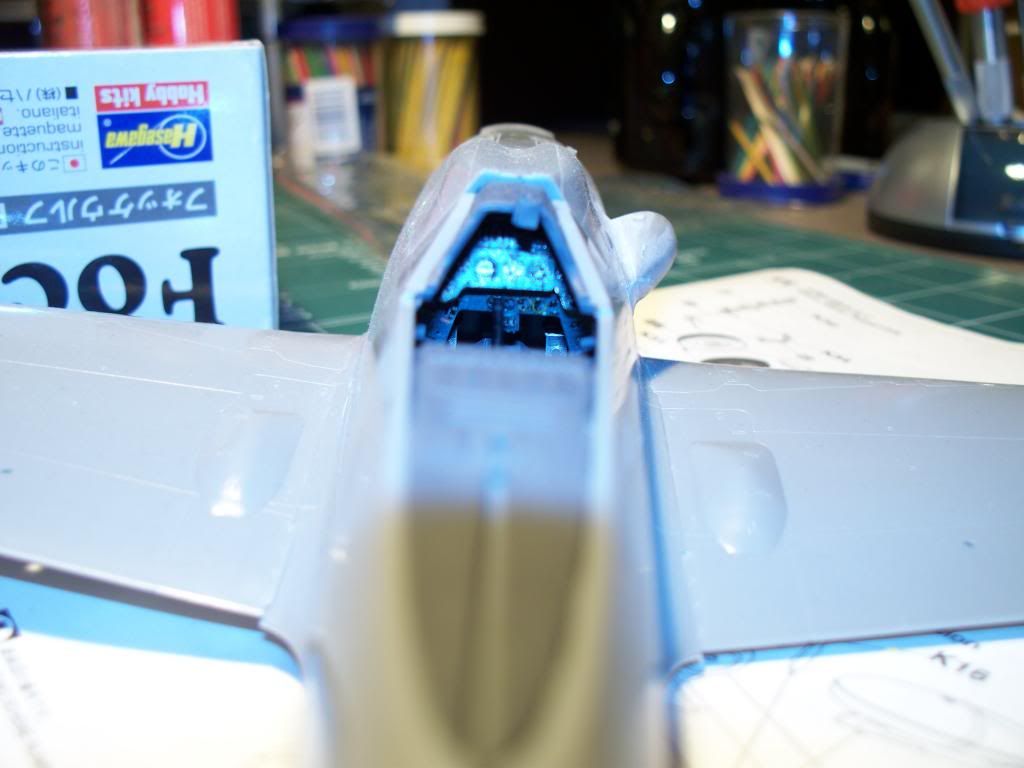
Here's the best picture I could take of the cockpit with the Eduard ColorZoom photo-etch instrument panel. I could not get my camera to focus correctly on this. It kept wanting to focus on the rear deck instead of what I wanted it to focus on. Gotta learn to use the manual mode on that thing.........
.
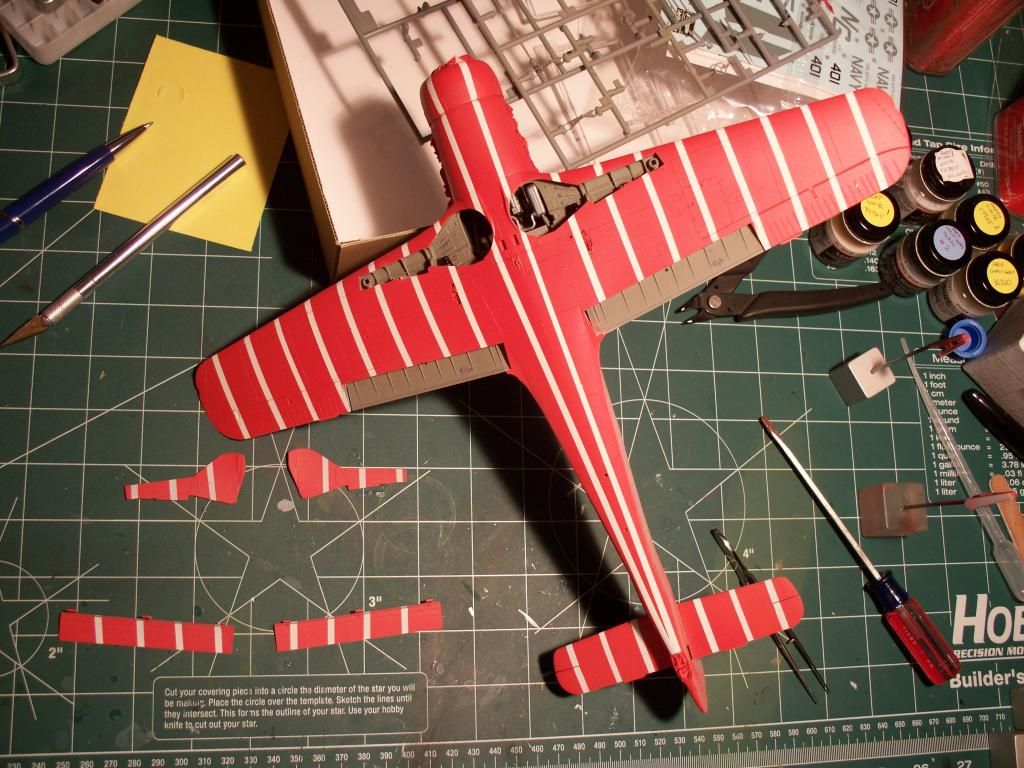
Bottom view of her before stuffing all the wheel wells and other holes with paper towels in preparation for painting.....
.
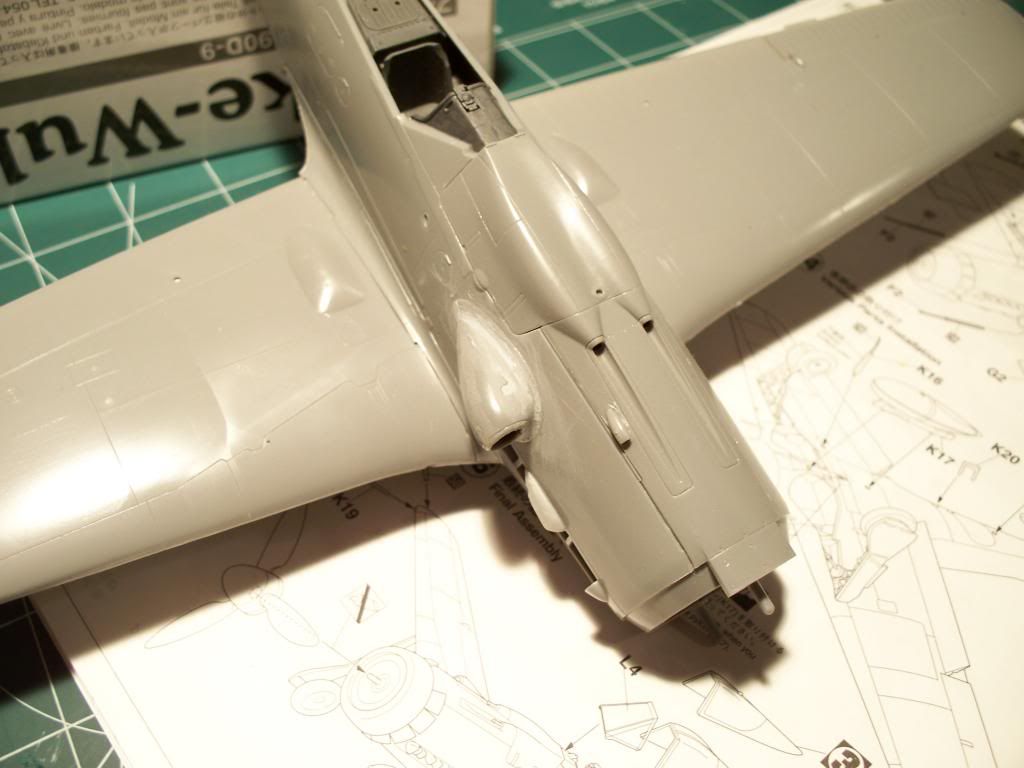
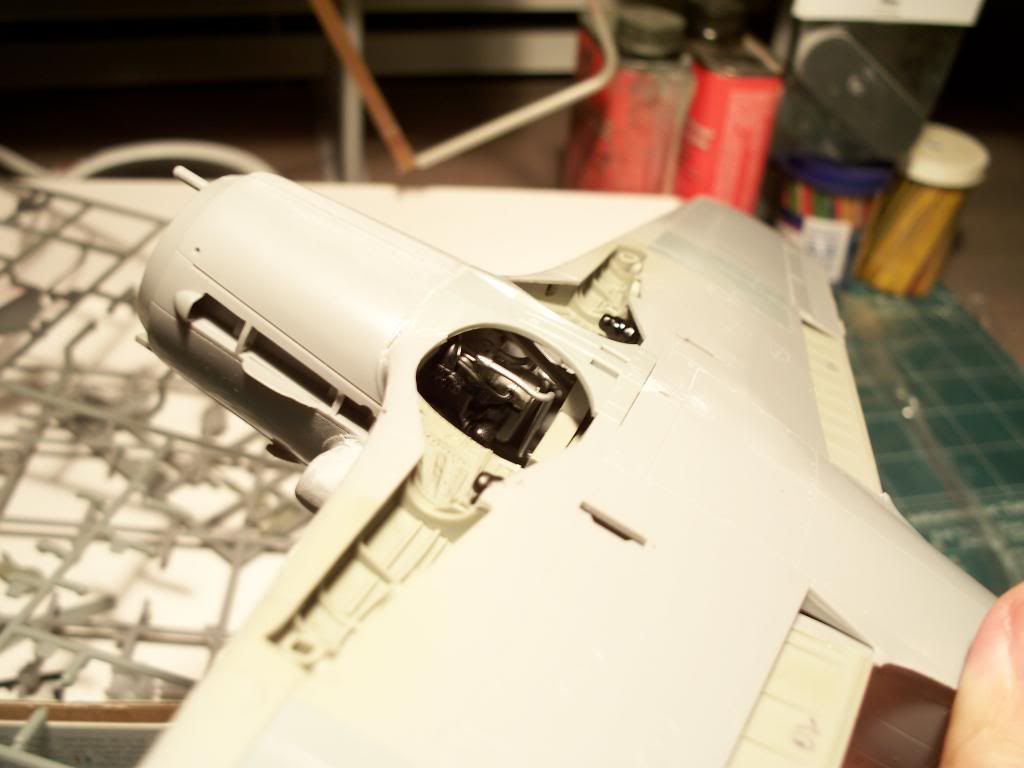
Top view showing the scoop and upper cowling. Doesn't look so bad from this angle.....
.
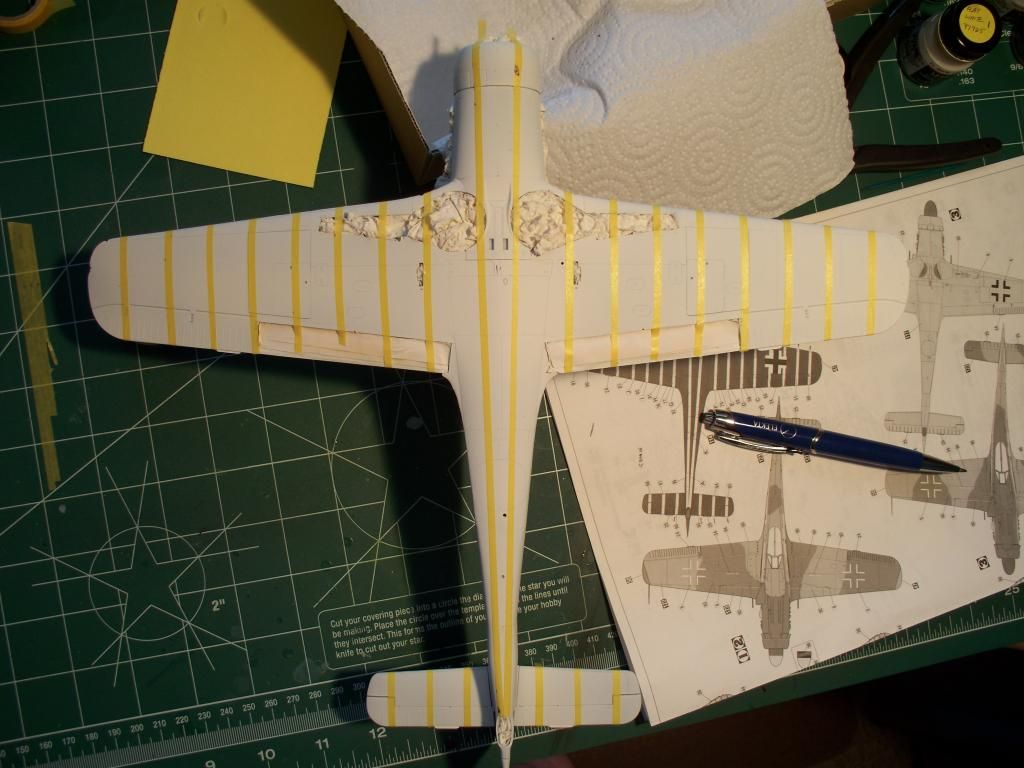
In this view, I've already sprayed the bottom with Model Master Flat White, although it still looks gray. Not sure why that is. It looked gray to my eye as well. I decided to paint the white stripes on my Dora instead of using the kit decals, as all those stripes add up to a LOT of decals, and I don't like lining up lots of straight decals if I don't have to. So, I sprayed the entire bottom white first, then masked off where I want it to stay white with Tamiya masking tape (talk about a conflict of interest - Tamiya tape on a Hasegawa model). I used the kit decals as my reference. The stripes needed to be 3mm wide, so I laid out long strips of 1cm (10mm) tape, measured out 3mm-wide marks, then used a 12-inch metal ruler as a straight edge to cut the strips. I got three 3mm strips on each long strip of tape, with 1mm left over. Using the instruction sheet as my guide, I guesstimated the location of each stripe using a metric ruler. The stripes came out to be about 13mm apart. This was actually much easier than it sounds. It took me maybe an hour - at the most - to do. I figured trying to lay out all the decals for just these stripes would've taken much, much longer, and caused a lot of aggravation as well, and the decals probably would've been translucent enough to let a little of the red show through.
.
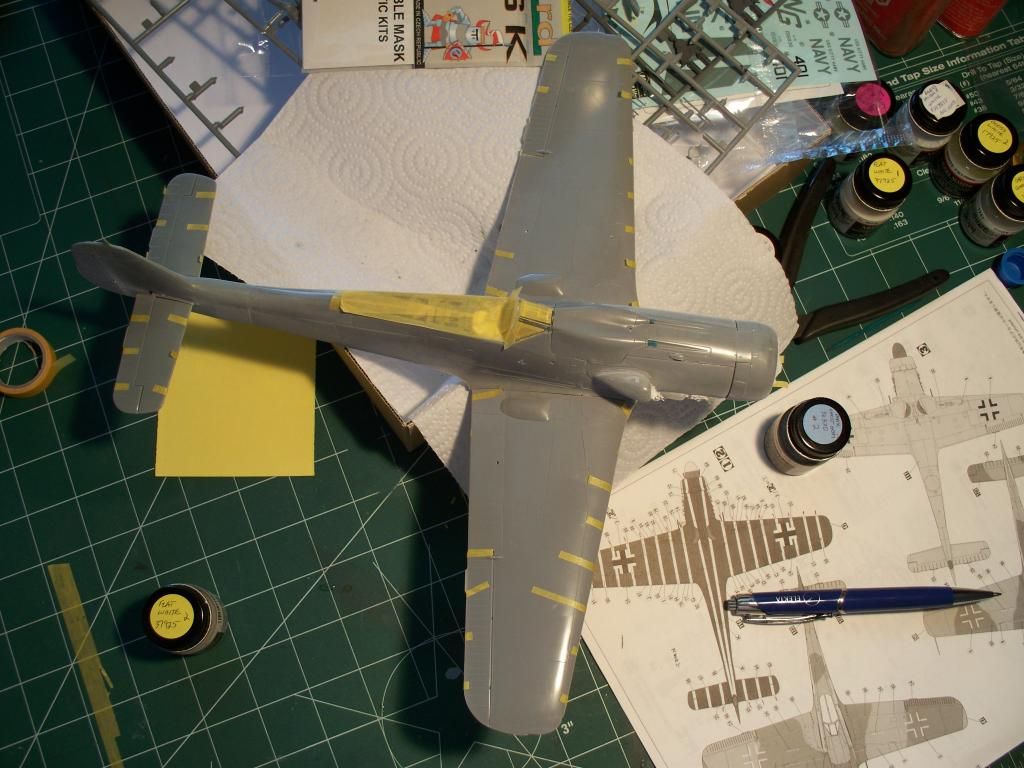
Top view of my masking effort.......
.
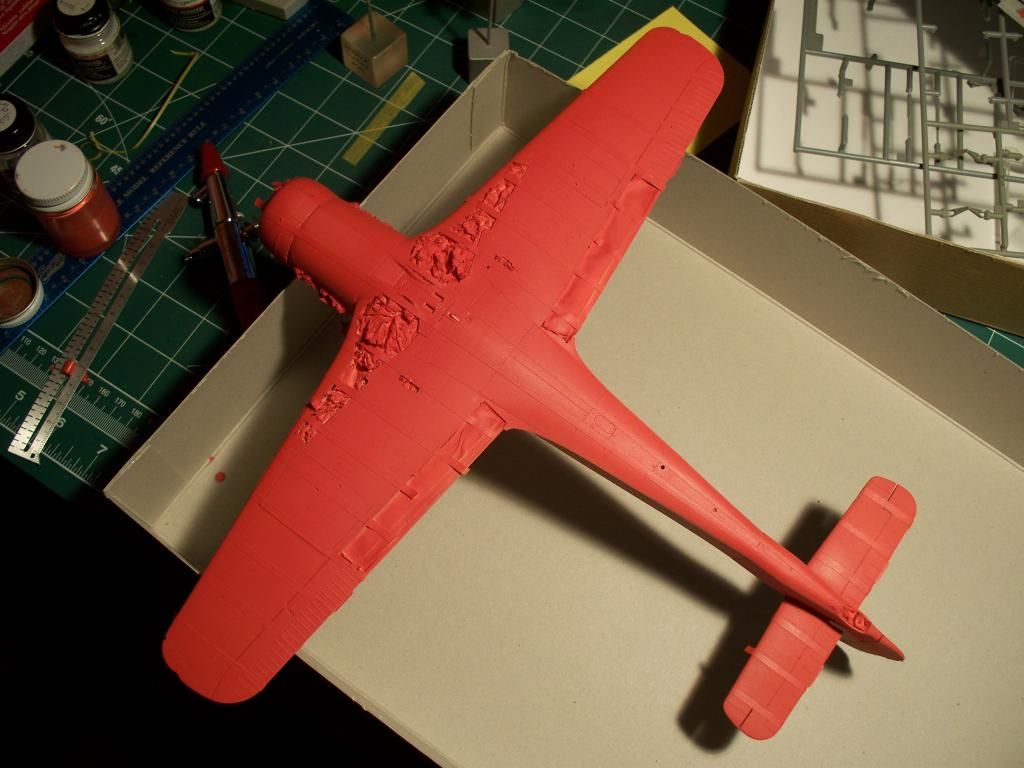
After three coats of RLM23 (Rot). I was kind of apprehensive about using the RLM23, as it looked pinkish in the bottle. But, once I got a couple of coats on the model, it started looking like the medium red that I expected.
.
Got the landing gear doors & flaps, too. After masking the bottom of the plane, I simply laid the pieces in their respective holes, and lined up their masks with the ones already in the bottom of the plane....
.
After laying down the red paint, waiting a day, then pulling off all the tape, this is what resulted. I must say, I was quite pleased with the results. This was much easier than using decals (have I mentioned that already?).
.
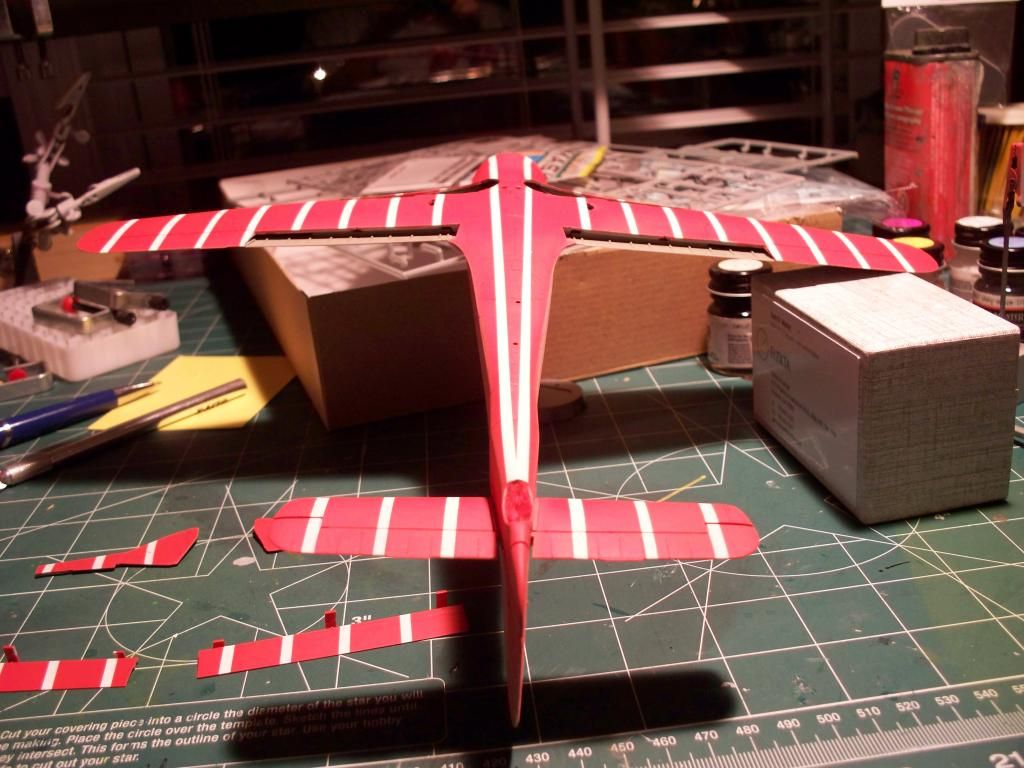
Another bottom view. The two long stripes running the length of the fuselage were the easiest to lay down and get straight. Not sure why, other than where they started at the nose, and where they ended at the tail wheel well, were easy to ascertain, which made lining them up simple.
.
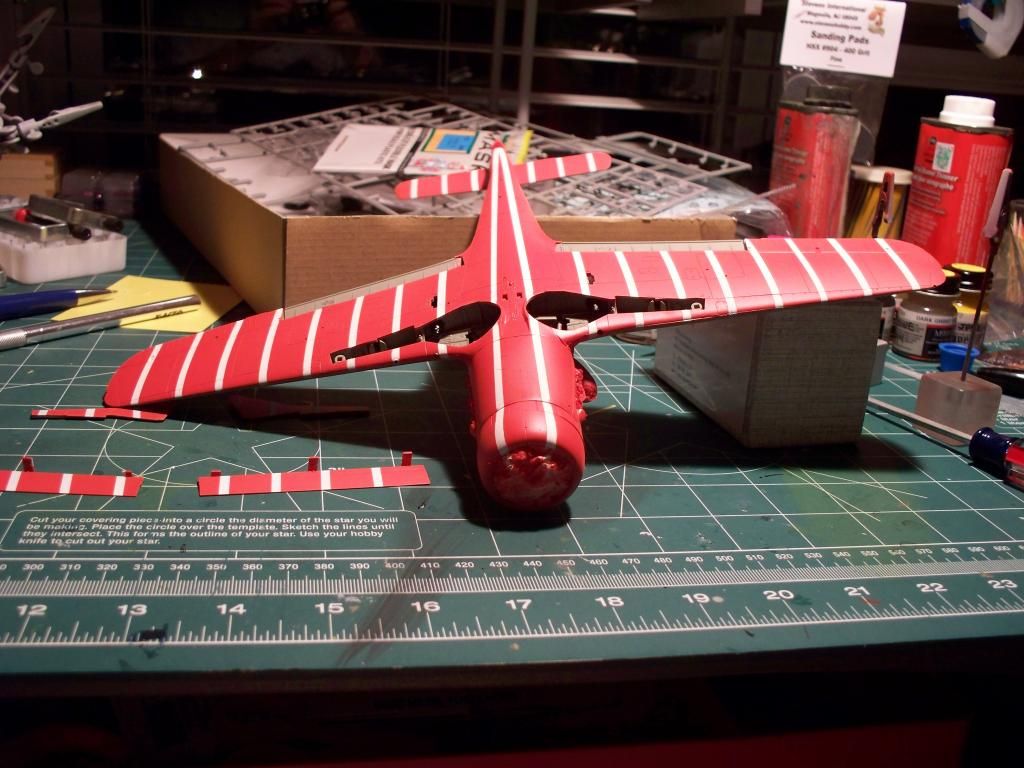
Front view........
.
Let me know whathca think so far, folks................