The instructions are pretty straightforward and I figured a few sub-assemblies would be best. I decided to tackle the cokcpit first (as always). Most of the detail won't be overly visible once the fuselage is buttoned up but I did a little work anyway.
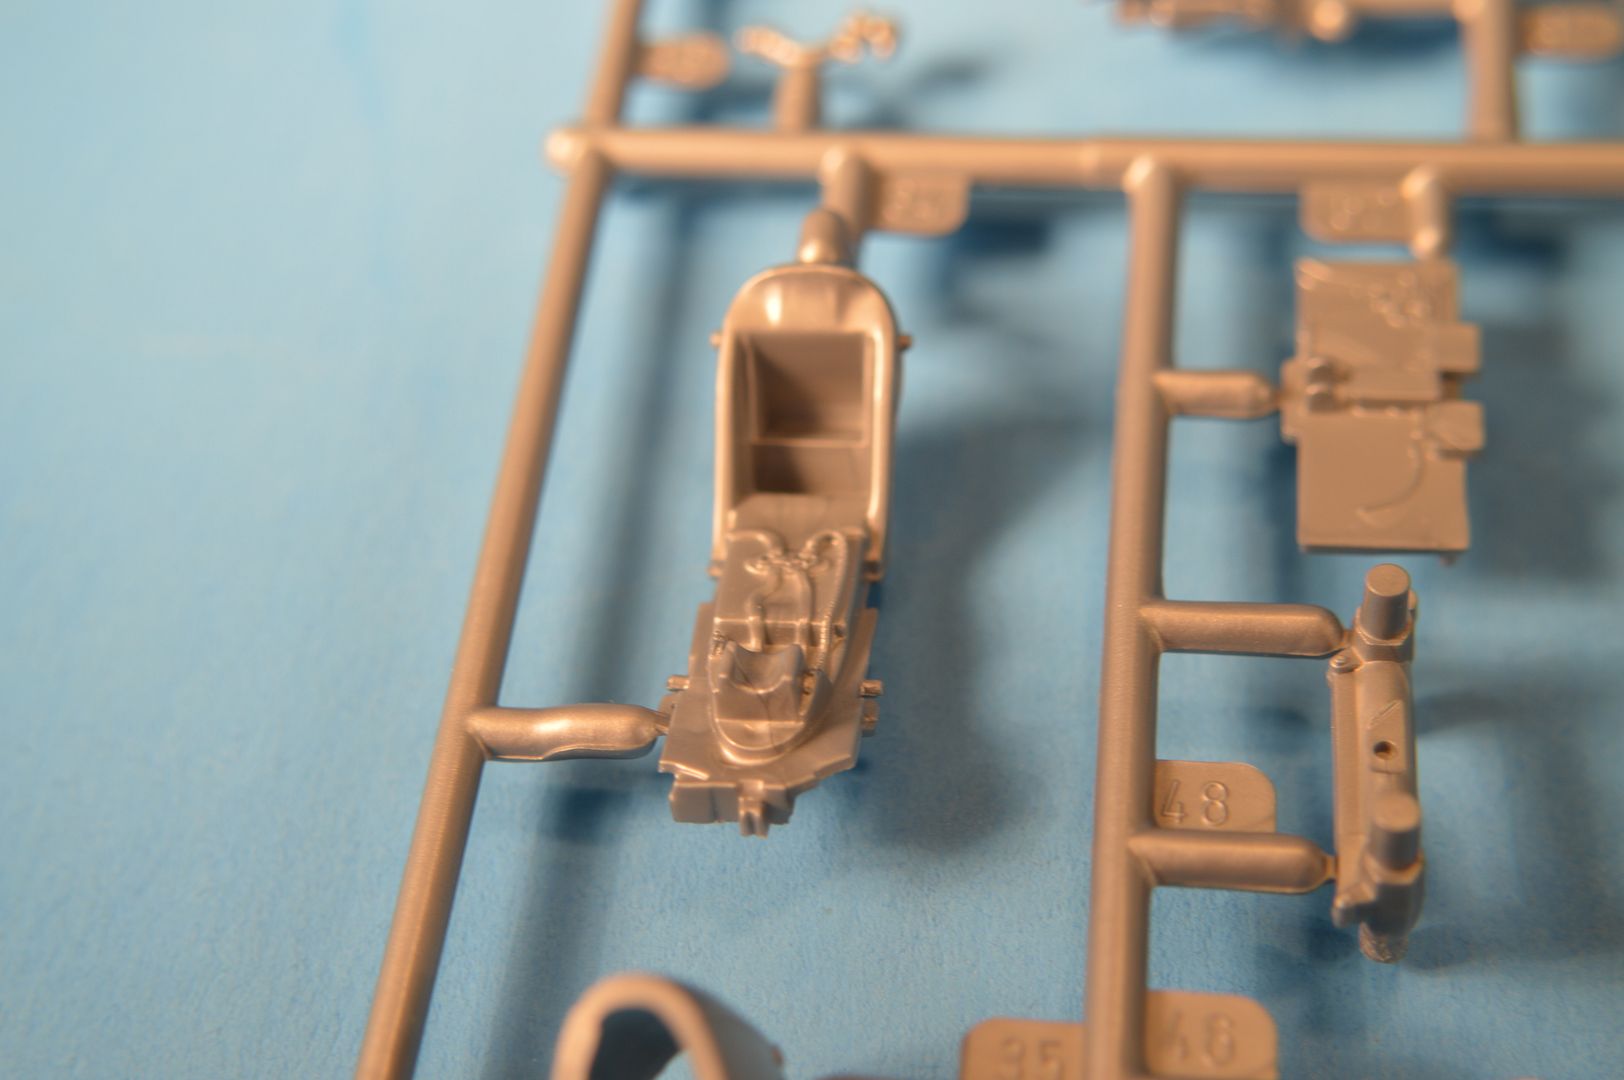
The kits seat left a little to be desired
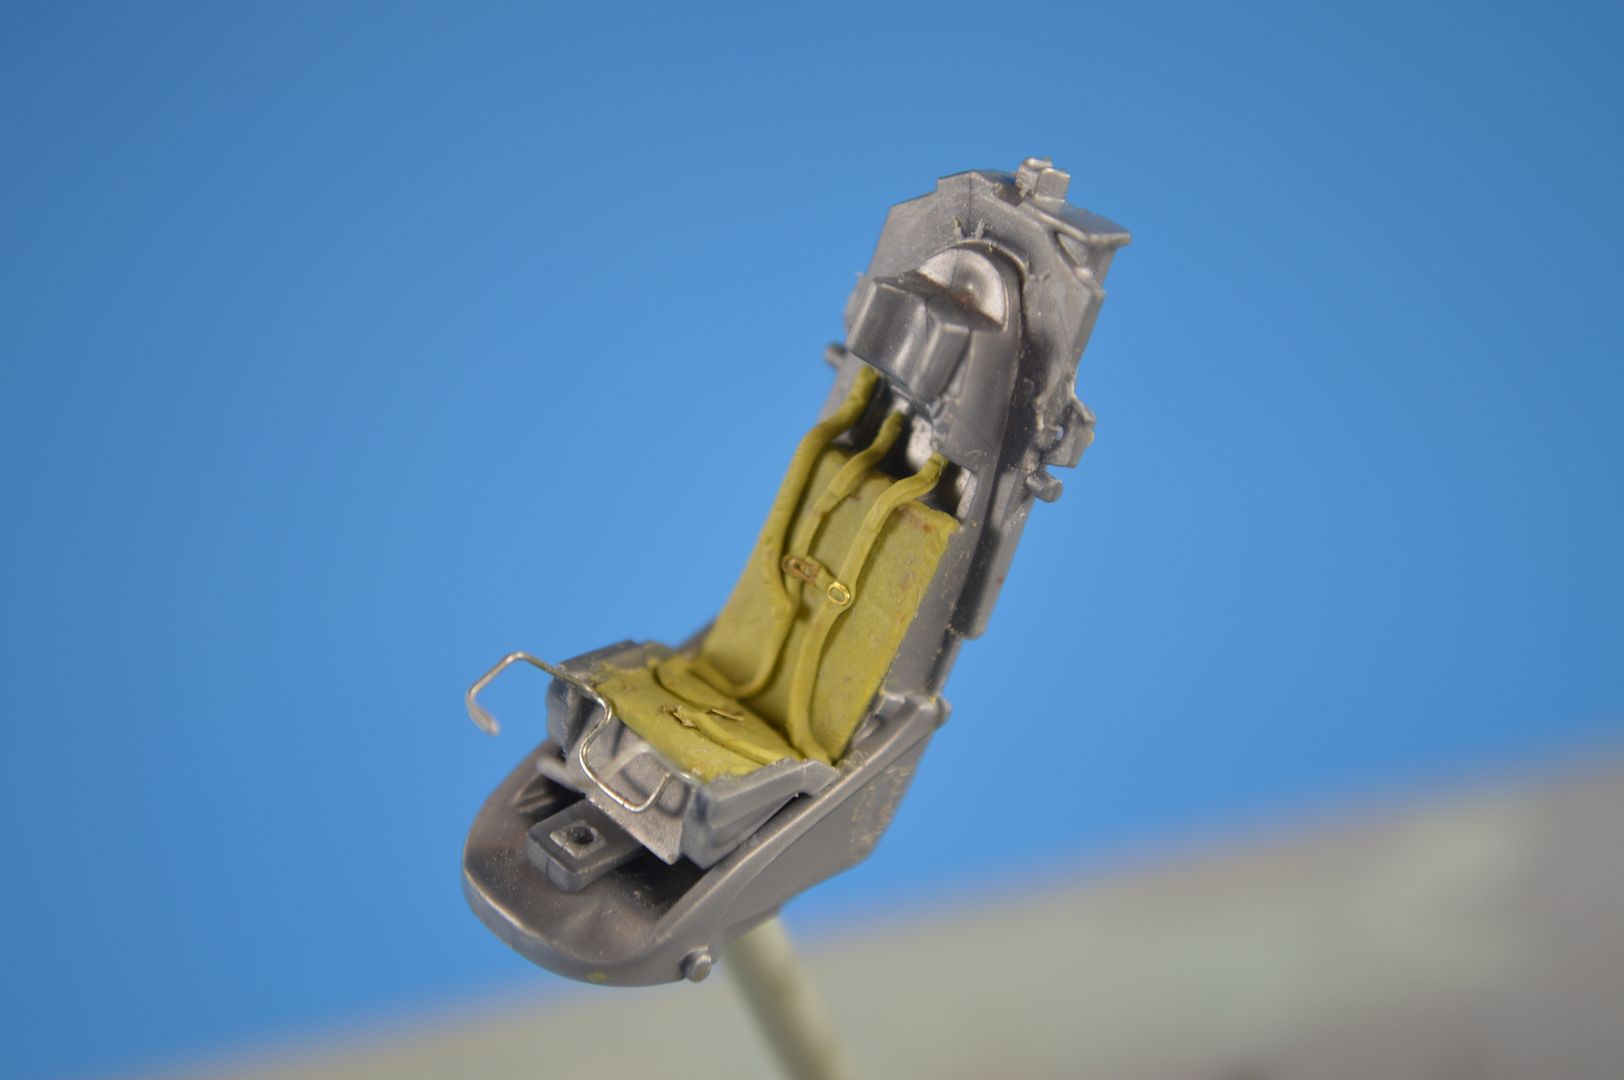
The seatbelts were carefully scraped away and Milliput was added for a smotther surface and to replicate the seat and seat back. Also, Milliput harness were fashioned with spare PE used as the buckels and adjustment points. The moulded leg retraction bar was replaced with wire from a twist tie.
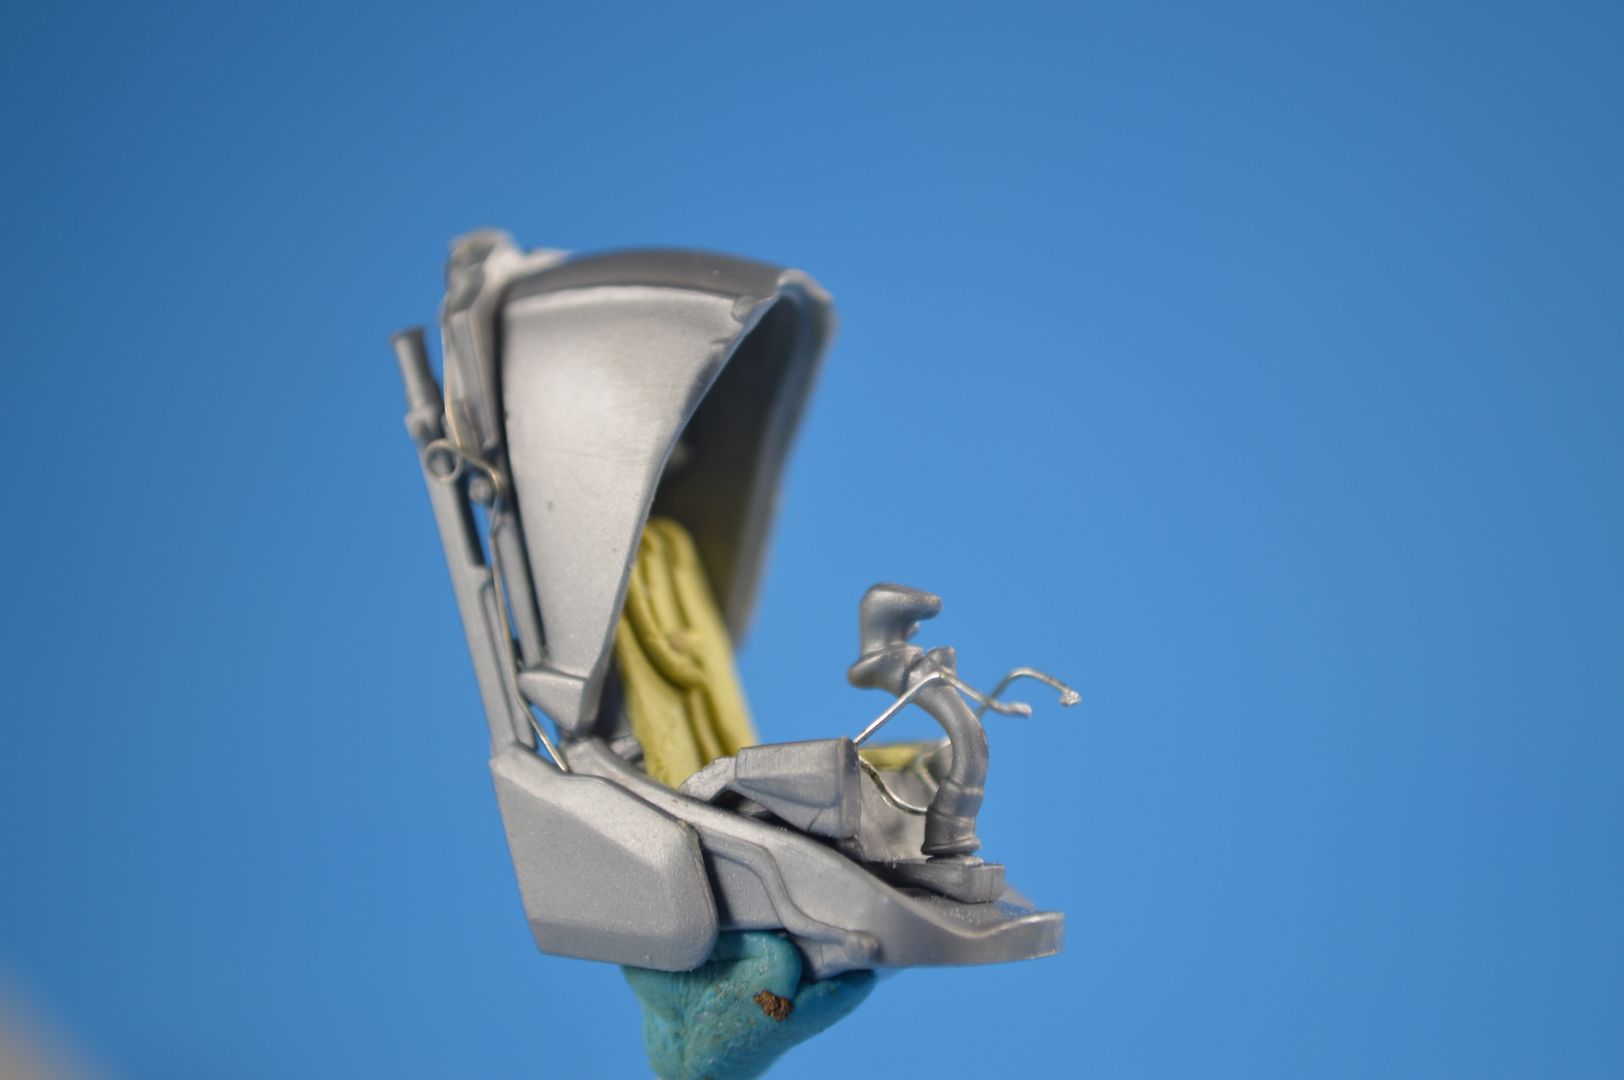
With the rails, stick, and hood added. Also, wiring was added to the right side.
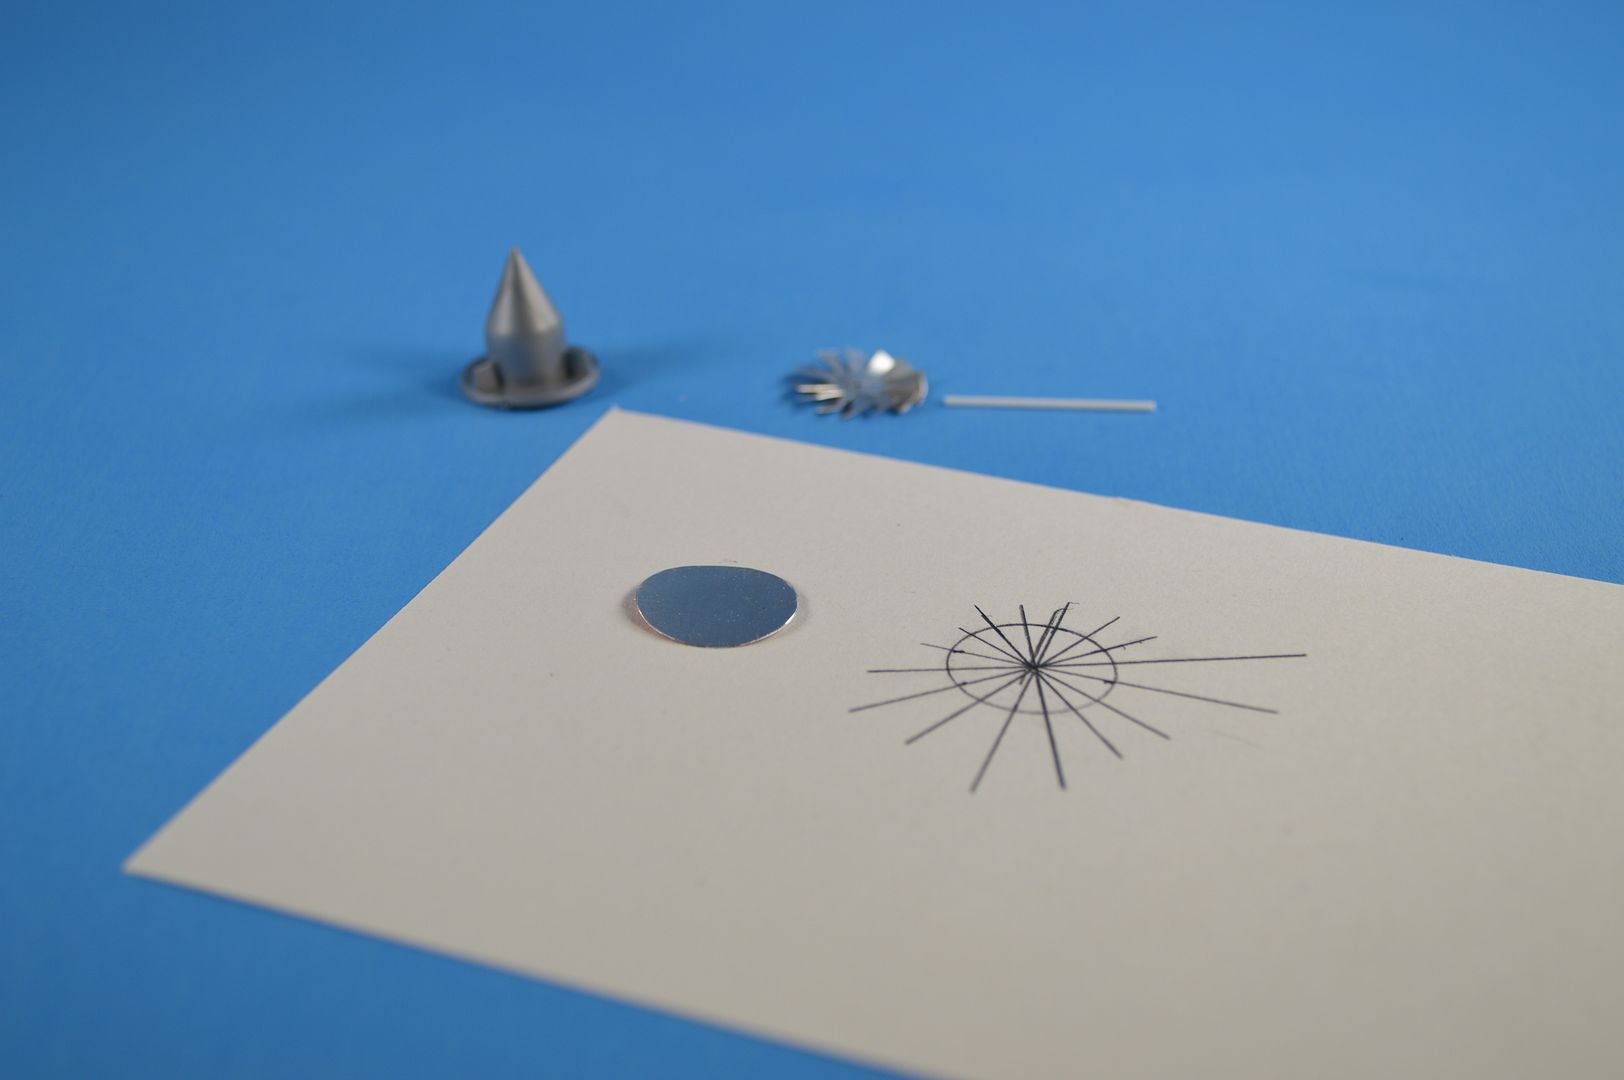
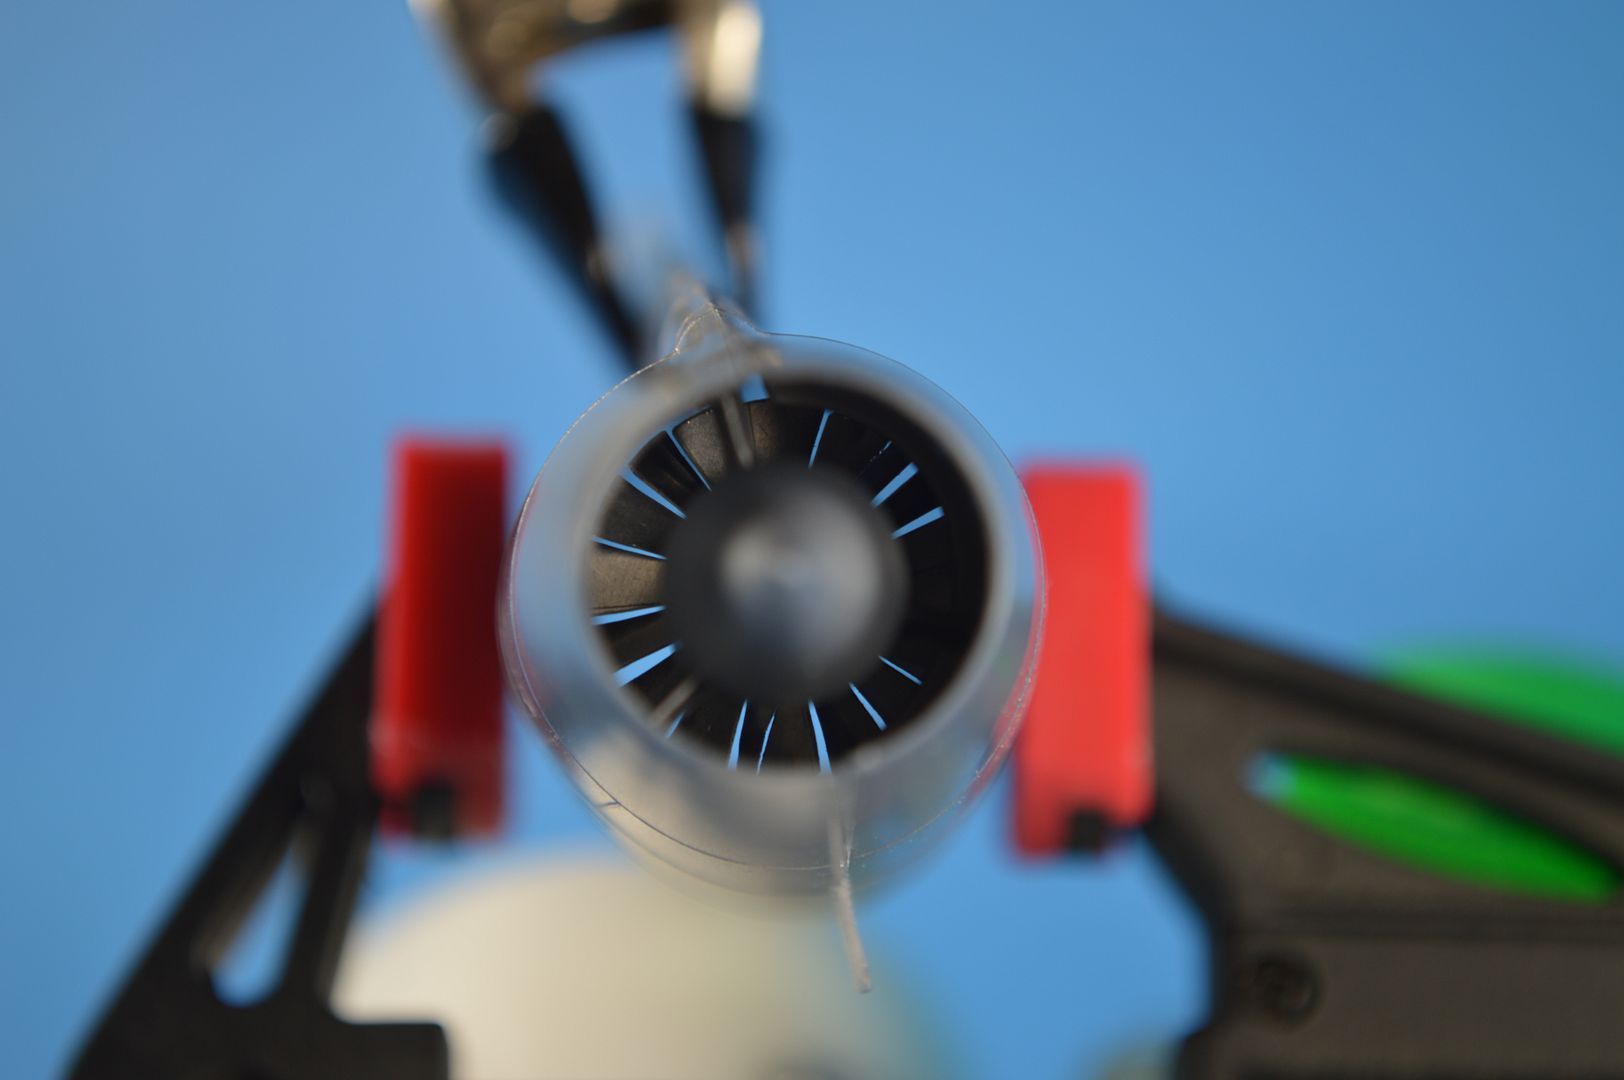
Detail was lacking on the kit engine intakes. The intakes were moulded as one piece, but research indicated that the intake cones had three vanes and the first stage of the compressor was visible behind. Aluminum from a soda can was cut to shape and the fan blades shaped using a pair of small wire cutters. Unfortunately my Dremel's battery died halfway through the second intake.
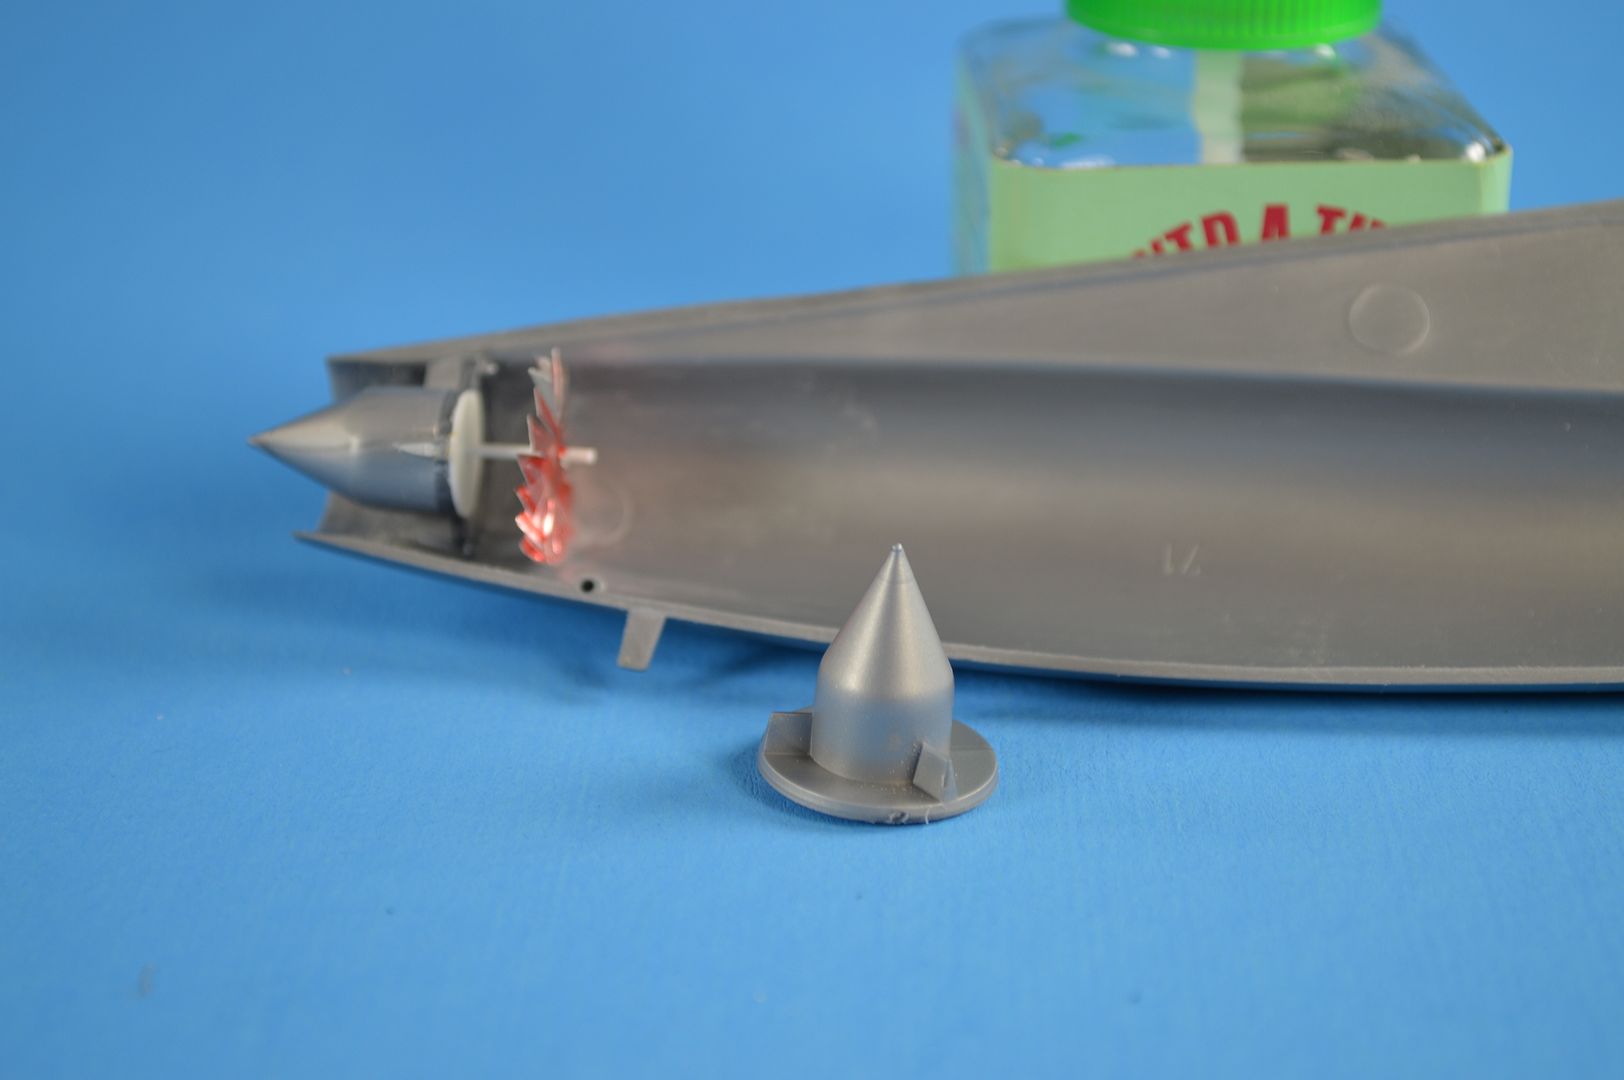
The result looking into the intake
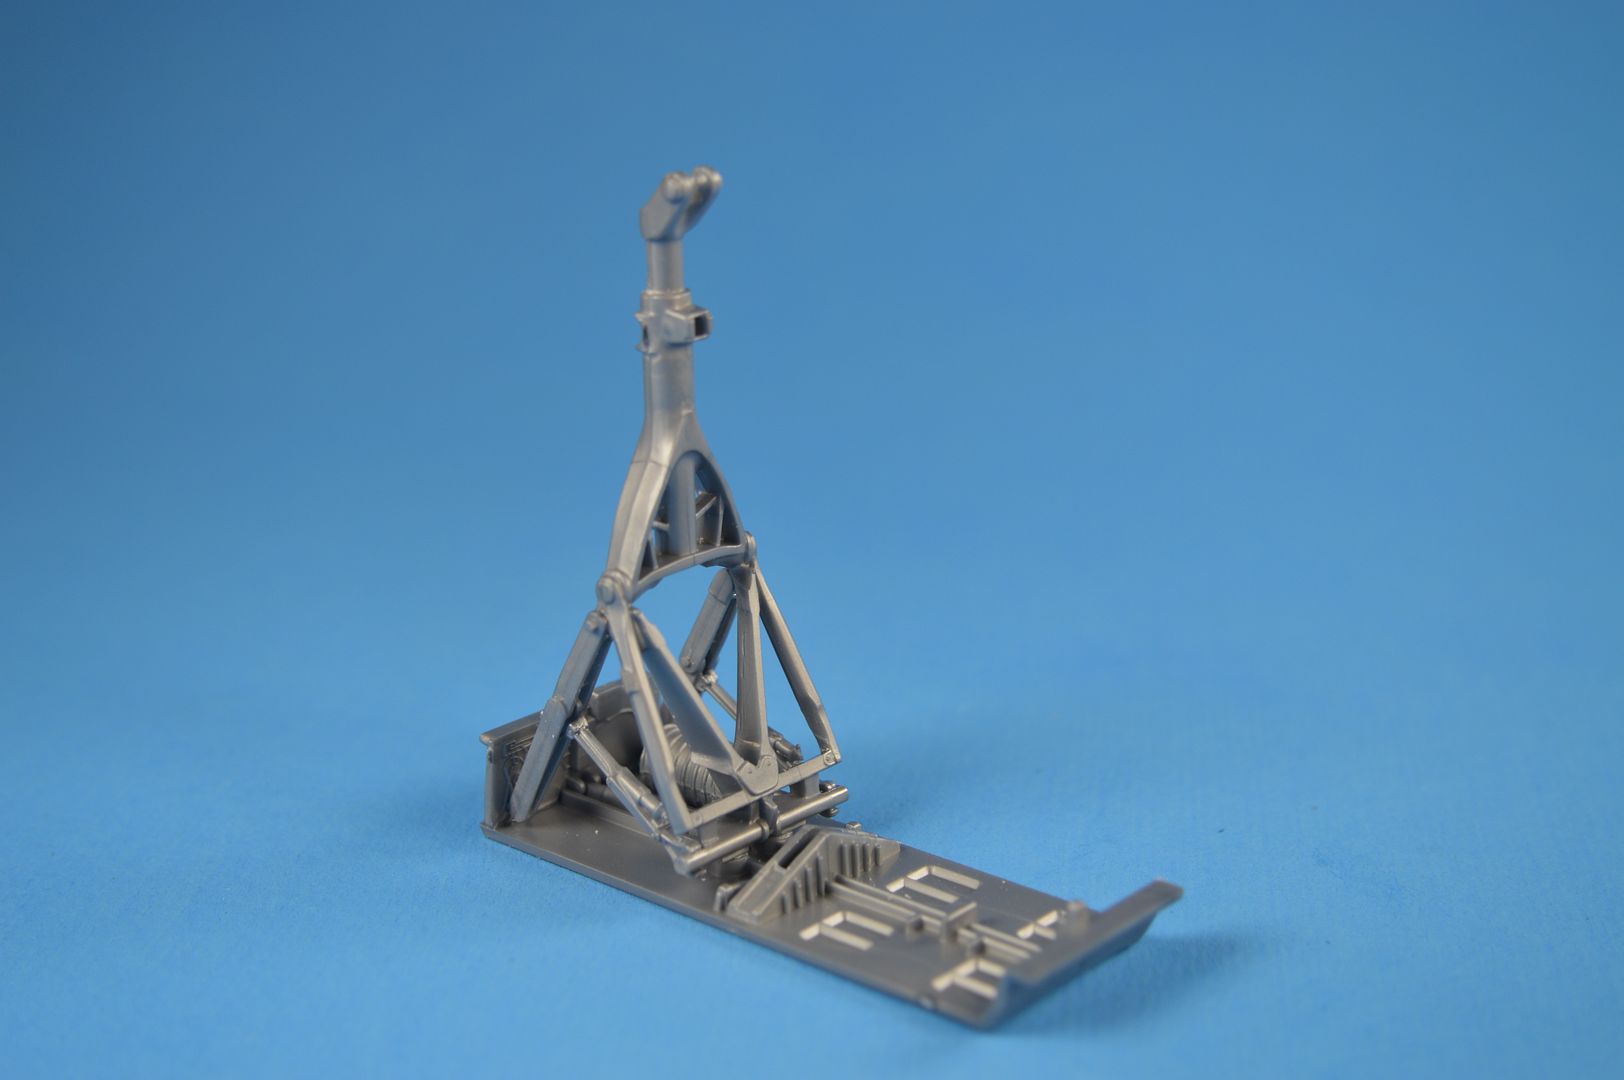
With the Dremel charging, I started on the main landing gear. So far, the kit parts. Details will be added tomorrow.
Other miscellaneous items have been completed. The windows for the rear cockpits have been added, the tail assembly is drying and awaiting a lot of sanding, and cleanup is underway on the fuselage and wing components.
Hopefully tomorrow the cockpit, main, and nosegear wheel wells will be detailed and ready for primer!
As always, comments and criticisms are always welcome!