That is, for the worst fitting kit I have ever built!
Working on a 1/48 Revell Huey Hog for an army buddy of mine. Being done up in 18th MP Brigade colors.
The entire forward half of this thing is atrocious... Huge shims and huge amounts of gap-filling superglue needed to close things up. Haven't even started on the roof yet, which is shaping up to be the devil-child of this whole build. 
Well I enjoy defeating a good challenge... question is, can this one be defeated without making the kit look like a child's toy?? We shall see.
Going to enjoy the learning experience - some new experiences on this one, like first time using shims and first time using superglue to fill anything more than a very small gap.
Building this strictly out of the box.


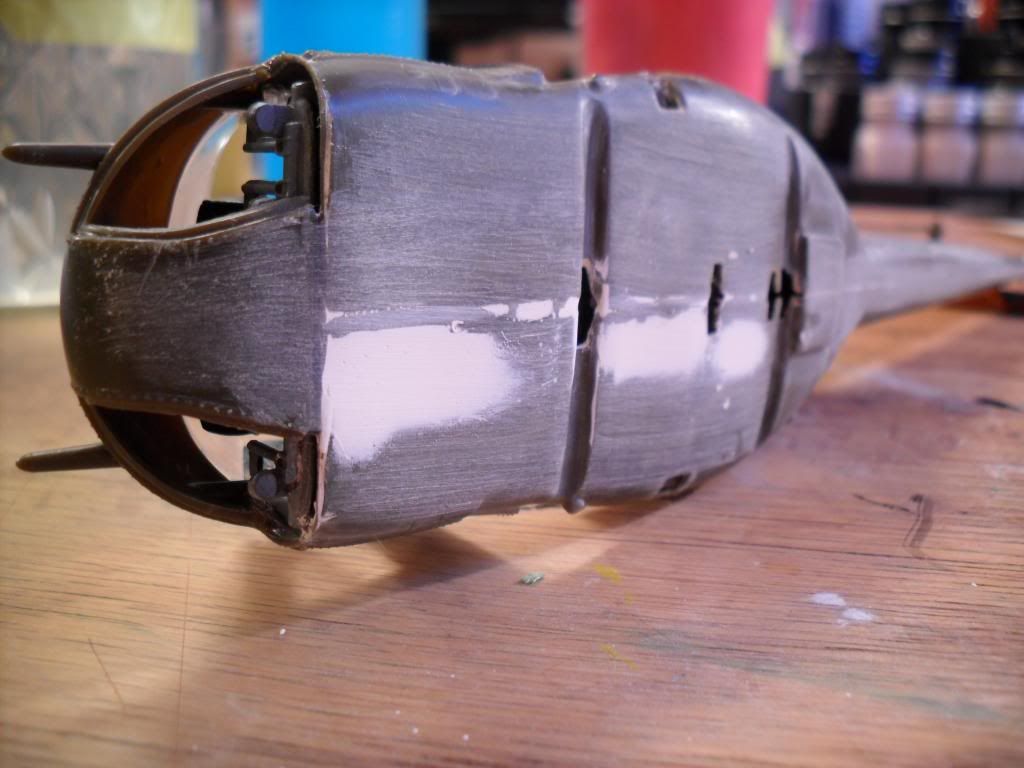
You can see below the shims and superglue that were needed to fill those massive gaps. Gone over with 220 sandpaper and took a quick shot before going on to some final sanding here