Okay guys here it is! I've finally washed my hands of this one. This Hawk kept finding new ways to challenge me along the way, but now it's complete. =D
So here we go: (Lot's of pics. Sorry. =] )
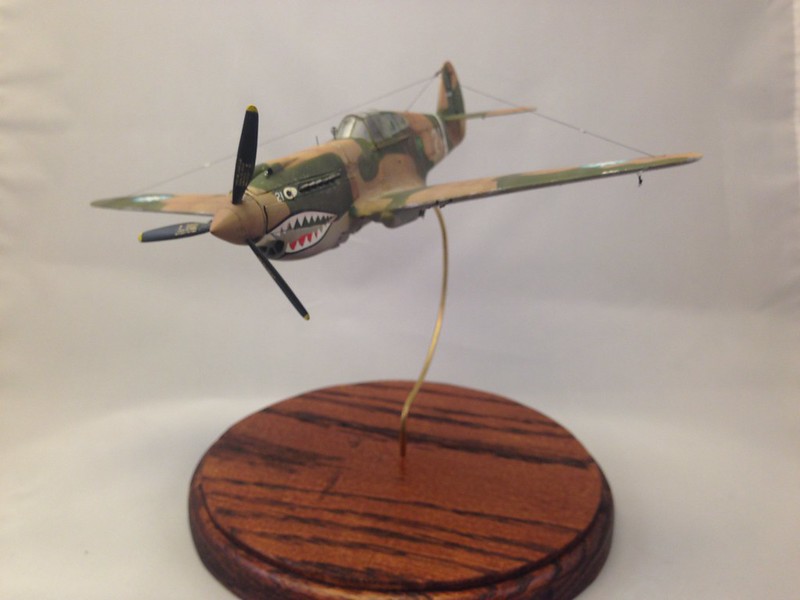 image by brittvallot, on Flickr
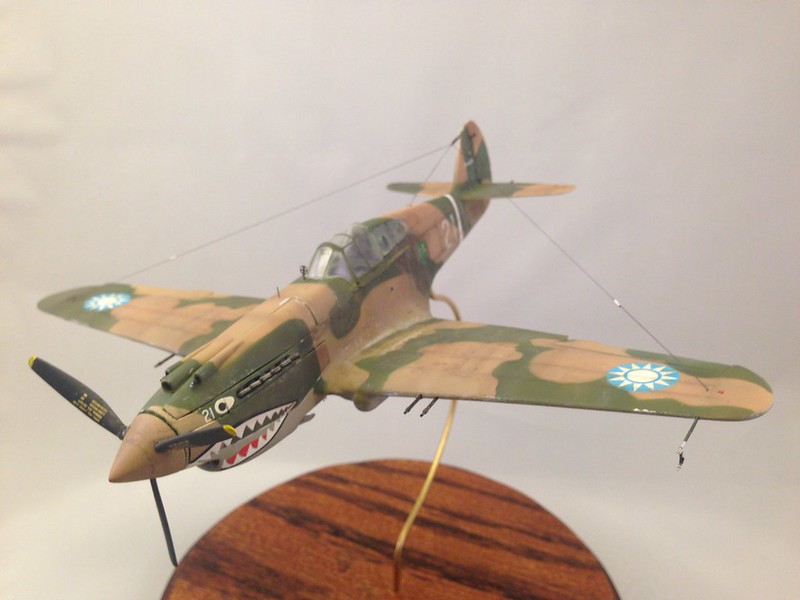 image by brittvallot, on Flickr
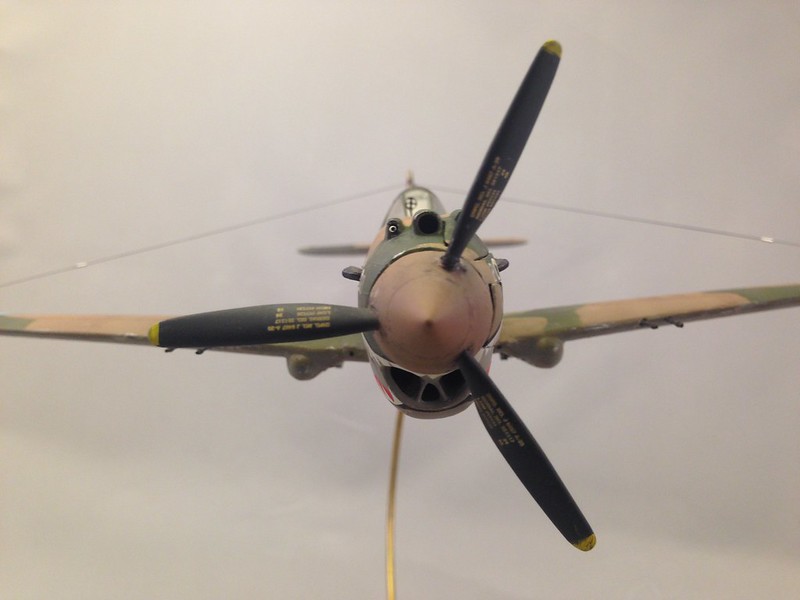 image by brittvallot, on Flickr
Close up of rudder horn and aerial hook up.
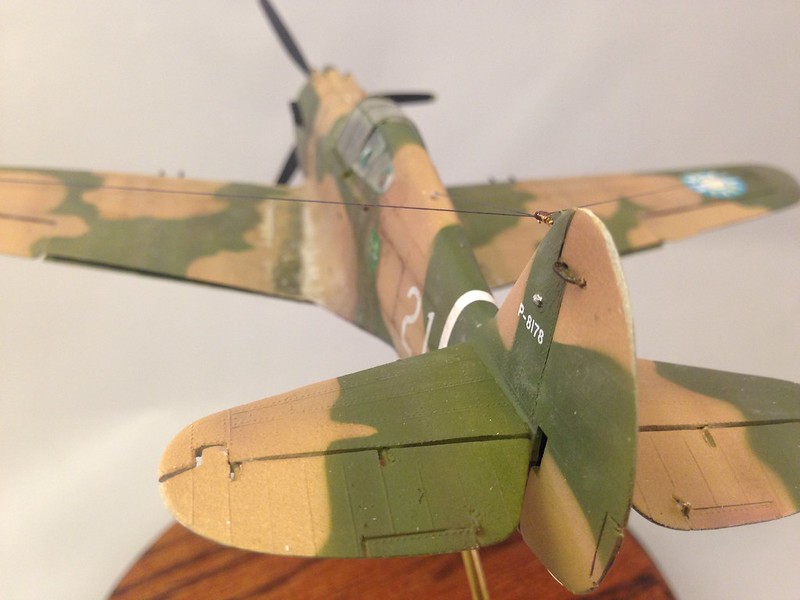 image by brittvallot, on Flickr
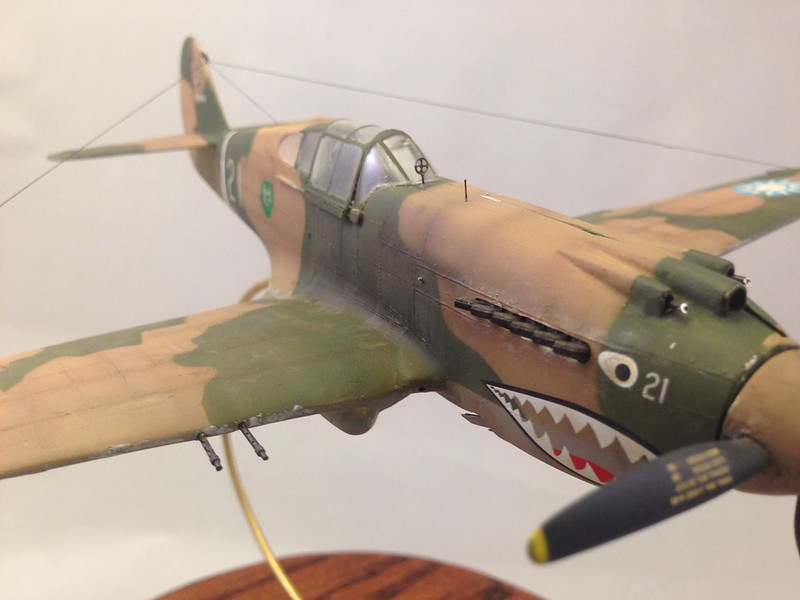 image by brittvallot, on Flickr
For the cross hairs...I literally spent about two and a half hours trying to do something that would've been really nice. But they were just too tiny for me to grip and put together. Ugh! But still I took the kit part to see what I could do with it and ended up filing it down as thin as I could and used a sharp No. 11 blade to trim up the insides. I'm mostly content with it.
Detail of the exhaust and what's either a static pitot tube or some exhaust vent that protrudes from the cowl.
 image by brittvallot, on Flickr
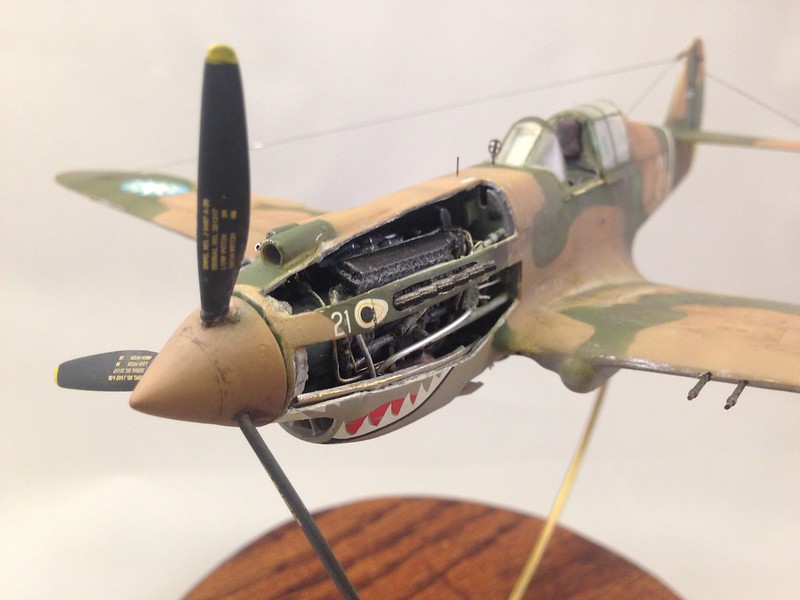 image by brittvallot, on Flickr
 image by brittvallot, on Flickr
Detail of the engine. I've included the fuel drain here and that really tiny hole on the landing gear housing is what they used to grease the gear parts for turning the landing gear. (This is also seemingly the only picture I have where the crosshairs look less than nice. =[ )
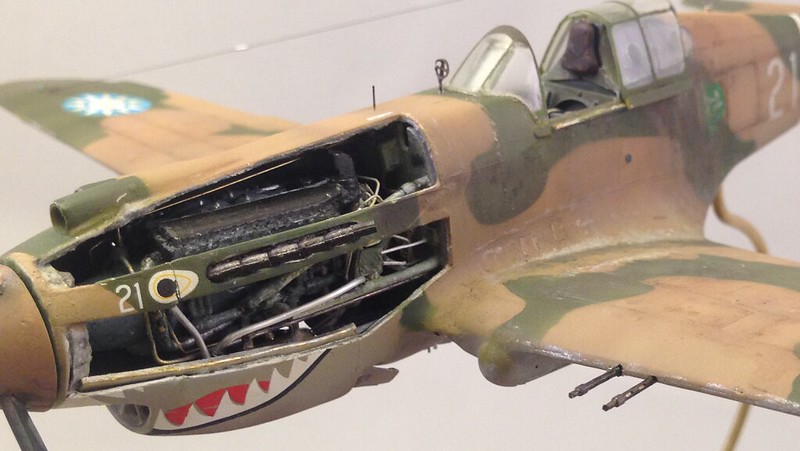 image by brittvallot, on Flickr
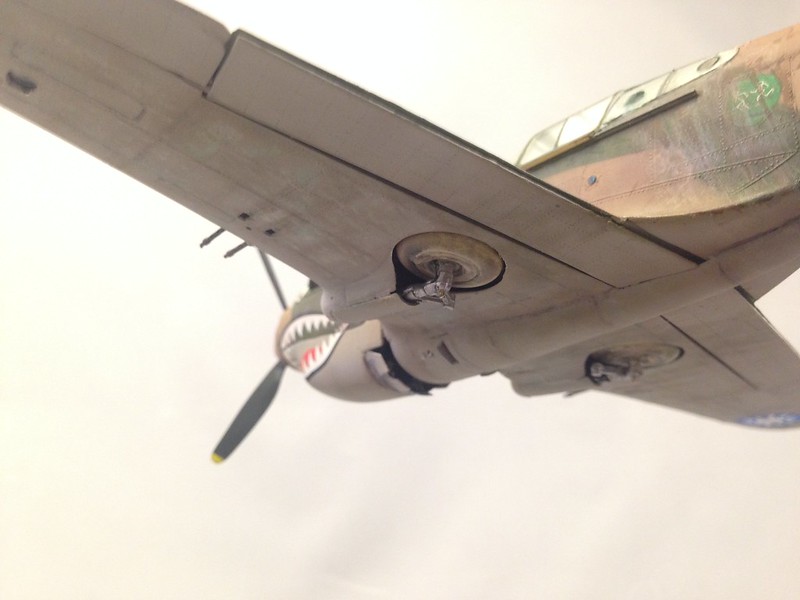 image by brittvallot, on Flickr
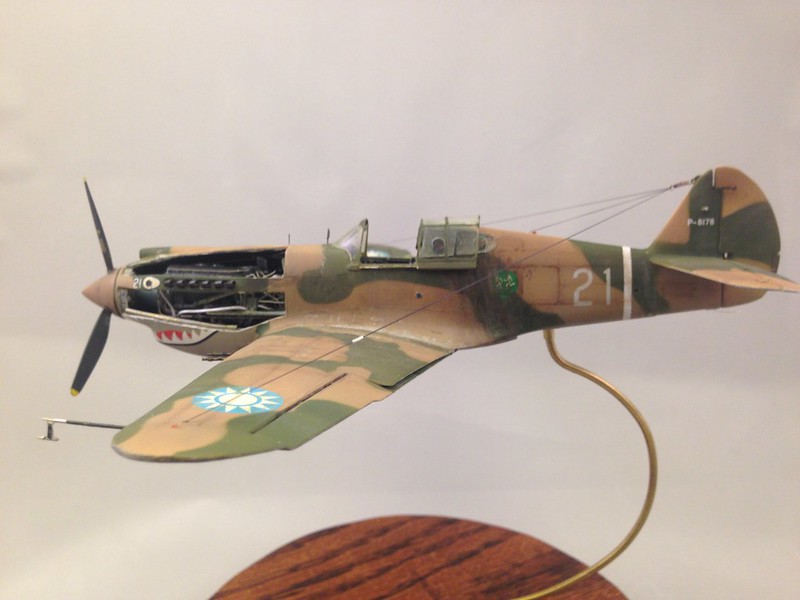 image by brittvallot, on Flickr
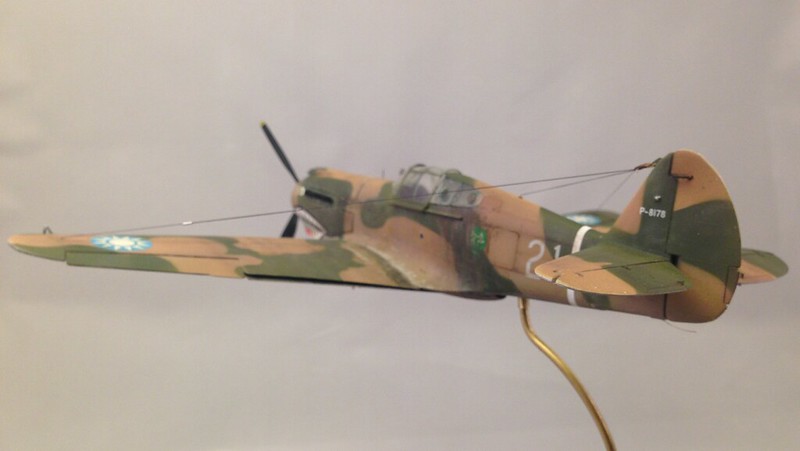 image by brittvallot, on Flickr
Detail of scratch built British pitot tube.
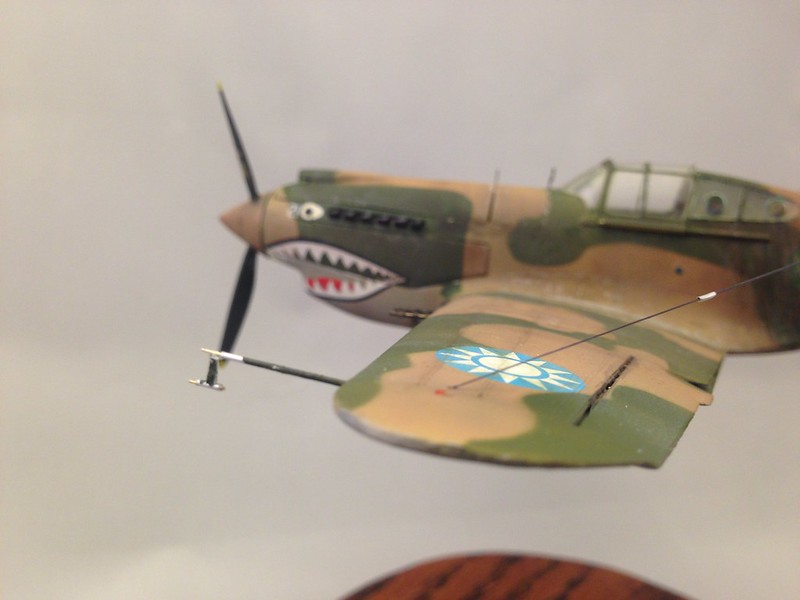 image by brittvallot, on Flickr
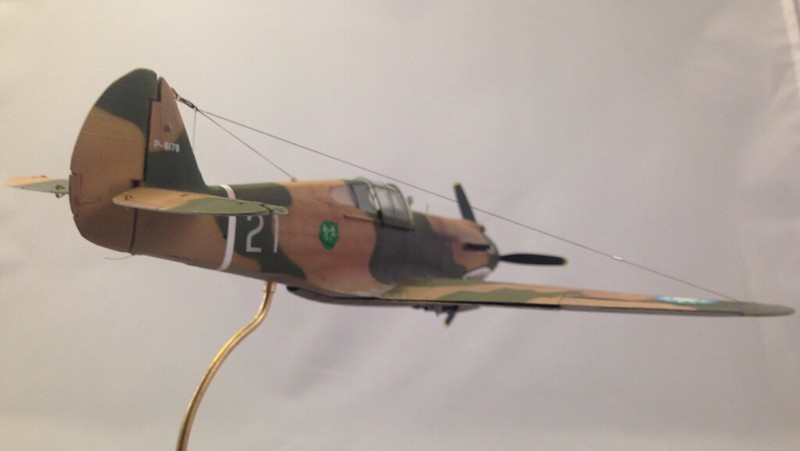 image by brittvallot, on Flickr
 image by brittvallot, on Flickr
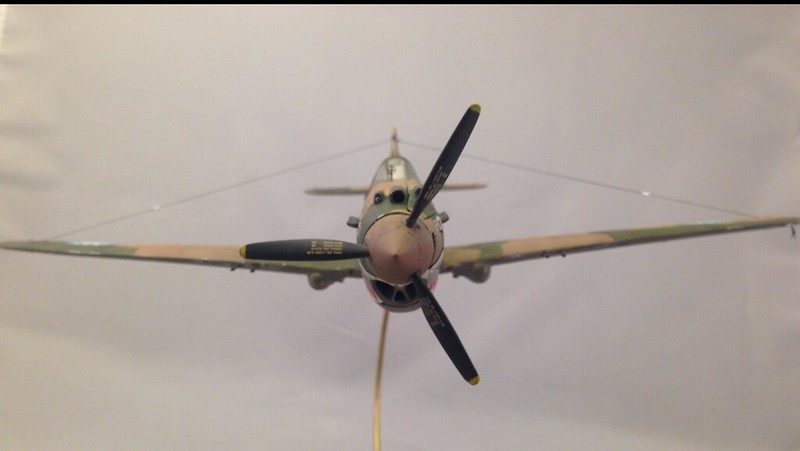 image by brittvallot, on Flickr
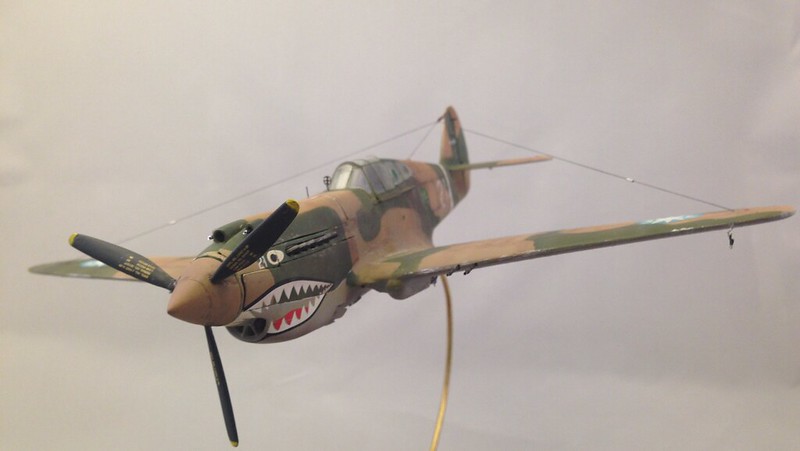 image by brittvallot, on Flickr
 image by brittvallot, on Flickr
 image by brittvallot, on Flickr
 image by brittvallot, on Flickr
 image by brittvallot, on Flickr
Deflector made from plastic strips and a thin sheet of acetate. Hangs from a brass rod scratched out.
 image by brittvallot, on Flickr
That's a wrap. Of course I don't mind hearing what the jury out there has to say. This Hawk is far from perfect. There's a couple of spots I've had to live with considering the add ons I did. But she's still purty to me. =] There's a Saints game on now and I think my boys need me. Gotta run!!