Bvallot and I have been talking about the insignia on this particular plane. Many pictures of it show solid blue with a white star and bar, but a few show it to be bordered in red. While there's a lot of pictures out there of 883, I've not seen any that are in color. It's just hard to tell and about all you can do is look at slight variations in shades of grey... Uhm, no pun intended ;-)
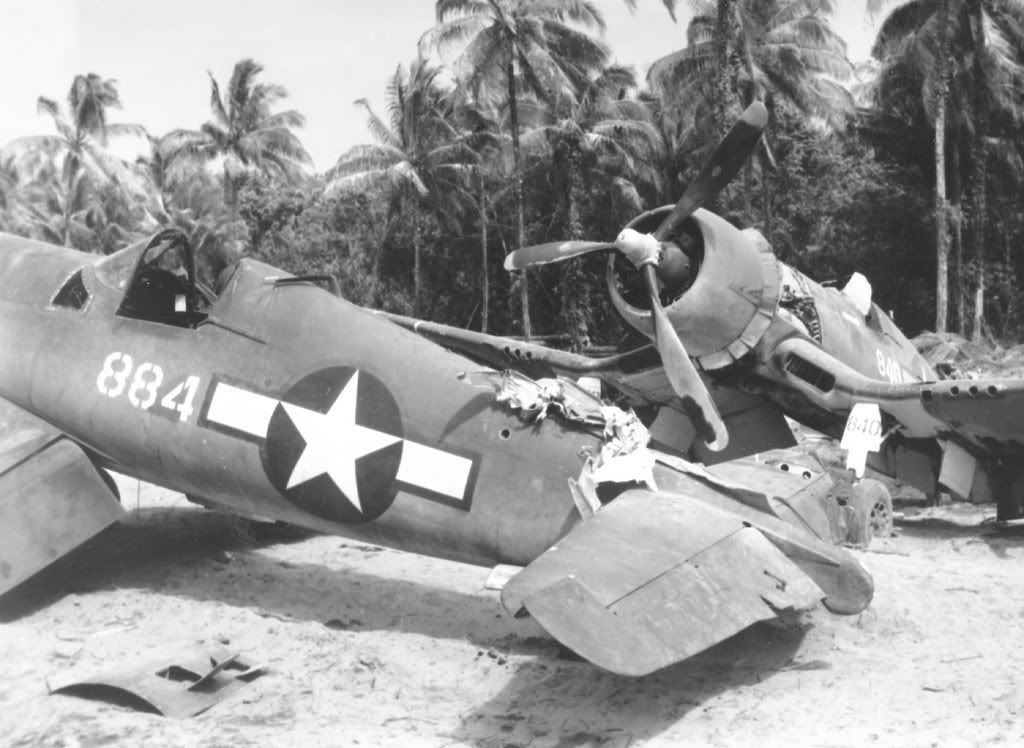
I've found a few pics that do seem to indicate that the insignia was, in fact, the tri-color variant of the insignia. Here's a picture of 17884 in the squadron scrap heap. Looking at the edge it does appear that there is a lighter border, indicating that there are three different colors in play:
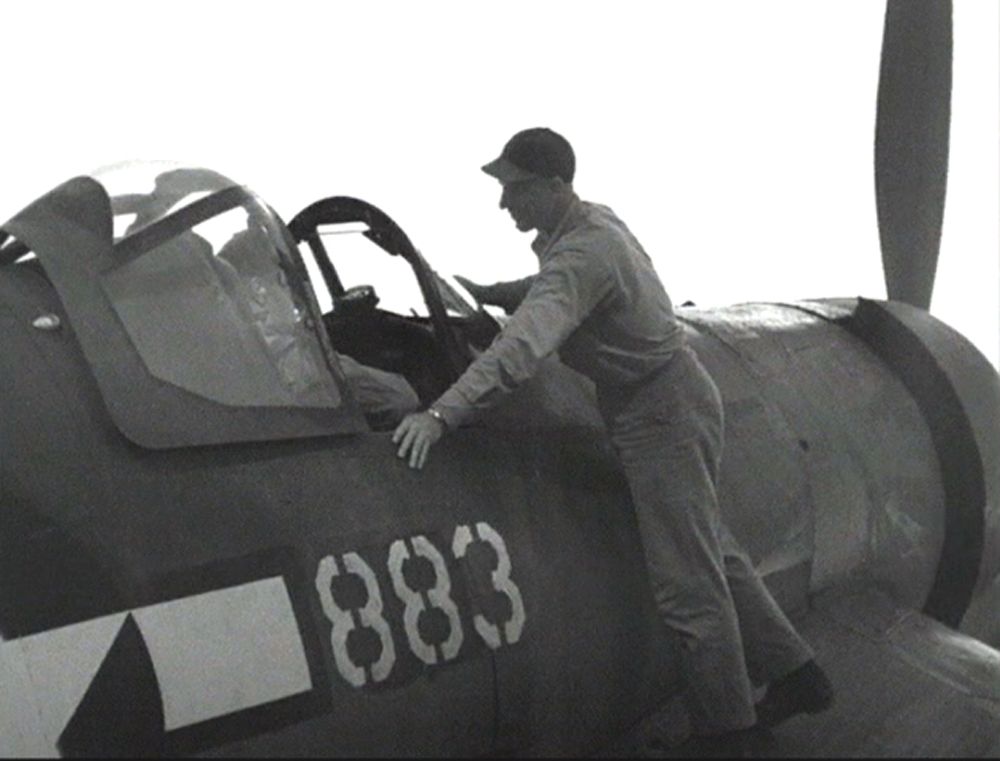
And here's one of Frank Magee standing on the starboard wing of 883 after Boyington landed on Dec. 27th. Again, looking at the insignia as a whole it does appear that there may be three colors used. If you look where the right arm of the star meets the bar it's a bit more apparent. ((Britt, this highlights the area where you thought that the discoloration was the masking of an old insignia.))
What do you think???
I'm coming along with the build and hope to have some more pics up this weekend. I actually went back and did a few alterations to the engine and the seat, so I'll show them as well. Thanks guys, Raymond