Thanks all for the comments, they are much appreciated.
bvallot: finish up that lovely P-38 and get involved! You will love the level of detail in these kits. Gamera: as I said before, I'd be happy if this thread helps ease your concerns about rigging. Jump in and do it, and I'm sure you will be pleasantly surprised. I actually found rigging satisfying in that it is one of those modeling tasks where you can see your work have a real impact before and after. Each completed wire brings the machine a bit more to life.
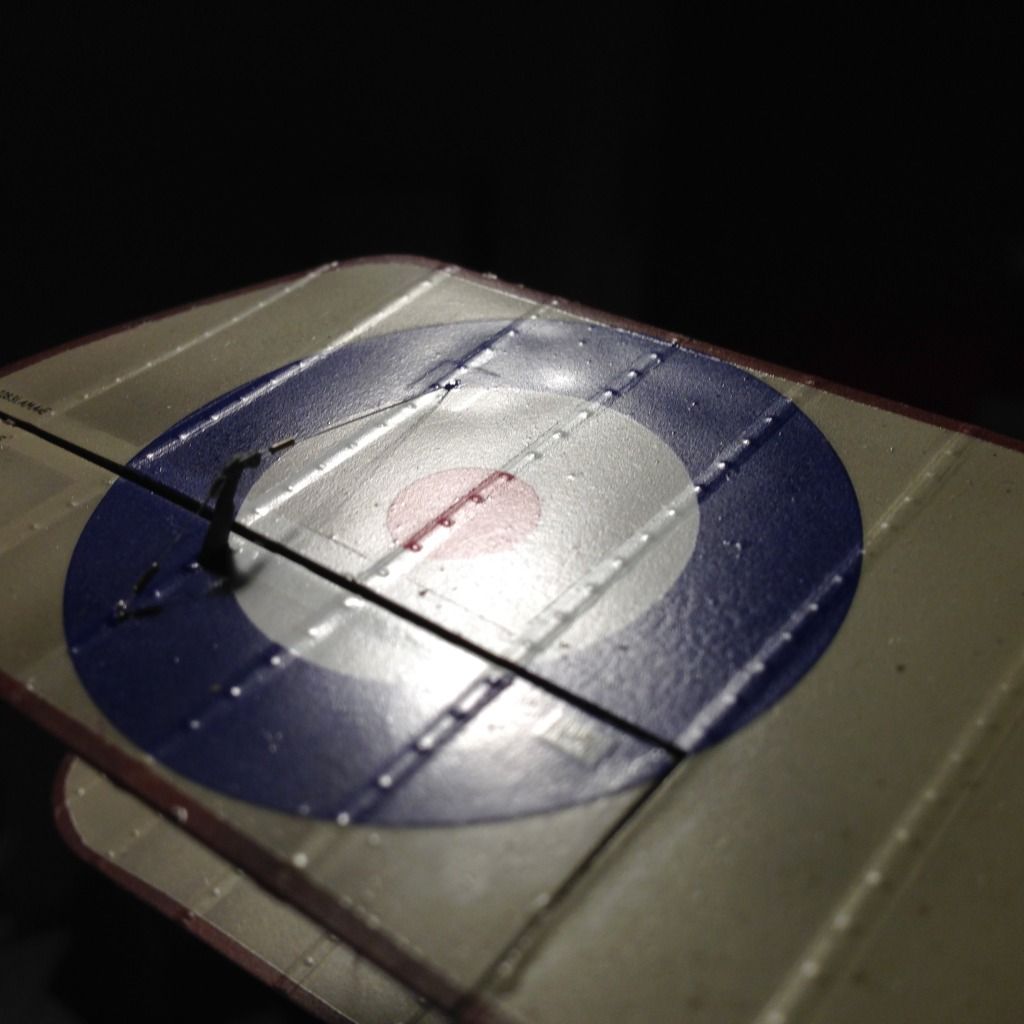
Mike & Dave, thanks for the feedback, pointers and suggestions are always welcome. I think that the lack of detail in the roundels is a photography issue as the decals are quite snuggly settled in in person:

As you can see in this rather unflattering shot, the decals show every pimple, wart, speck of dust, and surface irregularity in my paint job. Even in this picture, the glare (and out of focus areas) makes certain areas look like they are not fully settled in, but this is not how it appears in hand. I did use both Micro Set & Sol, but I'm not sure I needed them, as the decals really grabbed hard (you can see where I tore off the small lettering on one of the tires while trying to re-position the decal).
All this said, you are both correct that the detail is lost somewhat in the white areas, so perhaps a light wash to accentuate them a bit would be worthwhile.
Sheptr (and Mike): Thanks for the comments on the weathering. My technique relied heavily on Tamiya Smoke for everything from shading to castor oil streaks and stains. For the wing surfaces, I put down the base color (following WnW's suggestions), masked off the ribs and structural elements, and spray a thinned coat along the ribs to accentuate the shading. Based on reference photos (many of which came from WnW's instructions & website, as well as that of their sister company, The Vintage Aviator) I went a little heavier in some areas than others.
I also used thinned Smoke to simulate the streaks of castor oil. For this I dipped an old stubby brush in my mixture, cranked the pressure up on my airbrush, and holding the saturated brush in front of the fuselage, I blasted the mixture onto the plane with short blasts of air. I also used the air pressure to cause the resultant splatters to run in the direction of the airflow. Thin paint helpful here. Finally, I took a fine brush and painted additional streaks.
For the heavy staining along the underside, I masked out the dark areas with some blu-tack, and sprayed a black/brown dirty mix with my airbrush. Over this, I painted AK Interactive enamel Fuel Stains with a brush, kind of free handing based on the shape of the dark areas. It is a bit browner than I would have liked, but looks oily, and was easy to work with.
Other than that, some pigments and oil washes to dirty things up a bit, and a few touches of silver pencil on rivet heads, metal edges etc., was pretty much the process. Hope this helps
Thanks again to all who took the time to comment (and to those who just stopped by to look.)
Blue