SEARCH FINESCALE.COM

Enter keywords or a search phrase below:

Tamiya 1/48 Mitsubishi A6M2 Zero (Zeke) (x2)

10054 views
39 replies
1 rating 2 rating 3 rating 4 rating 5 rating
  • Member since
    August 2009
  • From: MOAB, UTAH
Posted by JOE RIX on Thursday, May 28, 2015 7:43 PM

Each of your Zeros are turning out excellent. Very sharp paint work indeed. And your step by step WIP is superb. This was the very first kit that I built 6 yrs ago when I returned to the hobby following about a 30 yr. hiatus. Needless to say mine don't look nothing like that. Thank you for sharing your fine skills with us.

 Joe

"Not only do I not know what's going on, I wouldn't know what to do about it if I did". George Carlin

  • Member since
    August 2013
Posted by Jay Jay on Thursday, May 28, 2015 2:07 PM

TY for the w.i.p.  I'm learning a lot from you.  You're quite a good hand with the airbrush a skill I have yet to master.


 I'm finally retired. Now time I got, money I don't.

  • Member since
    March 2015
  • From: Streetsboro, Ohio
Posted by Toshi on Thursday, May 28, 2015 11:42 AM

That's a terrific step by step presentation, great work as well.  X2

Toshi

On The Bench: Revell 1/48 B-25 Mitchell


Married to the most caring, loving, understanding, and beautiful wife in the world.  Mrs. Toshi


  • Member since
    February 2007
  • From: Brunswick, Ohio
Posted by Buckeye on Thursday, May 28, 2015 11:20 AM

Very nice work and WIP thread.

Mike

  • Member since
    April 2015
  • From: New Hampshire, USA
Posted by UKguyInUSA on Thursday, May 28, 2015 10:32 AM
Tamiya 1/48 Mitsubishi A6M2 Zero (Zeke) (x2) "Build Update #2" Okay, so I got more done on the two Mitsubishi A6M2 Zeros and I'm just getting around to posting the progress. Following on from where I left off in update #1, I began to prepare the two planes for priming. First, I masked the wheel well by temporarily sticking the wheel bay doors in place with putty:   I then used damp tissue to mask inside the cockpit areas and then cleaned both planes and their drop tanks with Isopropyl Alcohol:  When the alcohol had evaporated from the plane surfaces, I then primed them and their drop tanks with Model Masters Grey Primer and when that had dried, I checked everything to see how they looked, and, all looked okay:    Next, I airbrushed silver all over one plane that I intend to have heavy chipping and silver onto the leading edges of the wings, horizontal stabilizer, rudder and around the cockpit fuselages surfaces and wing root areas of the second plane:   When the silver paint was dry, this was all sealed in with a clear coat of "Pledge" (Future) which was my first time using this product and this build is an experiment to see what I feel about using this product compared to the Model Masters clear coats that I have always used without issues since I started modeling in January 2014:  When the clear coat had dried, it was then time to airbrush a couple of thin coats of hairspray onto the silver surfaces in preparation for applying the "Hairspray Chipping" technique later in this build. I decanted Hairspray into my airbrush cup, then sprayed it onto the planes and drop tanks:   When the hairspray had dried, I then pre-shaded both planes and their drop tanks with thinned down Tamiya XF-1 Flat Black:   Okay, with the pre-shading applied and dry, it was time to airbrush the camo colors onto the planes and drop tanks. I started by airbrushing the Japanese Navy Grey, Tamiya XF-12 toned down with around 20% XF-2 Flat White onto the underside of one of the planes and a drop tank:   I then added more white to what was left in the airbrush cup and then airbrushed some highlights on top of what I had just airbrushed, to produce some tonal variations:  While that was drying, I took the second plane and drop tank and airbrushed them all over with the one color cam scheme using Tamiya XF-76 Japanese navy Grey/Green, again, toned down with around 20% Tamiya XF-2 Flat White:    Again, I added more white to what was left in the airbrush cup to create some highlights on top of what was previously airbrushed:   Now that the second plane was completed with its camo color, I went back to the first plane and masked it to airbrush the upper side with Tamiya XF-11 Japanese Navy Green toned down around 20% with Tamiya XF-2 Flat White:   Again, I added more white to what was left in the airbrush cup and airbrushed highlights in places to provide tonal variations:  When this was dry, I then checked how both planes and drop tanks looked, and so far, I thought they were looking good:   I then decided to glue the radial engine and cowling assemblies onto the fronts of both planes:  After doing that, I painted the areas around the cockpit on top of the fuselage that are seen through the canopies- Interior Cockpit green behind the seat and black for the anti-glare in front of the cockpit. I then painted the leather color onto the seat headrests, chipped one of the propellers and temporarily located it onto the front of its corresponding plane. After that, I thought that I'd gone far enough for this update #2 and therefore, I took some photos at different angles to look at everything in closer detail (and for you guys to take a look at, too!):             Then finally, I took a couple of images of both planes side by side for comparison:   So, that's it for this update guys. I haven't done much since this was done last Friday because of the Memorial Day weekend Holidays and having family here from Florida until they leave tomorrow afternoon (May 29th). I should be able to get back onto these planes this coming weekend...I'm starting to get withdrawals! :P Thanks for following this build along and for your comments so far, both on here and on my YouTube videos for this build. And, if you'd like to watch my "Build Update #2" YouTube video for this update, here is the link to that: [youtube]t96YKuENSL8[/youtube] Happy modeling and have fun, Cheers :cheers2: Martin :)
  • Member since
    April 2015
  • From: New Hampshire, USA
Posted by UKguyInUSA on Thursday, May 28, 2015 10:21 AM

Thanks Brandon, much appreciated!

Cheers,

Martin :)

  • Member since
    April 2015
  • From: New Hampshire, USA
Posted by UKguyInUSA on Thursday, May 28, 2015 10:20 AM

Thanks, Joe, greatly appreciated! :)

  • Member since
    August 2013
Posted by Jay Jay on Tuesday, May 26, 2015 8:47 AM

I enjoy your W.I.P.  and thank you for posting.

That interior color looks perfect, is that Model Master ?

I see you haven't lost your English accent yet...whilst ?   LOL


 I'm finally retired. Now time I got, money I don't.

  • Member since
    January 2015
Posted by BrandonD on Monday, May 25, 2015 2:01 AM

Great start, Joe. You're a machine!

I can't wait to see how these turn out.

-BD-

  • Member since
    February 2012
  • From: Olmsted Township, Ohio
Posted by lawdog114 on Monday, May 25, 2015 12:27 AM

Looking great Martin.  I look forward to your progress.  

Joe

 "Can you fly this plane and land it?...Surely you can't be serious....I am serious, and don't call me Shirley"


  • Member since
    April 2015
  • From: New Hampshire, USA
Tamiya 1/48 Mitsubishi A6M2 Zero (Zeke) (x2)
Posted by UKguyInUSA on Sunday, May 24, 2015 5:43 PM
Tamiya 1/48 Mitsubishi A6M2 Zero (Zeke) (x2) "Build Update #1" Hello Guys, This is my latest build that I started a couple of weeks ago, but haven't had the time to jump on here and post my build progress, until now. So, here goes.... I've decided to build two A6M2's at the same time, so that I can model one in the Aircraft carrier based all over Japanese Navy Grey/Green color and one in the ground based Japanese Navy Green upper and the Japanese Navy Grey lower. The Grey/Green version will have little chipping, but the Green version will have heavy chipping. The chipping will be done by using the "hairspray" technique. These will be my 18th and 19th model builds since starting modeling in January 2014, and, they will be my first ever attempts at Japanese WWII aircraft, so, I've been looking forward to doing these. Anyway, that's enough of the introduction, let's get on with the build..... 
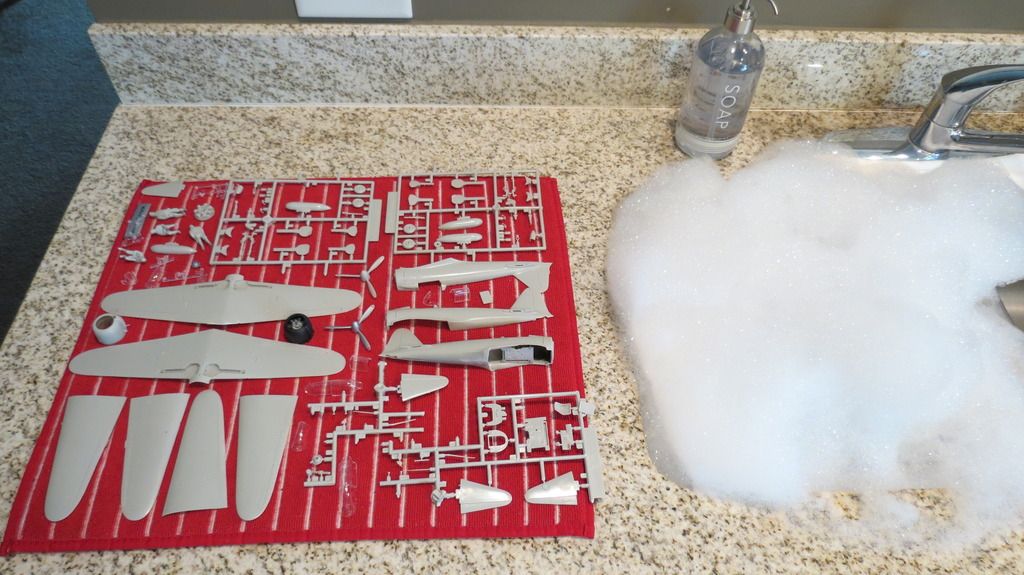
As always, I start my builds by washing the sprues in warm soapy water...  
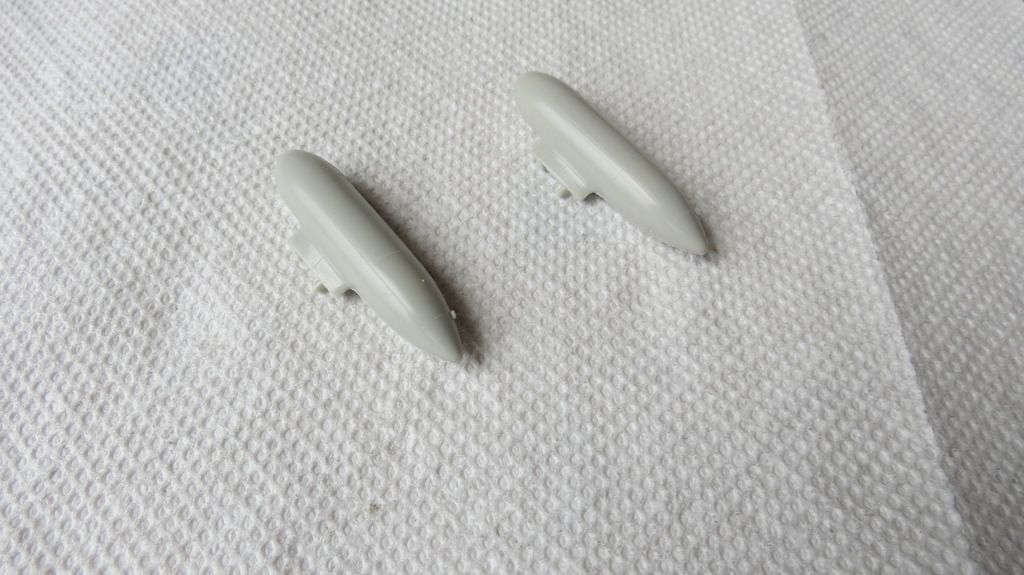
Next, I assembled both drop tanks, one for each plane...  
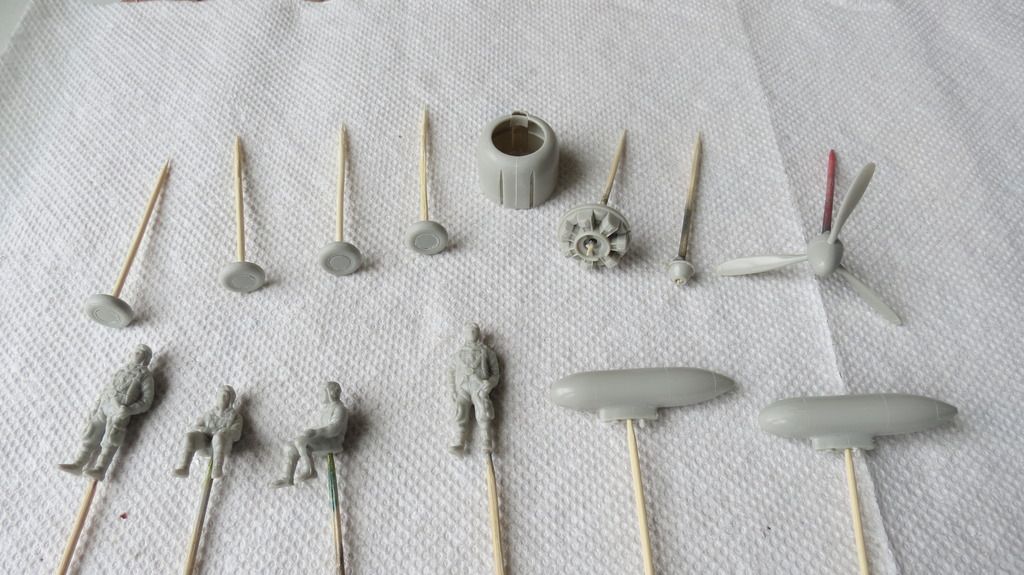
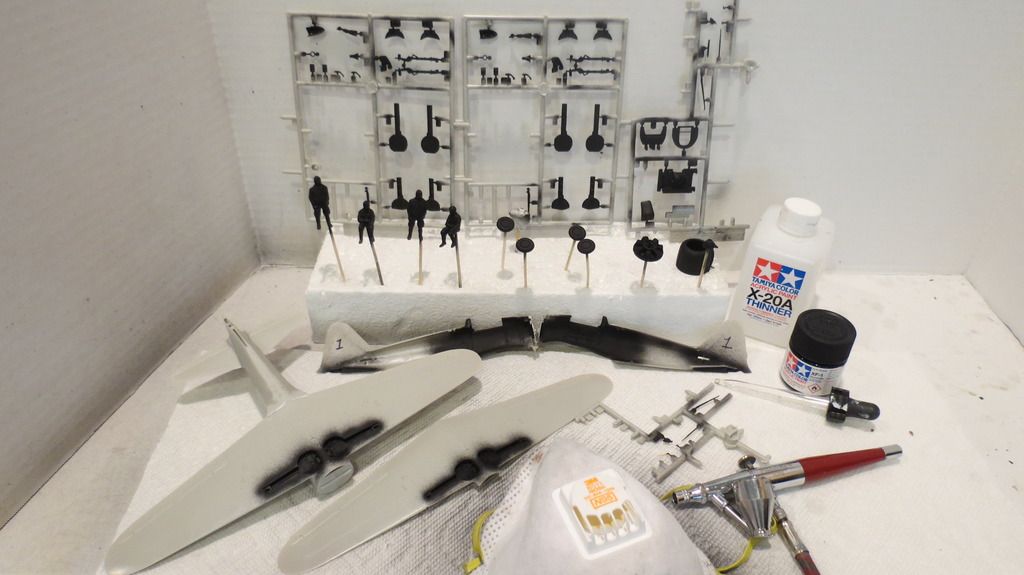
I then put all the small parts onto cocktail sticks in preparation for painting...  
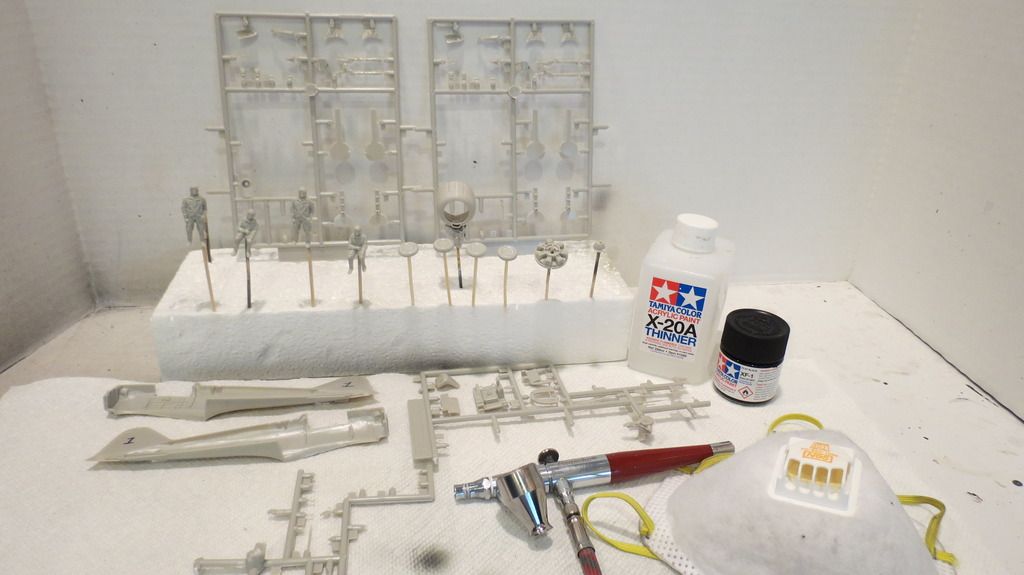
All parts were then taken to the spray booth for airbrushing a black base coat onto....    
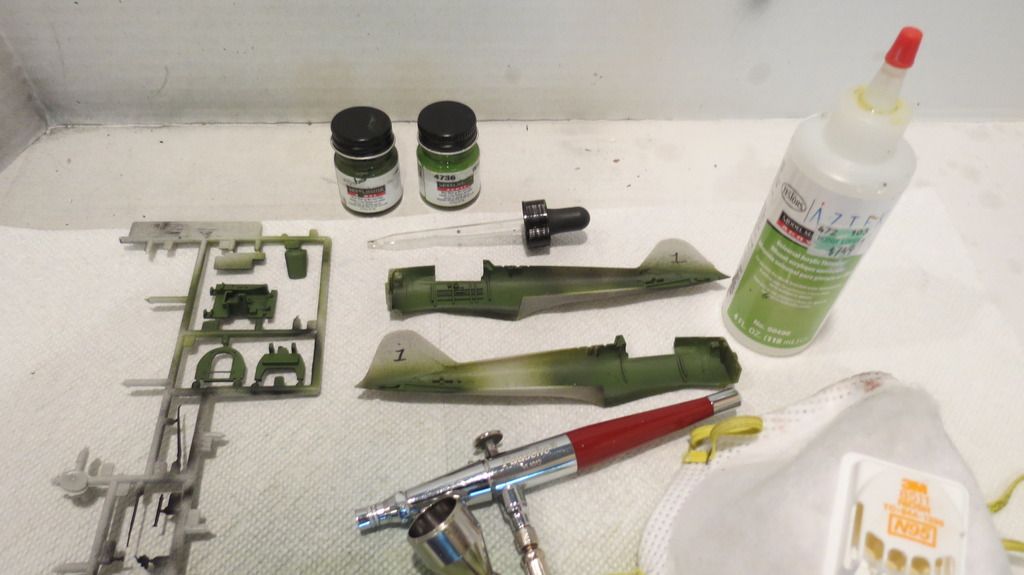
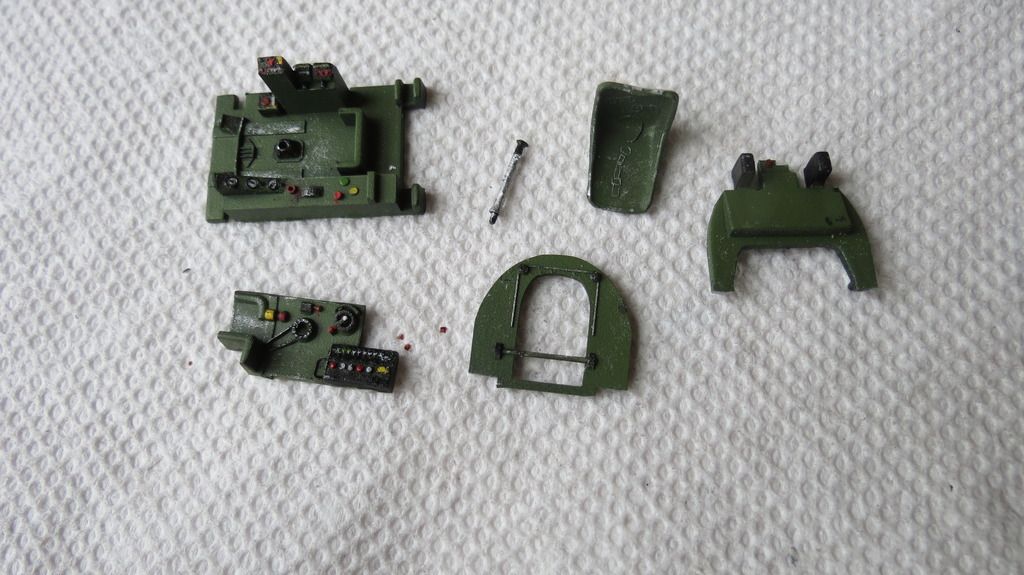
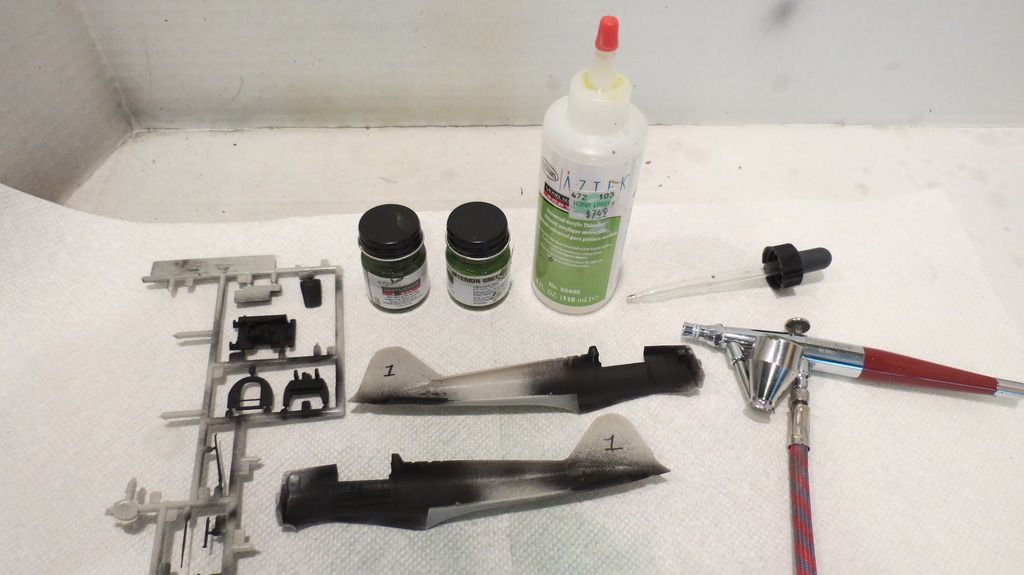
When the black base coat was dry, I then airbrushed Cockpit Interior Green onto the fuselage interiors and onto the cockpit tub parts....   
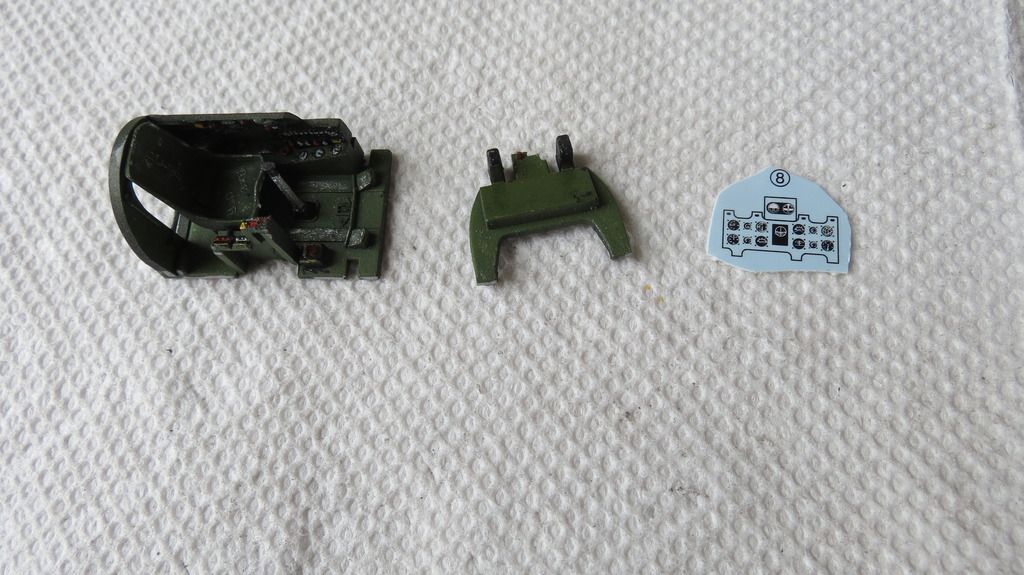
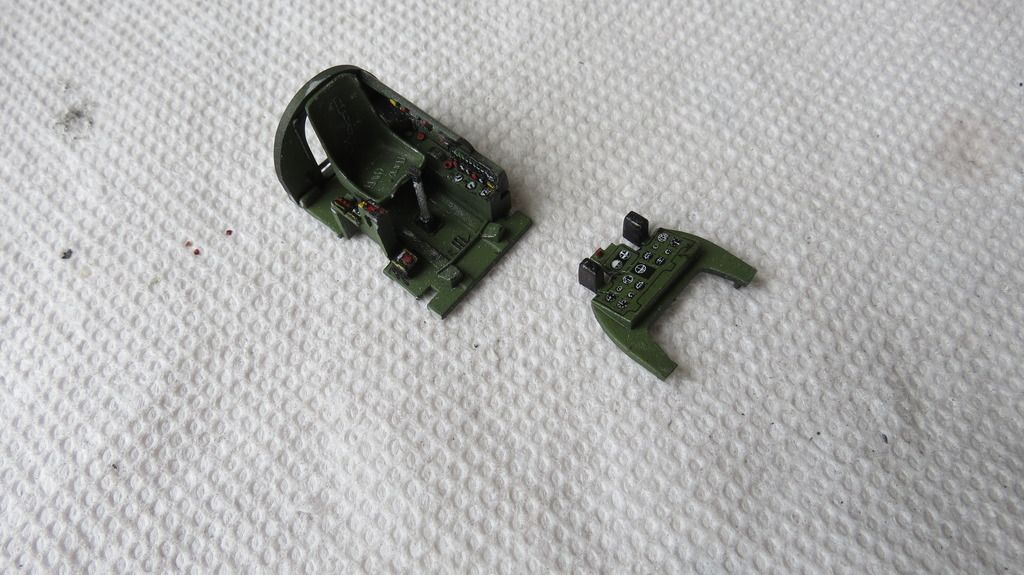
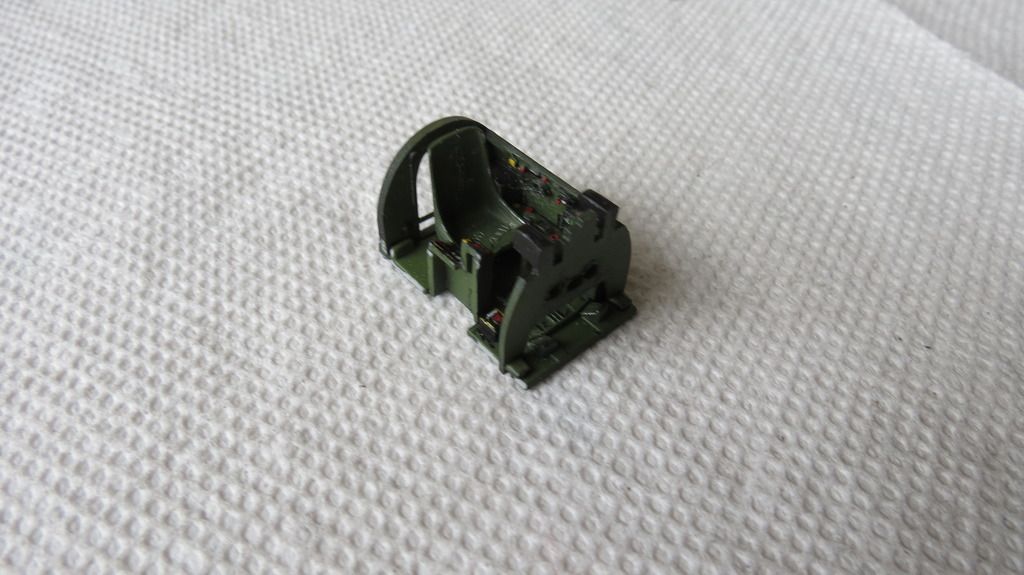
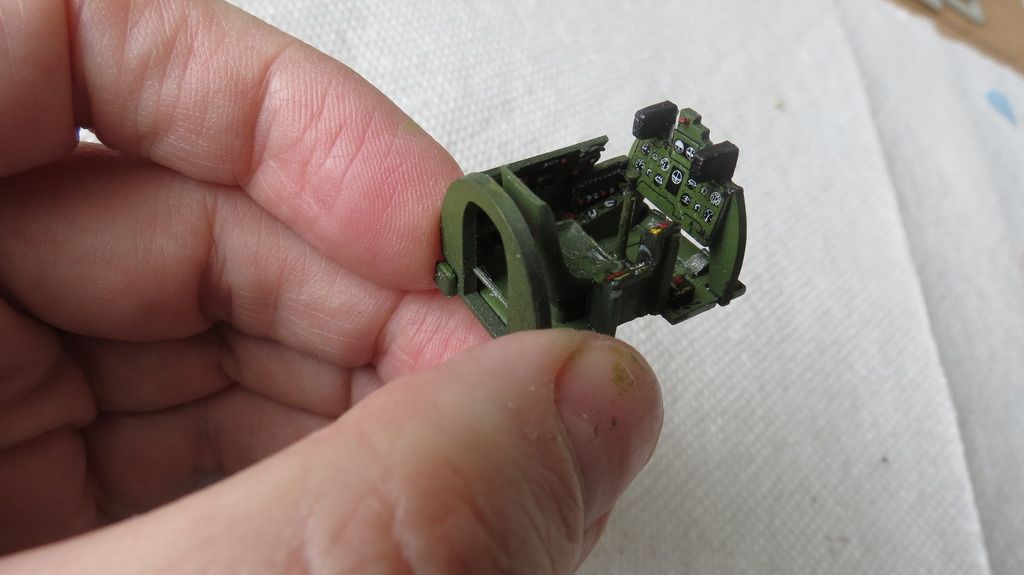
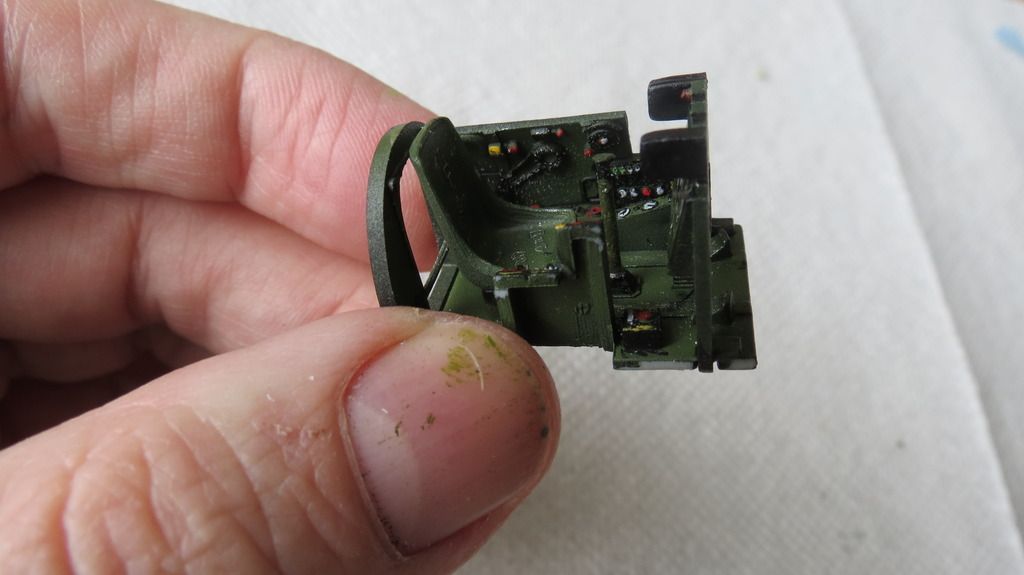
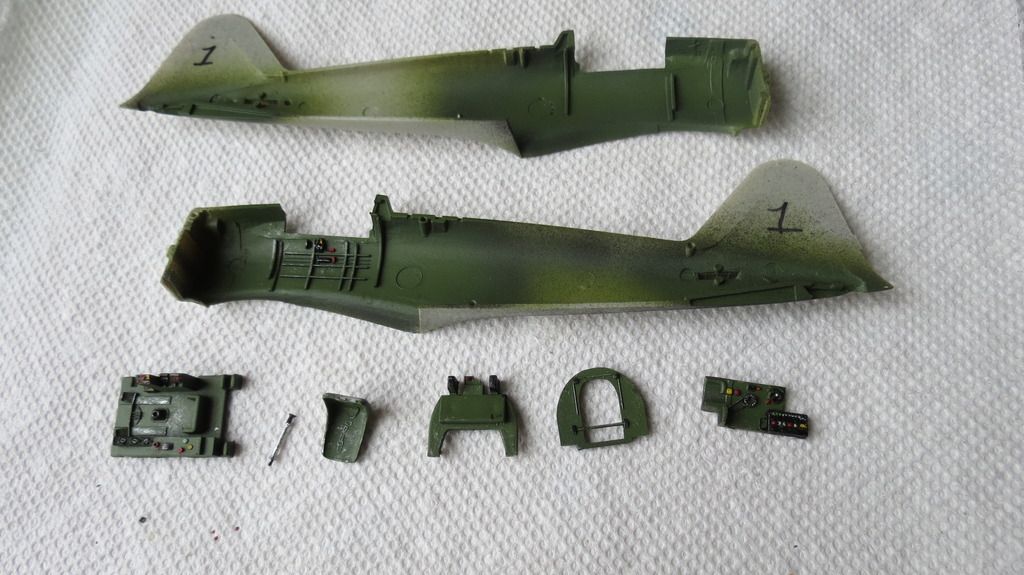
I then made a start on detailing the cockpit tub and added the instrument panel decals, then assembled the separate parts to form the tub....       
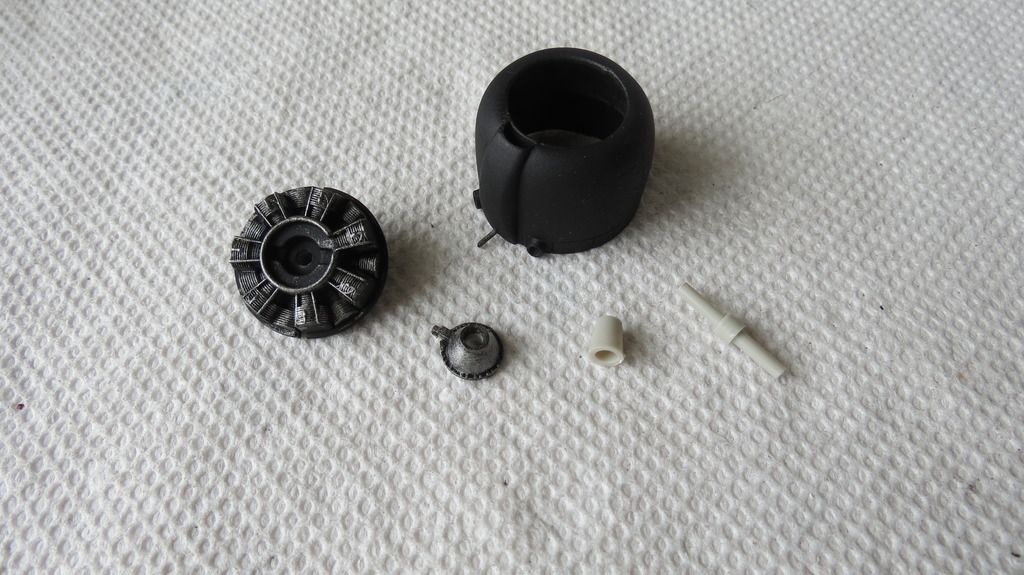
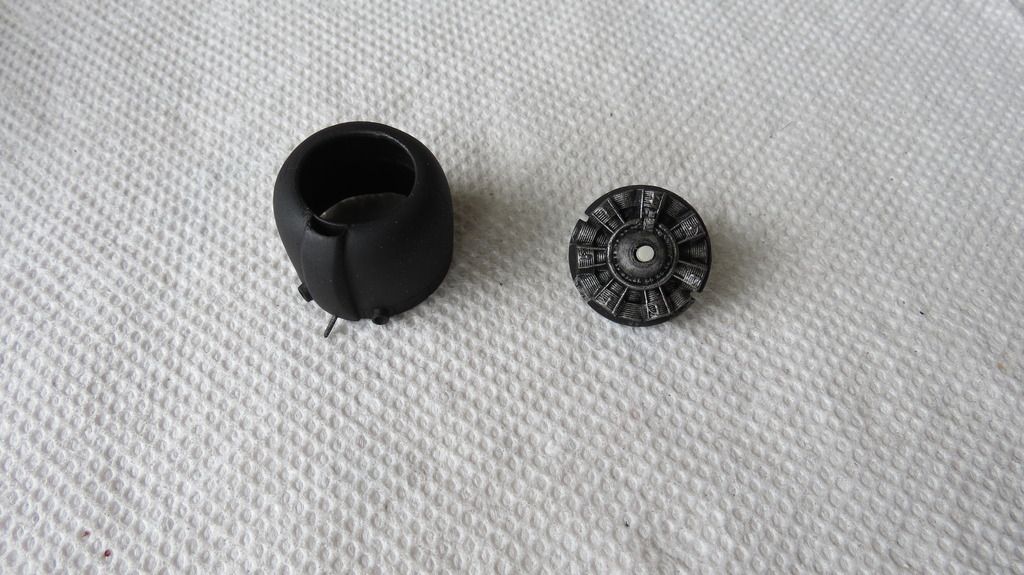
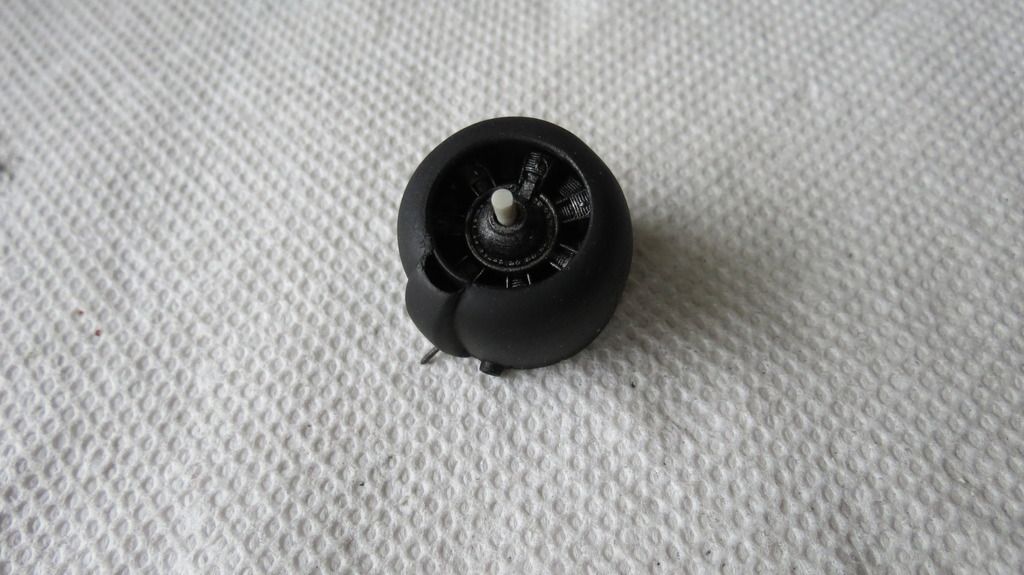
I then started on the radial engine parts and cowlings, and assembled them when the paint was dry...    
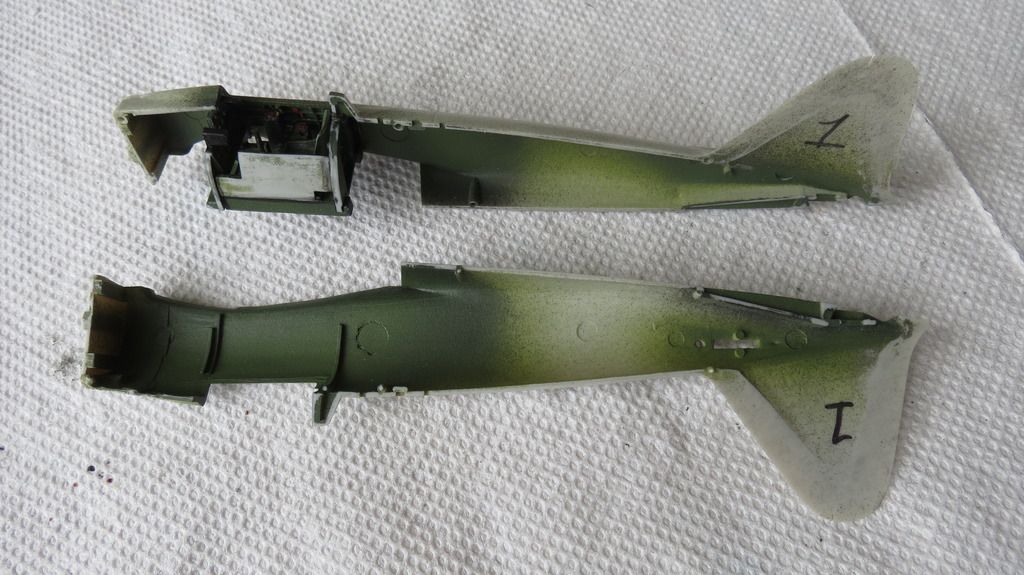
It was now time to assemble the cockpit tubs into the starboard side fuselage halves and then assemble the portside fuselage halves onto the starboard side...    
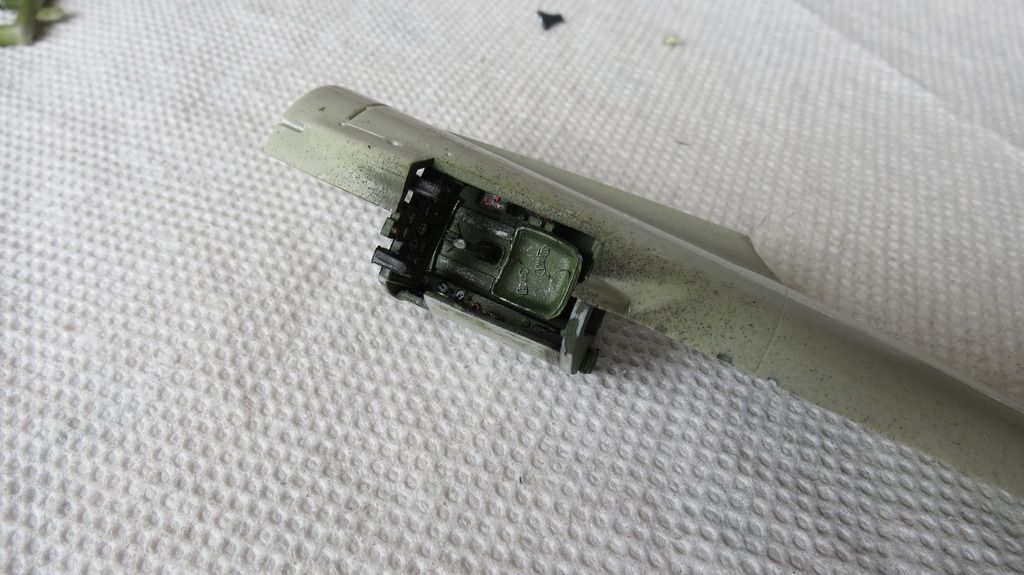
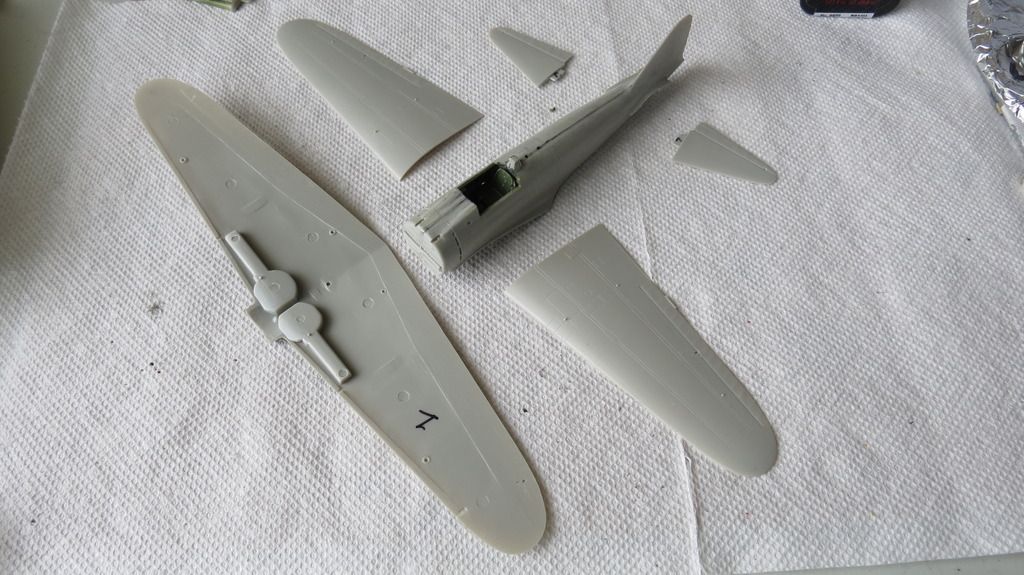
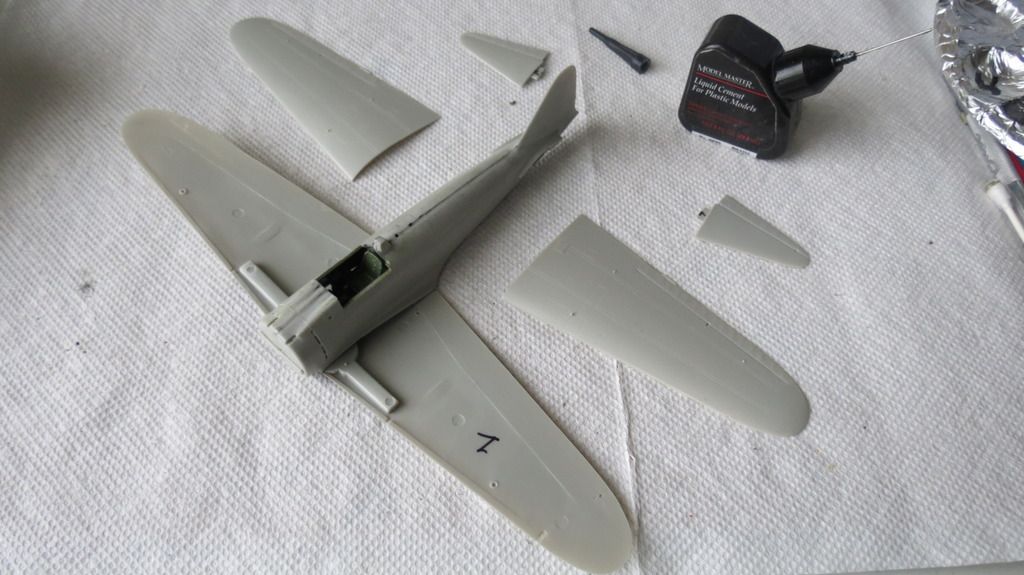
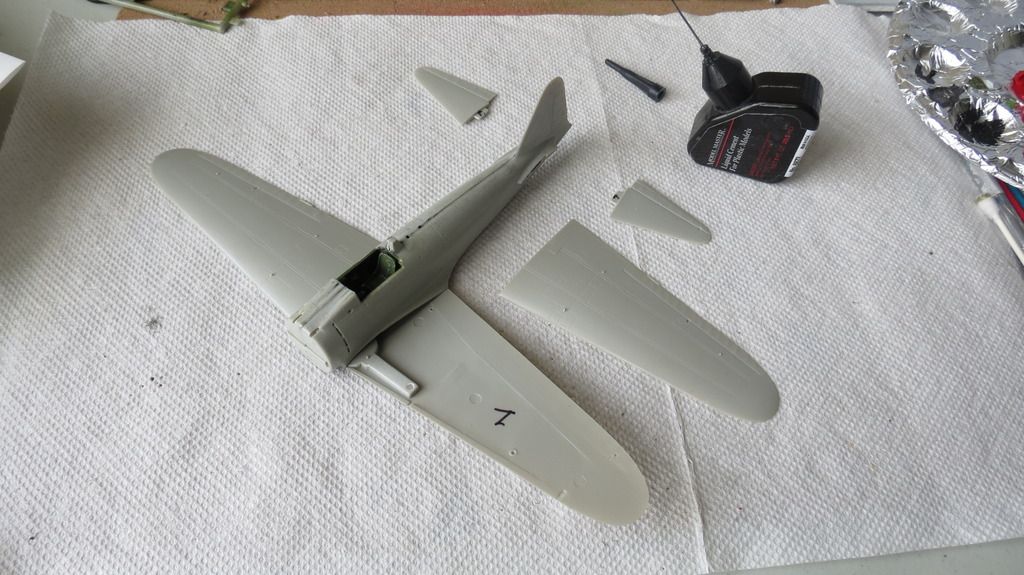
It was now time to assemble the wings and horizontal stabilizers onto both planes...  
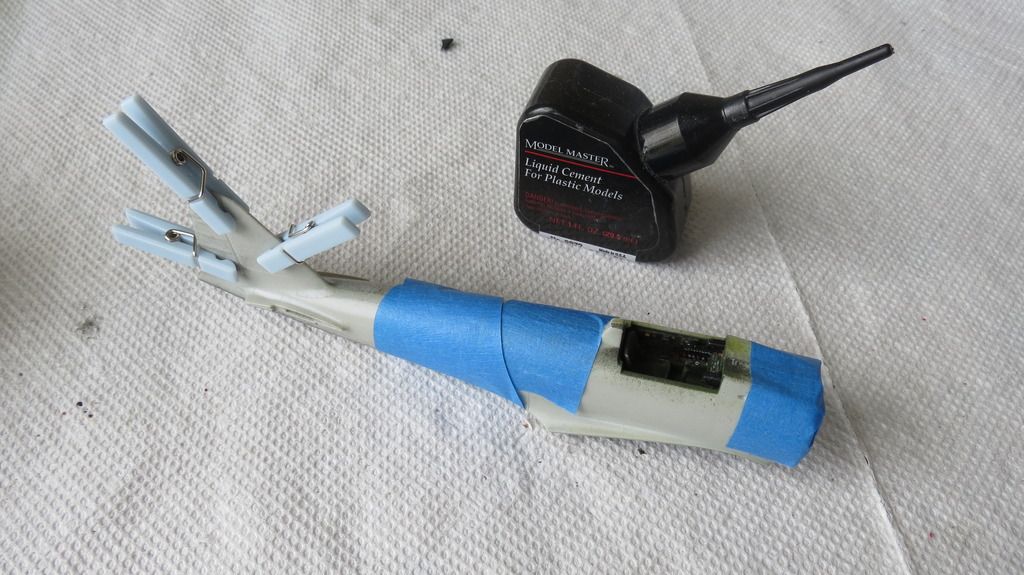
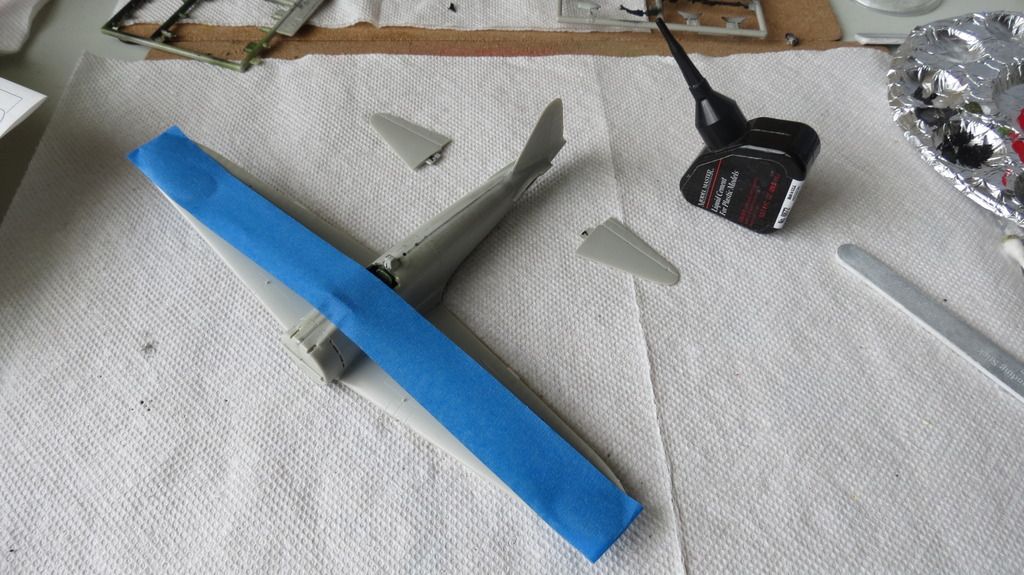
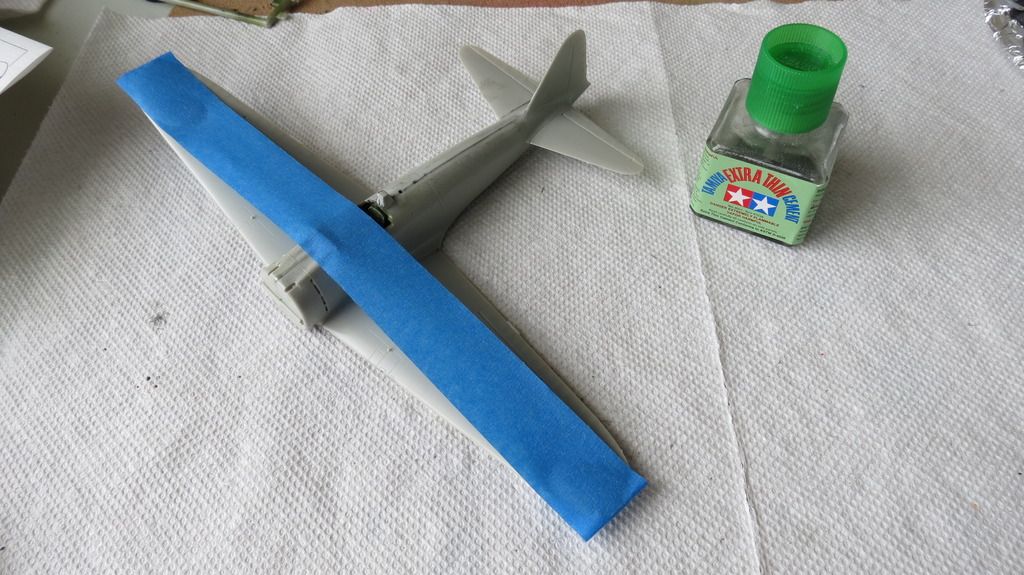
Followed by assembling the starboard side upper wing sections, then the portside upper wing sections, taping the wings to set the dihedral and to hold them in place whilst the glue set. I then glued the horizontal stabilizers into position...     
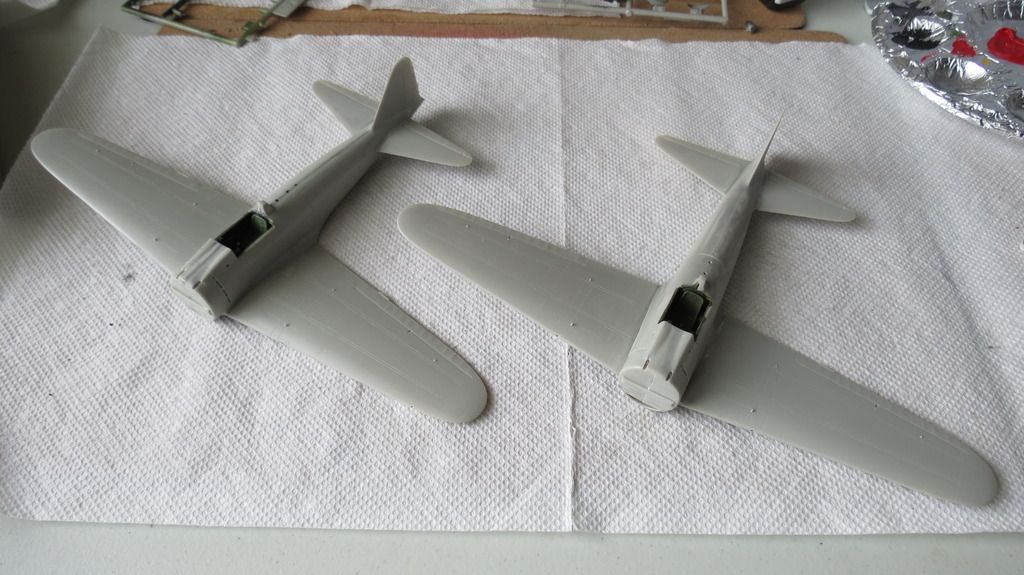
When the glue had set, I removed the tape and checked both planes to see how they looked so far...  Well, that's it for the first update. Next, I will prepare the planes for priming and applying paint. Thanks in advance for taking a look and commenting, much appreciated and in the meantime, if you'd like to watch my "Build Update #1" video on YouTube, here is the link for that: [youtube]PBuSMyQB9bY[/youtube] Cheers, :cheers2: Martin :)
JOIN OUR COMMUNITY!

Our community is FREE to join. To participate you must either login or register for an account.

SEARCH FORUMS
FREE NEWSLETTER
By signing up you may also receive reader surveys and occasional special offers. We do not sell, rent or trade our email lists. View our Privacy Policy.