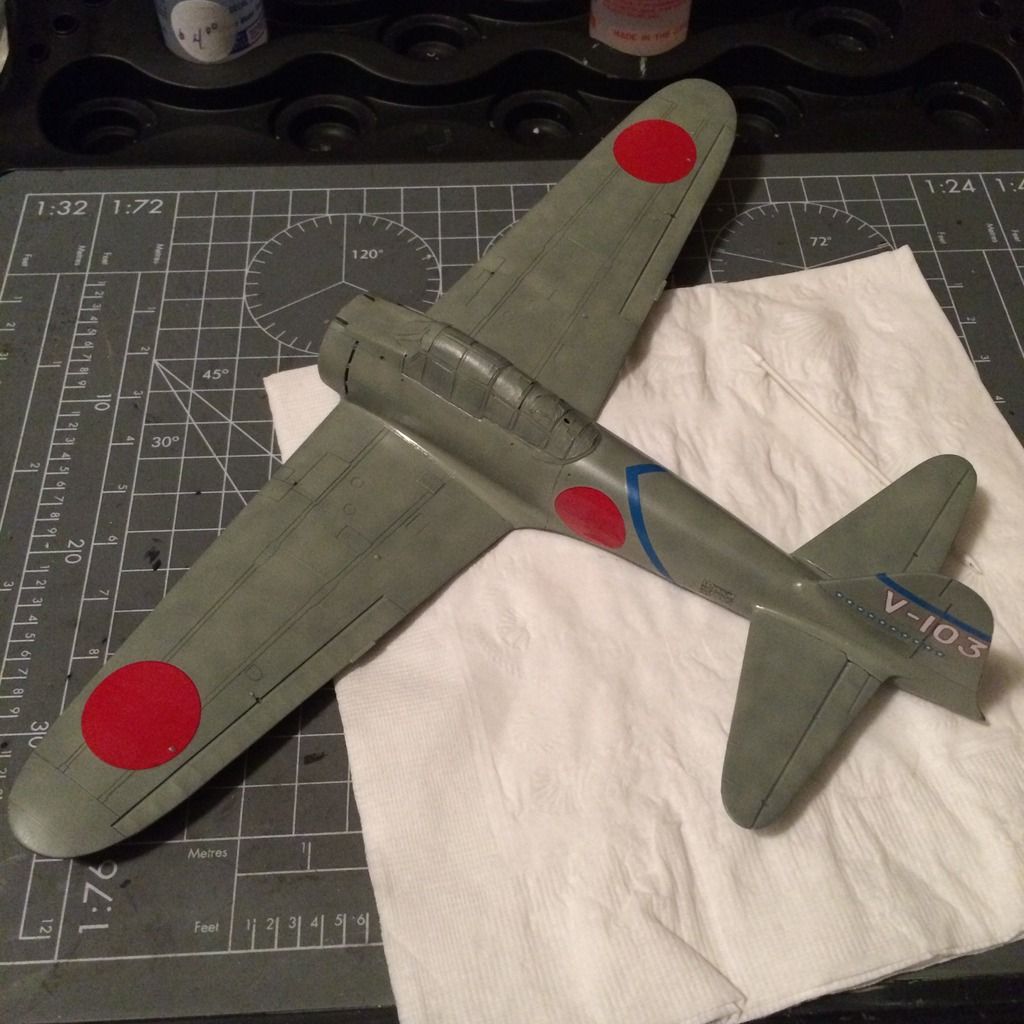
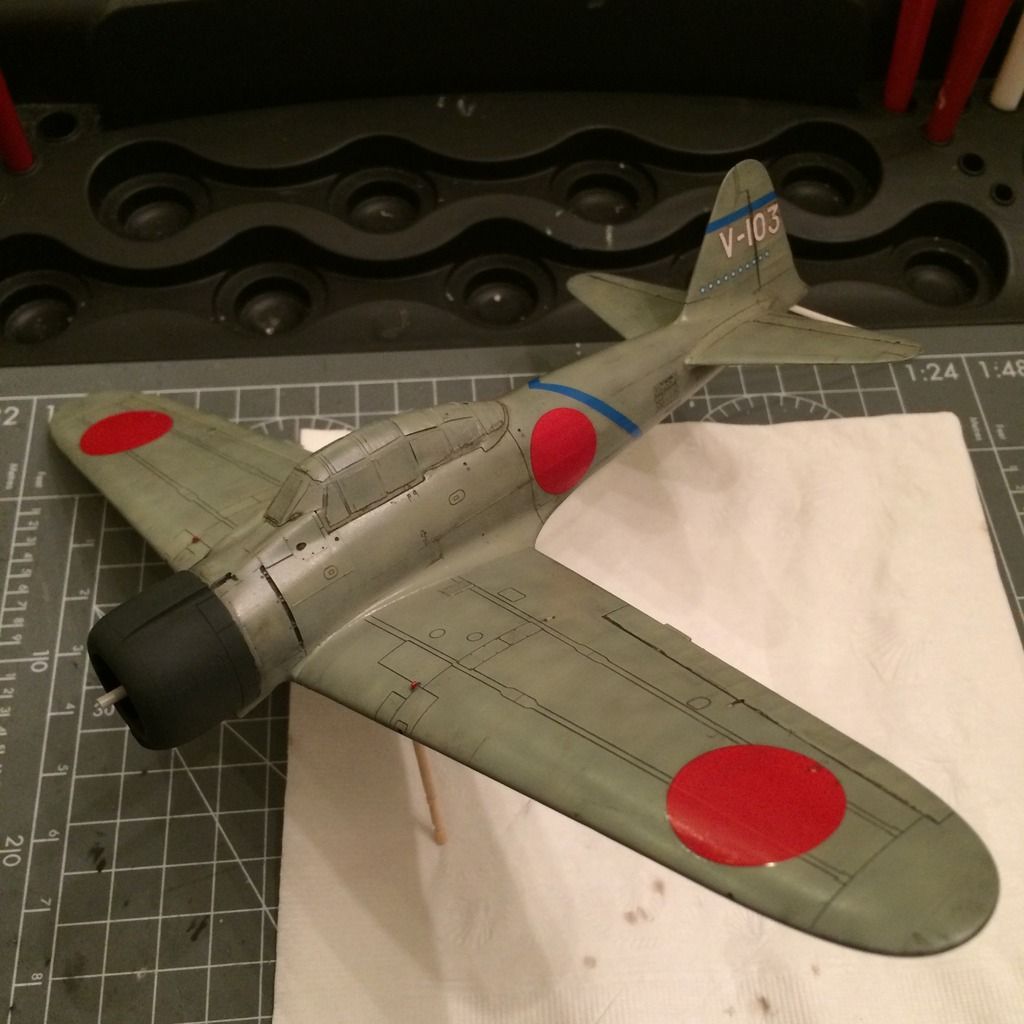
Ok, so here is an update after the past two nights of work (well, and a quick lunch clear coat session).
I got the clear sprayed on the paintwork (Alclad Klear Kote), and got to decals last night. I used the Tamiya kit decals for Saburo Sakai, and either the Zero didn't have many stencils, or Tamiya just didn't include them on the sheet (I purposely didn't look because if I found a stencil sheet, I'd feel compelled to buy it and apply it).
So this is where I left off last night:

This evening, I was able to seal the decals with another layer of Klear Kote right after work. While that was drying, I sprayed the cowling Tamiya German Grey, then hit it with some Tamiya NATO Black for shading. I think it's a bit subtle to the point of not seeing it, but oh well, I mostly got the slightly faded cowling look I was going for.
I originally followed the instructions and painted the wheel wells metallic blue (Alclad Polished Aluminum topped with Tamiya Clear Blue), but it seems they were more of a metallic green. Fortunately, painting Clear Green on the blue color looks pretty close to my eye (certainly close enough for me to not lose sleep over it).
Once the Klear Kote dried, I applied FLory Dark Dirt wash prety liberally, then wiped it in the direction of airflow once it had dried. It stuck on some of the raised panel lines, and I kind of like the effect, even though I wish all of them were recessed.
Next, I attached the engine and prop spinner shaft, then glued the cowling to the plane.
Here is where I am tonight - awaiting another clear coat to seal the wash so I can mask the gear bays for the respray with clear green.

One question - the instructions look like they call for the prop to be a dull aluminum on front and semi-gloss black on the rear. Is that how they were done?
Thanks again, everyone!
-BD-