Thanks again, dudes!![Toast]()
So far...no two pieces have gone together without fighting...and when they finally do go together...it's ugly!
I cut the rear, clear piece from the vac-form set......
BOOOOOOOOOOOOOOOOOOOOOOOOOOOOO
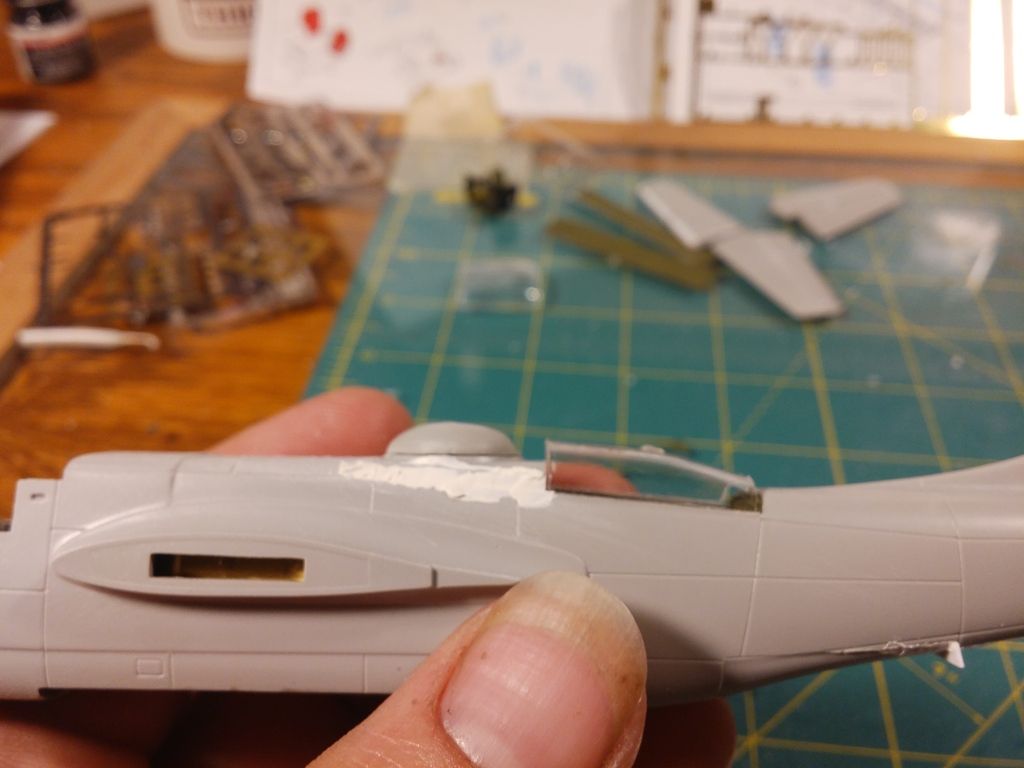
Kit part is a little better...
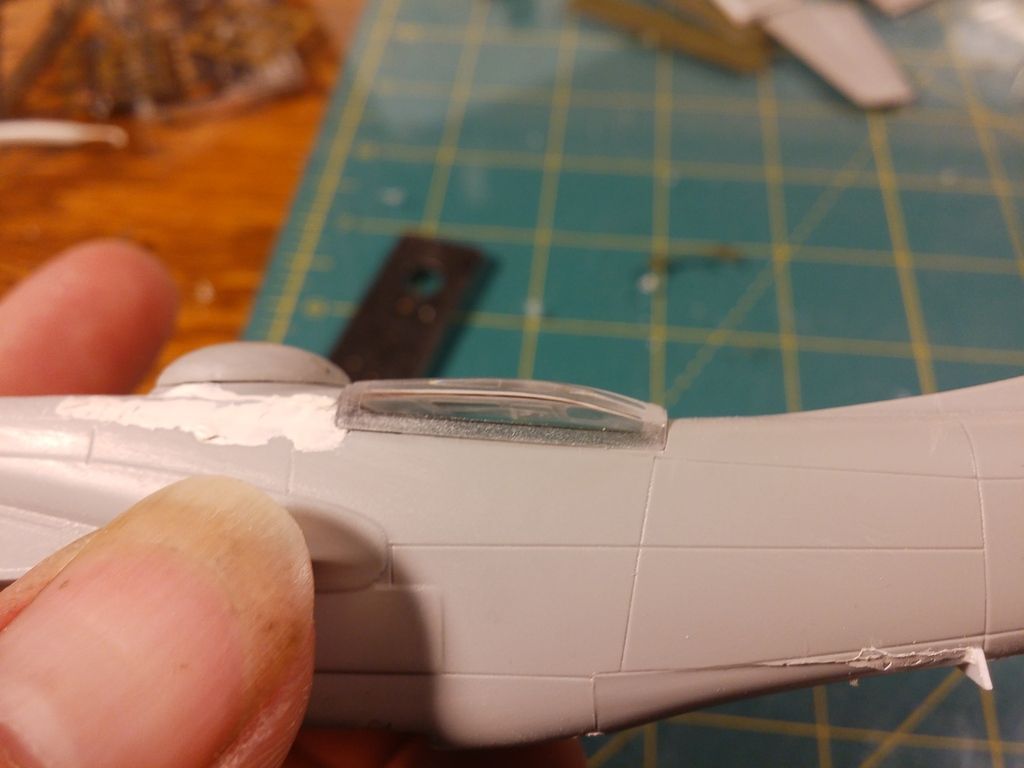
Still in the process of getting all the fuselage parts filled and sanded smooth.
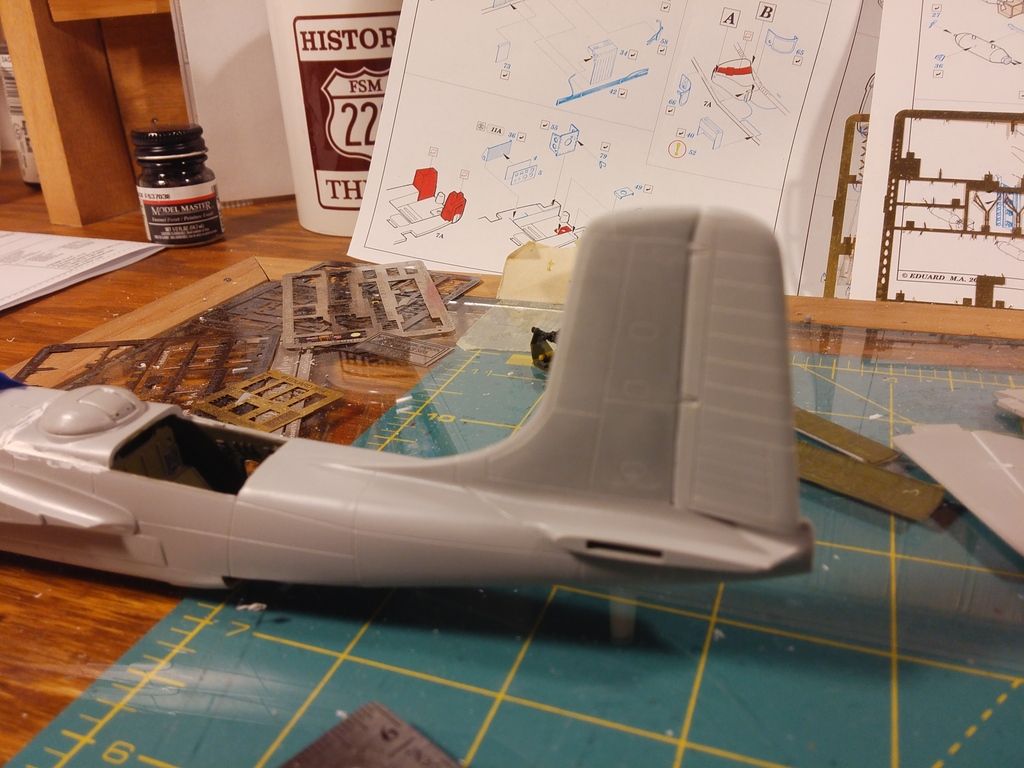
The tailplane/elevators are molded solid. I cut off the elevators, then carved a groove...tedious!
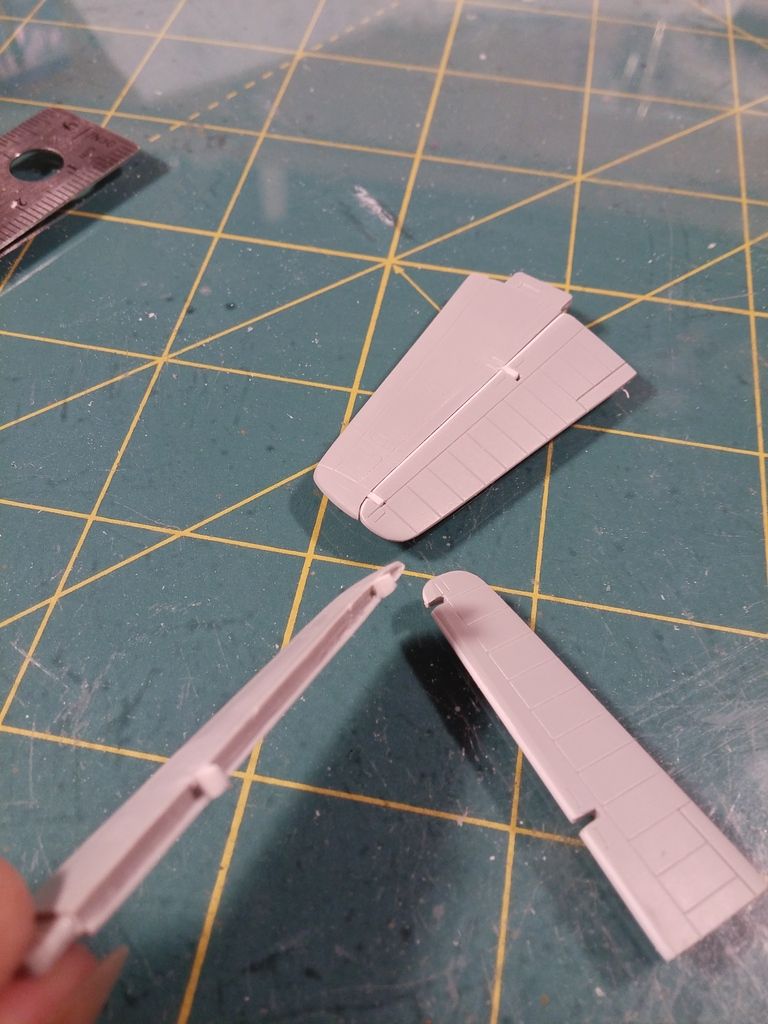
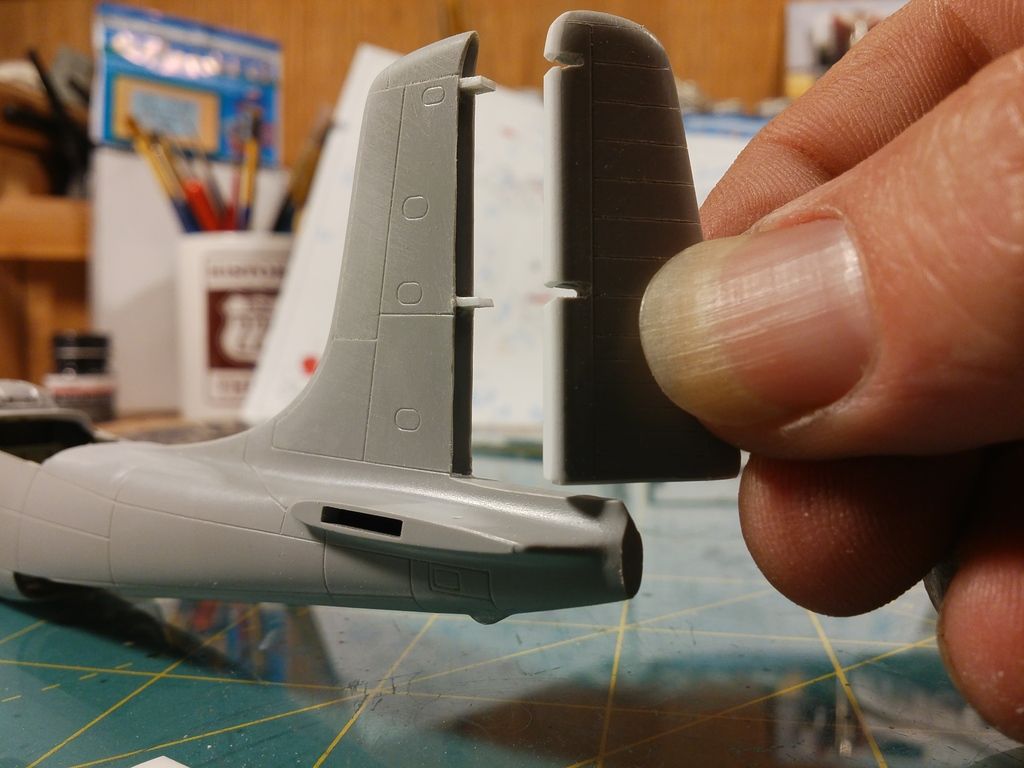
The rudder got the same treatment, but was much easier to bevel the inner edges before the fuse halves were glued up.