SEARCH FINESCALE.COM

Enter keywords or a search phrase below:

1/48 C-130 Hercules build-Completed

12495 views
68 replies
1 rating 2 rating 3 rating 4 rating 5 rating
  • Member since
    May 2013
  • From: Indiana, USA
Posted by Greg on Sunday, September 4, 2016 10:49 AM

That is a very cool model.

My head is spinning a little bit, you got this done in, what, about 3 weeks?

Could you bottle some of that "get 'er done" and send some to me, please?


  • Member since
    August 2016
Posted by Keyda81 on Sunday, September 4, 2016 9:32 AM

So after a very tense and stressful hour, she's hanging from the ceiling!  I was so afraid to knock something off, or drop her.  She's not perfect, but I still can't help but to grin looking at her.  I may have gone a bit overkill with the eyelets.  Originally there was only going to be 4, but hubby made a mistake drilling the holes, so there was 2 extra, and I decided to use them. 


  • Member since
    August 2016
Posted by Keyda81 on Saturday, September 3, 2016 8:44 AM

Thank you!  It certainly tested my paitence more than once, lol.  For anyone who didn't know this is sort of my tribute to the more than 40 years the C-130's served in Niagara Falls.  Four of the planes were sent on their last deployment in May.  The rest will be phased out as they transition to KC-135's.  The particular plane I chose to represent(91188) is still currently on base, and is the only one that still has the Niagara tail art.  I am truly going to miss the C-130's flying around. 

  • Member since
    March 2015
  • From: Streetsboro, Ohio
Posted by Toshi on Saturday, September 3, 2016 6:39 AM

Not just a fantastic build but a cool build especially with the LED's!  Awesome!

Toshi

On The Bench: Revell 1/48 B-25 Mitchell


Married to the most caring, loving, understanding, and beautiful wife in the world.  Mrs. Toshi


  • Member since
    August 2016
Posted by Keyda81 on Friday, September 2, 2016 10:54 PM

Other than putting on some clear coat, and hanging her from the ceiling, this bird is done.  She's not perfect, but I'm happy.  Wish the decals would have come out a little better, but for making my own they came out well enough.  I made my own little cargo net, and pallet to hold the battery box with the switch. 

  • Member since
    August 2016
Posted by Keyda81 on Friday, September 2, 2016 9:13 AM

I got the corrected sponsons, and it was slow going for a while after that.  I had to cut out the one sponson, the other side wasn't molded so it just popped off.  So it was a lot of puttying, and sanding.  I have no paitence for that, lol.  It's just like doing body work on a car.  So I had to take a break for a few days. 

I dived in yesterday, and was pretty much on a roll all day.  I got it painted, all the other bits glued on, touched up a bunch of places, and painted on some more details.  Todays agenda is going to be trying to figure out the decals.  I'm sure that is going to be fun.  But I'm slowly nearing the finish line.  Some progress pics.

  • Member since
    August 2016
Posted by Keyda81 on Friday, August 26, 2016 10:09 AM

I ordered the corrected sponsons.  Probably be a week or so before they get here.  Gives me plenty of time to do a few other things to it.  Maybe try to add some more detail to it in places.  I'm pretty sure our 3 C-130's that we have left are pretty much all identical, aside from the tail art on the one I'm trying to replicate.  I got some pictures a few days ago of 19142 in flight, but wish it would of been 91188.  Maybe I'll get lucky and they'll fly that one soon.

  • Member since
    January 2015
Posted by TheMongoose on Thursday, August 25, 2016 8:38 PM

I like the elmers glue trick and the entire build! the lights really look good. Well worth your effort!

In the pattern: Scale Shipyard's 1/48 Balao Class Sub! leaning out the list...NOT! Ha, added to it again - Viper MkVii, 1/32 THUD & F-15J plus a weekend madness build!

  • Member since
    June 2016
  • From: Upstate South Carolina
Posted by Murphy's Law on Thursday, August 25, 2016 8:31 PM


Looks Great

  • Member since
    August 2016
Posted by Keyda81 on Thursday, August 25, 2016 8:16 PM

I thought I was on a roll and well on my way to being done soon.  So much for that.  I got the corrected nacelles and props in the mail today.  Once I got to test fitting all that I ran into 2 problems.  First I had to figure out how I was going to put the exhaust pipe in.  Scrap bits of spure will help me out in that area.  Once I had that figured out I moved on to fitting the engines in place, and realized the props don't line up on the body where they should.  Hop on google and discover the sponsons are in need of a correction as well.  Ugh.Bang Head  I asked myself if I could live with it.  Nope I can't.  I've already spent a lot of time making it as accurate as I can possibly stand, and I won't be able to leave it be knowing there is a solution out there. 

On the bright side I got seams filled in and sanded today.  I also discovered Elmer's glue will work well for masking the little round and square windows.  Dab it on with a paint brush, and it will peel off when I'm done painting.  It's a little trick that I've used in taxidermy.  Apply it to the glass eyes of your animal, air brush away, then peel it off when done. 

  • Member since
    August 2014
  • From: Willamette Valley, Oregon
Posted by goldhammer on Thursday, August 25, 2016 3:48 PM

Very, very nice.  You won't need night lights in that room once she is in flight.

As an aside, the gate bird at Little Rock was the last one out of Vietnam.  So many people refugees) were on board they couldn't get the ramp up until the AC started to taxi and slammed on the brakes and people kind of surged forward enough to get it closed.  Then they got lost and barely made it on fuel to the base.  When they counted people coming off there wer 430 some odd on board, with 36 or 38 in the cockpit.  She was so far over gross weight it is a wonder she was able to stager off the ground.


Tough old birds.

  • Member since
    February 2003
Posted by Jim Barton on Thursday, August 25, 2016 3:20 PM

I've always liked the C-130.

"Whaddya mean 'Who's flying the plane?!' Nobody's flying the plane!"

  • Member since
    June 2003
  • From: Cavite, Philippines
Posted by allan on Wednesday, August 24, 2016 11:36 PM

Really liking where this is going.

No bucks, no Buck Rogers

  • Member since
    August 2016
Posted by Keyda81 on Wednesday, August 24, 2016 7:45 PM

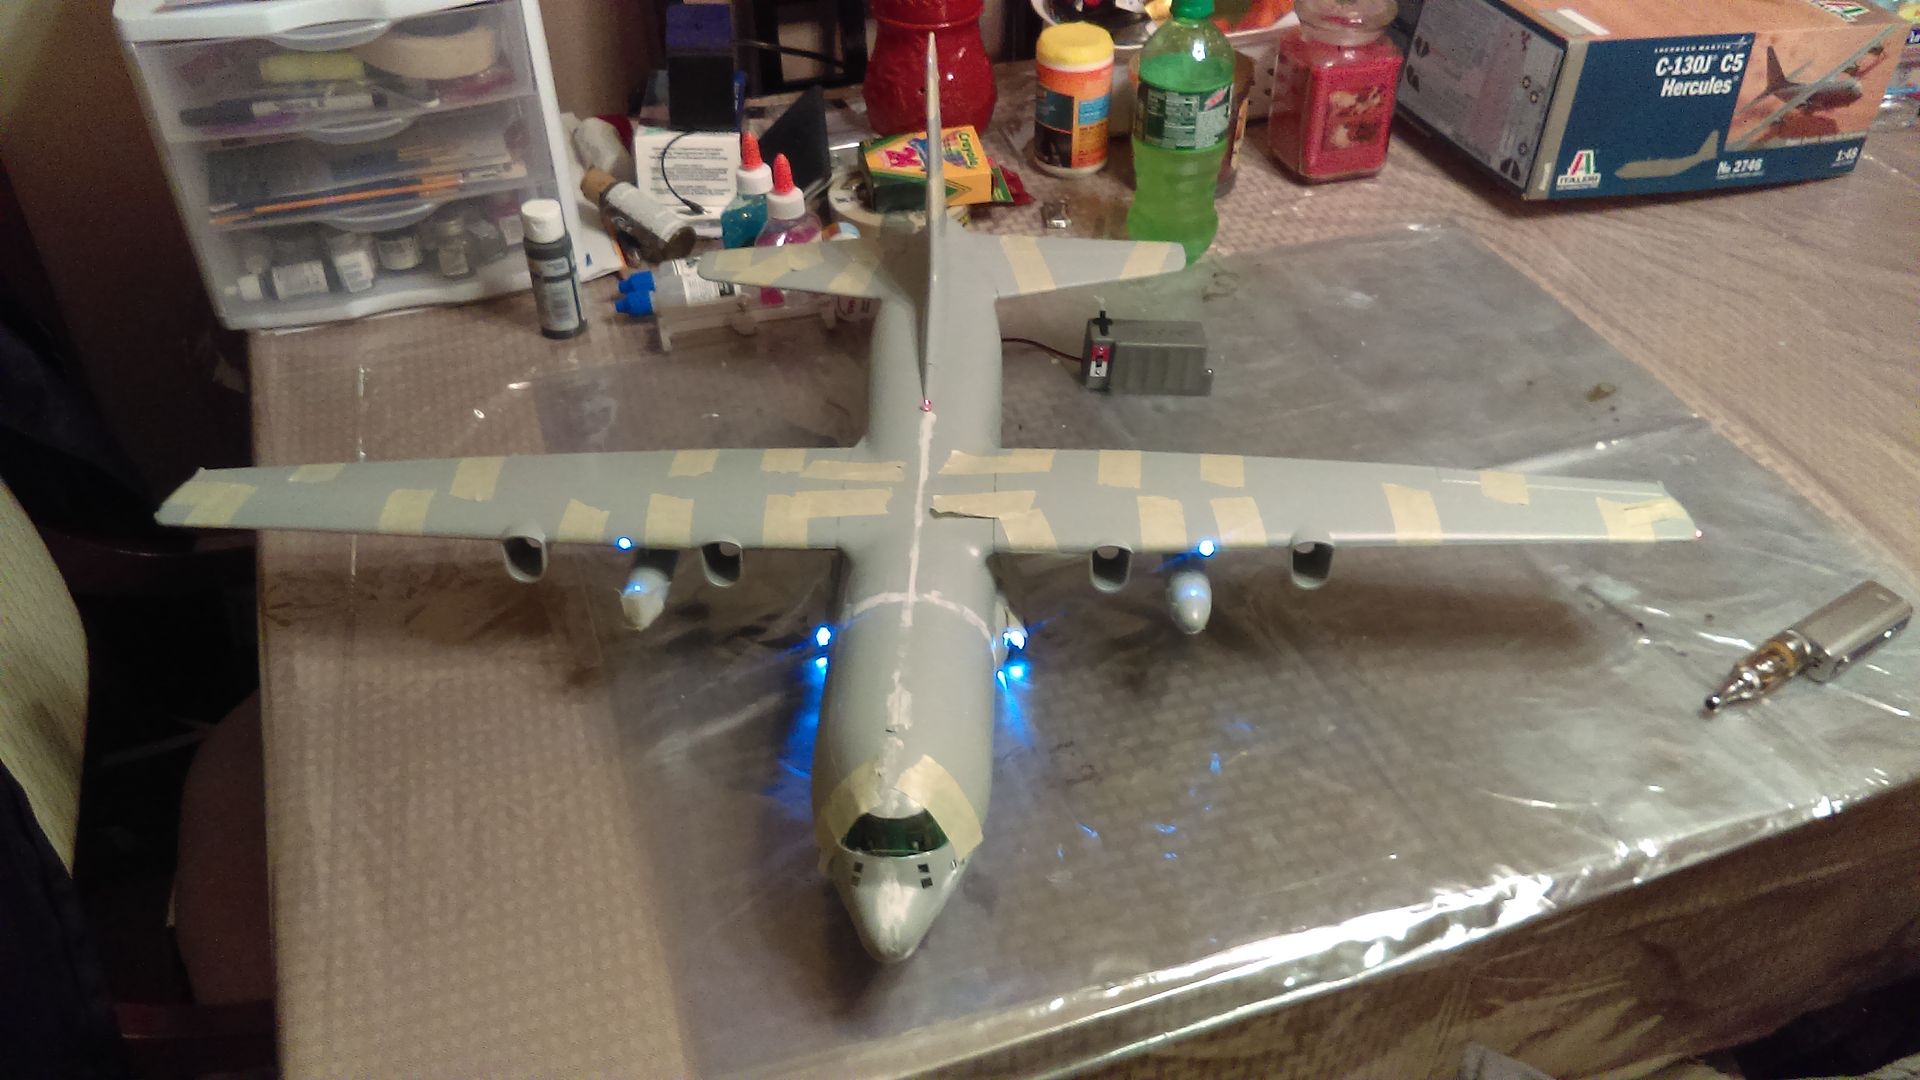
Got quite a bit done today.  Everything went together without issue.  I thought for sure the wings were going to give me issues, something usually does, lol.

Still waiting on my nacelles and props to come in the mail.  I'm kind of stuck until they come in.  I could paint, but I might as well wait until everything is here to paint.  I could see if I can figure out how to make my own decals.  That should prove to be the next frustrating part I'm sure. 

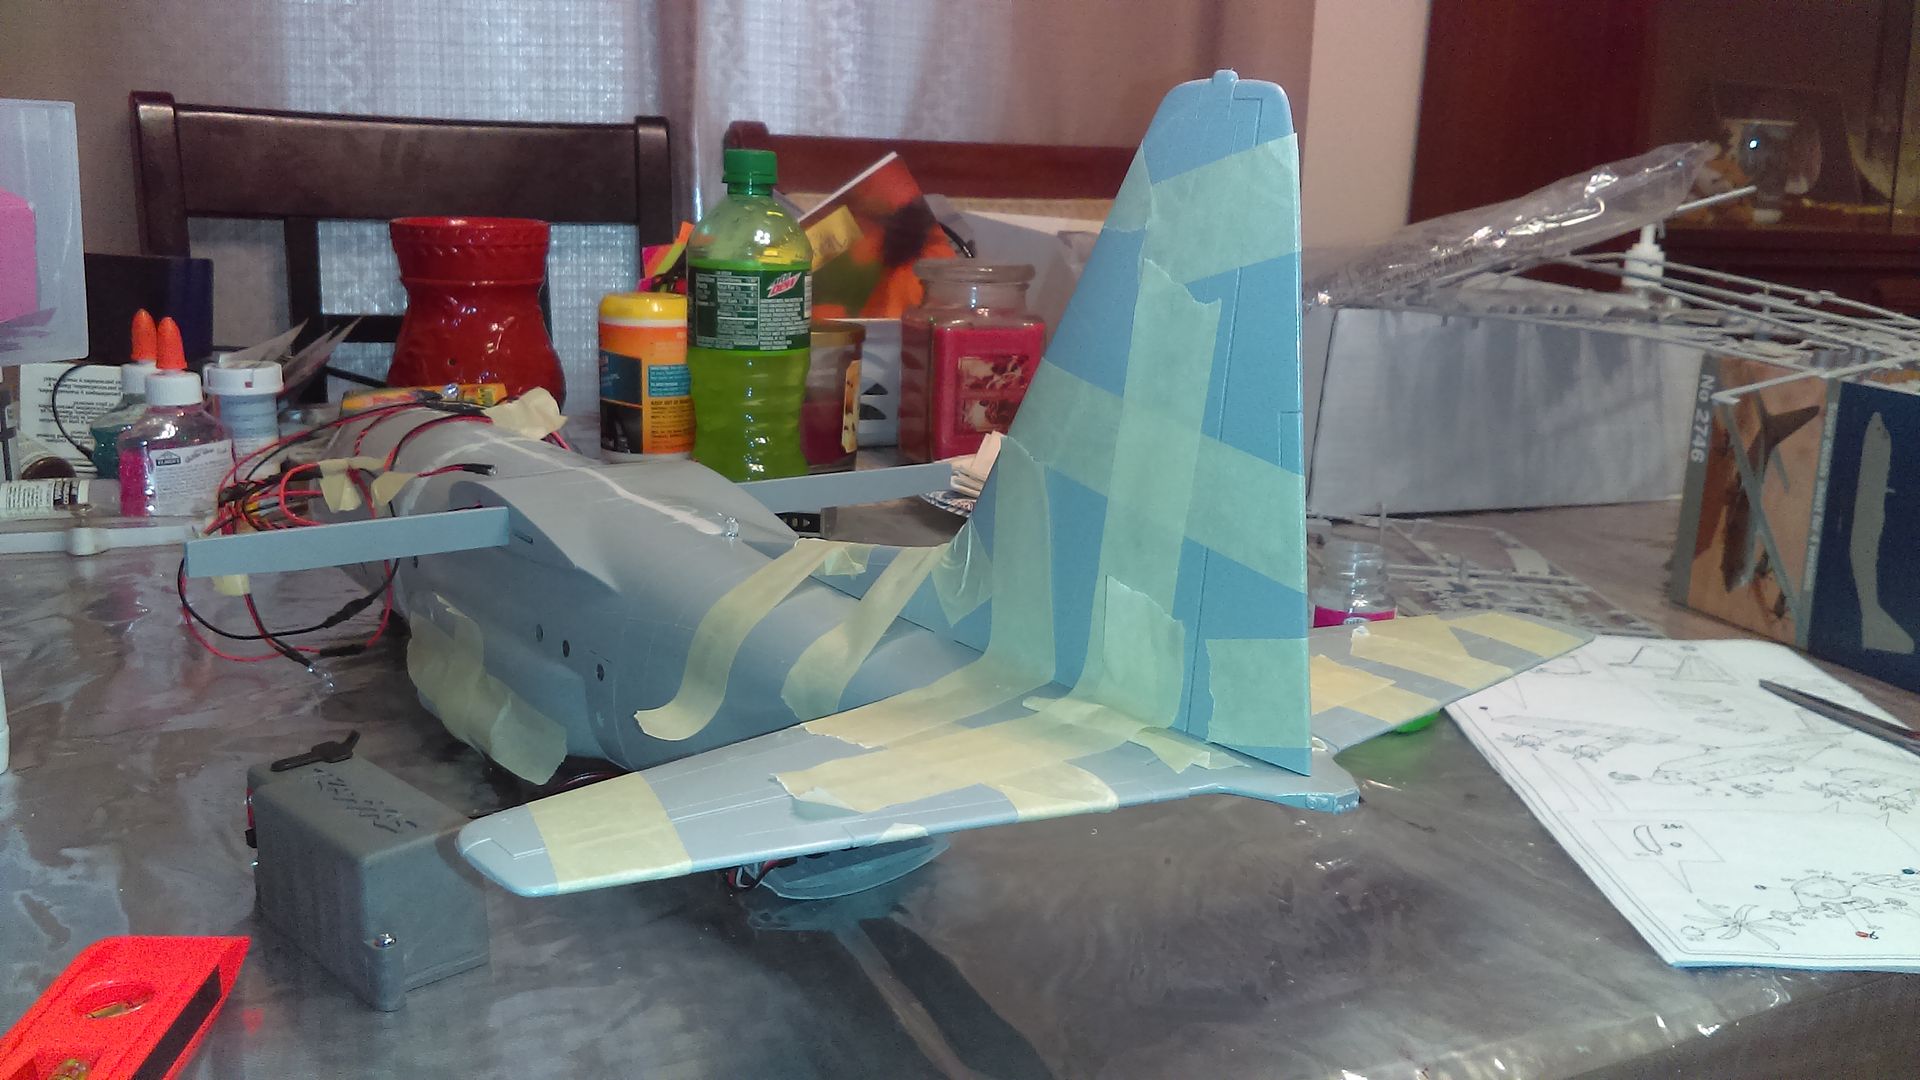
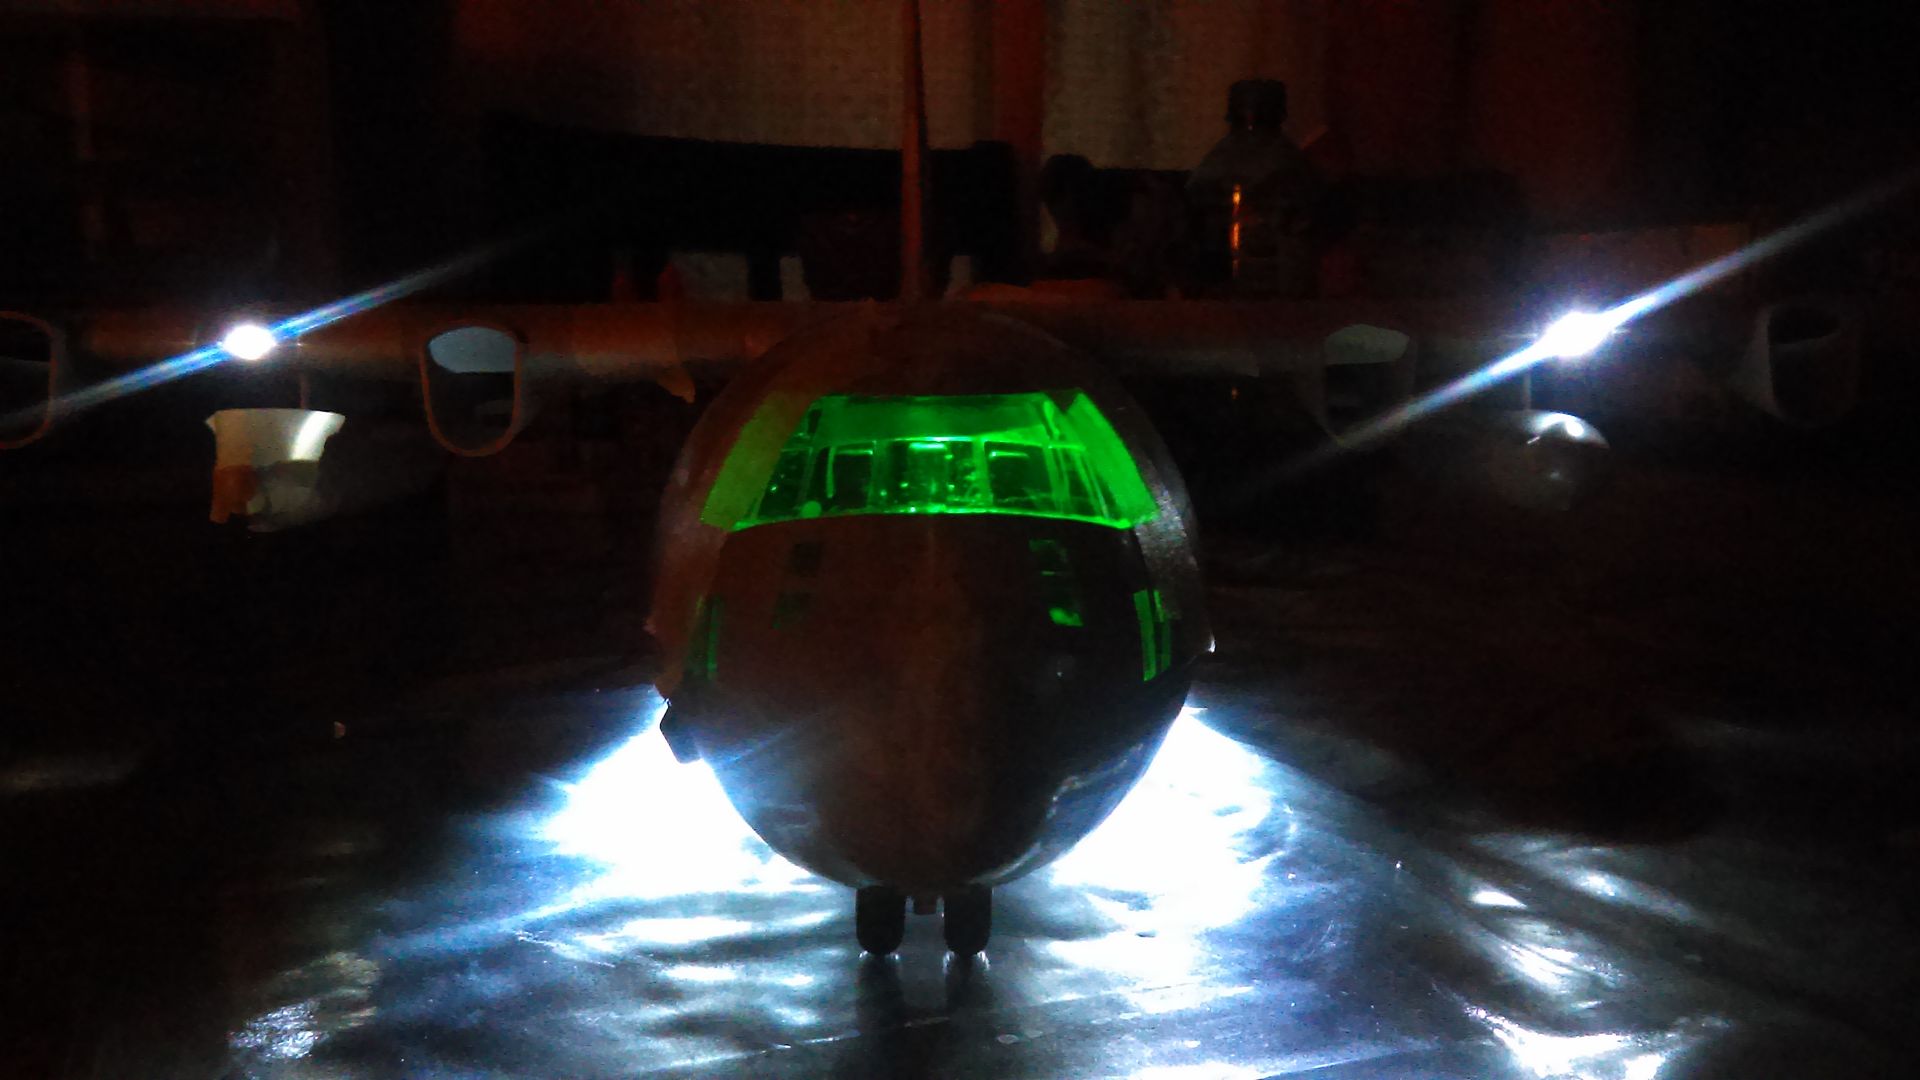
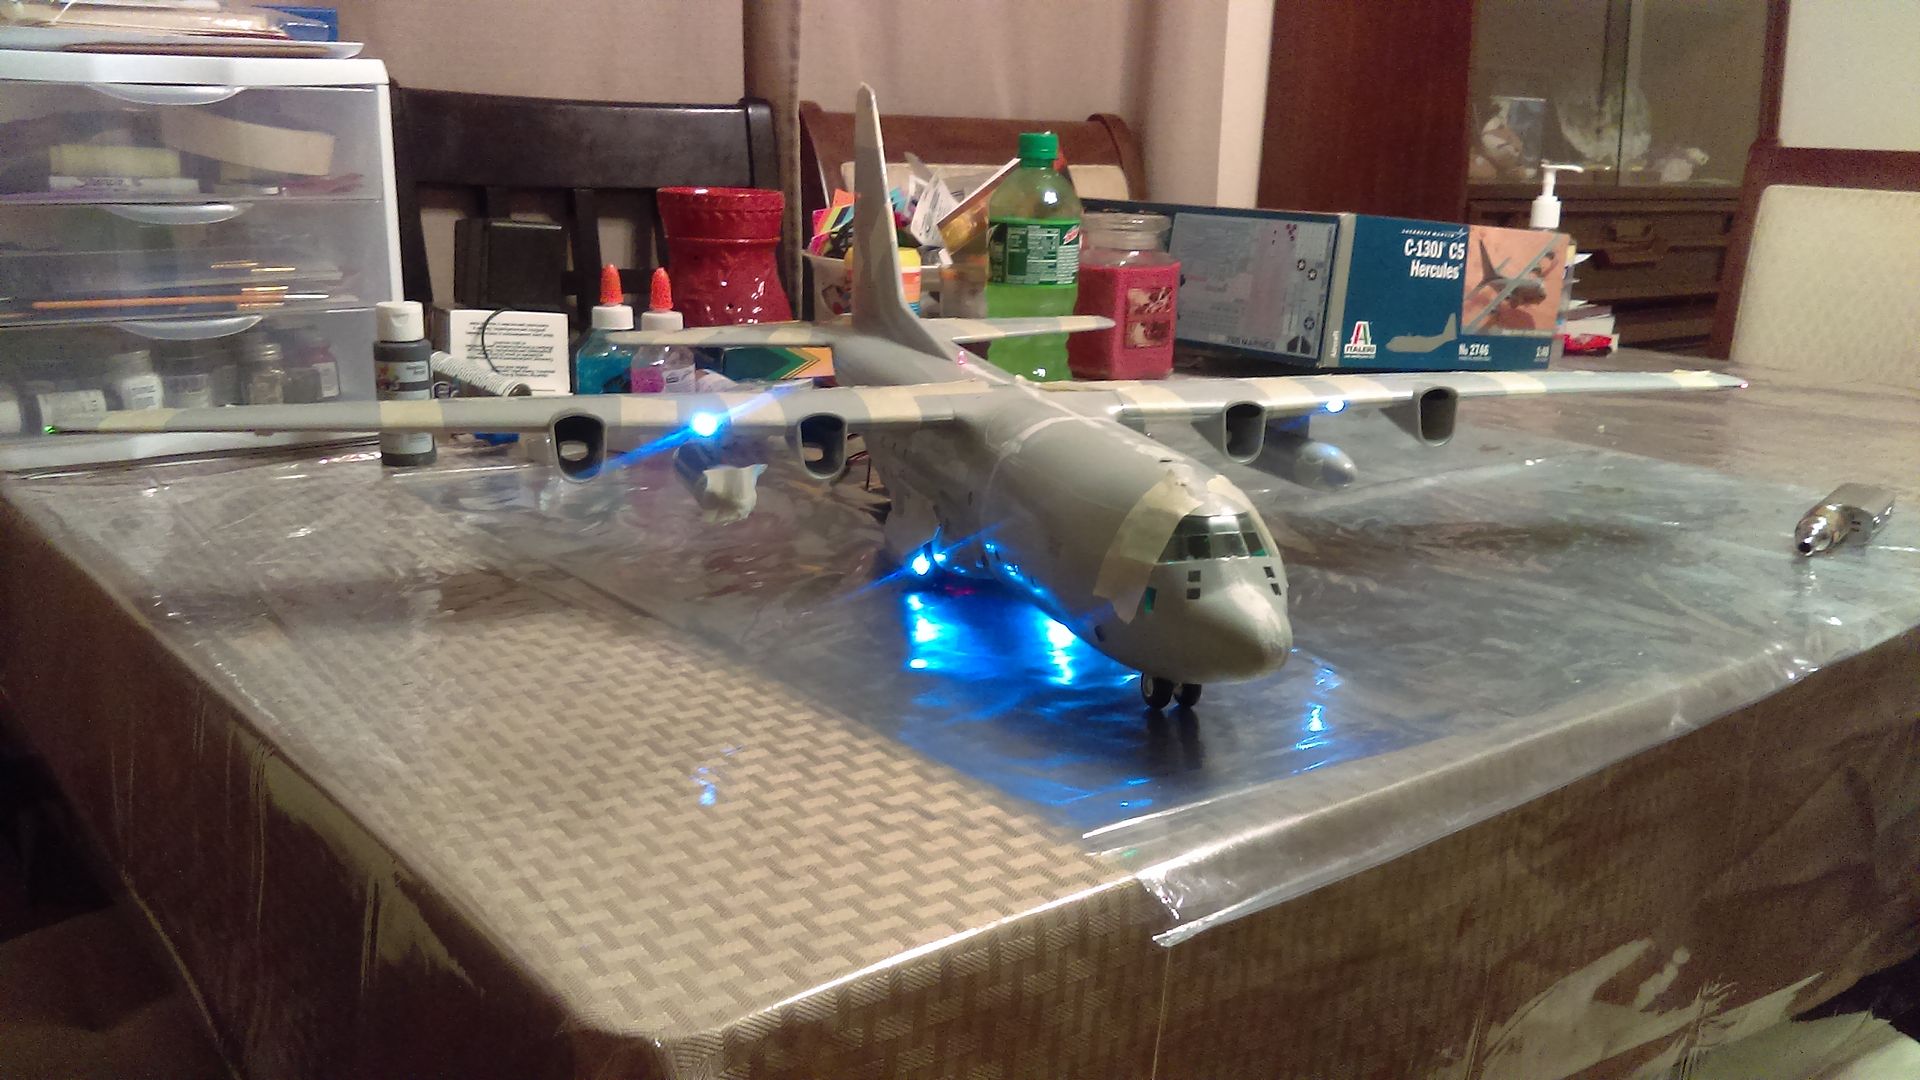
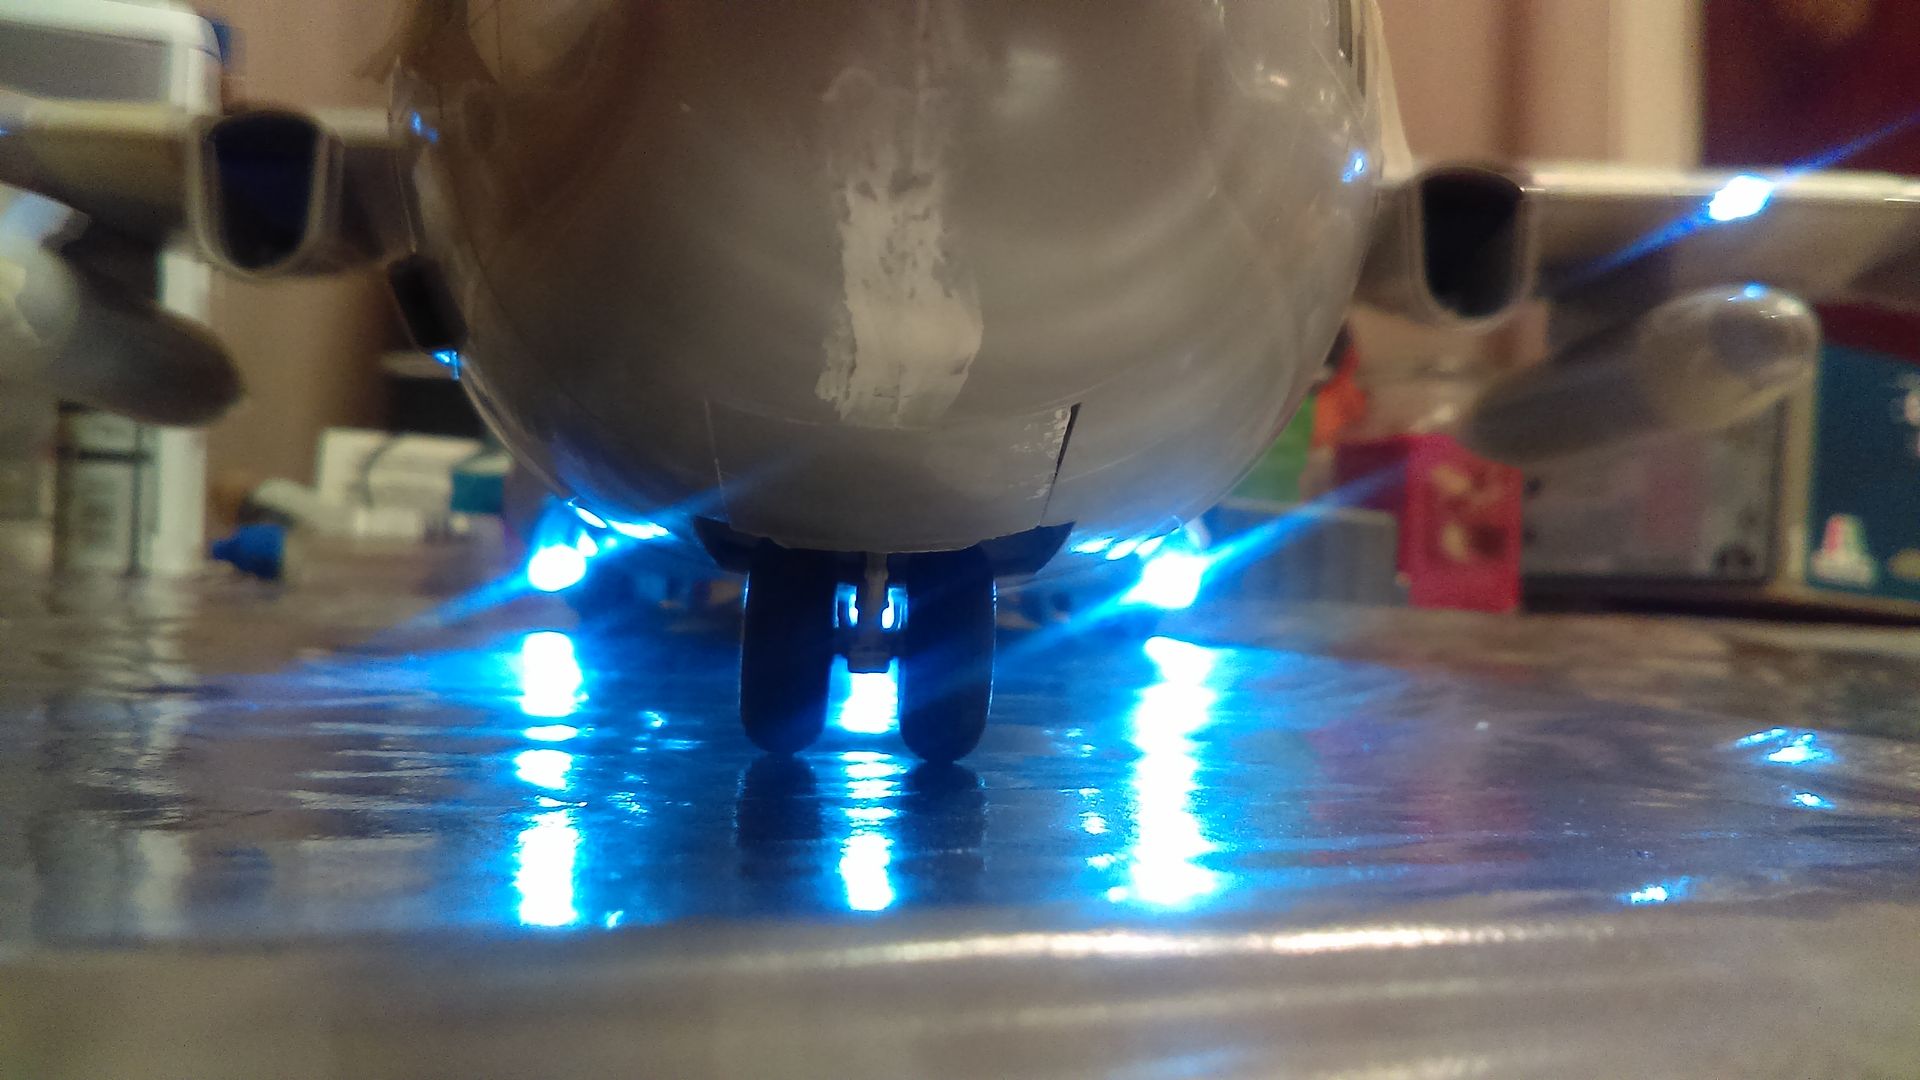
Well she's on her own wheels.  Wiring is a bit of a mess, concealing it turned out to be harder than I expected.  But you really won't be able to see in there once she's hung from the ceiling. 

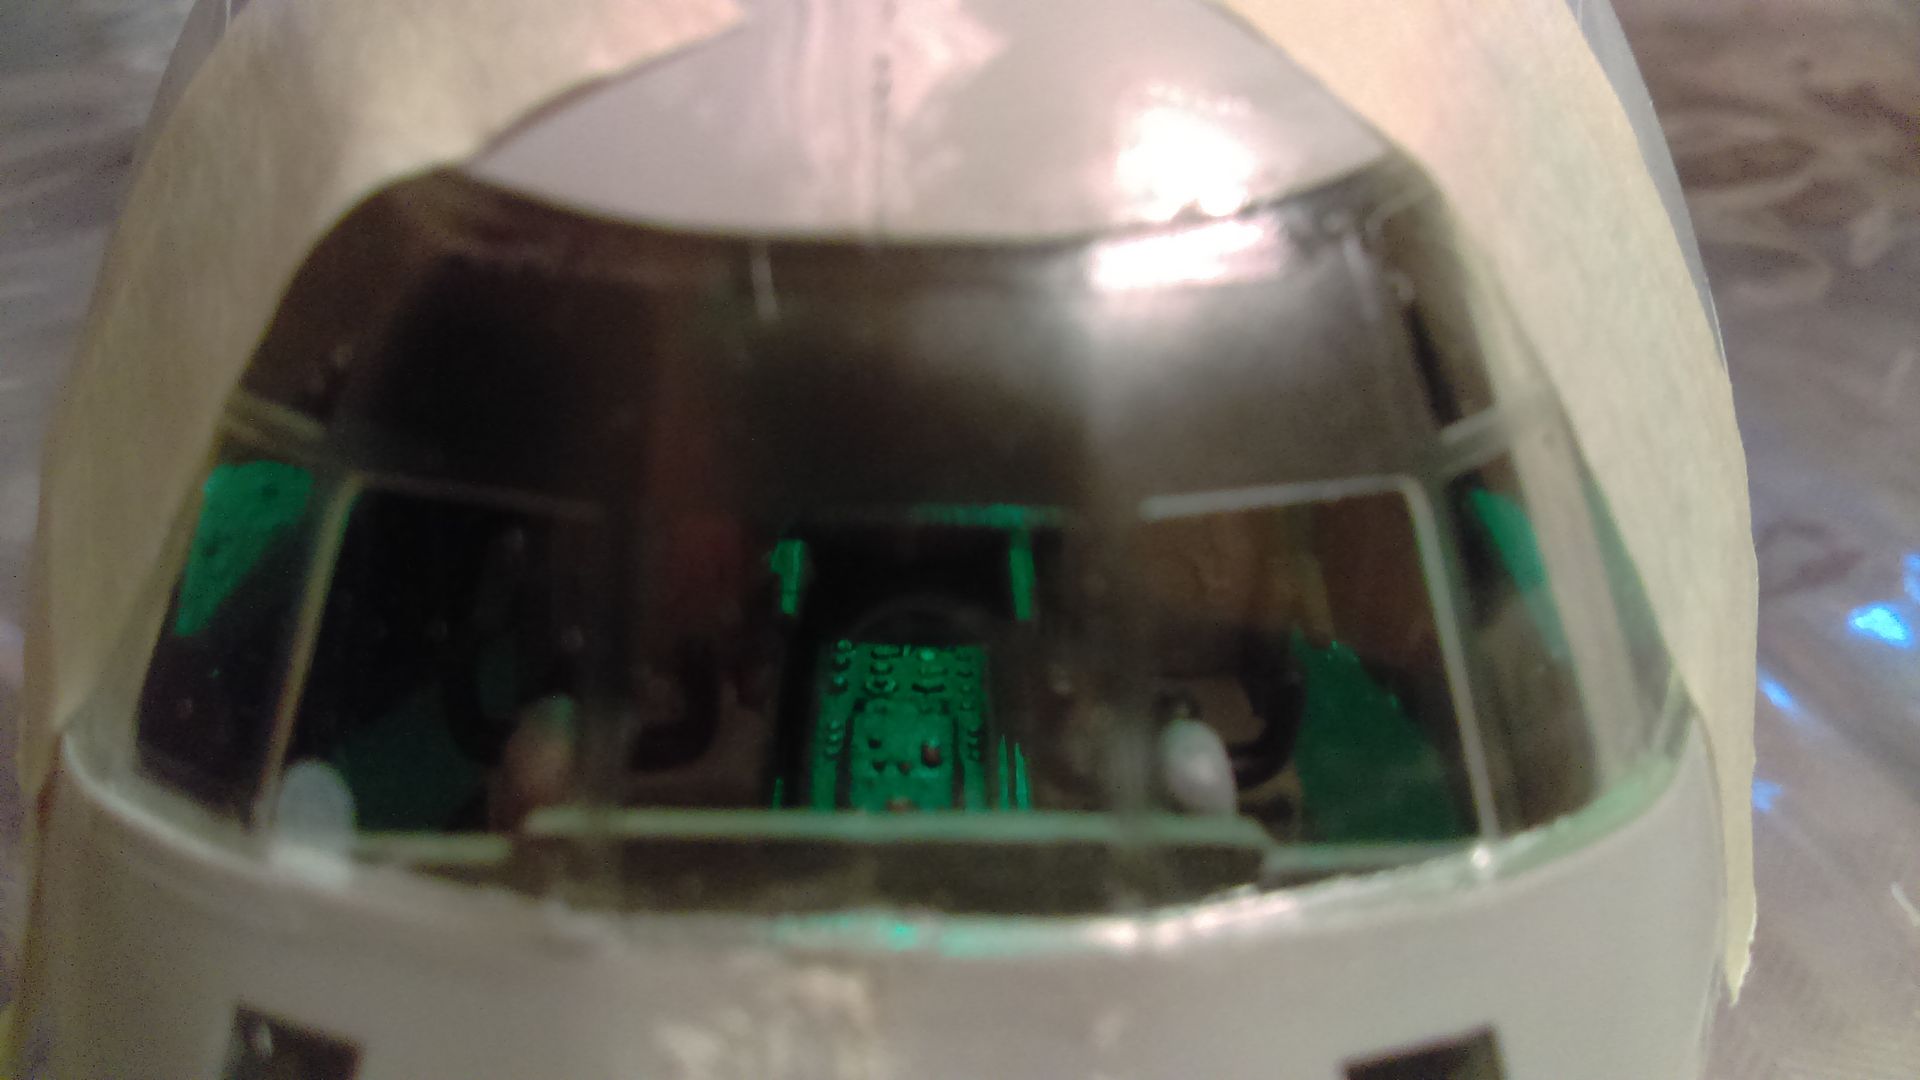
Don't mind all my tape.  I go a little nuts with it. Embarrassed

  • Member since
    August 2016
Posted by Keyda81 on Wednesday, August 24, 2016 10:55 AM

Thank you!  It's been a rather large pain in the butt.  Hoping the frustrating part of it is over, lol.  I'm going to have to make sure I find studs in the ceiling when I hang it, she's rather heavy with all the wires, and a battery pack inside. 

  • Member since
    September 2005
  • From: Central Nebraska
Posted by freem on Tuesday, August 23, 2016 10:37 PM

Great effects----fantastic!!!

Chris Christenson


  • Member since
    August 2016
Posted by Keyda81 on Tuesday, August 23, 2016 10:09 PM

A little bit more progress today.  Got all the lights hooked up to a switch and power supply.  Got the cargo doors on, rear landing gear, and rear doors.  Took a few pics with all the lights hooked up and on. 

  • Member since
    August 2016
Posted by Keyda81 on Monday, August 22, 2016 11:24 PM

It's been a rather rough few days.  I bit off more than I can chew apparently.  I got the inner fuselage put together, then had to start figuring out where all the lights were going to go, and where I was going to run them.  This turned out to be 3 days worth of frustration.  A few times I had everything squared away, did a test fit, and checked the lights again, and one didn't work.  So I had to take everything back apart.  Despite all my checking and double checking where wires were, and everything fitting together I still managed to get some wires stuck where they aren't supposed to be.  I'm not going to worry about it too much at the moment.  I finally got the two fuselage halves together, and glued.  I'm leaving it to sit overnight.  I still have a lot of work to do.  But at least now I finally feel like I've made some progress.  I did manage to take a few pics.  It's a complete mess right now.  I'll get pictures of the lights when I get them all wired up to a power source with a switch.

  • Member since
    August 2016
  • From: Eufaula, Alabama
Posted by WannabeFarmboy on Saturday, August 20, 2016 11:00 AM

Great work on a great plane. This used to be one of my favorites when I was a kid. Had a big plastic one that all my army men and their vehicles went into. Good stuff. Smile

  • Member since
    August 2016
Posted by Keyda81 on Friday, August 19, 2016 10:09 PM

Some more progress today.  I've painted as much as I can with everything apart.  I'm going to start assembely tomorrow, add more details as I see fit, and start running LED's.  I plan on trying to add 15 LED's.  We'll see how that works out as I go. 

  • Member since
    August 2016
Posted by Keyda81 on Thursday, August 18, 2016 10:39 PM

Me and my daughter are huge fans too, lol.  They were actually out flying earlier this evening.  They go right by my house on occasion.  After the 2nd flyby we hopped in my truck and went over to the airport and parked in a lot near the runway.  They fly directly over your head.  Big Smile


  • Member since
    September 2005
  • From: Central Nebraska
Posted by freem on Thursday, August 18, 2016 7:41 PM

Super start to this.  I'll be locked in to this build, I am a big C-130 fan.

Chris Christenson


  • Member since
    August 2016
Posted by Keyda81 on Thursday, August 18, 2016 8:03 AM

Hubby will be helping me out with that.  I have a basic idea from running LED lights on an RC car, and looking online at other planes that have been done.  I think hiding all the wires is going to be the hardest part.  I'm sure at some point I'm going to sit and stare at it trying to figure it out.Huh?

  • Member since
    January 2015
  • From: Tumwater, WA.
Posted by M. Brindos on Thursday, August 18, 2016 12:07 AM

Really looking good so far. I can't wait to see how you do this with the LEDs. I've lighted a couple of tanks and the results are super cool, but I've yet to try and wire up a plane. I've got ideas, of course, but its always nice to have an example to follow.  ;)

- Mike Brindos "Lost Boy"

  • Member since
    August 2016
Posted by Keyda81 on Wednesday, August 17, 2016 10:00 PM

Some more progress today.  I should be nearing the end of base color painting parts soon.  Then it's on to adding detail to everything.  I still need to wait for all my LED's to come in the mail, along with the nacelles, and 4 bladed props.  Hopefully the show up soon.  On to the pics!

  • Member since
    June 2003
  • From: Cavite, Philippines
Posted by allan on Tuesday, August 16, 2016 11:39 PM

Coming along nicely. Thats a nice 1/72 Herc you did too.

No bucks, no Buck Rogers

  • Member since
    August 2016
Posted by Keyda81 on Tuesday, August 16, 2016 8:39 PM

Bomber green.  I know it's not the correct color, but it was what I could find at the local hobby store.  Well actually I did find the right color, but it looked so far off from pictures of the cockpit, so I went with the bomber green. 

  • Member since
    July 2004
  • From: Sonora Desert
Posted by stikpusher on Tuesday, August 16, 2016 8:31 PM

Looking good so far. What color are you using for the interior?


F is for FIRE, That burns down the whole town!

U is for URANIUM... BOMBS!

N is for NO SURVIVORS...

       - Plankton

LSM


  • Member since
    August 2016
Posted by Keyda81 on Tuesday, August 16, 2016 7:58 PM

Little bit more progress on the cockpit bits today.  I'm kind of following the kit instructions, going by some reference and winging it, lol.  As long as I'm enjoying the build right?! 

  • Member since
    December 2002
  • From: NYC, USA
Posted by waikong on Monday, August 15, 2016 11:57 PM

looking good so far, love to see this 1/48 built up.  Seems most of us has a fascination for a BIG model

My website: http://waihobbies.wkhc.net


JOIN OUR COMMUNITY!

Our community is FREE to join. To participate you must either login or register for an account.

SEARCH FORUMS
FREE NEWSLETTER
By signing up you may also receive reader surveys and occasional special offers. We do not sell, rent or trade our email lists. View our Privacy Policy.