SEARCH FINESCALE.COM

Enter keywords or a search phrase below:

WIP: P-40N UPDATED: COMPLETE 11/18/16

1586 views
15 replies
1 rating 2 rating 3 rating 4 rating 5 rating
  • Member since
    April 2016
  • From: Parsons Kansas
Posted by Hodakamax on Monday, November 21, 2016 12:04 PM

I like it! She looks ready for serious business with the gear up and flying! All that gun streaking makes it look even more intimidating. Good job.

Max

  • Member since
    April 2015
  • From: Detroit, MURDER CITY
Posted by RudyOnWheels on Monday, November 21, 2016 11:39 AM
thank you for the kind remarks everyone! I always appreciate feedback, good ,bad, or indifferent. I'm trying my damndest to improve my skills and methods with every build, trying new techniques along the way. As a side not to Mr. Toshi- my current top priority project is now to finish the Tiger 1 mid production I am working on, I got the road wheels painted and installed over the weekend. I am also finishing up a 1978 Ford F-250, I need to wire the distributor (with the correct firing order of course!) and possibly try my hand at some bare metal foil. And OF COURSE when I went to the local (ish) Model Car Club meeting, a resin-caster had just brought a F-250 CREW CAB body... DOH! RUDY
  • Member since
    May 2013
  • From: Indiana, USA
Posted by Greg on Saturday, November 19, 2016 10:14 AM

Nice work, Rudy.

Looks like you and your new Badger Patriot got along well!

  • Member since
    November 2016
  • From: Maryland
Posted by iampiper13 on Saturday, November 19, 2016 9:36 AM

Great job!! I love the color scheme!

  • Member since
    August 2013
Posted by Jay Jay on Saturday, November 19, 2016 8:28 AM

Good Work Rudy. Nice to see a different paint scheme on the P-40 and you pulled it off beautifully.


 I'm finally retired. Now time I got, money I don't.

  • Member since
    December 2002
  • From: Northern California
Posted by jeaton01 on Saturday, November 19, 2016 1:11 AM

Nice work, Rudy.  I think the N is the best looking P-40 of all.

John

To see build logs for my models:  http://goldeneramodel.com/mymodels/mymodels.html


  • Member since
    February 2012
  • From: Olmsted Township, Ohio
Posted by lawdog114 on Friday, November 18, 2016 8:02 PM
Nice work. Thanks for sharing.

 "Can you fly this plane and land it?...Surely you can't be serious....I am serious, and don't call me Shirley"


  • Member since
    March 2015
  • From: Streetsboro, Ohio
Posted by Toshi on Friday, November 18, 2016 5:23 PM

I just saw what's on your bench by your "Group Build" signature.  Please excuse my ignorance.  I need to pay more attention next time, at least that's what Mrs. Toshi constantly tells me!  LOL!

Toshi

On The Bench: Revell 1/48 B-25 Mitchell


Married to the most caring, loving, understanding, and beautiful wife in the world.  Mrs. Toshi


  • Member since
    March 2015
  • From: Streetsboro, Ohio
Posted by Toshi on Friday, November 18, 2016 5:19 PM

You did a fantastic job on this kit.  I'm very impressed with the finish.  As for your weathering effect, I love it!  Keep up the great work.  What's your next project sir?  Thank you in advance!

Toshi

On The Bench: Revell 1/48 B-25 Mitchell


Married to the most caring, loving, understanding, and beautiful wife in the world.  Mrs. Toshi


  • Member since
    January 2015
  • From: Tumwater, WA.
Posted by M. Brindos on Friday, November 18, 2016 3:43 PM

Looks like you clever re-engineering did the trick. 

Good job on the weathering, by the way. You could have gone a little heavier with the exhaust staining to match your MG stains, I think. But that's just a personal opinion lol.

Not much to that scheme, but you did a good job of it.  :)

de de dur. Ceiling hanging, of course. Lol

- Mike Brindos "Lost Boy"

  • Member since
    April 2015
  • From: Detroit, MURDER CITY
Posted by RudyOnWheels on Friday, November 18, 2016 2:39 PM
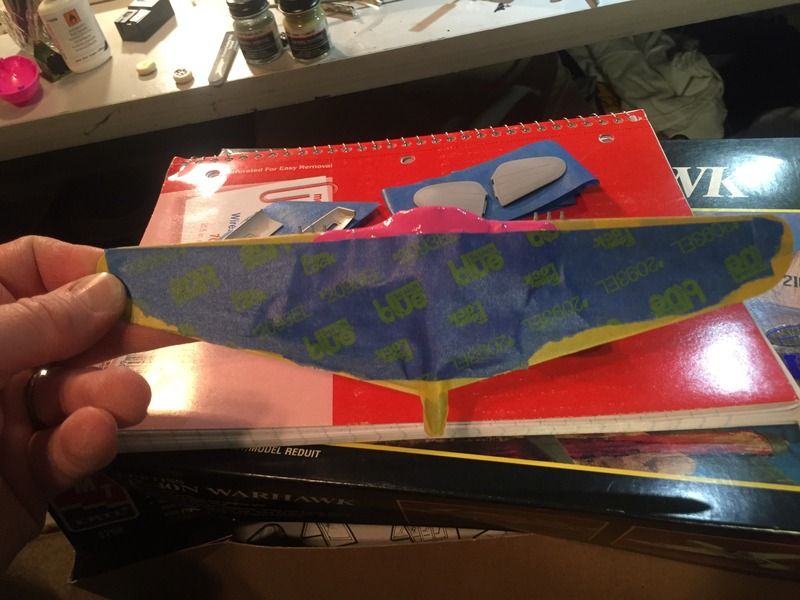
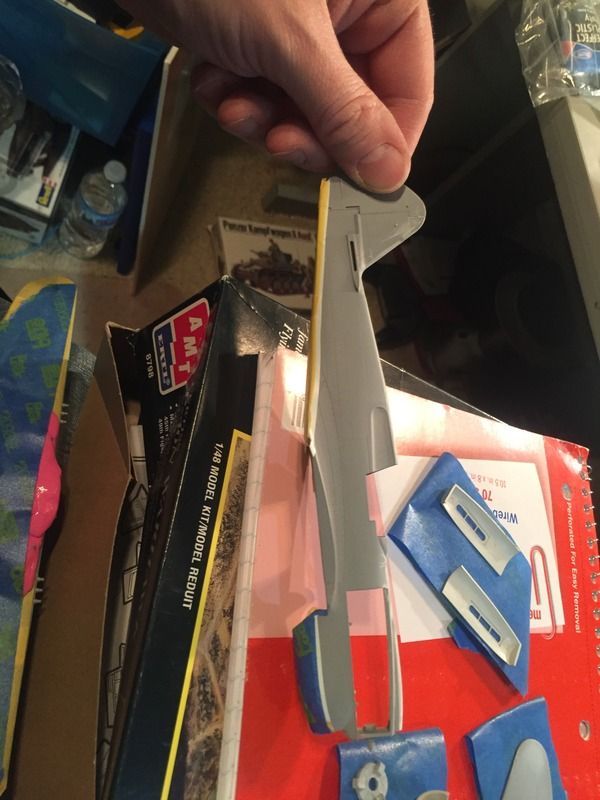
Hi Mike! The fit was surprisingly good for a cheapo kit. The only thing that gave me an issue was the fitment of the engine covers. I had to make small "backing" tabs and place them on the inside of the openings where the covers went, and creatively clamp and hold them in place while they dried. Otherwise, they were flush over here, sticking out past or inside the opening there, etc. I plan to hang it from the ceiling or a shelf with fishing line.... Thanks! Rudy
  • Member since
    January 2015
  • From: Tumwater, WA.
Posted by M. Brindos on Friday, November 18, 2016 2:13 PM

the kit looks on par with the Monovell kit. You definitely did a good job on it.

How do you plan to display it with the wheels up?


- Mike Brindos "Lost Boy"

  • Member since
    April 2015
  • From: Detroit, MURDER CITY
Posted by RudyOnWheels on Friday, November 18, 2016 1:52 PM

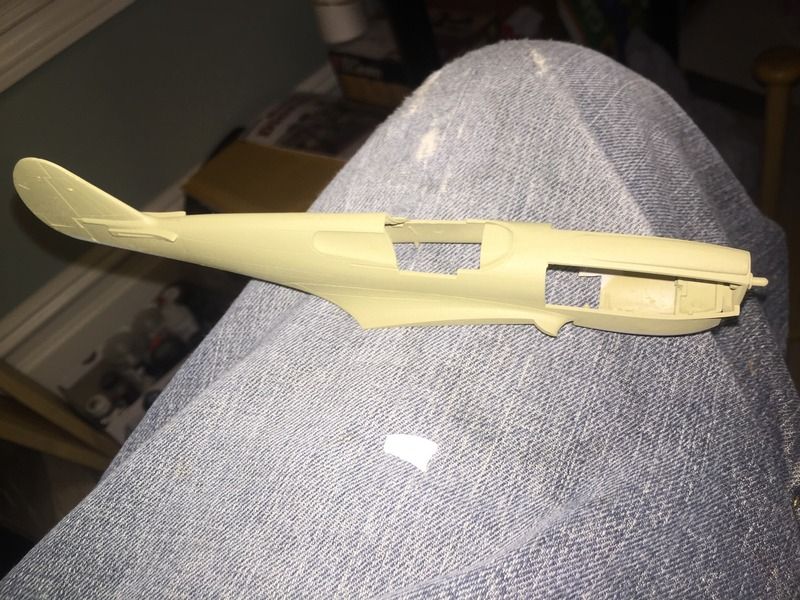
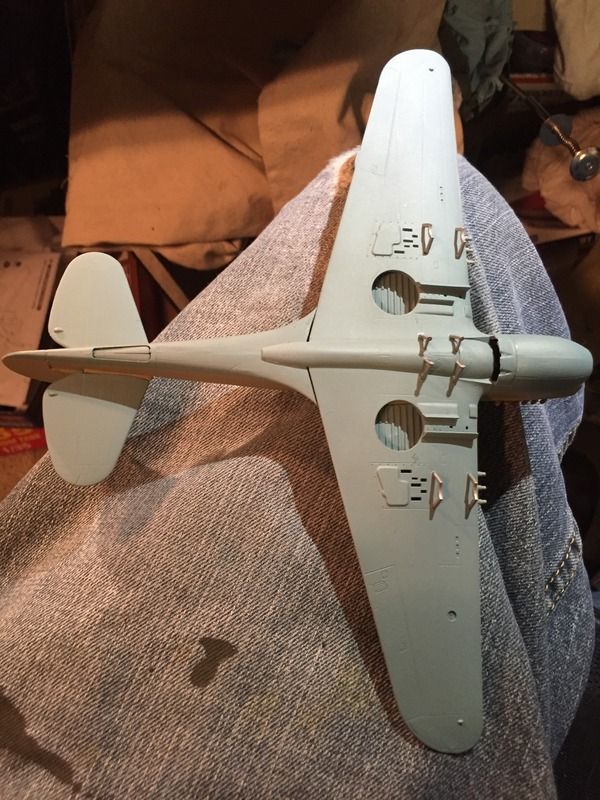
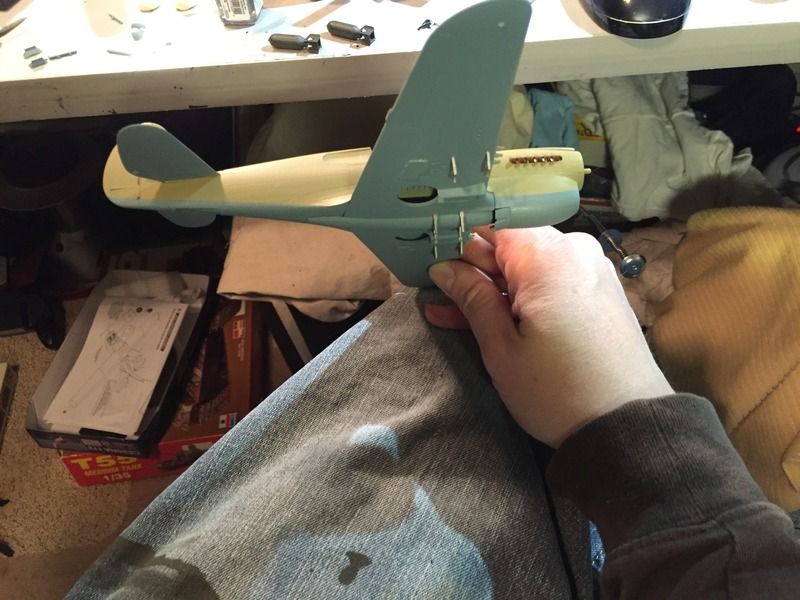
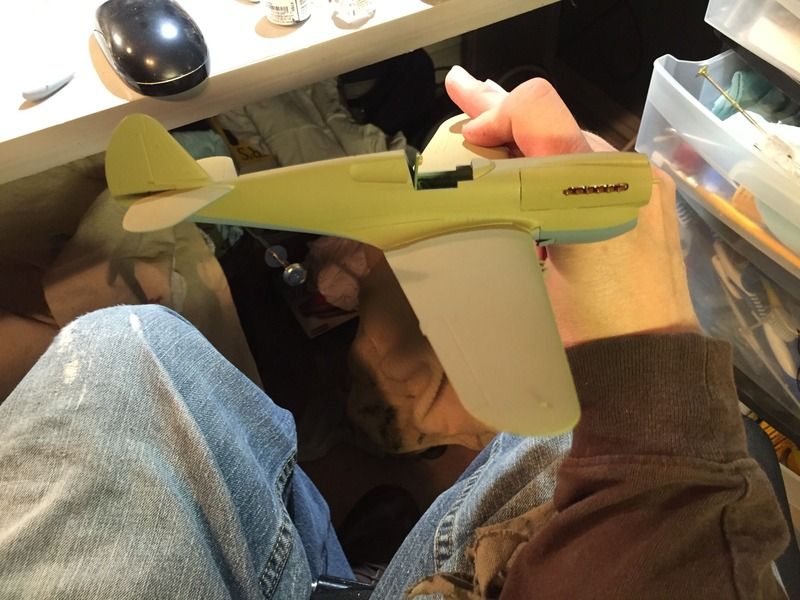
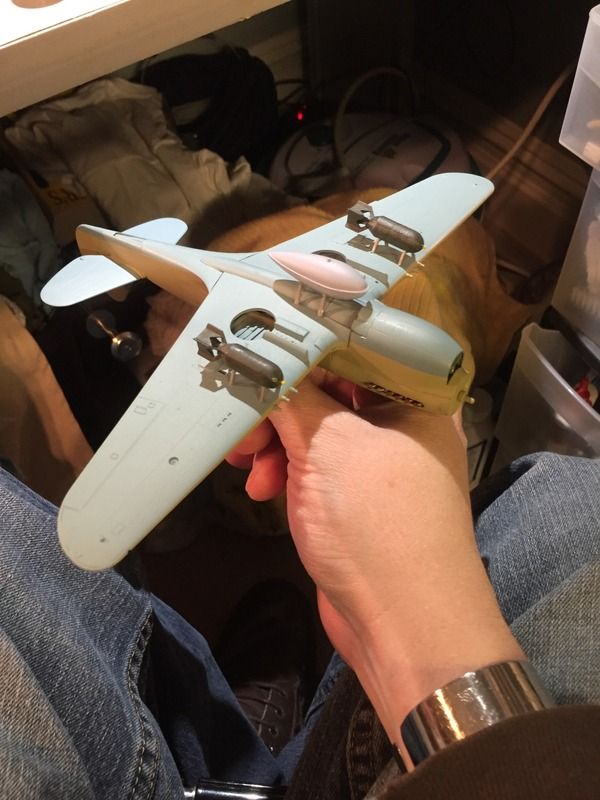
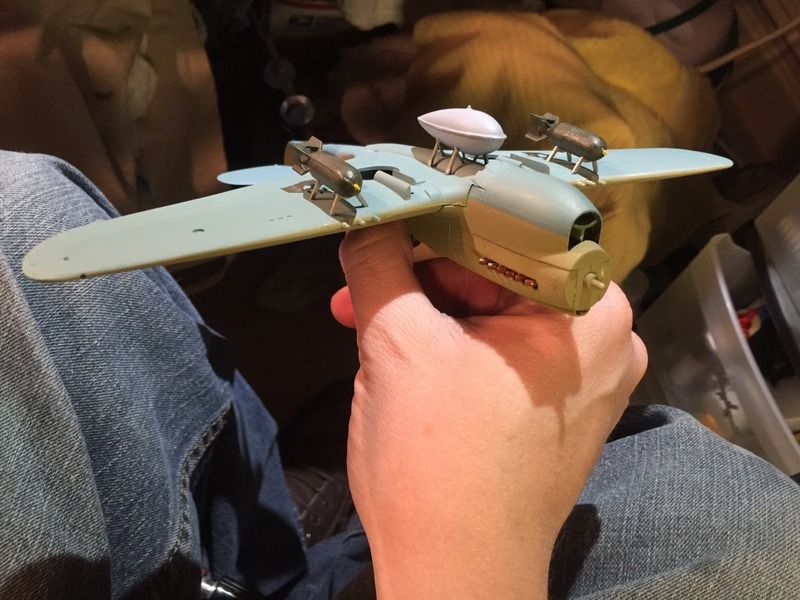
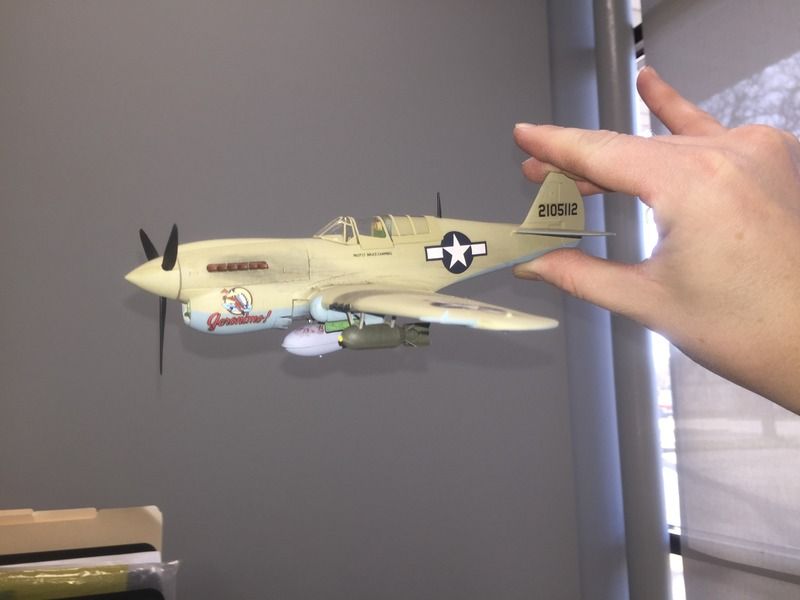
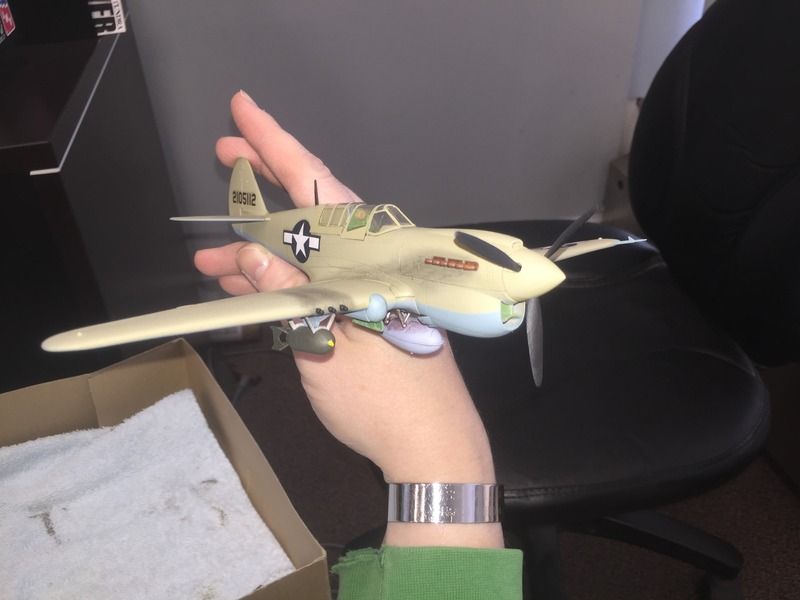
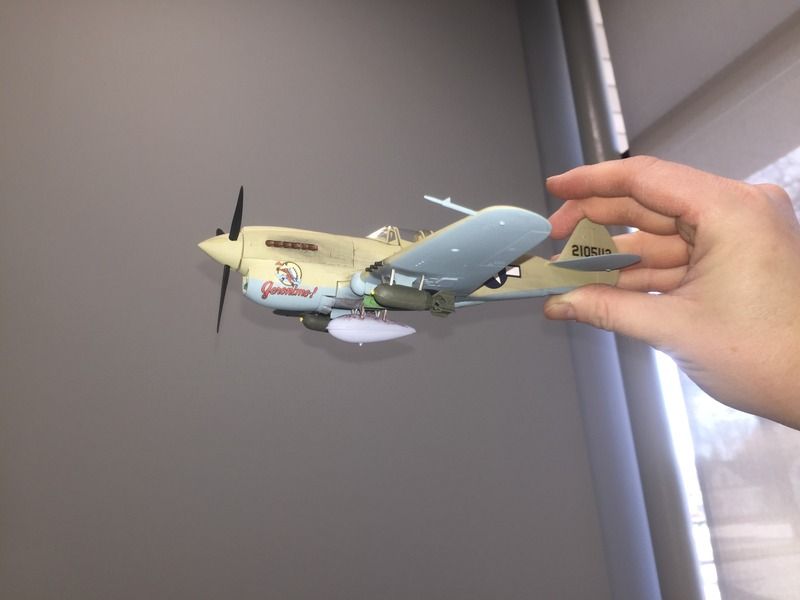
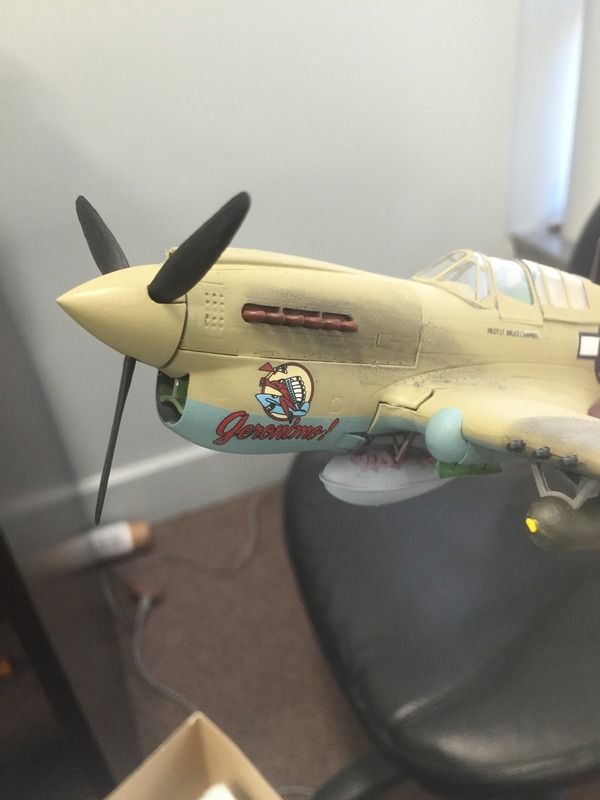
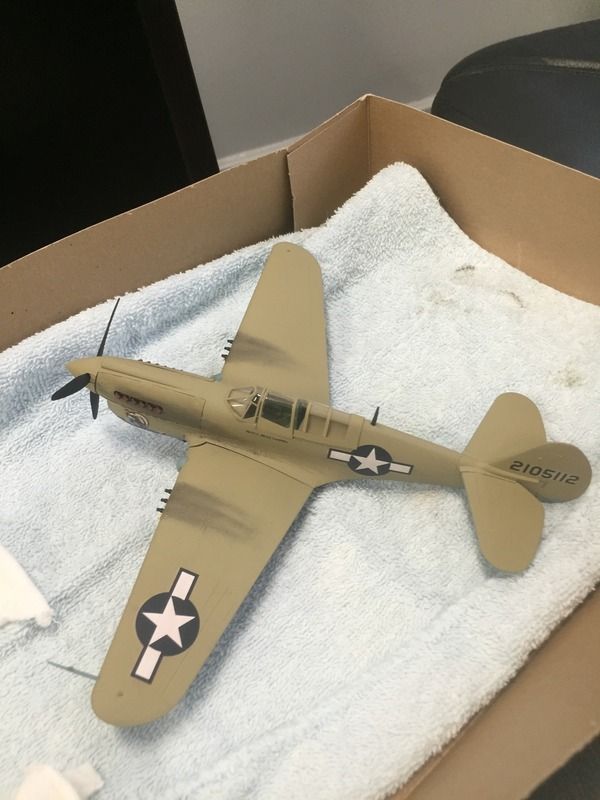
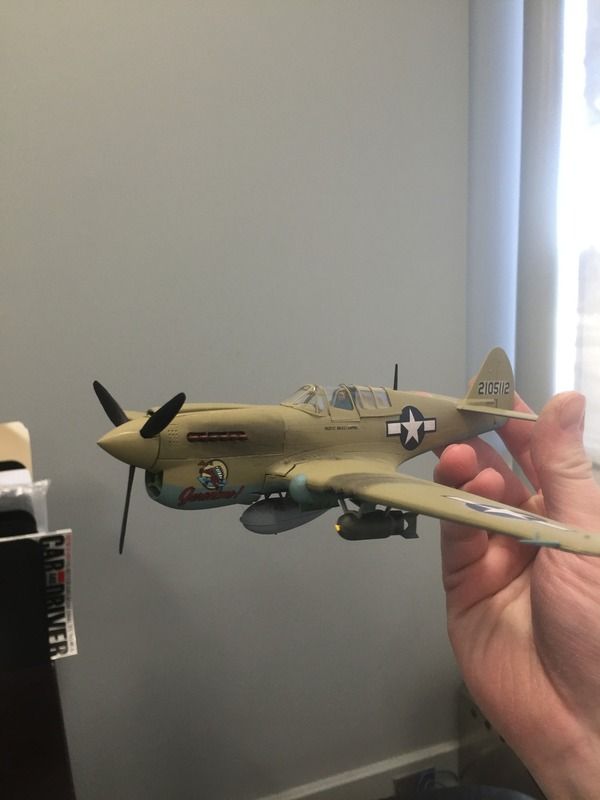
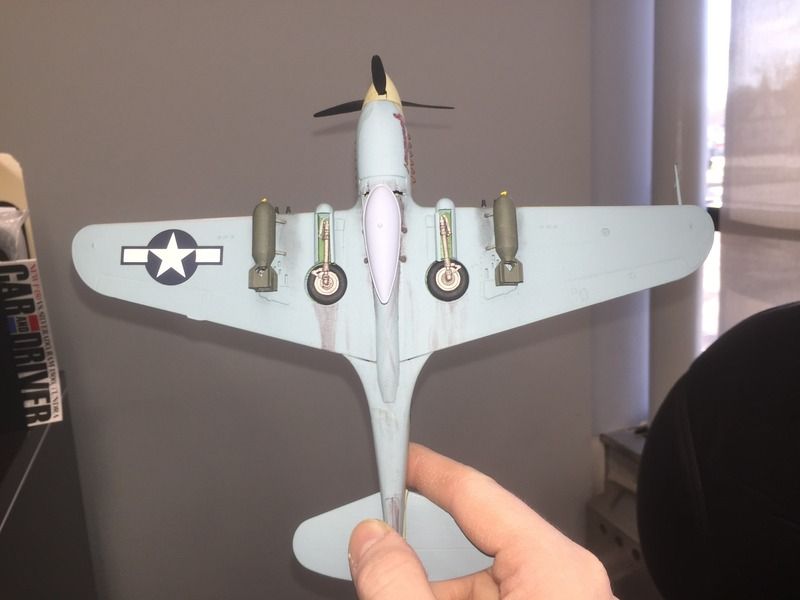
Well, I finished her up! I will post the WIP photos below. This was really my first attempt at "weathering" an aircraft, so cut me some slack in that department. I need to paint the wing lights red/green, and find some thread or something to use as antenna wire. All of the pictures I found were not clear enough to see where exactly it attached to the tail rudder as well, the earlier models (C, D, etc) seemed to attach to the sides, whereas it looks like Maybe(?) the N-model attached to the leading edge of the tail rudder. (Not sure if that is the correct term, or if it is called the "vertical stabilizer?") I FINALLY got an airbrush that didint give me problems, a Badger Patriot 105, and couldnt be happier with it. I painted the model with Model Master Enamels, I beleive the colors are "Sand Armor" and "underside blue" or something to that effect. Another thing that looks kind of odd, is that the rear canopy seems to stick too far to the rear. (starts to cover USAAF roundels) The included rear part of the canopy was too thick to even fit into place,over the "spine" of the aircraft. Luckily it was a bonus pack that had a squadron vac-u-canopy included. Was my first time working with one of those as well. I hope you enjoy, I had alot of fun building this relatively low-parts count older model. Please excuse the photos, due to the level of my spinal cord injury, (paralyzed from about from the nipples down) I cannot actually outstretch both arms at the same time without "falling over". So it is hard as hell to hold the plane out and take a pic of it at the same time without a bunch of crap in the background, when it is one that doesnt have a landing gear down....
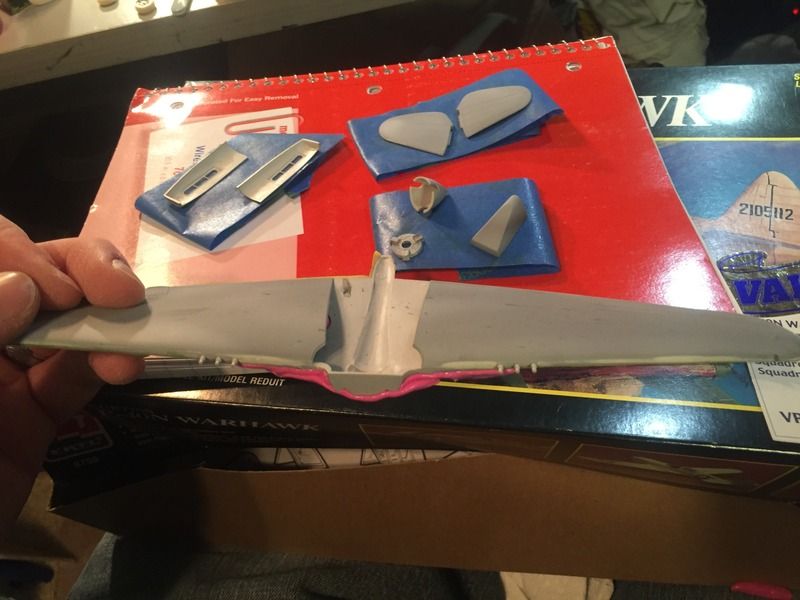
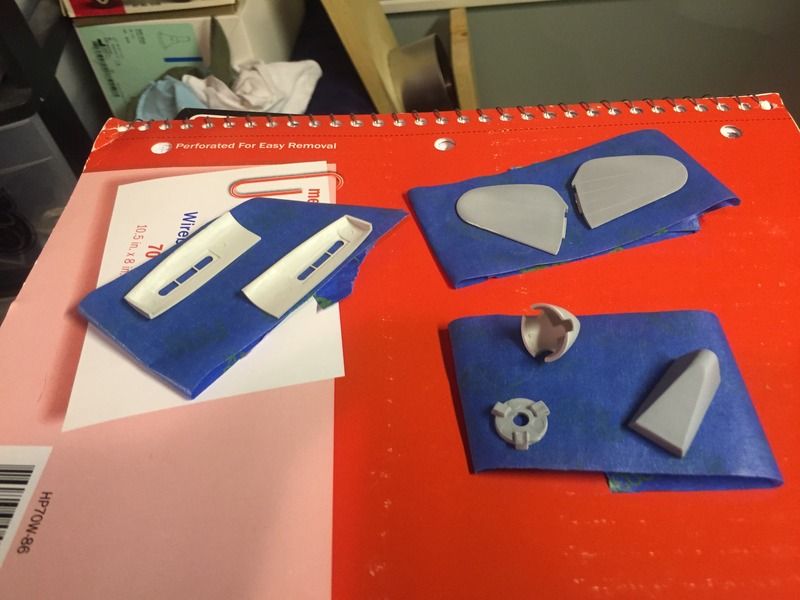


  Thanks!!  Rudy


  • Member since
    March 2015
  • From: Streetsboro, Ohio
Posted by Toshi on Monday, September 19, 2016 6:31 AM

I'll be following this one!

Toshi

On The Bench: Revell 1/48 B-25 Mitchell


Married to the most caring, loving, understanding, and beautiful wife in the world.  Mrs. Toshi


  • Member since
    December 2003
  • From: Charleston, SC
Posted by sanderson_91 on Sunday, September 18, 2016 6:54 PM

Hey Rudy,

Looks like a nice quick build.  Looking forward to some progress pics.

Steve


  • Member since
    April 2015
  • From: Detroit, MURDER CITY
WIP: P-40N UPDATED: COMPLETE 11/18/16
Posted by RudyOnWheels on Saturday, September 17, 2016 5:22 PM

Hi guys! I picked this one up with a few others in the spring, I wanted a quick build so I pulled out this one. Has a low parts count but should still build up nicely. It will be in the light tan scheme as on the box. I wish it was an earlier flying tigers model, but oh well. Has all the extras listed on the box cover but I only plan to use the Squadron canopy (gonna mask and paint it instead of using the hokey "fast frames") and MAYBE the wheels, but I think I'm going to build it with the gear up.  There's not a ton of parts, but I'll put some pictures up as soon as I take some.  -Rudy 

JOIN OUR COMMUNITY!

Our community is FREE to join. To participate you must either login or register for an account.

SEARCH FORUMS
FREE NEWSLETTER
By signing up you may also receive reader surveys and occasional special offers. We do not sell, rent or trade our email lists. View our Privacy Policy.