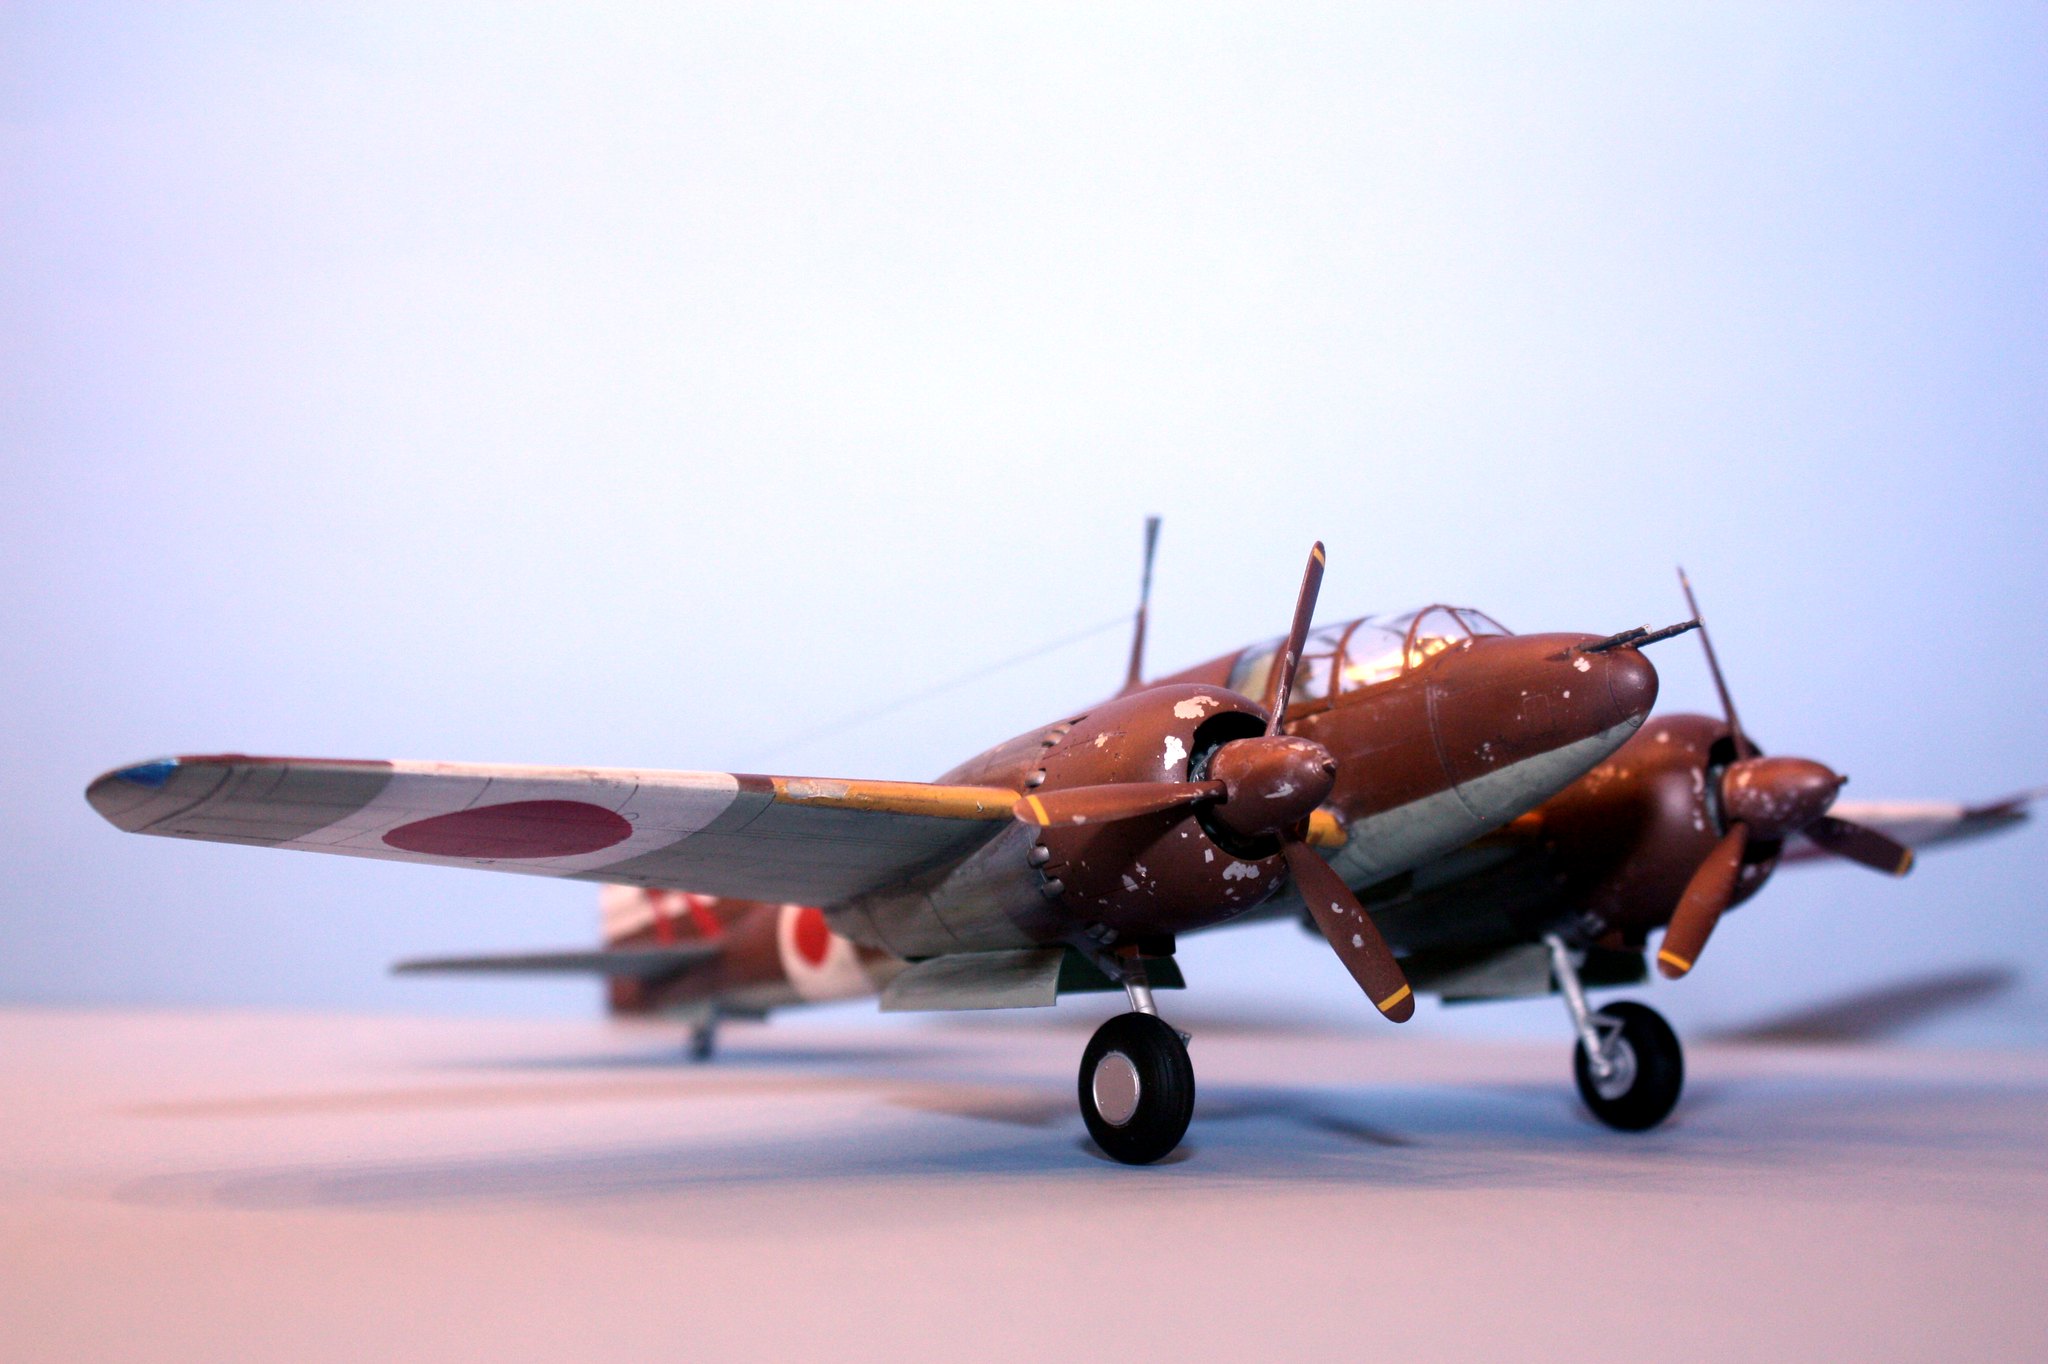
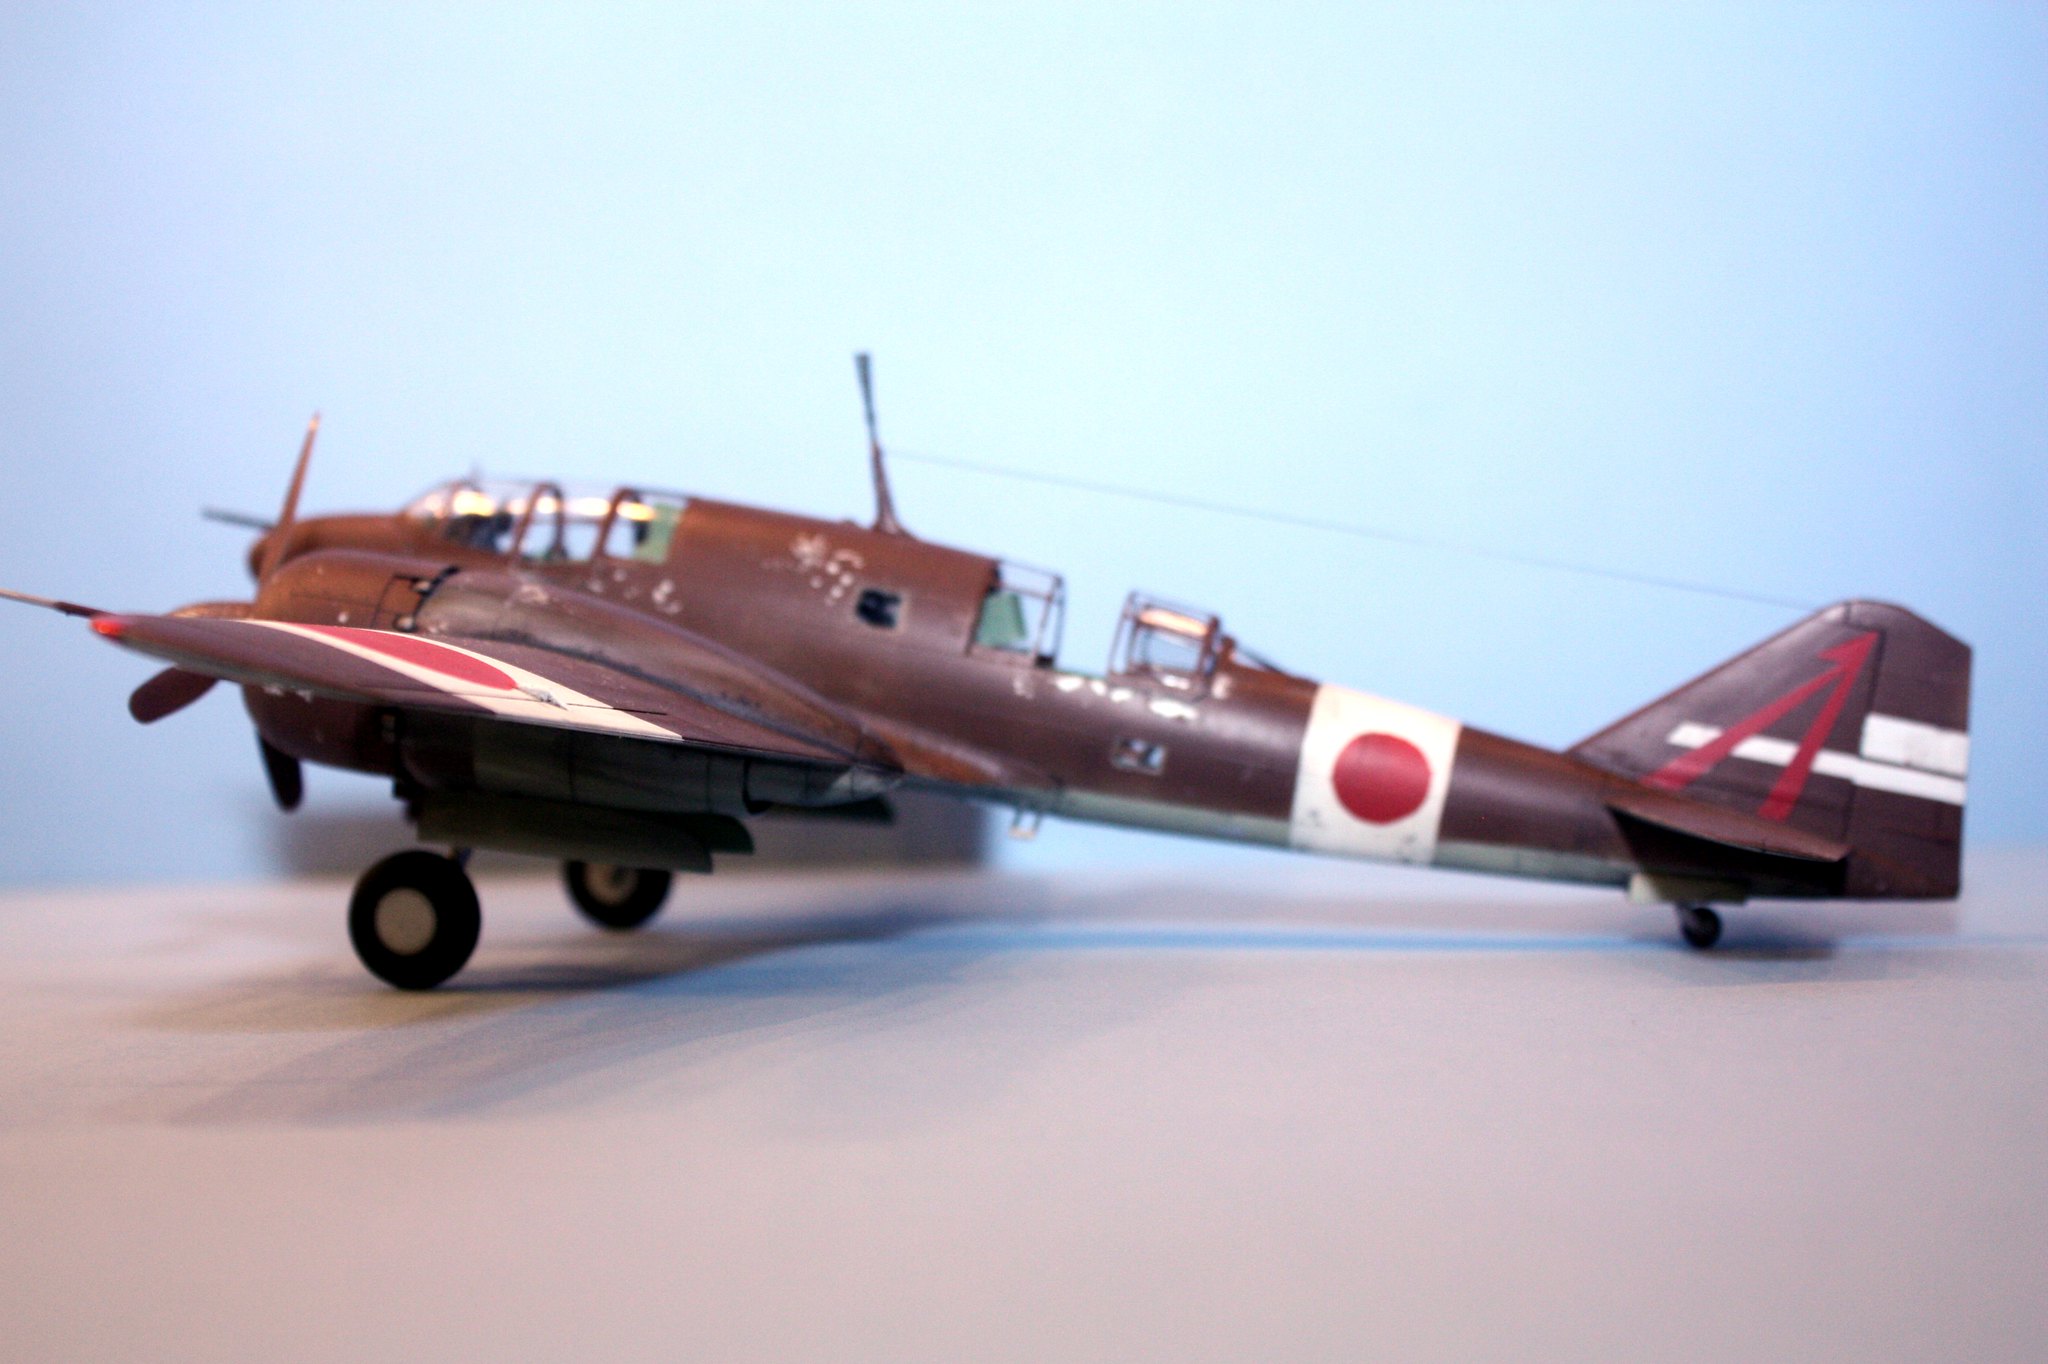
Hopefully there is no filter going off with that Japanese word in the subject, but this is my latest build. I know next to nothing about the Dinah. What I do know is that the primary air frame was used as a reconnaissance platform, although the Japanese did build these in a high-altitude interceptor. The Dinah could reach the B-29s that were delivering death and destruction to Japanese cities back in 1944-45. She was equipped with a canon pointing upward at an angle right out of the upper fuselage; presumably the pilot would position his aircraft beneath a Superfortress and the gunner would unload hell on the B-29. We lost a lot of Superfortresses to this maneuver.
The kit

I built this straight out of the box. Given that I am still not back in the work force, I don't have much of a modeling budget these days, so after-market is mostly out for anything that I plan to build. But lets asterisk that statement for now.
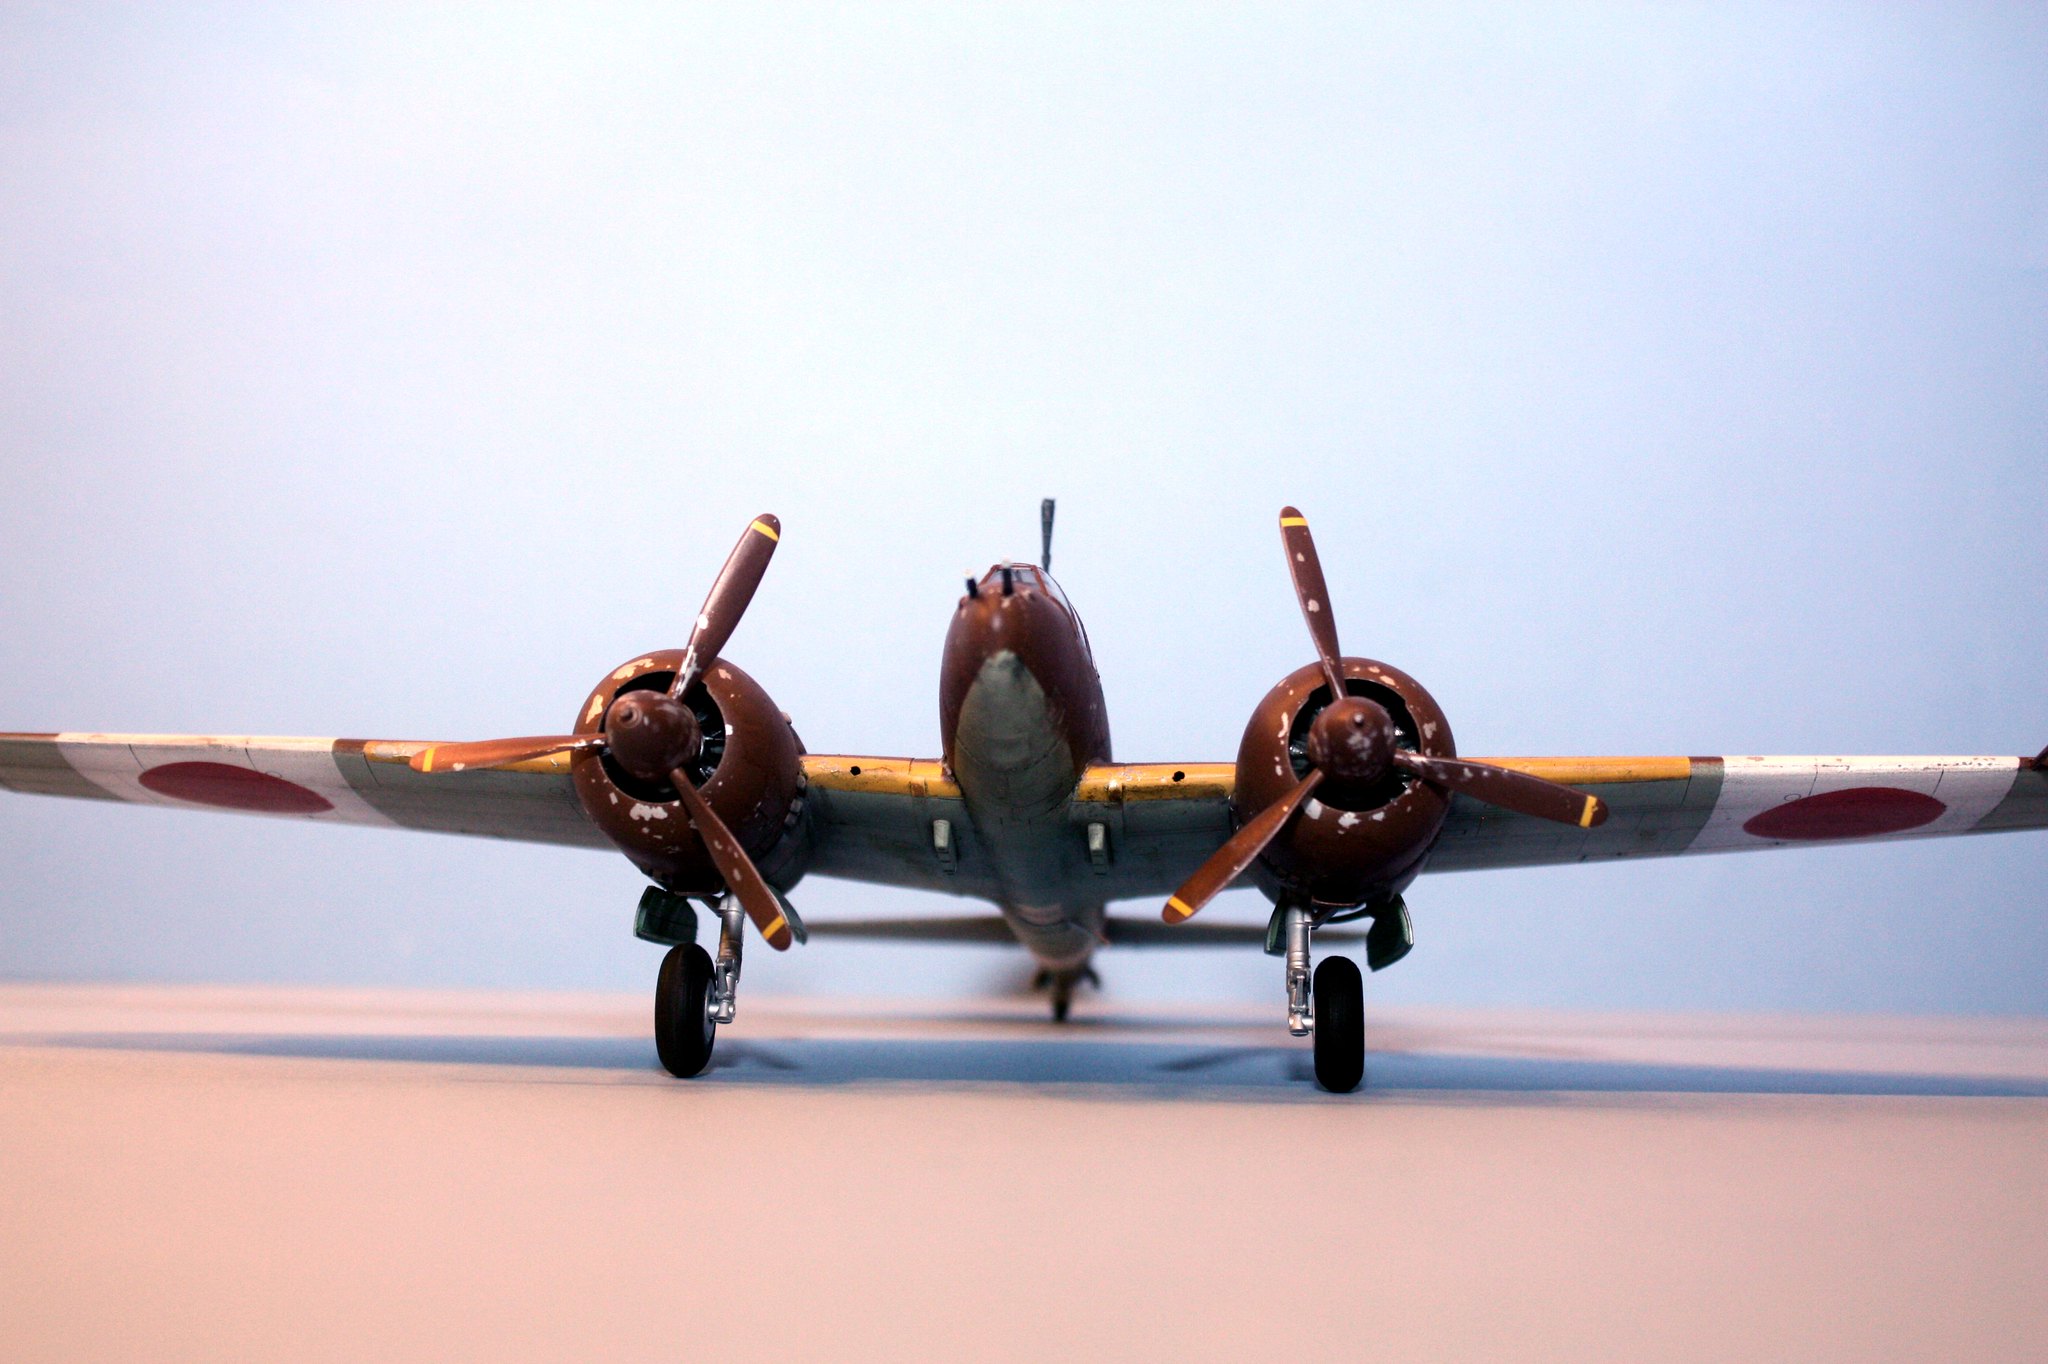
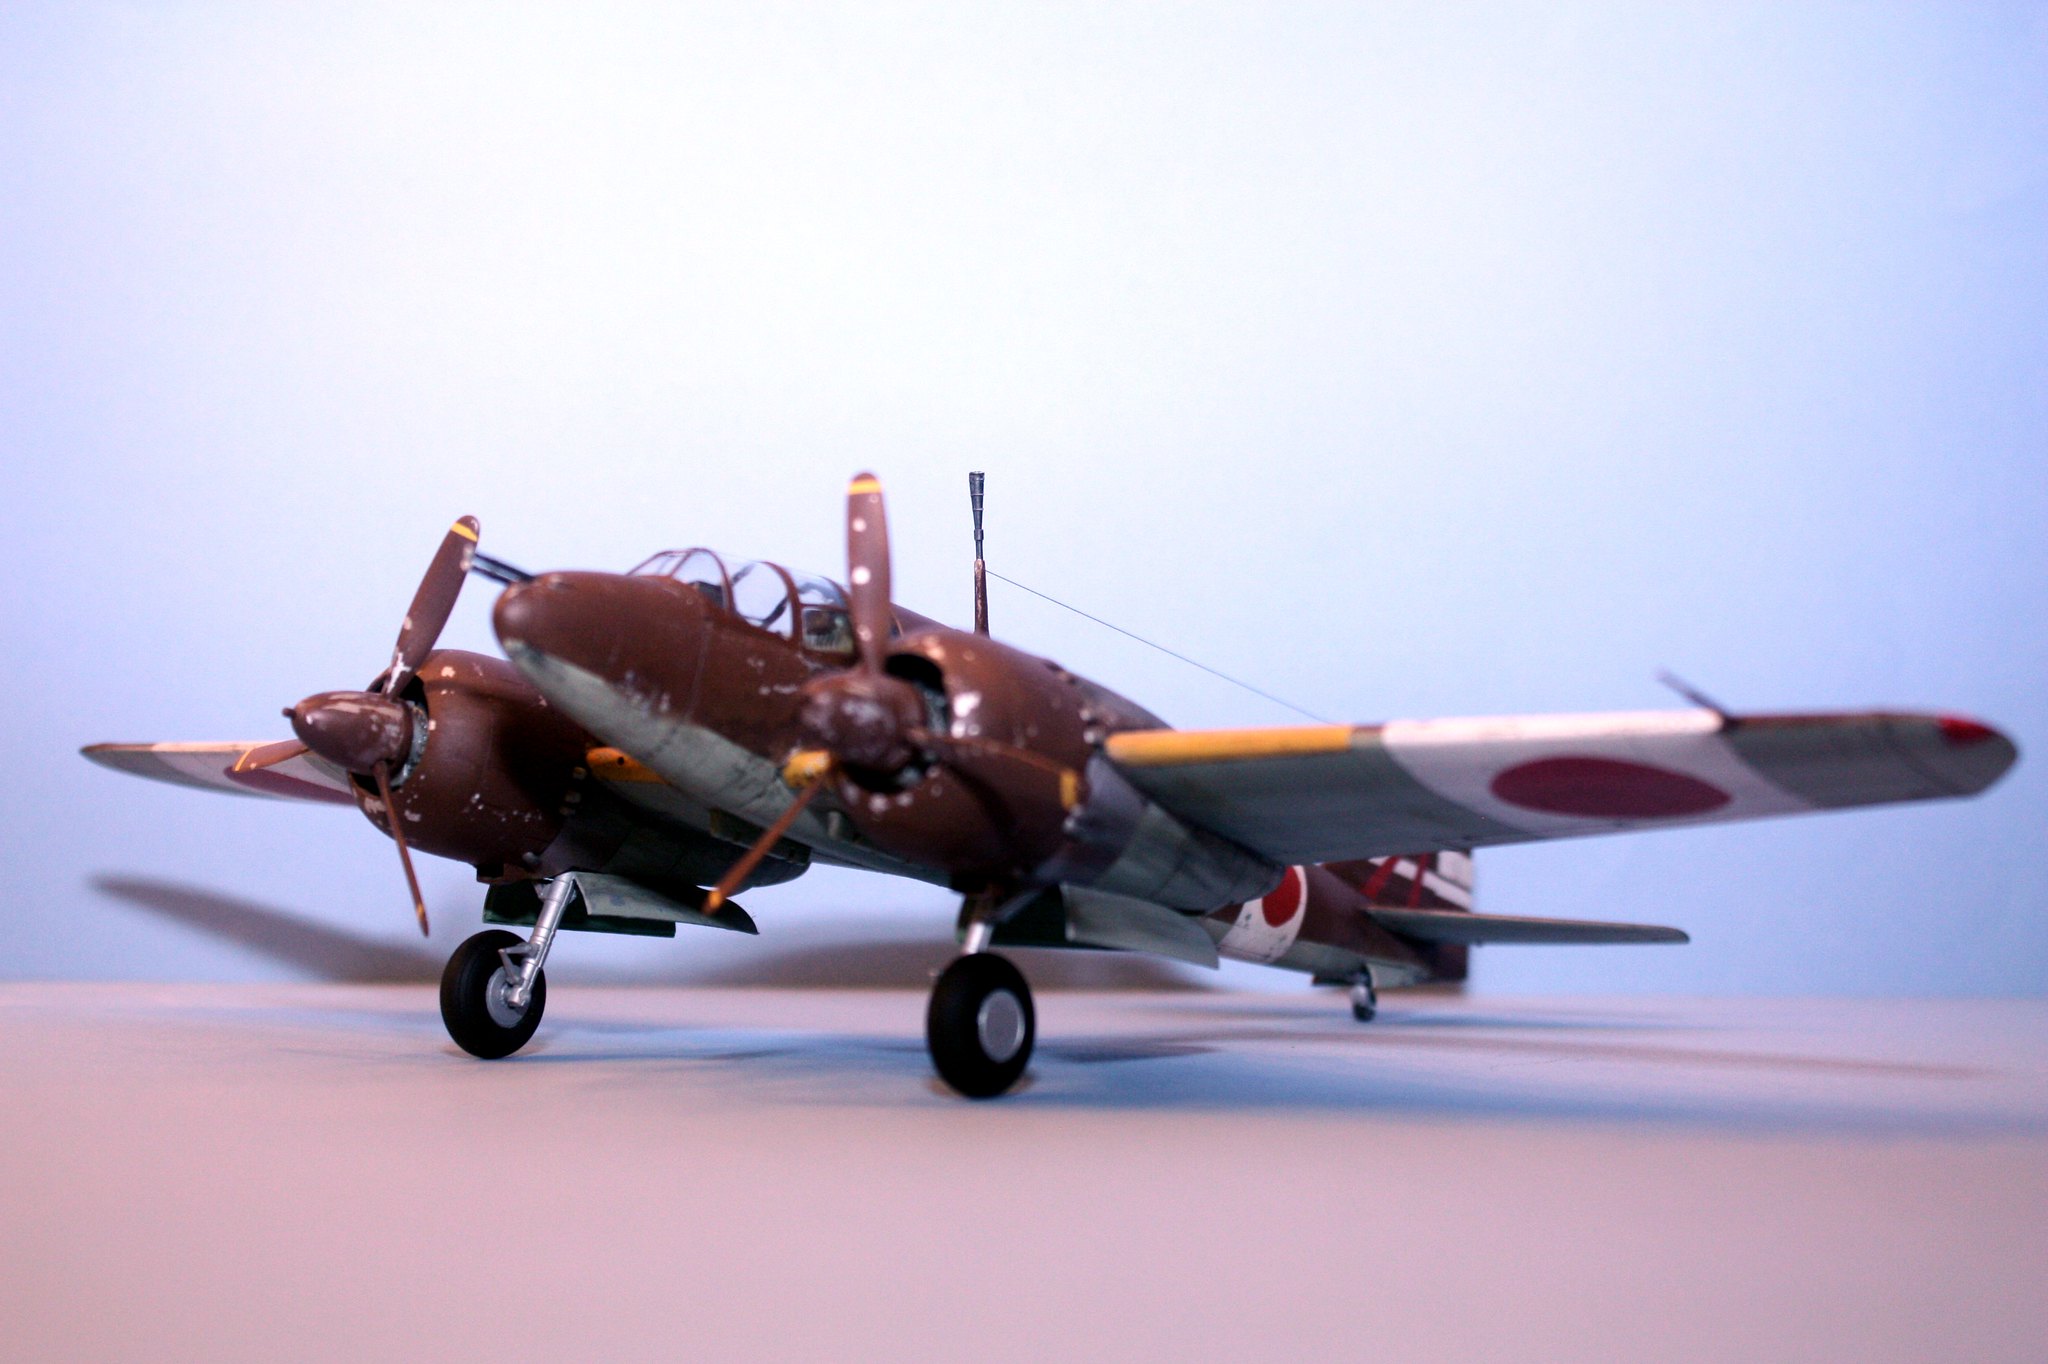
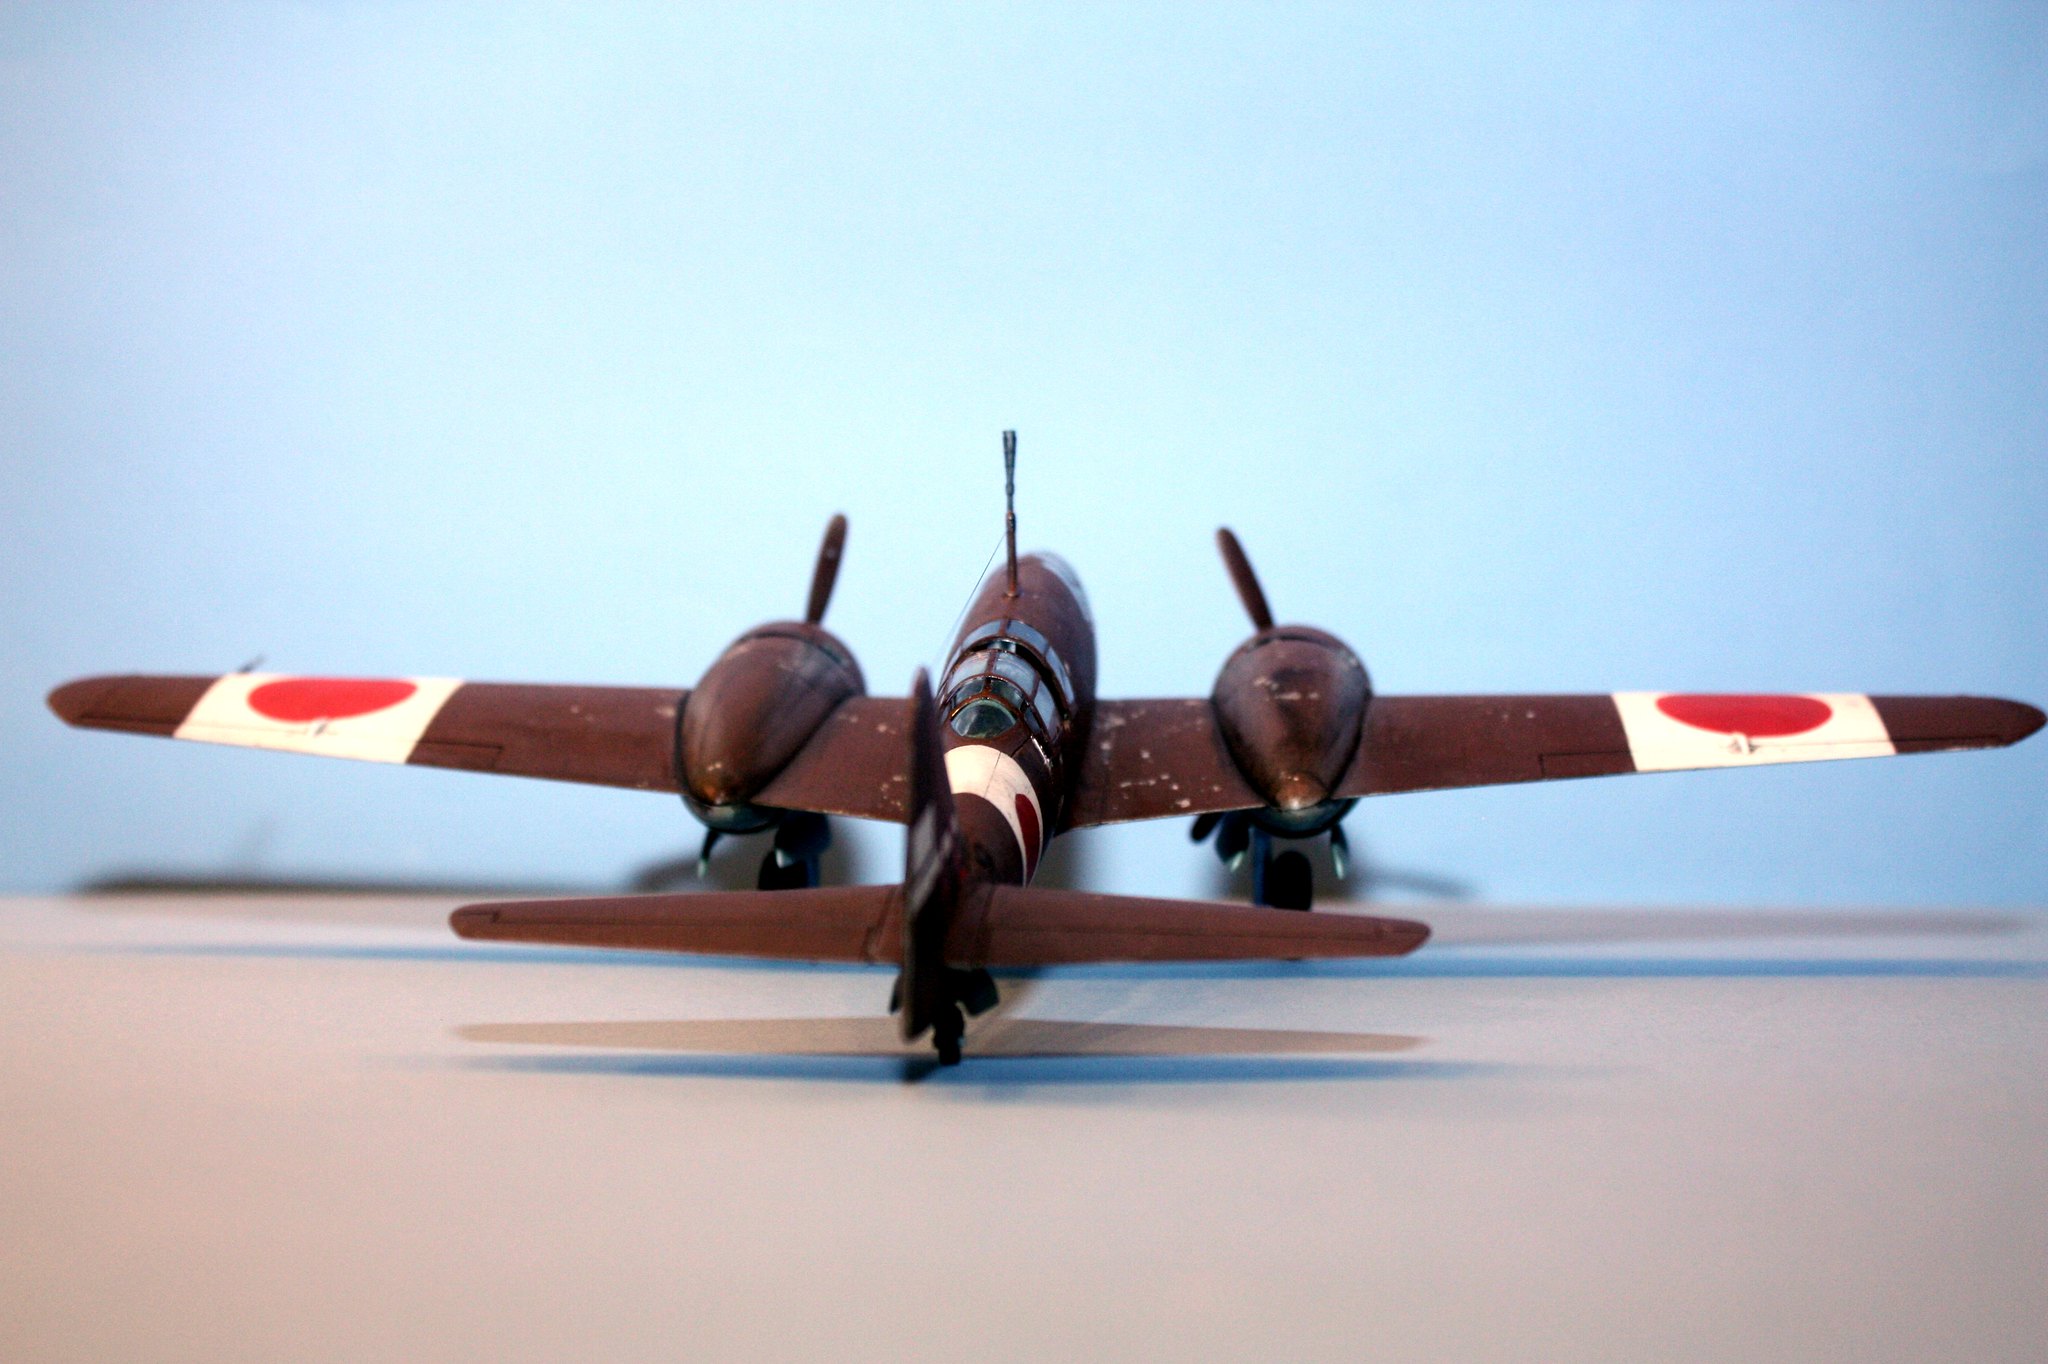
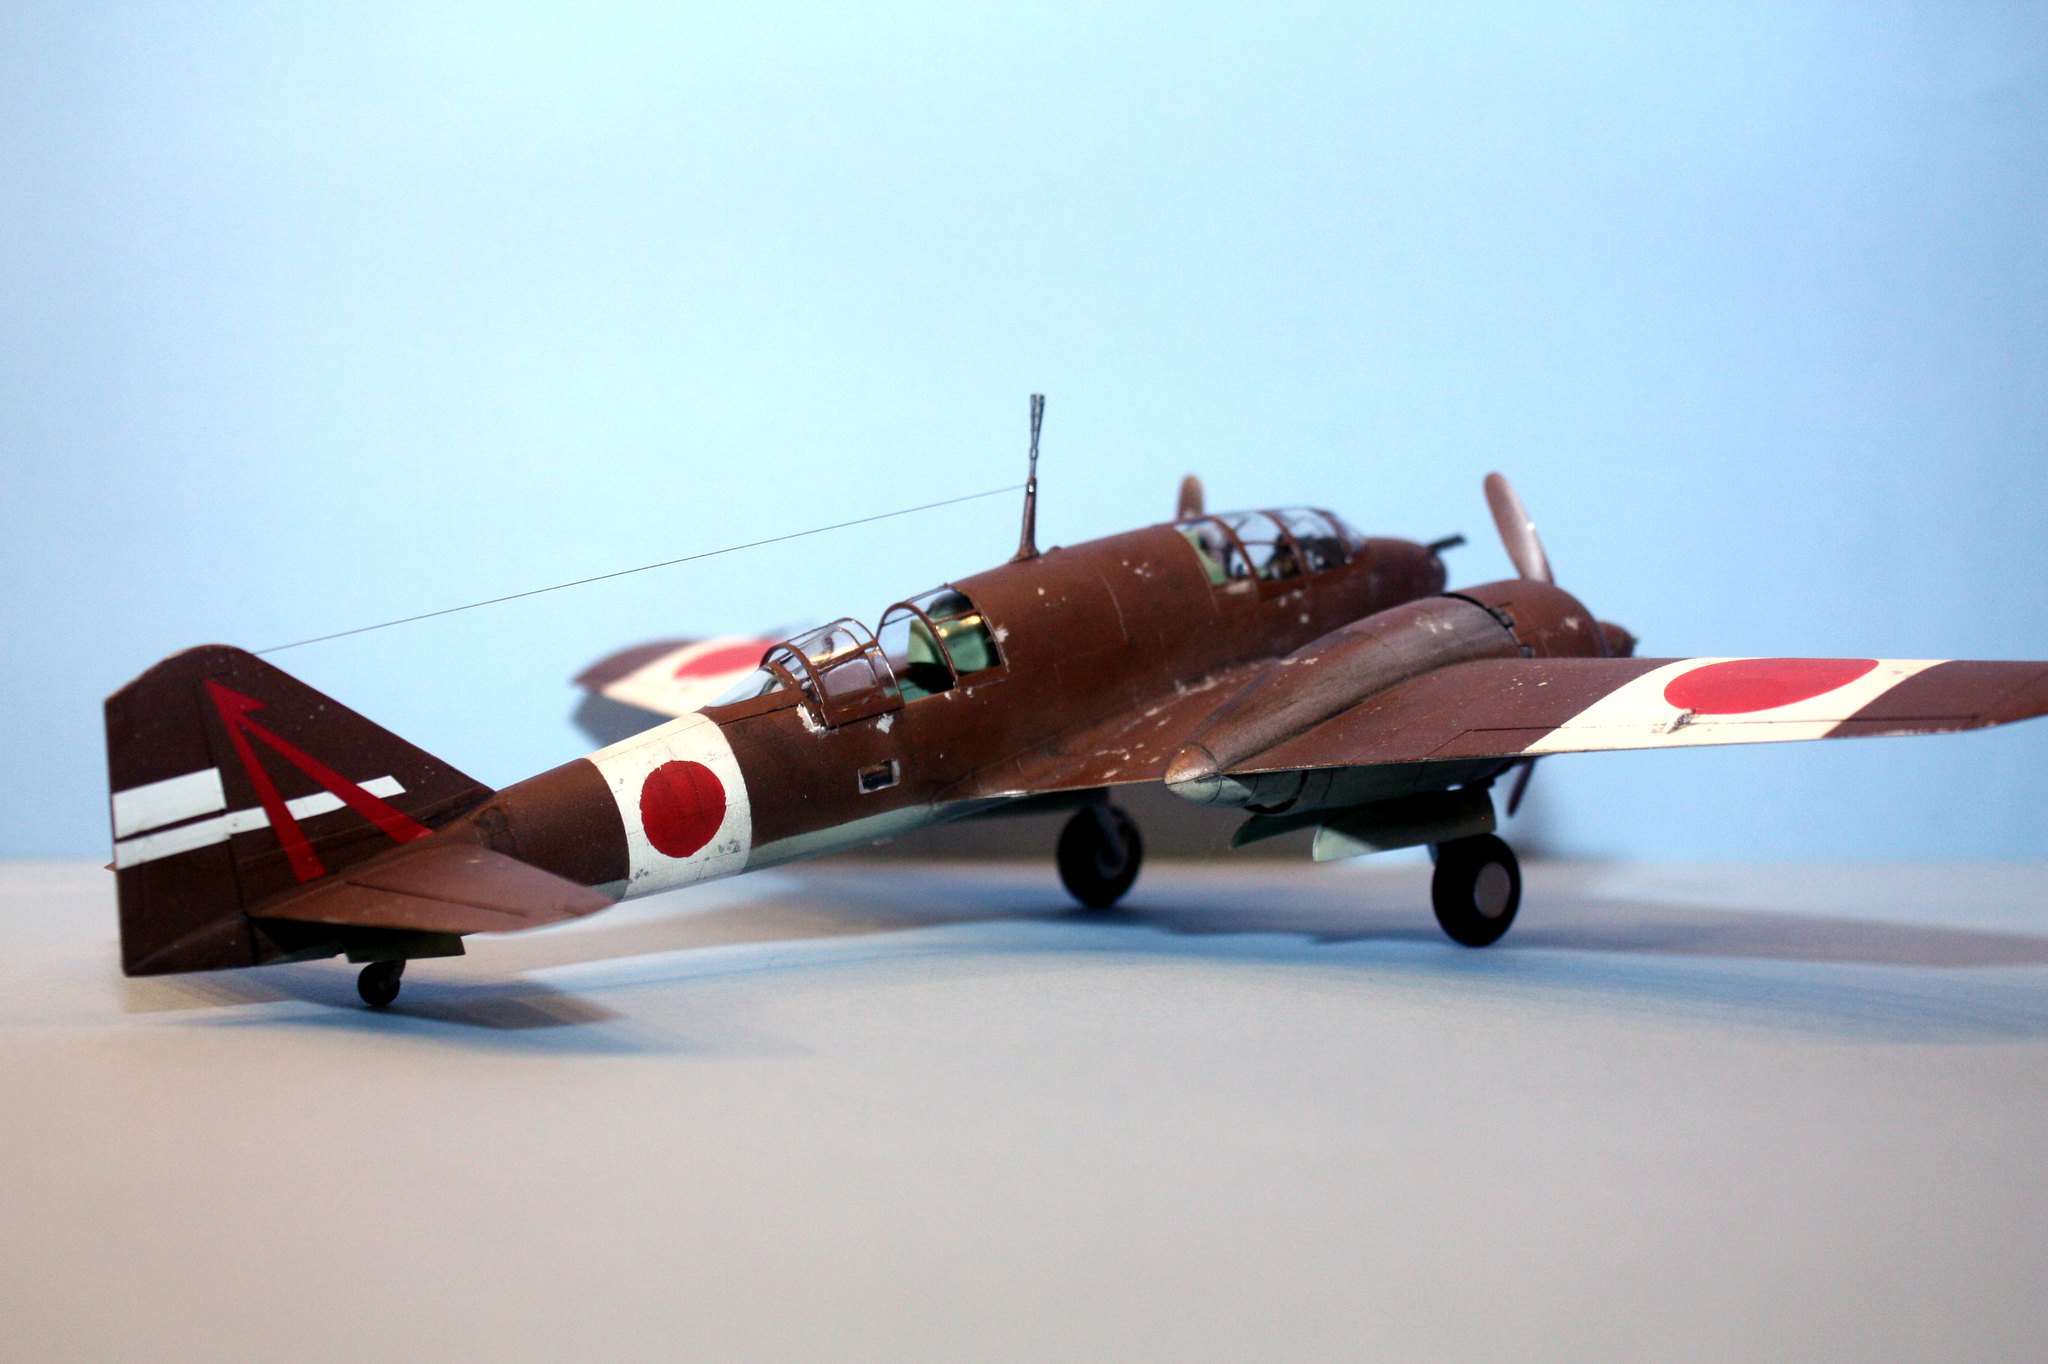
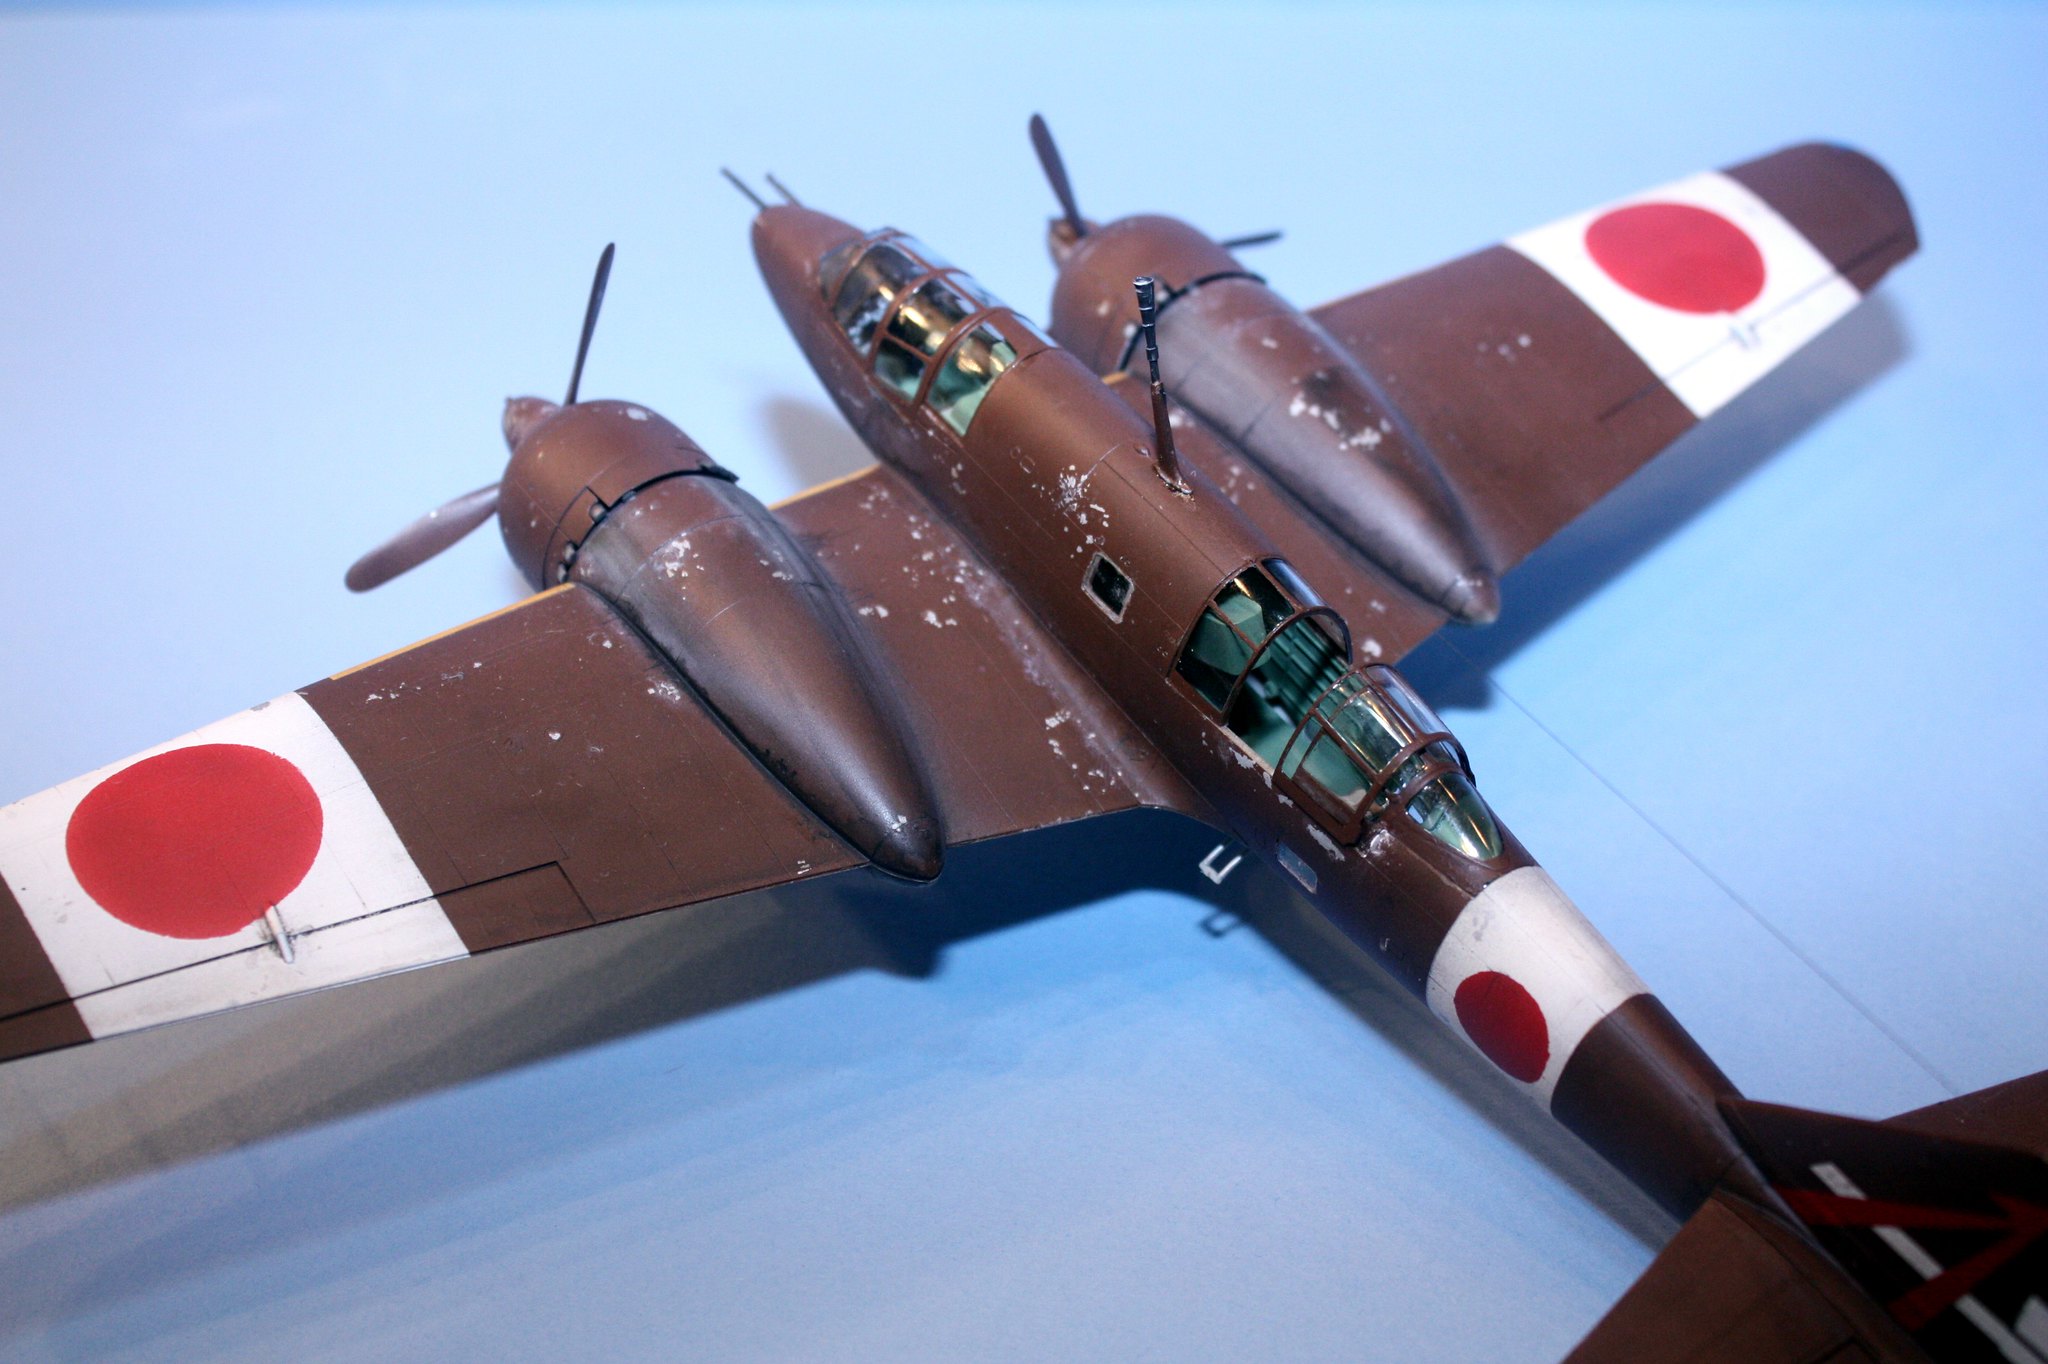
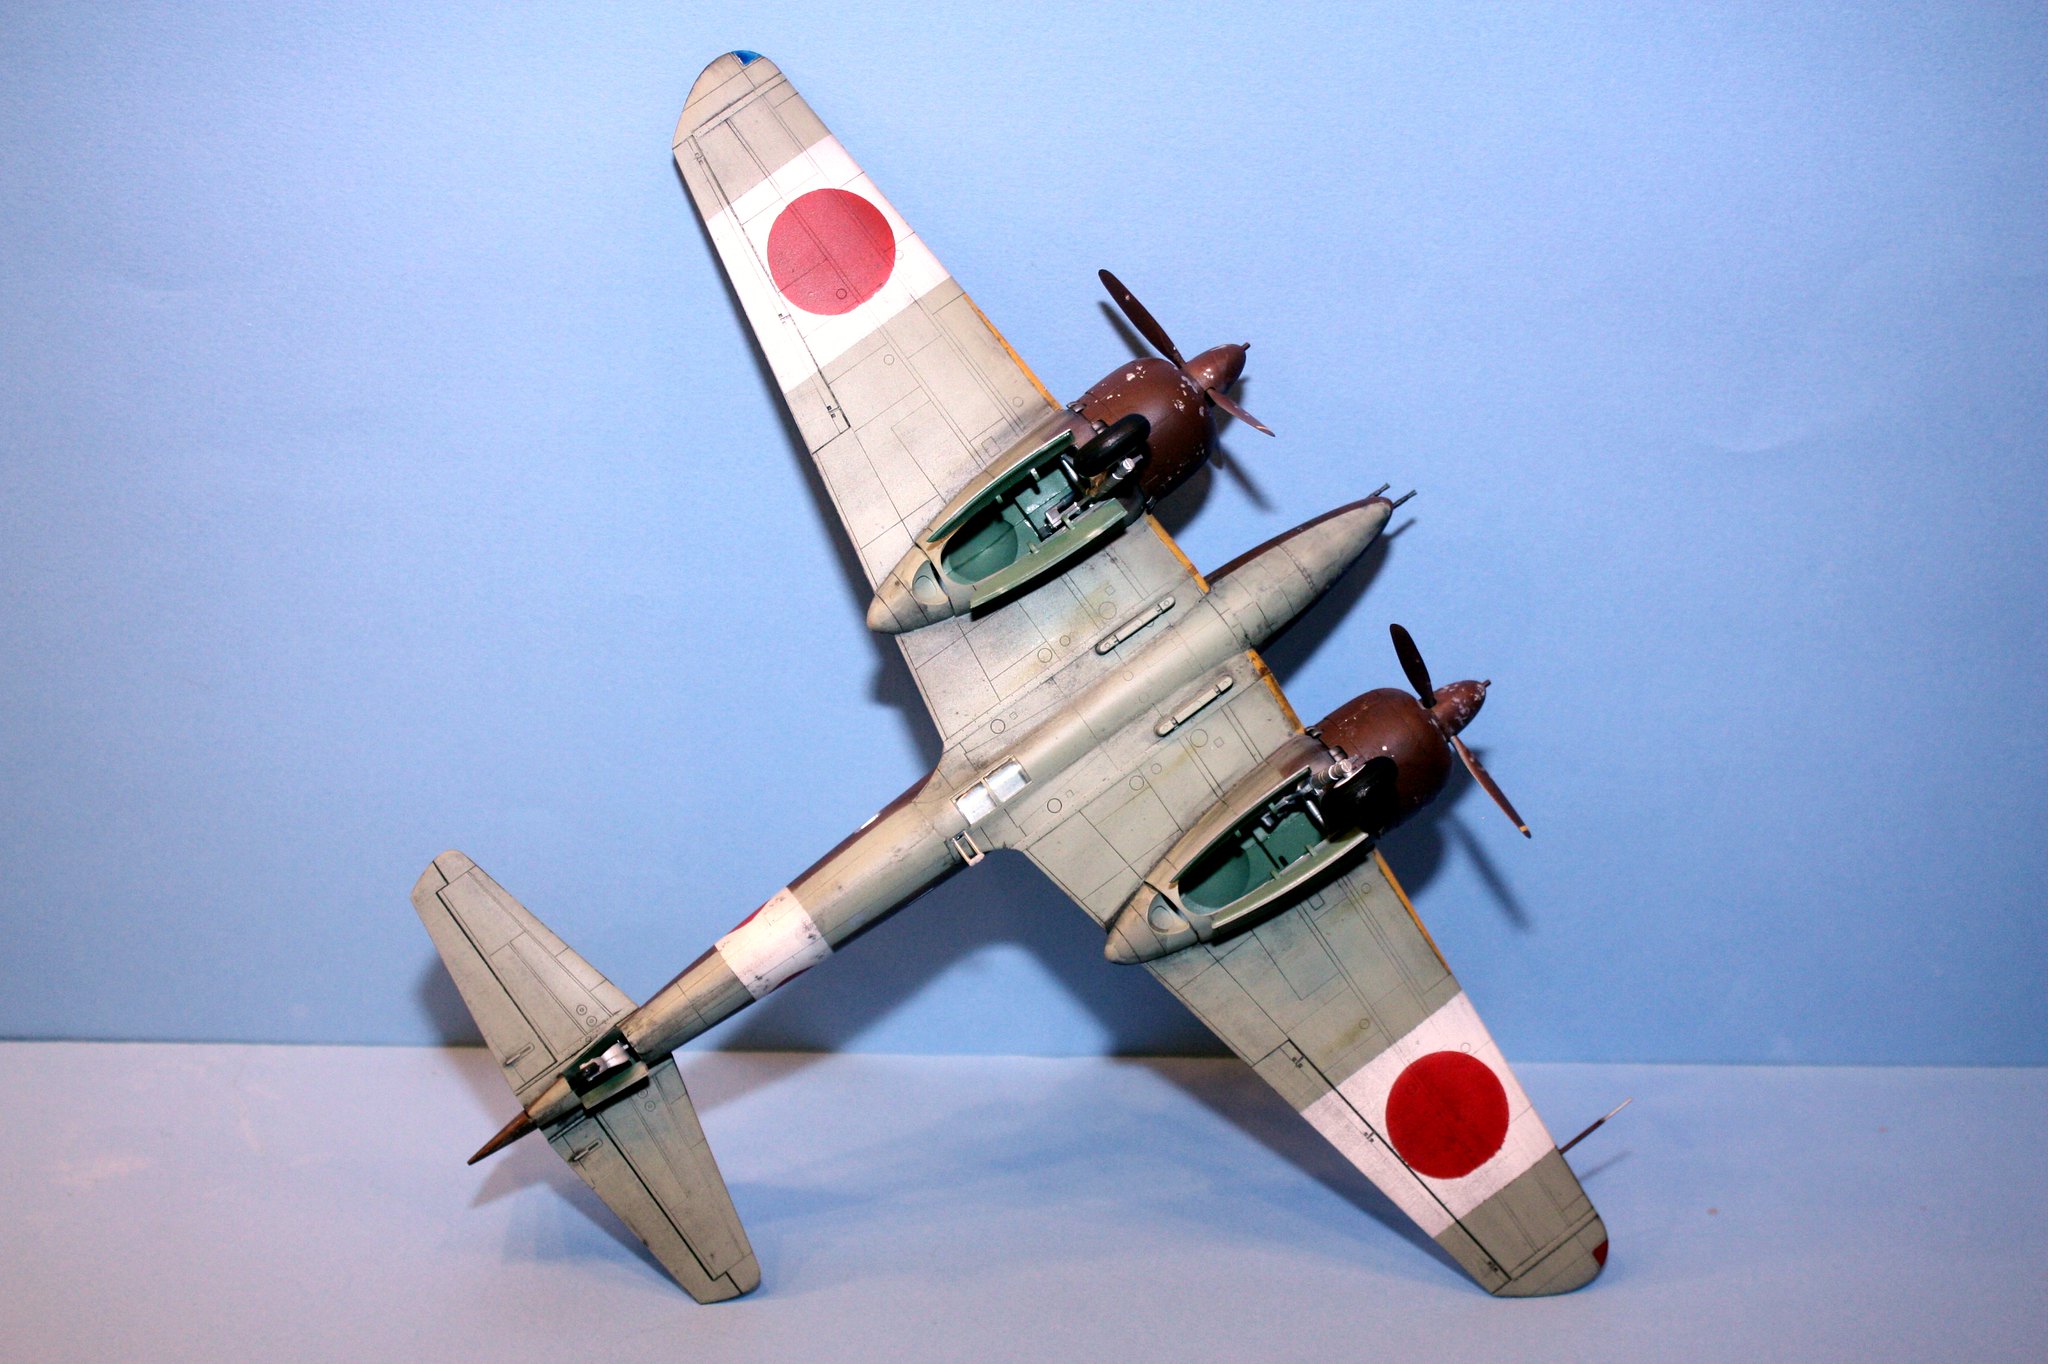
I started with a good coat of white Stynylrez primer, then covered that with Model Master Metalizer aluminum. Between primer and Metalizer, I gave it a couple of days to cure, then another few days after as well. Exterior paints are Tamiya IJN gray and Vallejo flat brown*. The asterisk I mentioned above comes into play. I initially started with a bottle of Tamiya flat brown + Tamiay flat yellow in a 90%-10% ratio, and was moving right along when sputter sputter sputter, I ran out of the mix and had no more flat brown. I still had the wing tips and forward areas of the wings to paint. Oh, the horror, I was forced into a trip to the local hobby shop. I probably spent too much in there but I went ahead and planned ahead for my next build or two. So the top ended up being the Vallejo flat brown, unmixed this time.
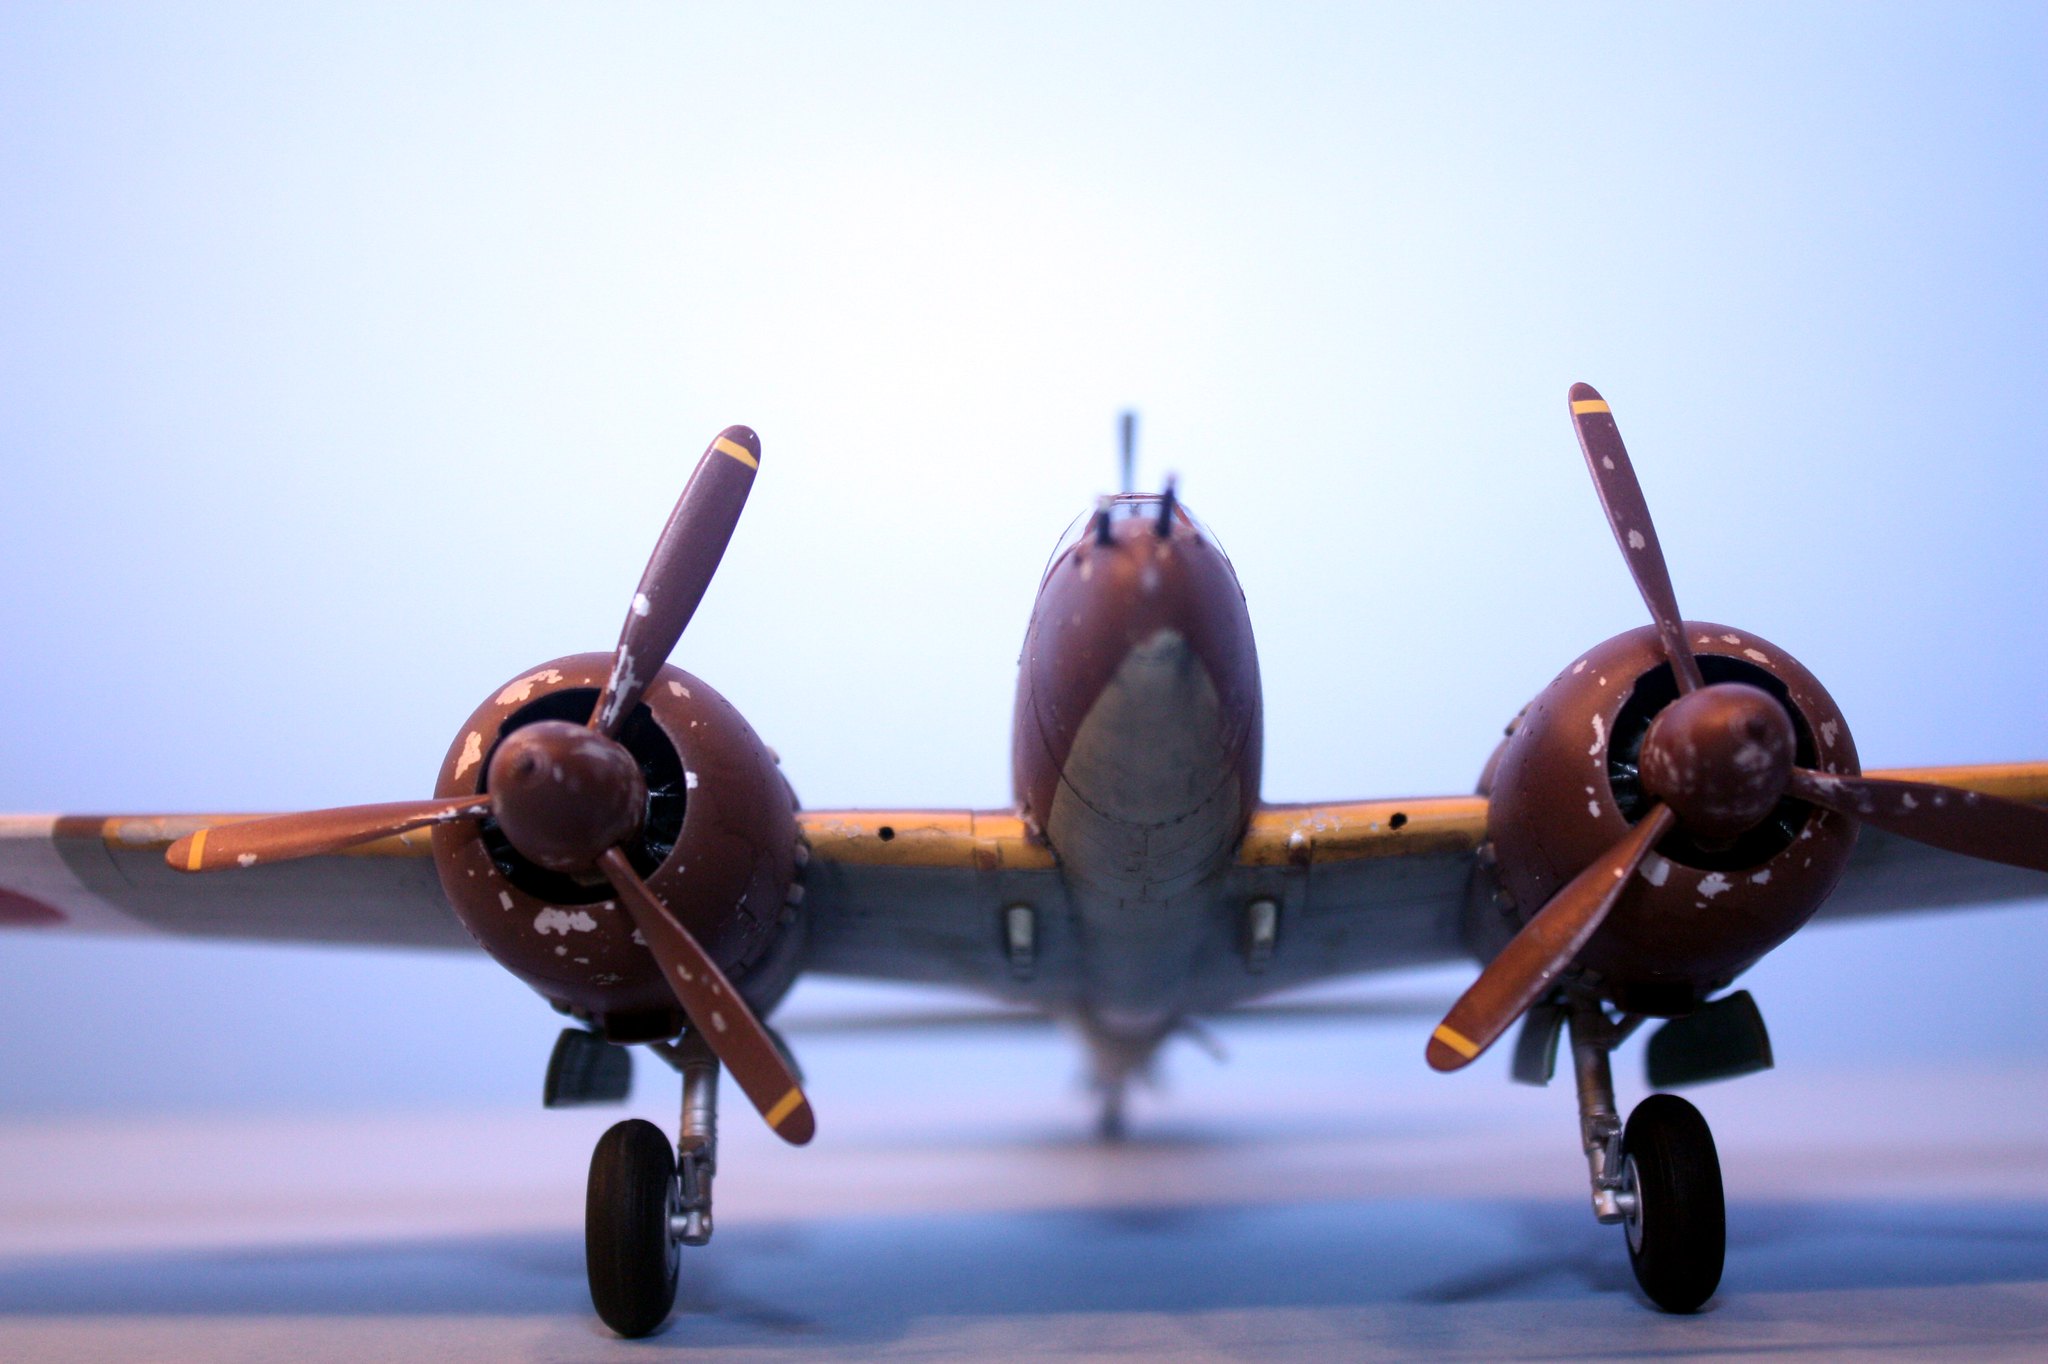
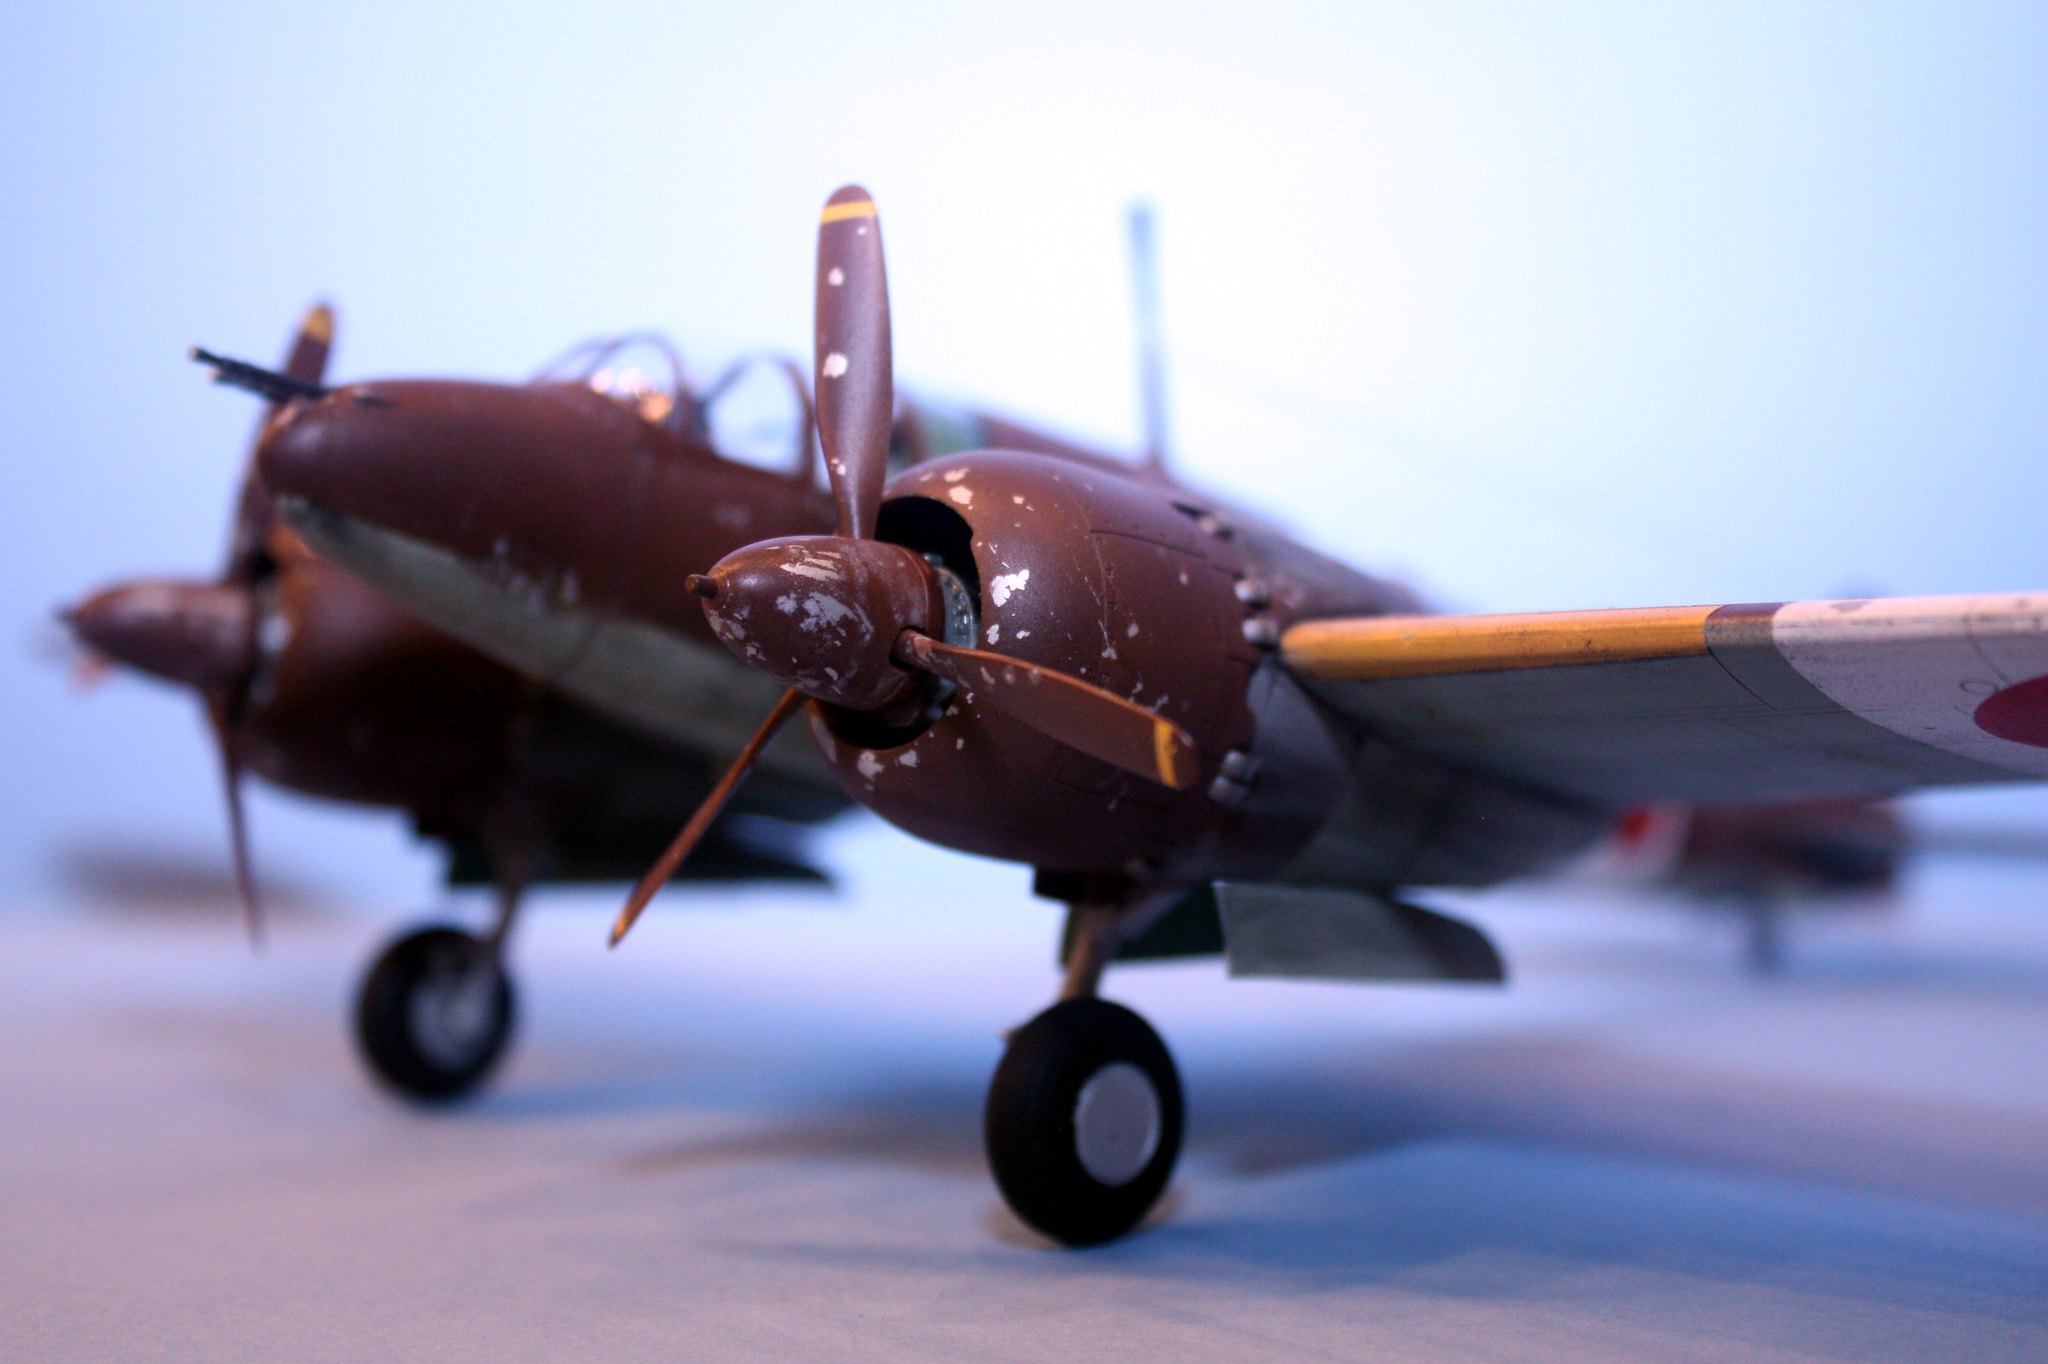
Engine exhaust is Model Master neutral gray sprayed at about 10 PSI then mixed with oil stain and orange rust Tamiya weathering compound. I also did a salt application to achieve the paint chipping, and dirtied her up with Flory wash.
Constuction was straight forward with what I would call 90% typical Tamiya standard. I am deducting 10% here on the canopy. I did manage to get it installed and all the parts appear flush with the fuselage but just getting to that point was more of a struggle than I expected with a Tamiya kit. Additionally I had wanted to pose the pilot's canopy in the open position, as I did with the gunner's, but that piece was really too thick to settle down nicely in the open position.
You will notice in the photos below that I installed bomb racks. Tamiya supplies the bombs but I opted to leave those off, unlike the box art. I don't know how factual this is, but to my way of thinking. no fighter is going after heavy bombers with a couple of bombs strapped to his underside. And exactly who were they going to be bombing if they were going after B-29s flying over the Japanese islands?
Last thing - there are only 8 decals on this kit - the tail insignia and the warning stripes on the props. I opted not to paint those warning stripes, and the tail insignia looked like more trouble than it would have been worth. The decals went down great, settling into panel lines with a bit of decal solution. The hinomarus and the white striping are painted. Some of the hinomarus look a bit off; probably the result of not using a new Exacto blade when I was cutting those masks.
Build photos






Well, that's it for Japense warbirds this year (I still have about a dozen in the stash, give or take a couple). Next up, I am moving away from aircraft and heading off to a galaxy far, far away, with Bandai's moving edition X-Wing. Got the bug to build that when I saw the last preview of Rogue One that features several shots of X-Wings blasting things.