Ok, well I got primer on it at lunch, and used some Perfect Plastic Putty to fix the gear knickle issue.
For the first time, I'm getting to see how it really looks. I'll post a bunch of pics to give you an idea.
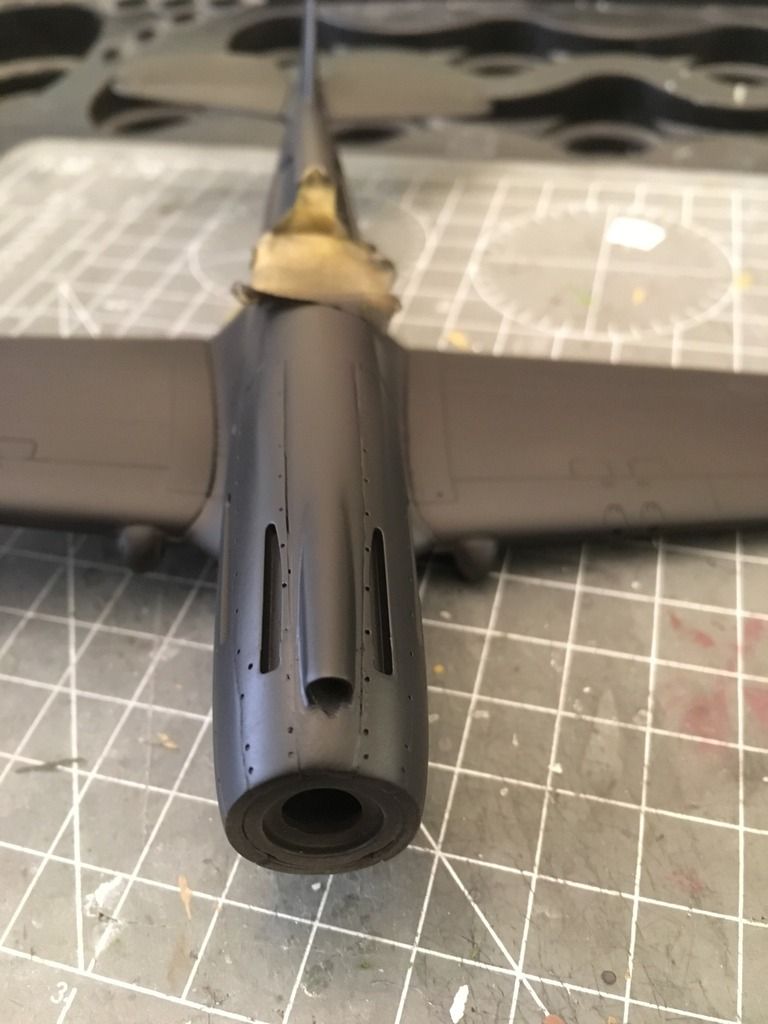
In the pic above, you can see the top of nose, which is essentially four or five parts, depending on how you count it.
Each fuselage half has a gap to accept the panels that house the machine guns. These are joined at the front by a small piece of plastic that you later remove to put the gun panels in. Remember when I said I left out the innards? Well, to fix that, I had to remove the bits of plastic to flex the central part (half of which is on each fuselage half) to insert the radiator. I think I created a bit of a step in the plastic when I did that, which took some sanding to clean up.
Adding the panels was pretty easy, and I did it after inserting the ring that serves as a bracket for the prop assembly. Again, this should have been added before closing the fuselage halves. Would have made everything line up easier. Also, you can see an expanded gap at one point. This is because I slipped with the knife when cutting off the sprue attachment point, and took a little off the piece. I may hit it with putty and re-scribe the line. Depends how I feel about it.
All of that is a long way to say that had I just followed the directions, I think this part would have looked nicer, but even with the issues, I'm fine with how it turned out. The decision to make the gun fairings separate pieces makes cleanup MUCH easier, and I appreciate that if you're reading this, Airfix.
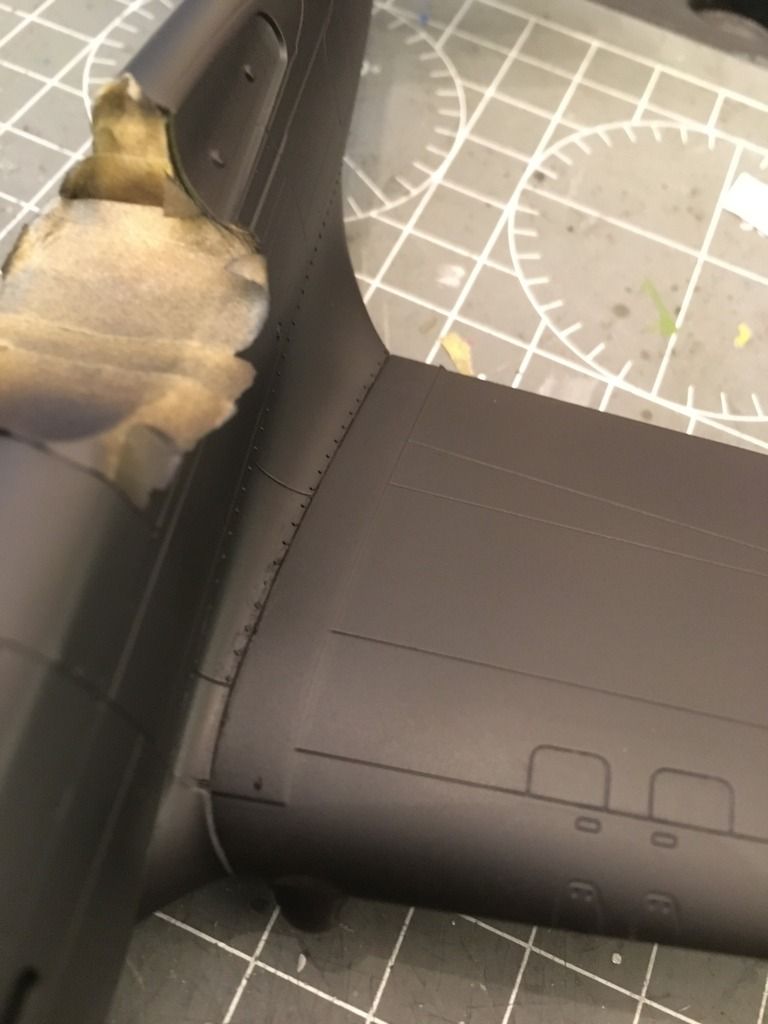
Above, you can see the port wing root. There is no filler here. The blemish at the front of the wing walk area is from an alligator clamp I put on to hold the landing gear knuckle shroud in place. I'll fix that before paint. Adjacent to it is the small gap where the curved piece of the wing root (which joins wing to fuselage) mates to the forward part of the fuselage. I will probably put some Perfect Plastic Putty in that spot to smooth it a bit. All in all, I'm really impressed with the fit here.
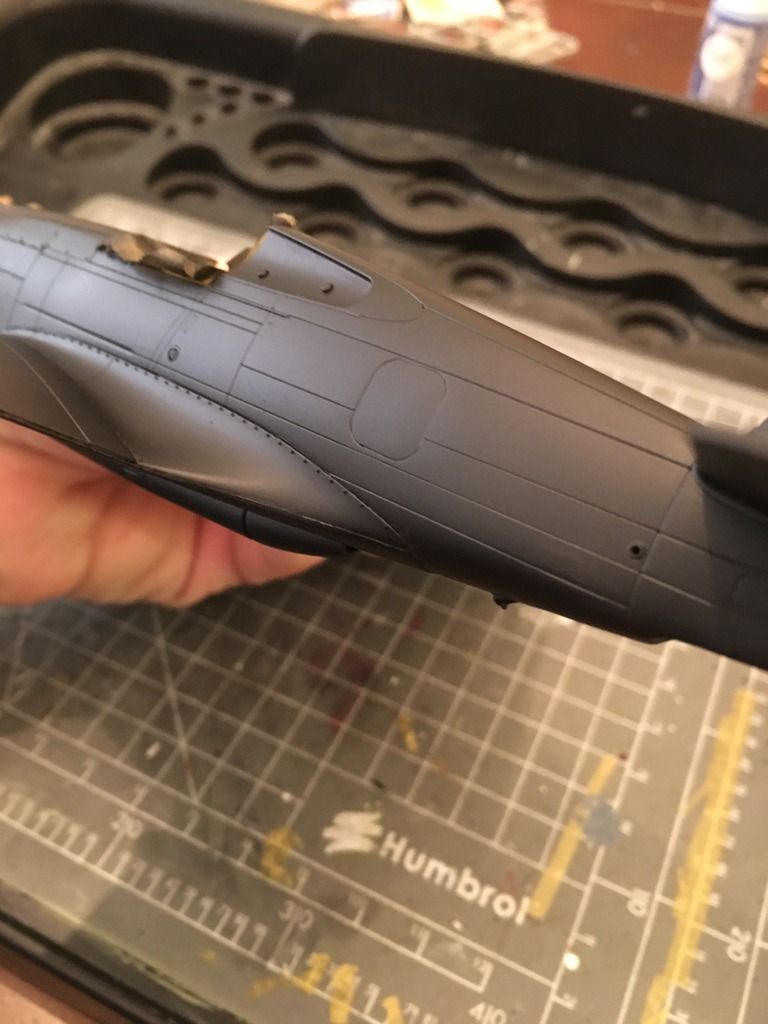
Here you see the rear portion of the port wing root. There is a small seam where it joins the underside of the wing, which I will fill and sand before continuing. The joint to the fuselage runs along the raised rivets. Again, there is no filler here, and the fit was great. The piece itself has a flange that slips over the inside of the fuselage, allowing you to glue it without any seeping out and creating a mess along the rivet line.
The door above it is a separate piece. Be sure when you assemble it that the tab is facing the correct way. The picture in the instructions shows itcorrect, however, if you just look at the part, it looks like it's meant to go in upside down. But this is not the case, and it fits correctly as the instructions have it.
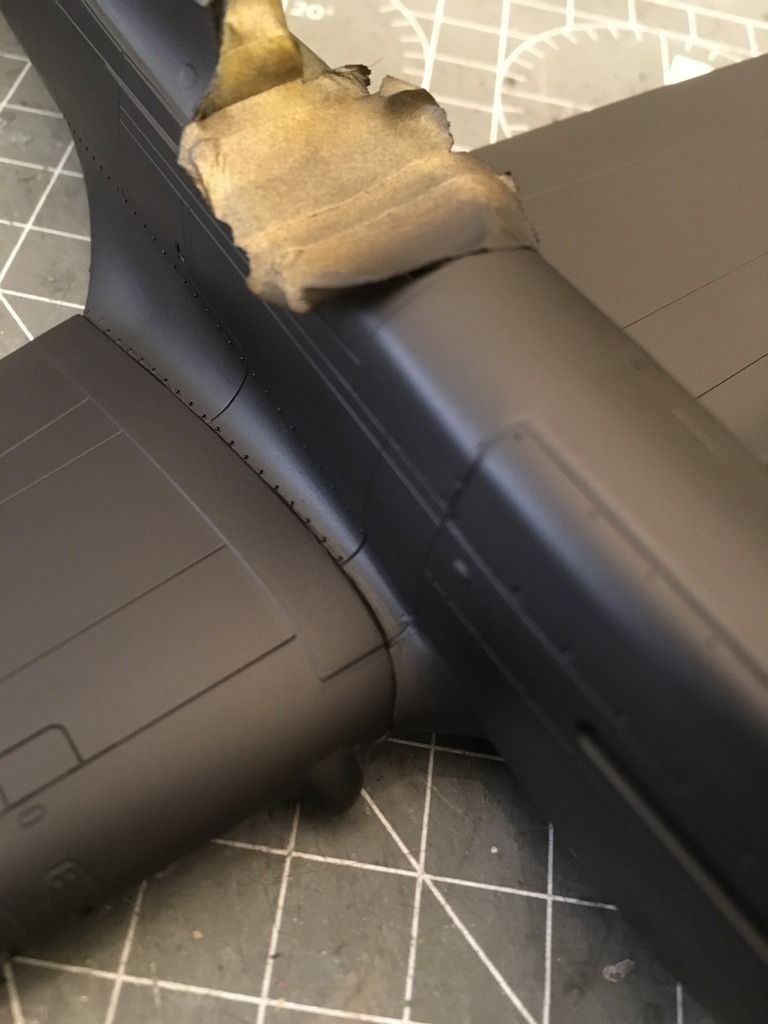
Above is the starboard wing root. It looks like it has a substantial gap, but that is just the lighting in the picture. In thiscase, itis raised ever so slightly more than the port wing root, and I am not certain as to why, but I did sand the underside of the trailing edges, and I think I took more off the port wing, which would account for the difference. On my next one, I'll be testing this area more when doing that.
You can also kind of see the gear knuckle shroud, which with Perfect Plastic Putty filler looks as it should, at least to my eye.
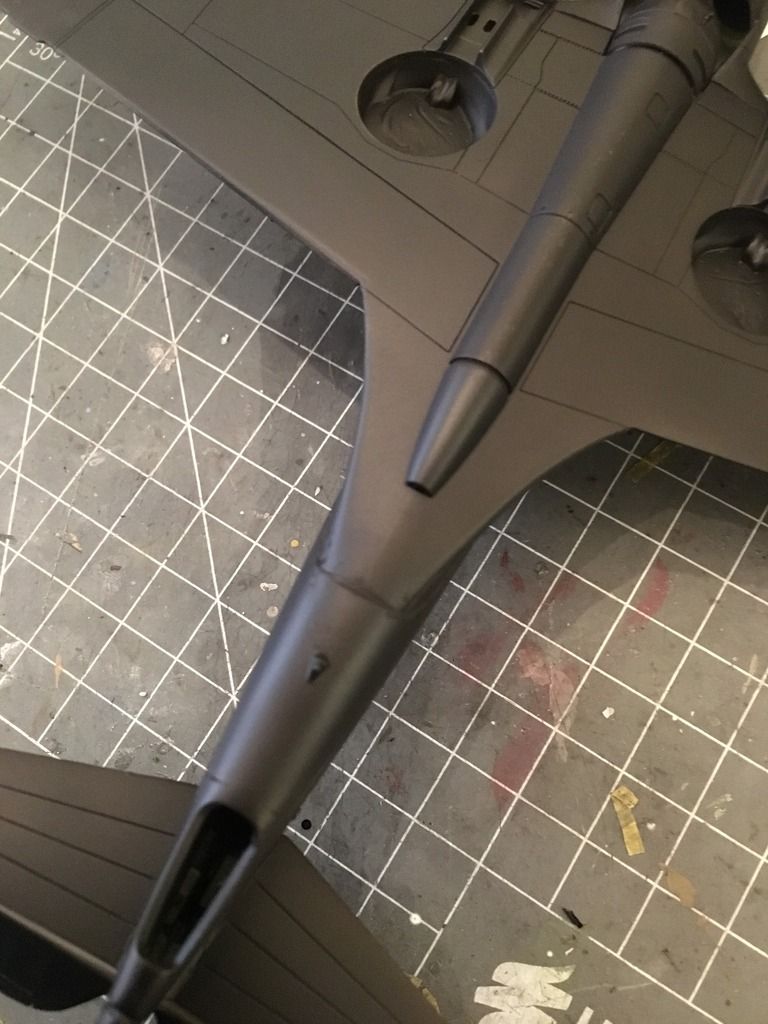
In the pic above, you see where the lower wing comes into contact with the fuselage. It stands a little proud because the fuselage seam was sanded and tapered a bit there, so I stuck in some Perfect Plastic Putty and sprayed it, but this will get a bit more work before it gets paint. I haven't sanded the seam yet. There is also a slightly raised seam on the spine of the rear part of the wing that I will sand off, unless I find a reference to show that it belongs there. Here, you can also see the gear bay with the ejector pin mark fixed (I used the chisel blade of an X-acto knife after putting in a drop of Gunze Mr. Dissolved Putty).
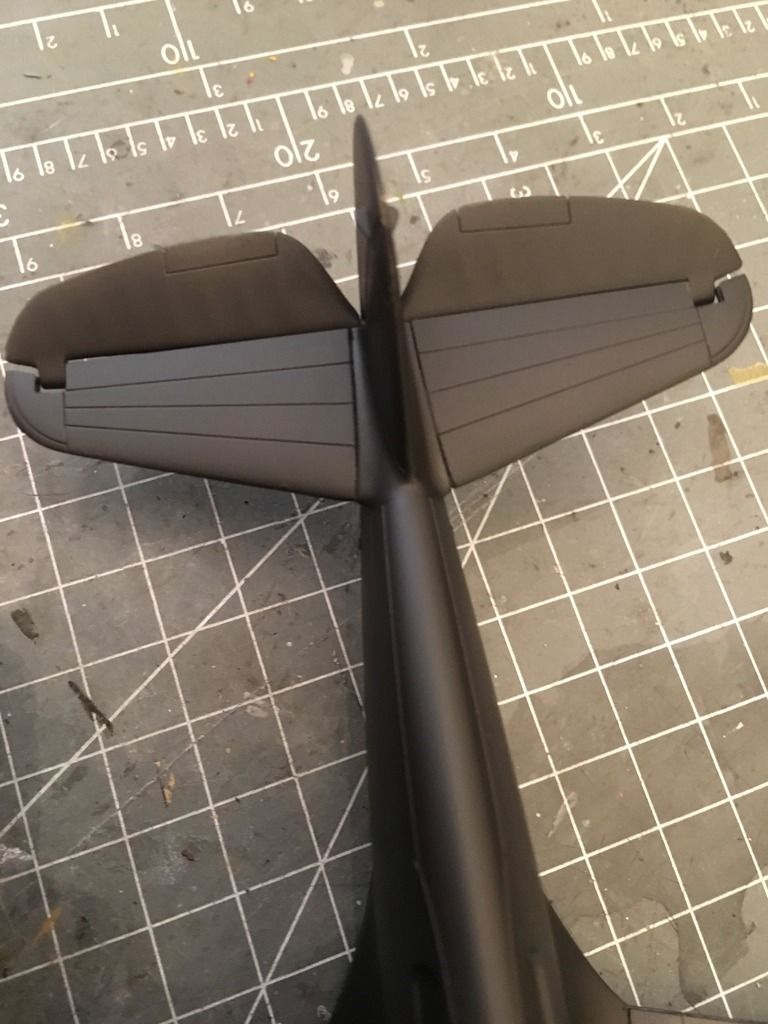
Above is the top view of the tail feathers. I will drop some putty in the gap at the roots just to make them smaller, and sand off the small blemish that's left from the sprue gate on the leading edge of the starboard (on the left, in the pic) one. As you can see here, the elevators actuate, and I will leave them slightly dropped after paint. The fit is tight, so they stay wherever I put them.
Thanks for looking. Typically I wouldn't do so much with this minutiae, but given that it's a new kit, I thought I'd try to point out the fit as I go.
-BD-