SEARCH FINESCALE.COM

Enter keywords or a search phrase below:

WIP 1:32 Bf109G-10..............a long WIP

1117 views
11 replies
1 rating 2 rating 3 rating 4 rating 5 rating
  • Member since
    February 2007
  • From: Brunswick, Ohio
Posted by Buckeye on Wednesday, December 7, 2016 7:49 PM

Step 36 has you carefully assemble the rudder halves around two hinges so the rudder is moveable.  Then step 40 installs the rudder trim tab actuator which locks the rudder in place!


  • Member since
    February 2007
  • From: Brunswick, Ohio
Posted by Buckeye on Tuesday, December 6, 2016 11:26 AM

Plasticjunkie, thanks for those links!

Mike

  • Member since
    November 2008
  • From: Central Florida
Posted by plasticjunkie on Tuesday, December 6, 2016 6:55 AM

Mike

The ROG 1/32 109s are very good kits and like any other, will have some "shape and detail" issues here and there but nothing that is so noticiable if left alone. The details are really good specially in the pit. IMO all you need to do to improve the kit is to remove the molded seat belts and add some Eduard belts.

Here are a couple of articles about it:

http://forum.largescaleplanes.com/index.php?s=75c30ef9346af1c75099dc1bdea7756e&showtopic=56507

http://forum.largescalemodeller.com/topic/2946-132-revell-messerschmitt-bf-109g-10-erla/

http://forum.largescaleplanes.com/index.php?showtopic=48329&page=3

Even the kit decals are good. I have two G-10's that will use AM decals because I like the markings and heavy mottling on them, otherwise the included decals will do.

And by the way, the 1/32 ROG 109K-4 is a Hasegawa mold re boxed by ROG but the 1/32 G-6 and G-10 are new mold ROG. 

This is a sweet kit to work with so have fun.

 GIFMaker.org_jy_Ayj_O


Too many models to build, not enough time in a lifetime!!

  • Member since
    February 2012
  • From: Olmsted Township, Ohio
Posted by lawdog114 on Tuesday, December 6, 2016 6:54 AM
Looking great Mike. I look forward for your work.

 "Can you fly this plane and land it?...Surely you can't be serious....I am serious, and don't call me Shirley"


  • Member since
    November 2003
  • From: Naples, FL
Posted by tempestjohnny on Tuesday, December 6, 2016 4:55 AM
Great start


  • Member since
    October 2015
Posted by Modelrob on Tuesday, December 6, 2016 4:00 AM

Great working area and the build is coming along nicely.


Robert

  • Member since
    November 2016
Posted by Gerhard on Tuesday, December 6, 2016 2:01 AM

I found the same errors in the 1/48 Mosquito from Revell. 

  • Member since
    February 2007
  • From: Brunswick, Ohio
Posted by Buckeye on Monday, December 5, 2016 11:22 AM

The only complaint I have so far is several wrong part numbers called out in the instructions but the drawings are clear enough to get around it.

Mike

  • Member since
    October 2010
Posted by hypertex on Monday, December 5, 2016 6:06 AM

I have this kit, but I was considering selling it or giving it away since I am not into Luftwaffe. But if it goes together as well as you say, maybe I will hold on to it.

  • Member since
    December 2002
Posted by 7474 on Monday, December 5, 2016 4:09 AM
Nice '109, can't wait to see the finished model.
  • Member since
    March 2015
  • From: Streetsboro, Ohio
Posted by Toshi on Sunday, December 4, 2016 1:45 PM

Looking good right now.  I love your work space, I use a drafting desk as my work area.  It used to belong to my son.  

I'm excited for you in seeing this WIP progress.  Thank you for posting!

Toshi

On The Bench: Revell 1/48 B-25 Mitchell


Married to the most caring, loving, understanding, and beautiful wife in the world.  Mrs. Toshi


  • Member since
    February 2007
  • From: Brunswick, Ohio
WIP 1:32 Bf109G-10..............a long WIP
Posted by Buckeye on Sunday, December 4, 2016 11:29 AM

Thought I would attempt a work in progress on my latest project hoping it will light a fire under my butt to actually complete something. Wink  This may take a while, I don't build quite as fast as Toshi and LawDog but I'll try to keep it moving along.  I won't even hide my mistakes..........and I make plenty.

Here is the kit I'll be working with.
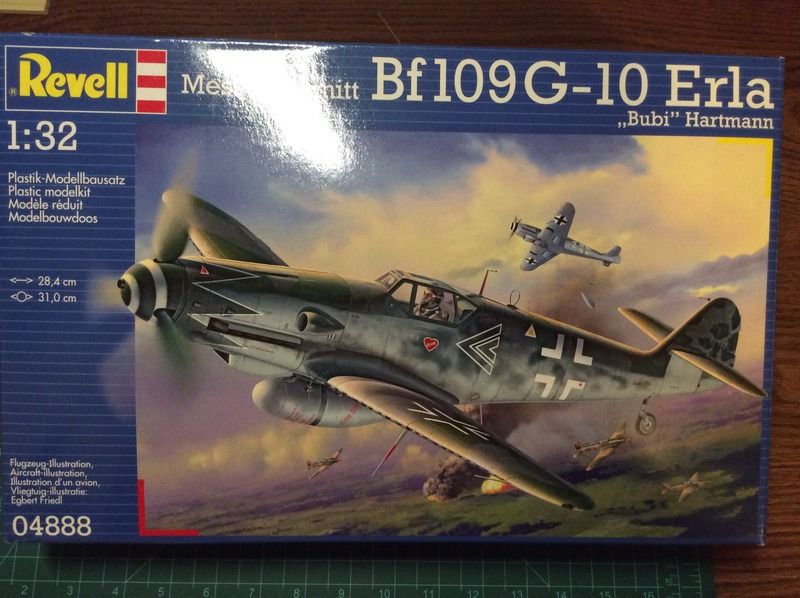
So far for the price of this kit I have been VERY impressed with the detail and fit.


Here's a view of my new work space.  I aquired a old computer desk that is working out very well in the corner of a spare bedroom.
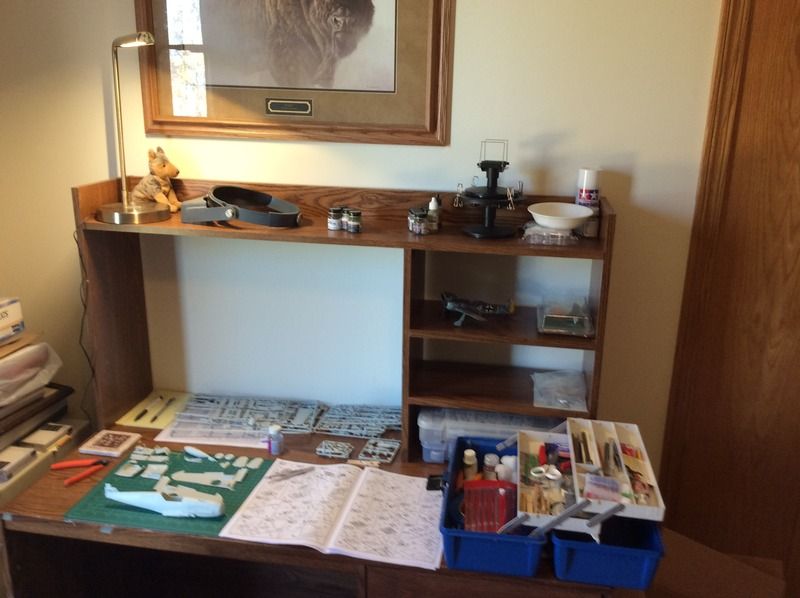
 

Getting some of the sub assemblies ready for paint.
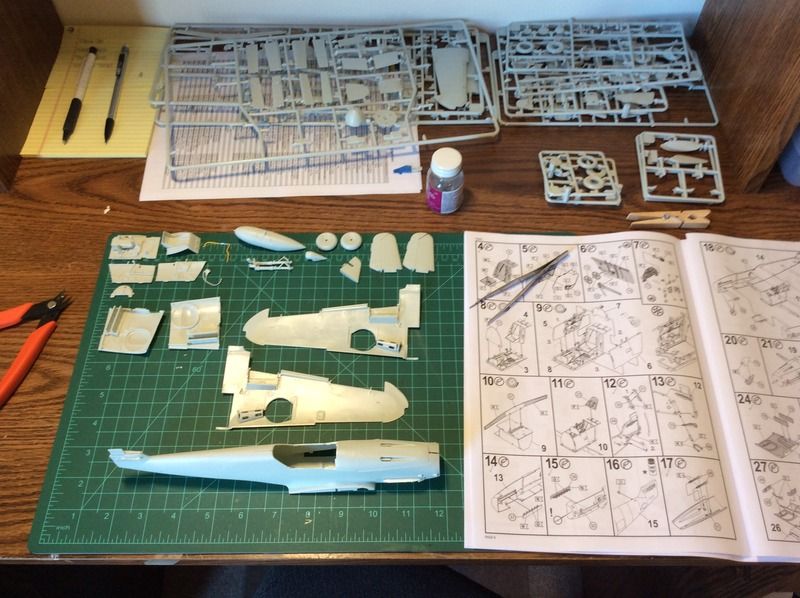
 

I primed the cockpit pieces black, painted MM RLM 66 enamel, brush painted details and dry brushed for some wear.  I was going to do a wash but most of this will be invisible once buttoned up.
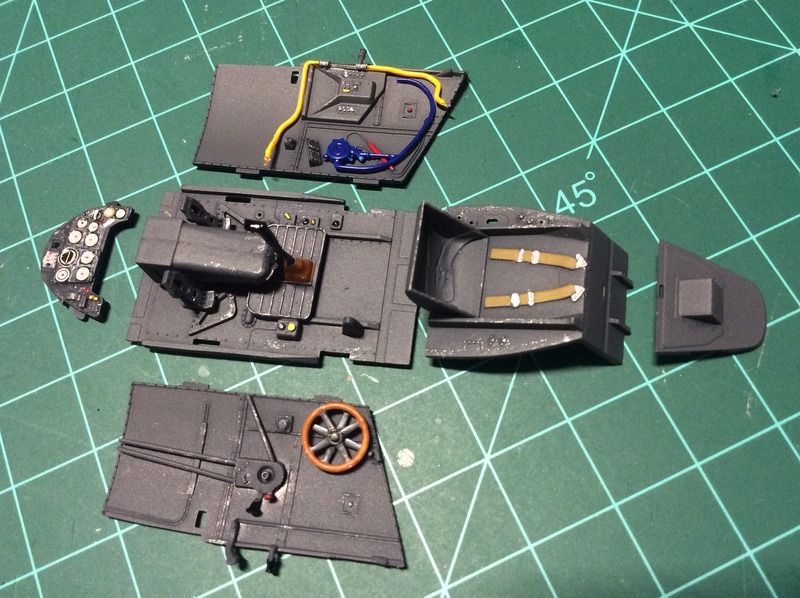


The kit is well engineered and nicely detailed.  Building the wheel weels.
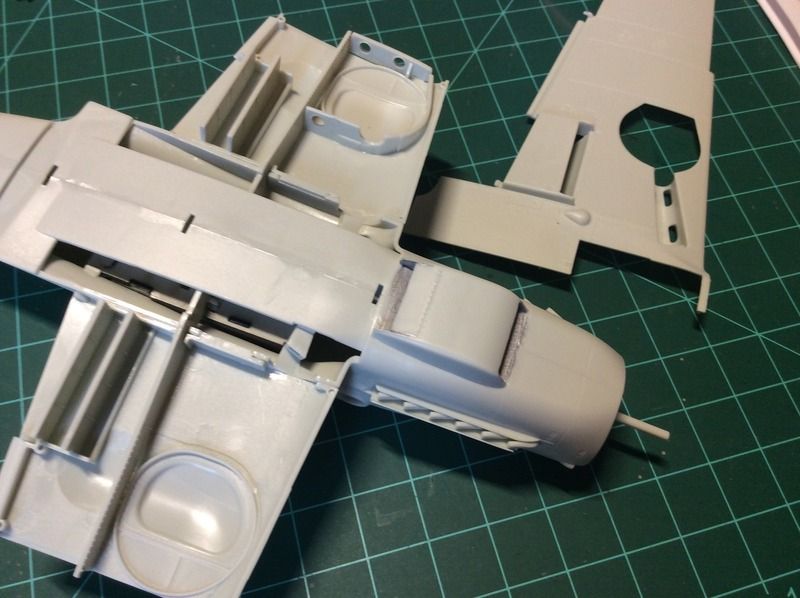
 Got the cockpit installed and the fuselage halfs went together very well.  Needing three hands to get everything together I broke off one of the canopy hinges which was lost to the carpet monster so I guess a closed canopy it is. Confused

So far the only filler I have needed was between the upper wing halves, a dab at the front of the cowling and where the vertical stabilizer is split.
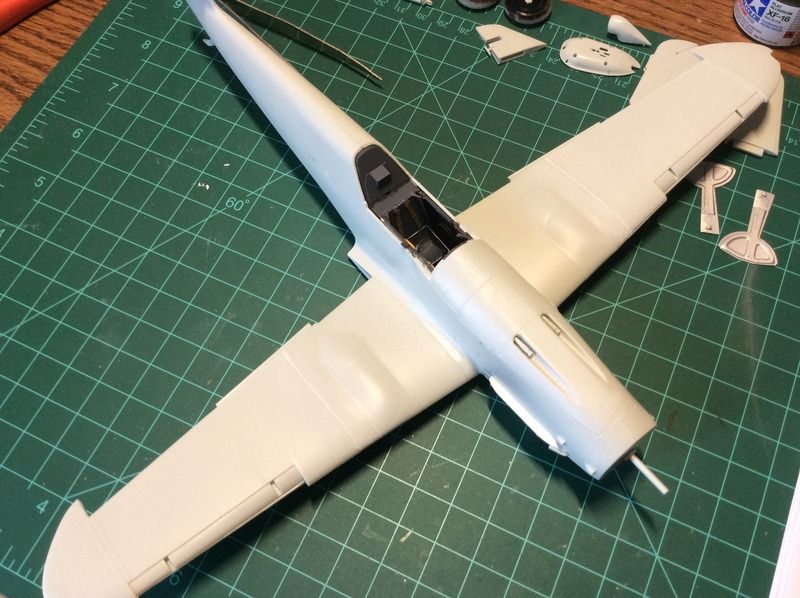
 

Will hope to make some additions soon.  Thanks for looking

Mike


JOIN OUR COMMUNITY!

Our community is FREE to join. To participate you must either login or register for an account.

SEARCH FORUMS
FREE NEWSLETTER
By signing up you may also receive reader surveys and occasional special offers. We do not sell, rent or trade our email lists. View our Privacy Policy.