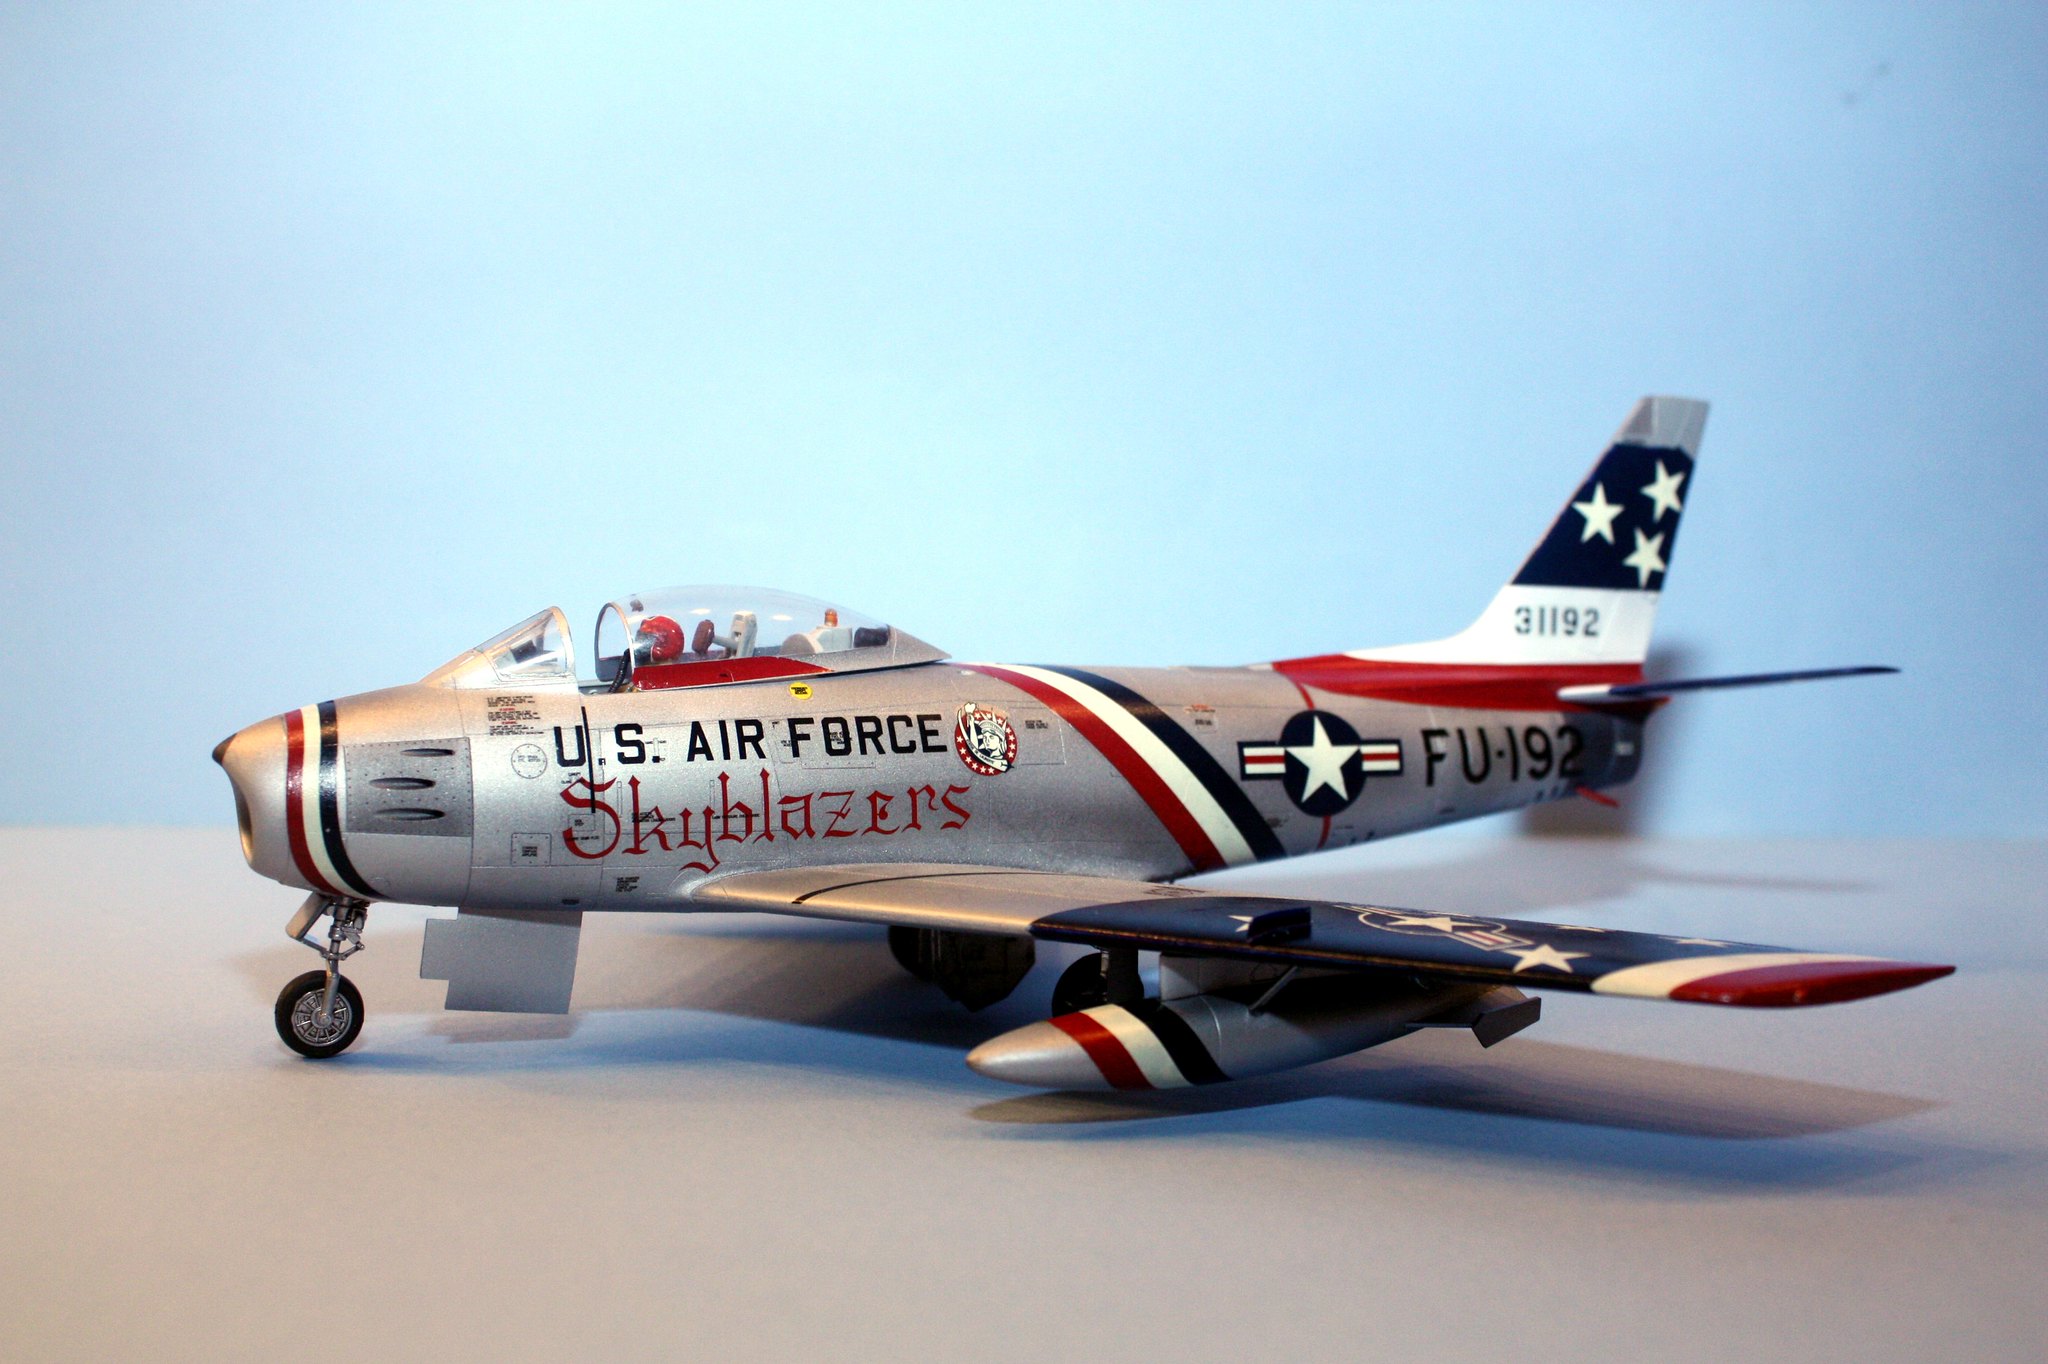
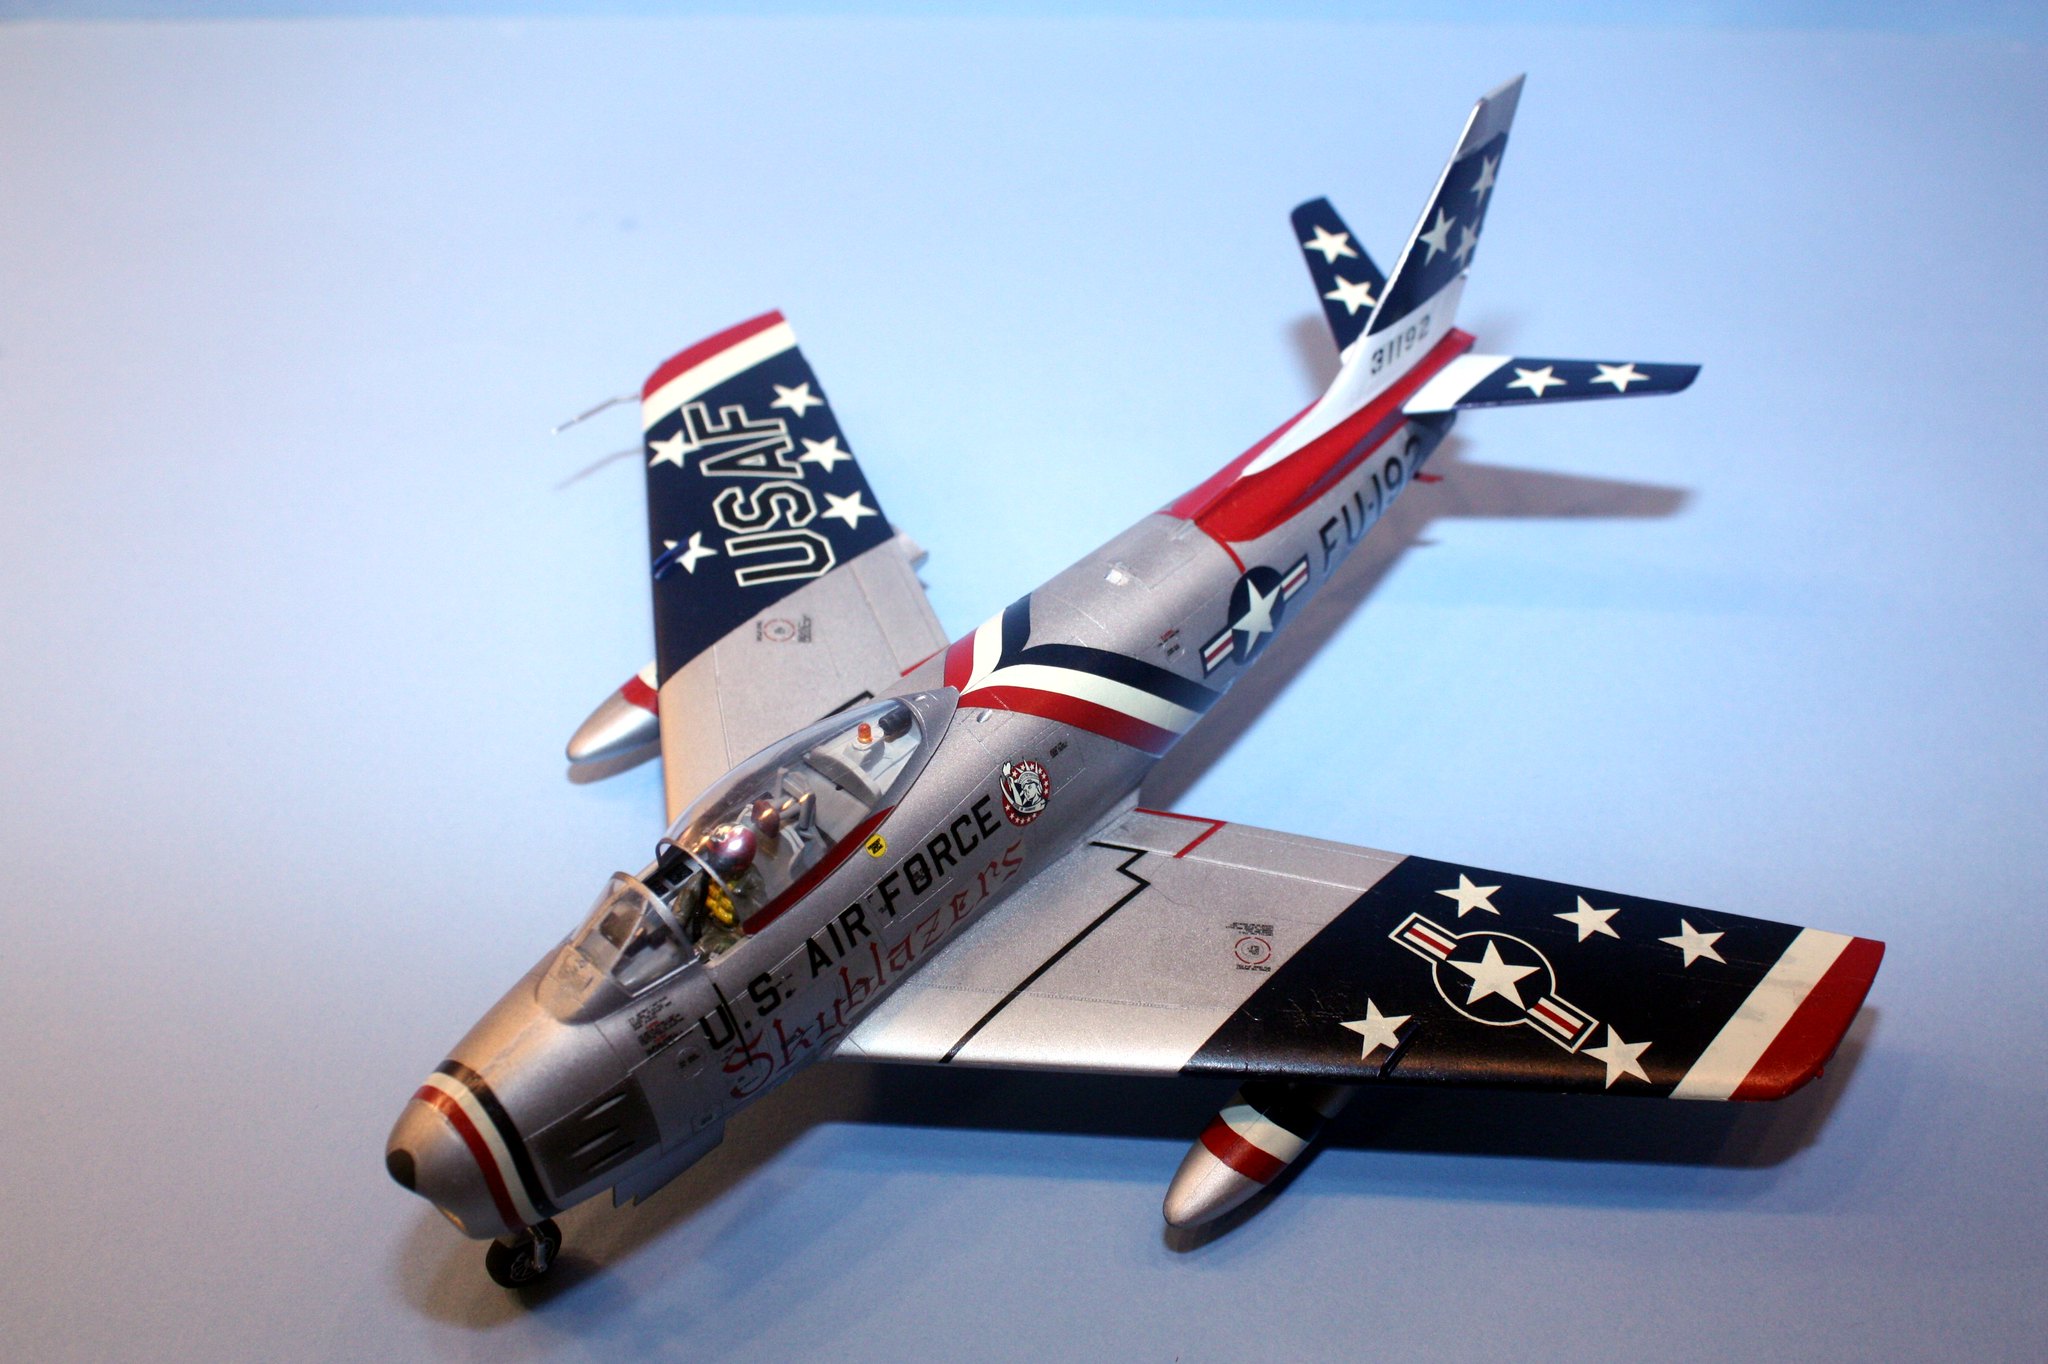
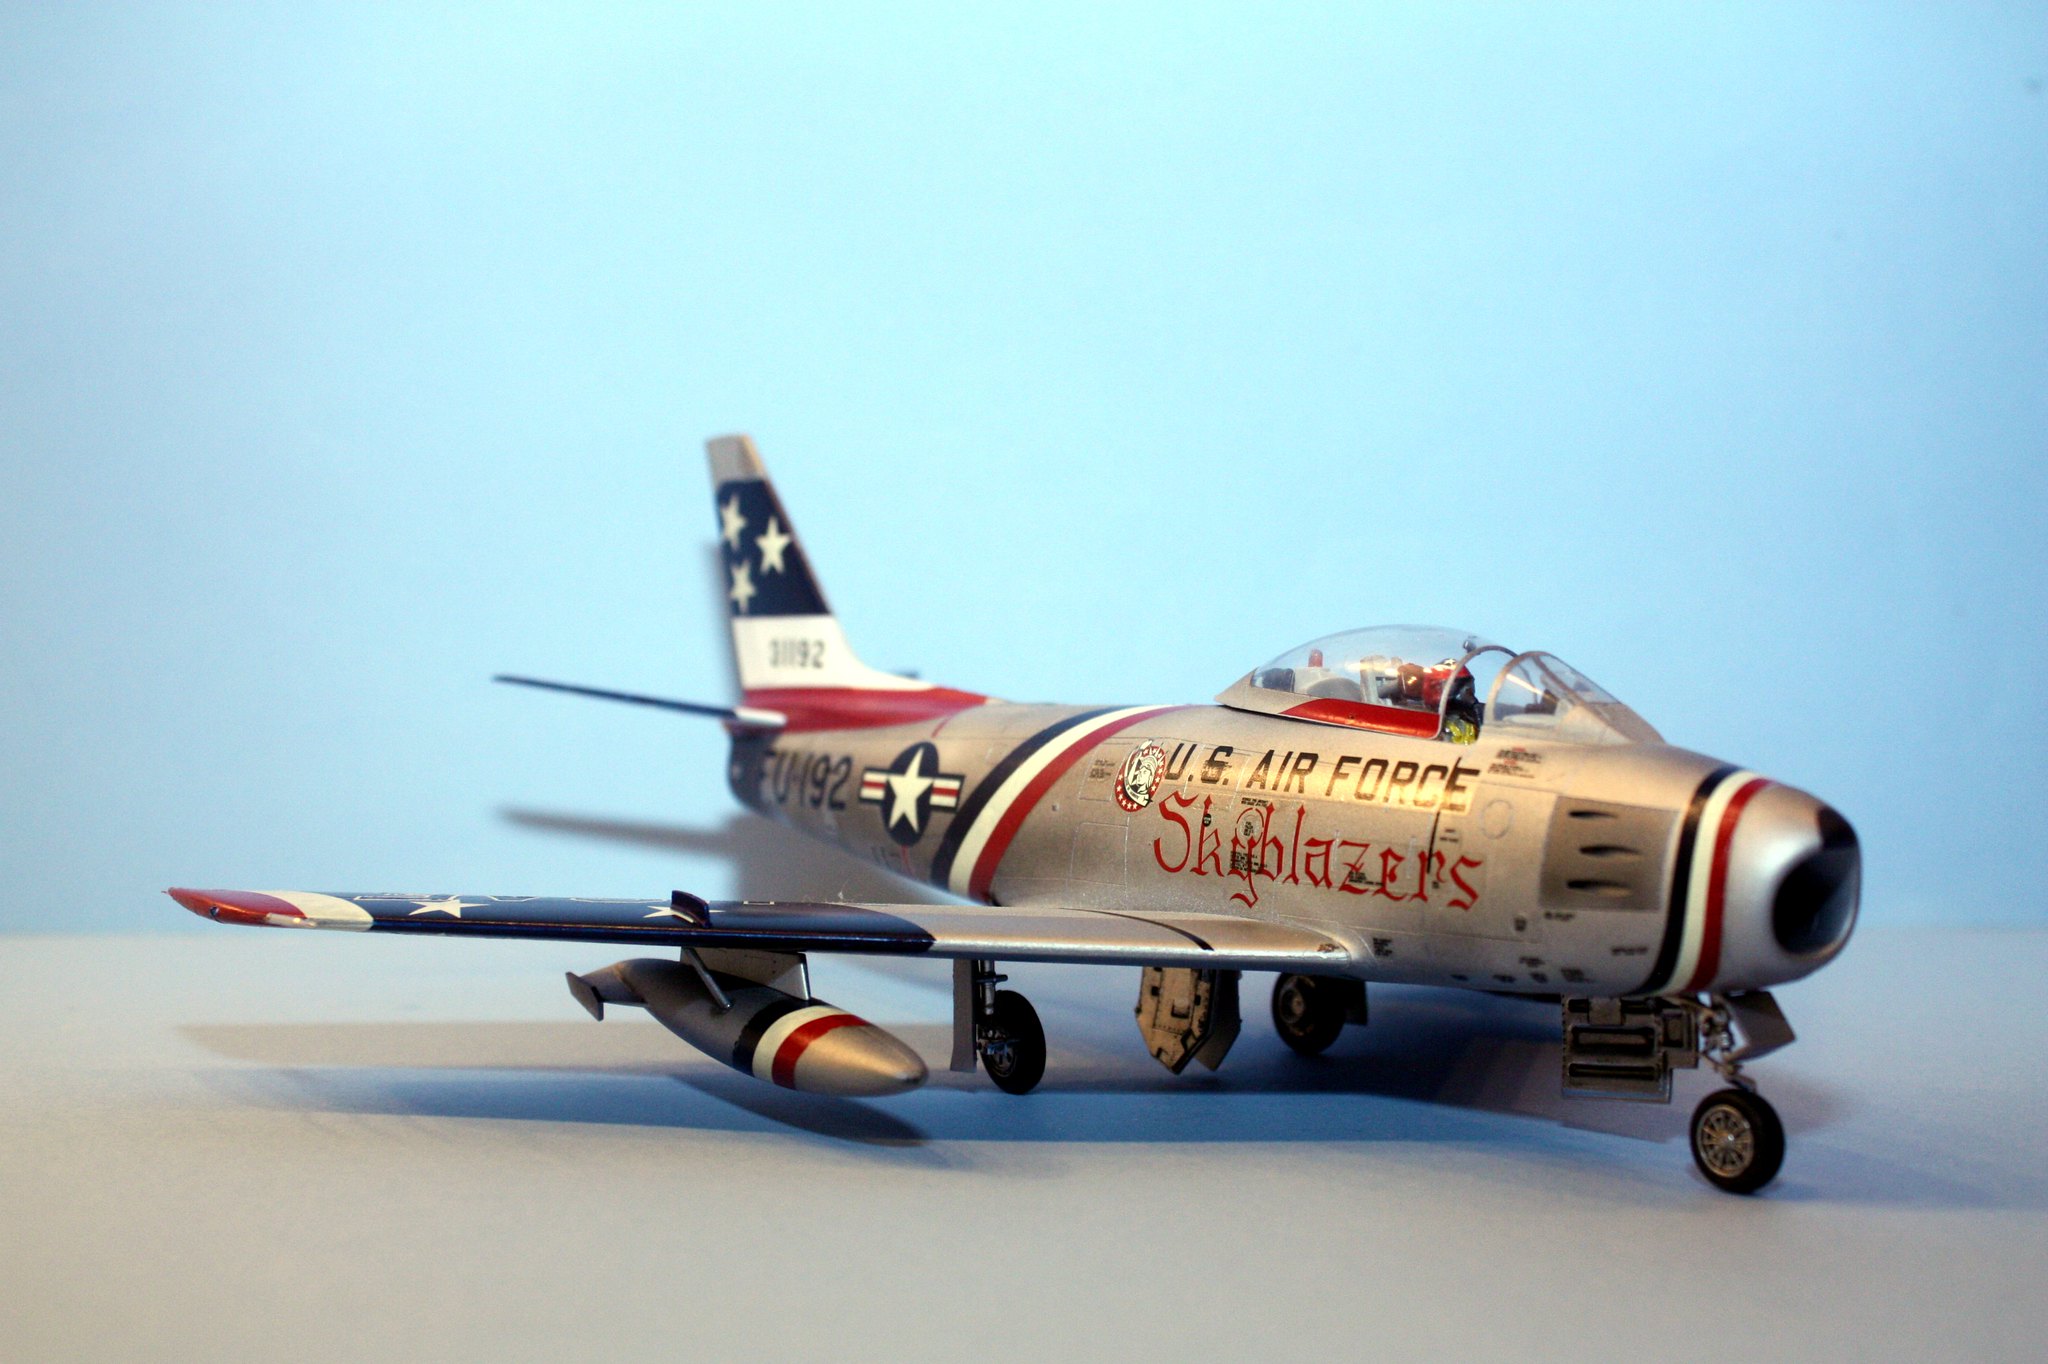
This is the Hasagawa kit in 48th. I have built this kit twice in the past. I went back to my encyclopedia of instructions and found the manuals for my earlier builds, dated 1997. I still have the second of those builds sitting in my display cabinet; the first I built as a gift to a friend at a job that I had.

So the inspiration to build this particular kit again came from my dad. He shared a story on Facebook with me that was talking about a fellow who had built a RC F-86 with this strikingly gorgeous striping scheme with the name "Skyblazers" prominent on the fuselage. My dad asked if I could build one of those for him in a slighly smaller scale. I said sure, thinking at first that I would just pull my old Monogram kit out of the stash and mask all that striping. But when I got to looking at exactly what constitutes all this scheme, stars, USAF and US insignia all mingled together, I instead went looking for a set of decals for the Monogram kit. I knew I had seen an Italeri release with these markings at the local Hobby Lobby, but on-line reviews were not real kind to that kit. With funds pretty limited due to my job situation, I opted not to get the Italeri kit and instead settled on either finding a decal sheet or a kit from a different manufacturer with these markings.
I had actually forgotten about the Hasagawa kit and was unaware that they did a release with the Skyblazer markings. I found it on eBay for roughly $20 and that was that. This kit goes together with absolutely no construction-related issues. It is one of the best I have encountered. Last time out, way back in '97, I replaced the control surfaces and the cockpit with resin parts; this time the build is strictly OOB.
Painting was actually a breeze for this build. After doing all the interior in Model Master Light Gray with black and chrome silver thrown in to pick out some of the details (none are visible through that canopy, alas), I primed this bird with black Stynlyrez then put down a coat of Alclad II dull aluminum. I picked out random panels with other Alclad paints - white aluminum, dark aluminum and steel. The tailpipe is two different metalic shades - the Alclad steel and Model Master Metalizer burned metal.
The only difficult part of this build was the decals. Stripes going around complex curves are never going to be simple. I almost opted to cut out the "USAF" and US insignia from the wing stripes, as well as all the stars, and paint the red, white and blue striping, but the flared curves that come to a head on the top of the fuselage band behind the cockpit, as well as the underside of the nose stripe, kept me from going the paint route. The decals are a bit thick and they really did not want to come free from the paper backing. I actually tore the first wing decal I installed but I was able to get both pieces onto the wing without any noticeable tear line. The other big problem was that none of these wing decals actually wrapped around the leading edge of the wing sufficiently enough to meet up with the decal from the other side of the wing.
I tested the Model Master insignia blue and Model Master insignia red paints for color matching and was pleasantly surprised that the colors matched pretty closely. So that is how I solved the problem of the decals not coming all the way around the leading edges of the wings.
The decals also resisted the Solvaset. There is a good bit of crinkling on the bigger wing decals. I wonder if that is a problem with the decals or is it the Solvaset being vintage 1995?
I am pretty happy with how this came out. There is one seam that I did not handle as well as I could have but it is not terribly visible unless you are looking for it. And I do really like the markings. The F-86 has always been just about my favorite jet fighter, running neck-and-neck with the F-4 Phantom. The Sabre looks FAST just sitting on a tarmac. Great looking warbird. And coming attractions, I did pull that Monogram kit out of my stash and built it alongside this one. The Monogram is currently sitting at about 65% complete, so look for that one in about a week.
Build Photos


