So it's been a while since I've been around the forum. A new house, a new little boy (our first), and a busy work schedule keeps me from doing much. I still have two mustangs I'm trying to wrap up as a matter of fact. I'm working on finishing the bases before posting anything more...I've run out of PSP matting and I'm waiting to get more.
A few quick reads through what I've missed on the Aircraft section shows me a lot of attention on the Wildcat lately. And since I'm itching to do another radial engine, I suppose now is as good a time as any. I'll be doing my best to put together a -3 conversion of Butch O'Hare's "White F-15" that he flew on his MOH flight to protect the Lexington. This was one of the first planes I built a few years ago when I first started taking scale modeling a bit more seriously. Unfortunately, it broke during the move. So now I have the opportunity to build it even better. =]
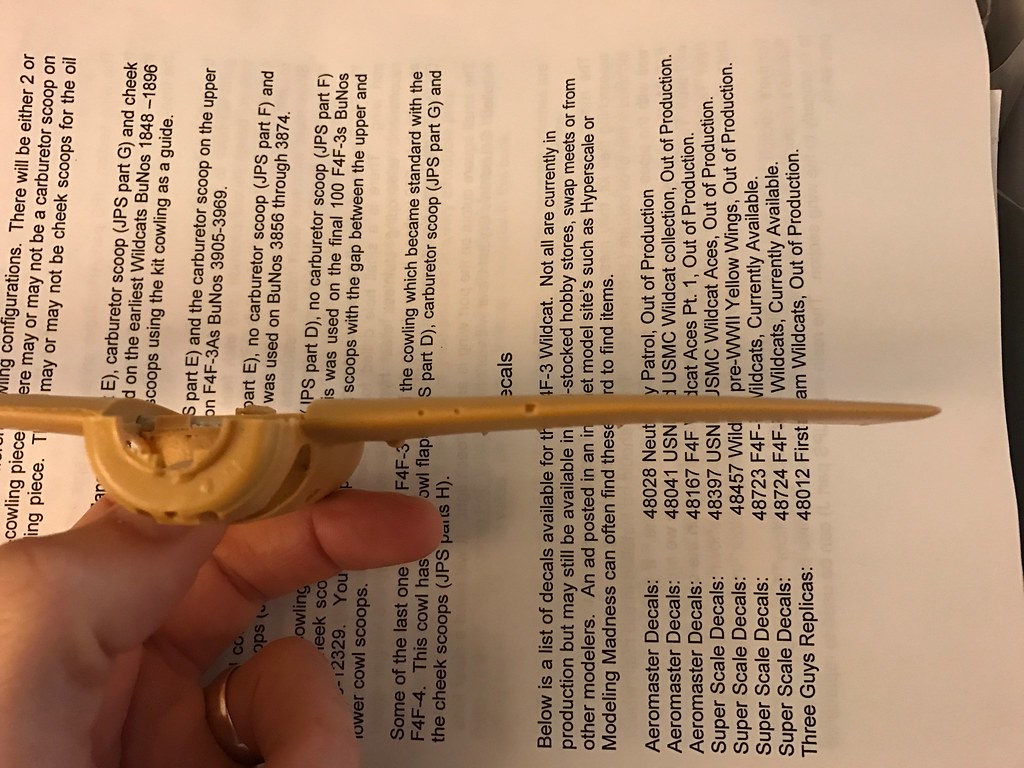
The Tamiya kit is by far the best out there in the 1:48 scale. It's a little skimpy in the undercarriage but I'll be trying my hand again at the Eduard AM for this. Last time around I just didn't have the tools or skillset for tiny stuff like this. I purchased a Hobby Boss -3 kit for cheap on Ebay that actually came with masking and an Eduard Cockpit PE set, but I'll doubt I'll use much from it. The cockpit from the Tamiya kit is actually pretty spot on for a change. The Hobby Boss kit will be robbed to utilize the wings. This part will take some scratchbuilding. I had acquired the rare JPS -3 conversion for the Tamiya kit, but my set had a bow in the port wing. I haven't had any response from Dave Schemel from JPS and in trying to fix this wing I ended up snapping it. Not very pleased about it. I've been looking forward to building this up for a while now. I will however be able to use other parts from the set like correcting the cowl, adding an intercooler, and a few other odds and ends. I feel pretty good about the Hobby Boss wings though, and with a little TLC I think they'll shape up nicely to make a nice -3 USN Wildcat.
The Kit
 Untitled by Britt Vallot, on Flickr
 Untitled by Britt Vallot, on Flickr
The Man
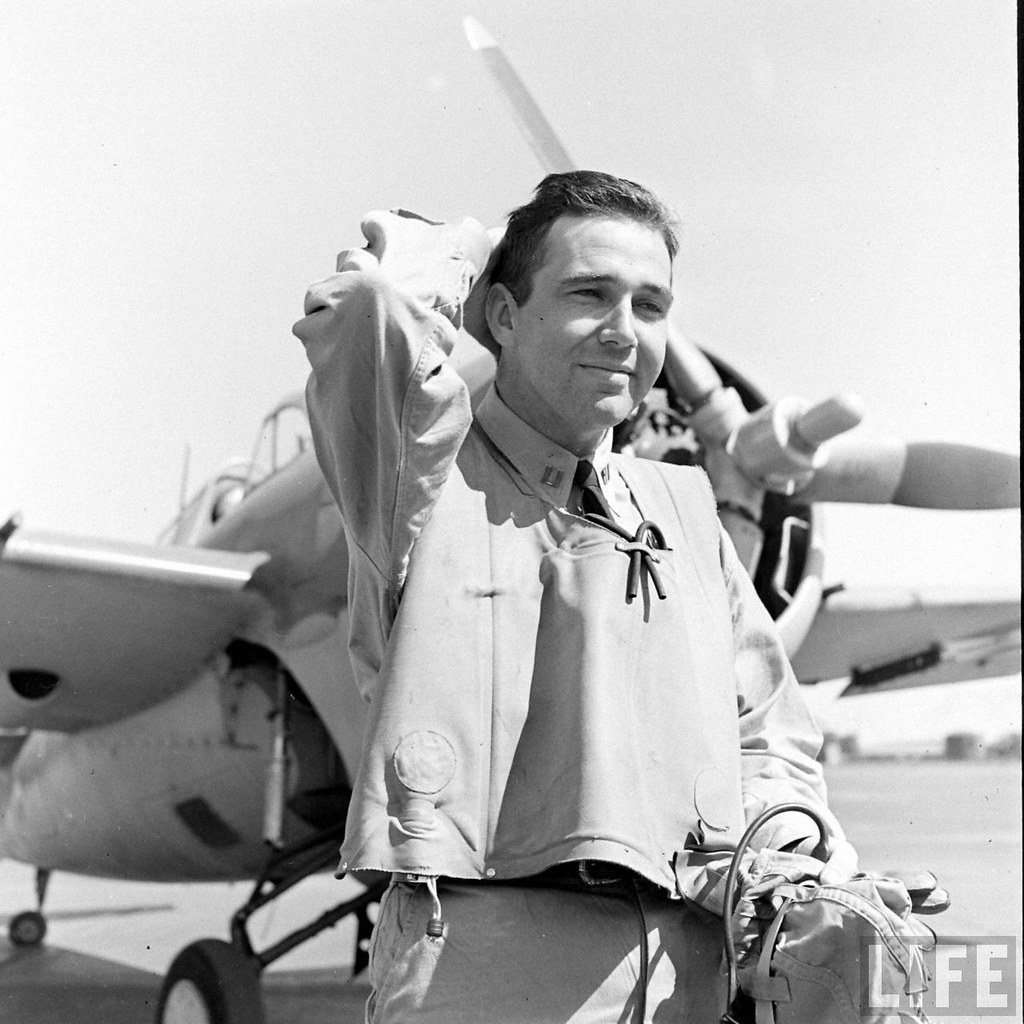 Butch_O_Hare_1 by Britt Vallot, on Flickr
An already well-represented subject. And for good reason. Edward O'Hare became the Navy's first flying ace in WW2 by taking on a formation of about 9 heavy bombers headed toward the Lexington and downing 4 of them. He and Jimmy Thach would go on to re-write how to defend and attack against the Zero and O'Hare later got command of VF-6 on the USS Independence only a year later.
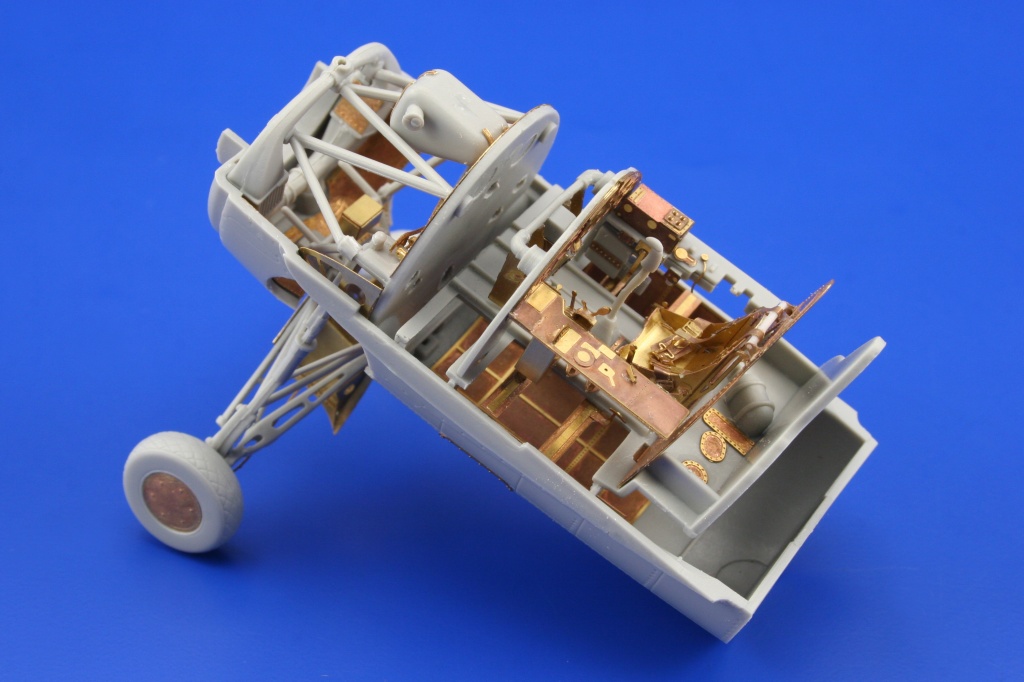
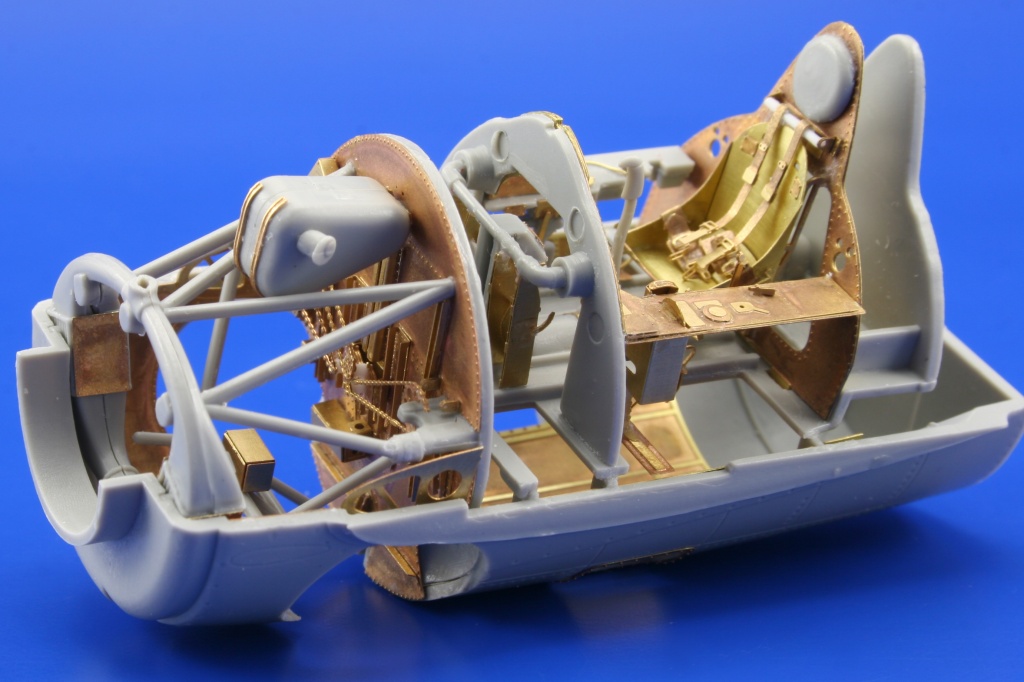
The AM
So I'm perking this kit up with a little bit of AM stuff mostly in an effort to vindicate myself from my first attempt. One thing I find with some of the Eduard PE is that it doesn't always show the depth behind certain objects like in the cockpits. So I will be fairly selective of what I use and what I scratch out. This is meant for the Hobby Boss kit but in comparing both kit parts (firewall, IP, etc.) the match up is nearly perfect which is better than you'd normally hope for...so there's some solace. Here are some stock photos of that set.
 Untitled by Britt Vallot, on Flickr
 Untitled by Britt Vallot, on Flickr
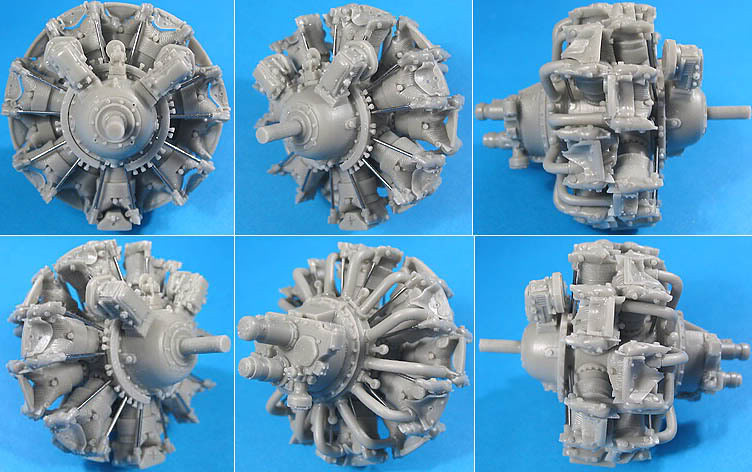
I chose the Vector engine set as I look to build up the exhaust manifold around it. This set already has the intake present, and I've been looking forward to trying it for a while.
 Untitled by Britt Vallot, on Flickr
The set from JPS
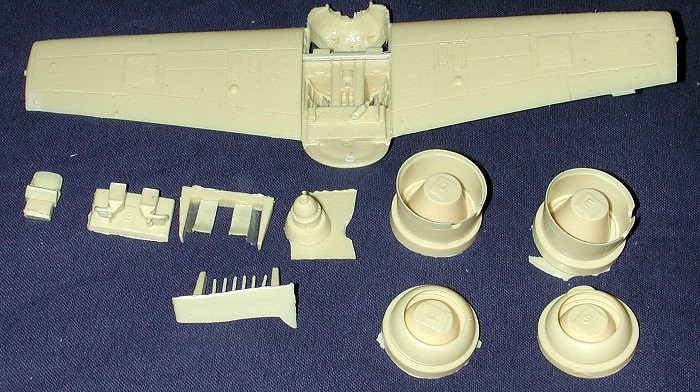 Untitled by Britt Vallot, on Flickr
 Untitled by Britt Vallot, on Flickr
Note the downward bow. The other wing had a similar bow but was less severe. Very dissappointed about this.
Getting started:
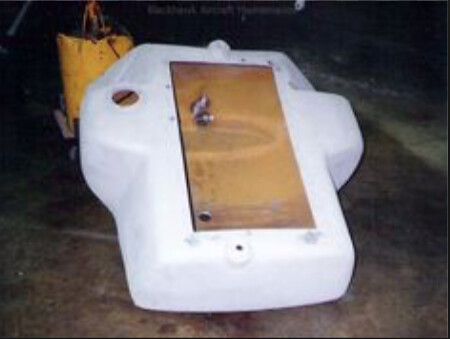
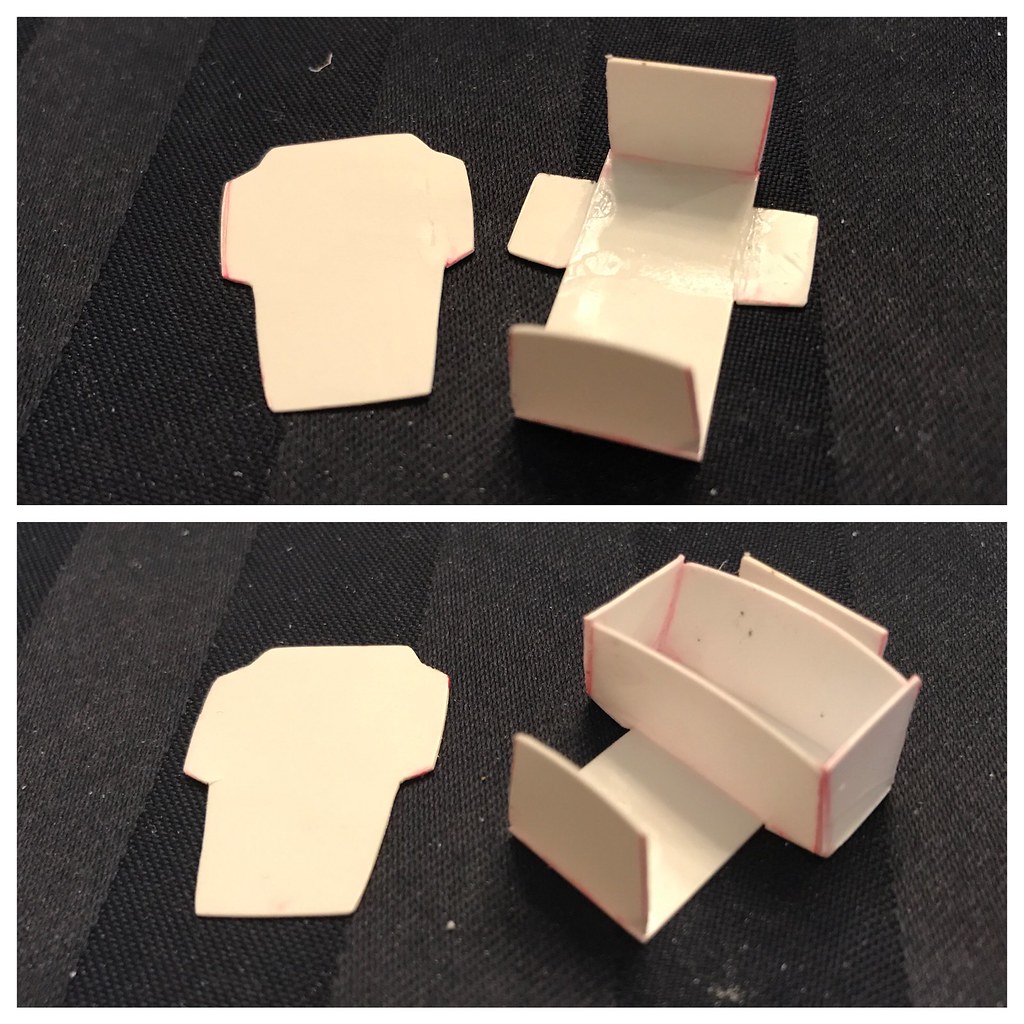
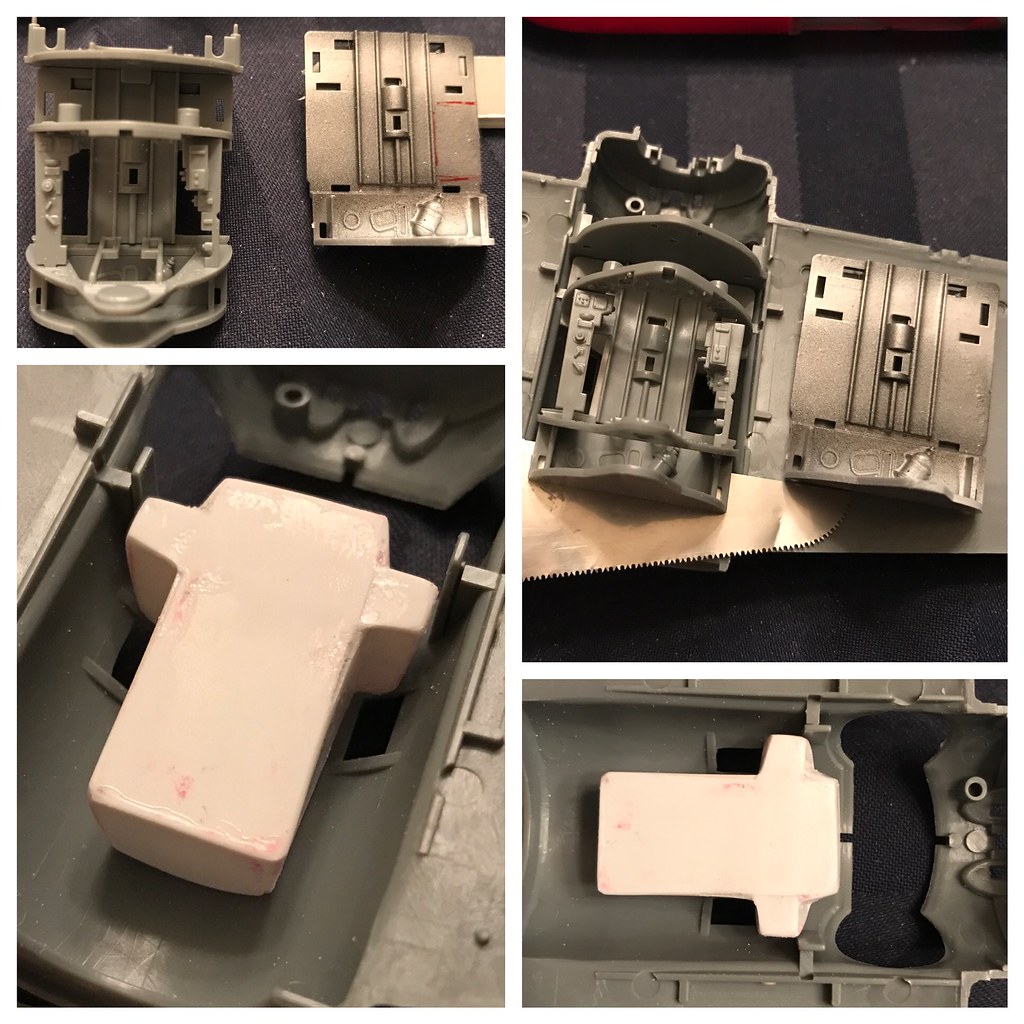
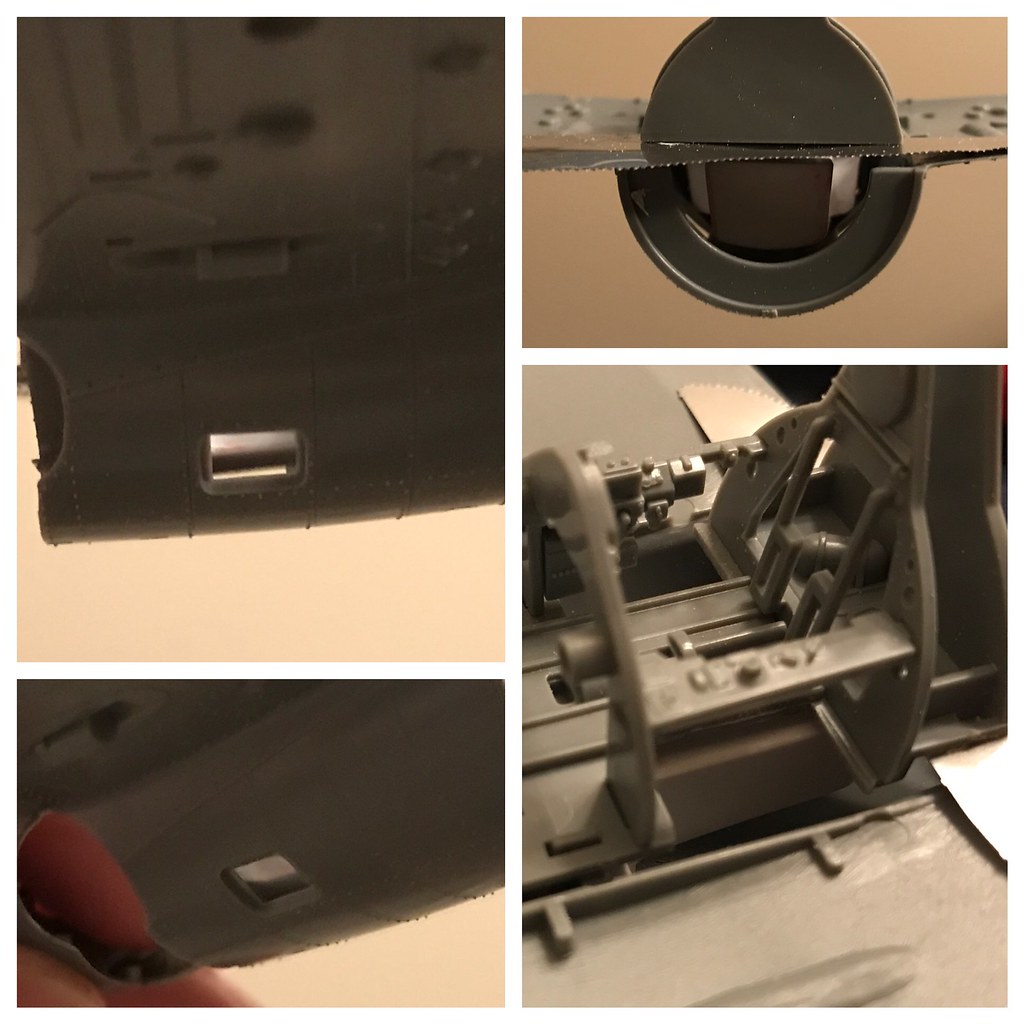
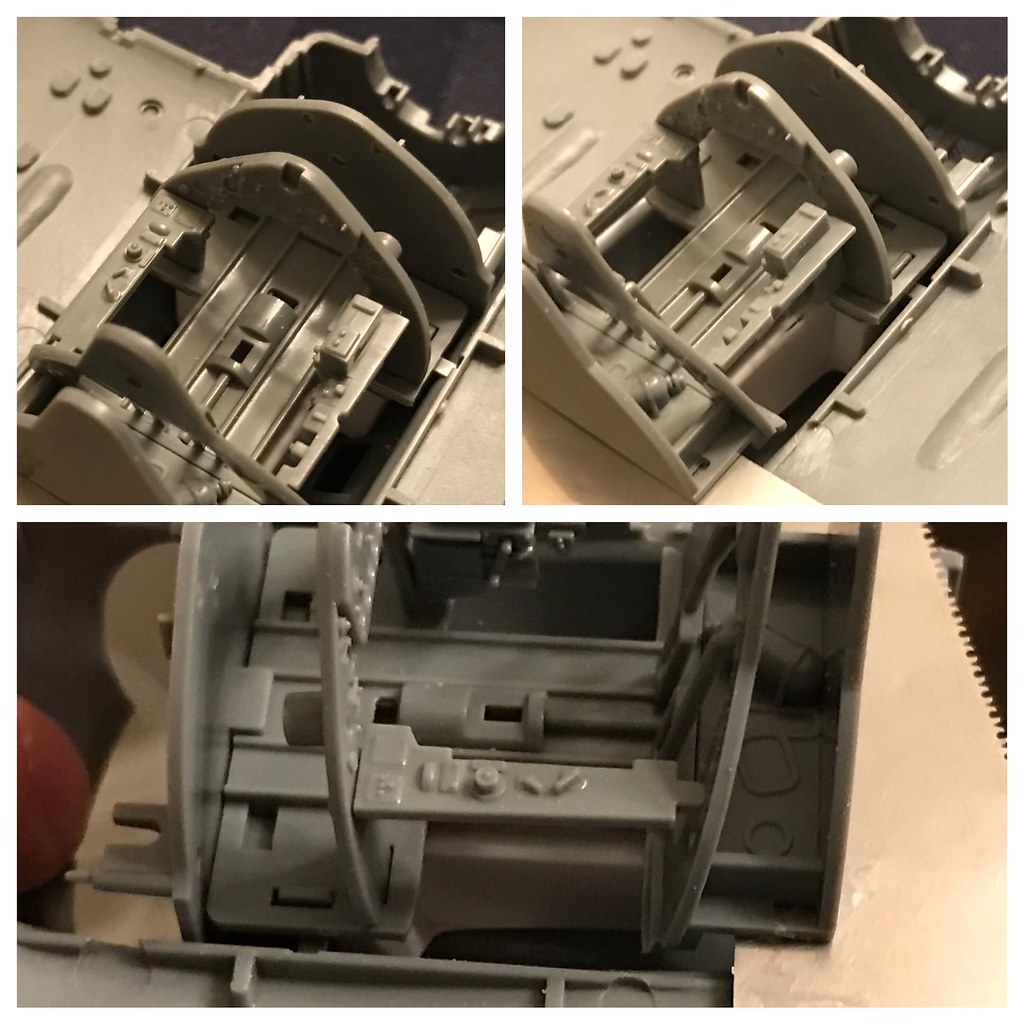
Always of course with the cockpit...but I have quite a bit of dry-fitting and customizing to fool with to accomodate the extra detailing I plan to do. The last thing I want to do is ruin Tamiya's brilliant engineering of this kit. The kit part for the floor is incorrect as many people already know. It's a breeze to fix...a couple of quick snips and some sanding and you're back in business. I will likely come back to tweak this some more, I just didn't want to get too far ahead of myself. One thing I'd like to mention here is the lack of a fuel tank from both the kit manufactuers or AM guys. With the two windows below the pilot's feet, there is a clear view into this section of the plane. Since I'm a stickler for detail, I thought it'd be silly for me not to throw something together here. A little bit of research gave me the shape and after a couple of hours (mostly interrupted =]) I scratched out a tank to fit underneath the cockpit floor.
 Screen Shot 2017-01-14 at 9.32.04 PM by Britt Vallot, on Flickr
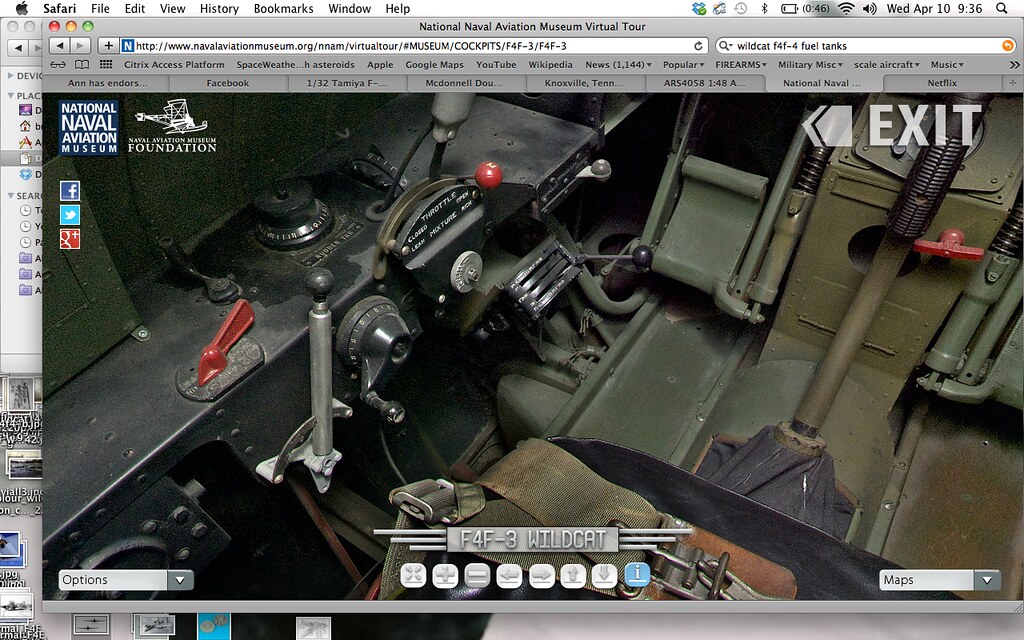 Screen shot 2013-04-10 at 9.36.53 AM by Britt Vallot, on Flickr
If you note at nearly exactly the center of the picture, just to the left of the flooring and just below the controls, you'll see the top of the tank where the plumbing to refuel it goes. That helped me to confirm the shape of this tank for this particular series.
 Untitled by Britt Vallot, on Flickr
 Untitled by Britt Vallot, on Flickr
Here I thought I'd also show the difference between kit cockpit and the cutaway floor correction. An easy fix that changes nothing about how the cockpit sets up...makes you wonder how Tamiya could've missed that in the first place.
 Untitled by Britt Vallot, on Flickr
 Untitled by Britt Vallot, on Flickr
And that's about where I am at the moment folks. Some cockpit work is coming next and later will come some primer. Then, perhaps some of this PE stuff I've got to play with. =]