Nice work so far. I'm still not where I want to be with NMF planes, but I think I am getting closer. I have never tried foil, but I like the look of yours.
My Hasegawa Sabre was painted with one shade of Alclad: Airframe Aluminum. My first step was Mr. Surfacer 1500. I followed it with Tamiya gloss black. Then came Alclad, followed by Alcad Aqua Gloss acrylic clear coat. Next up was decals, and then another layer of Aqua Gloss.
In the end, I wasn't happy with the way it looked like metal heavily coated with clear coat. The uncoated Alclad looked much better, but I wanted to protect the decals from the wash that came after, so in that place I'm at a loss.
I'm following your build with interest.
I hope I'm not hijacking your thread if I post a couple pics of mine:
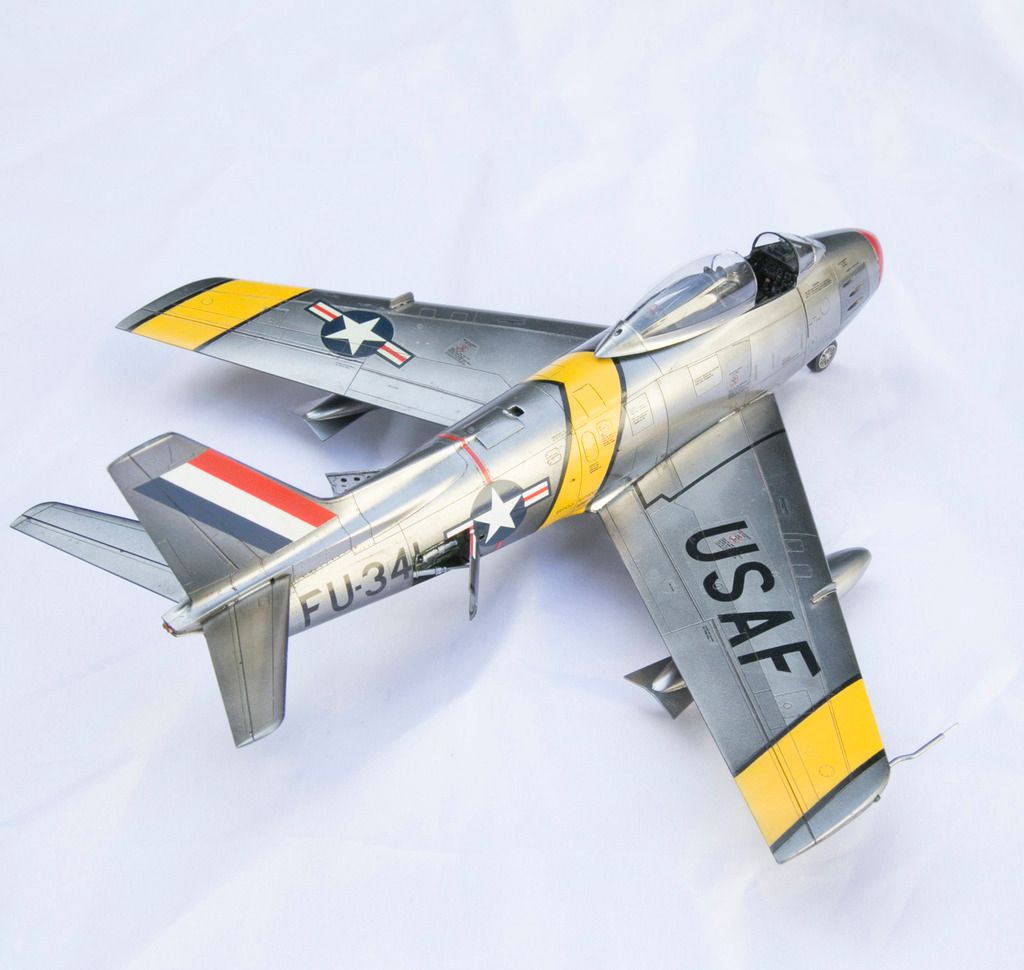
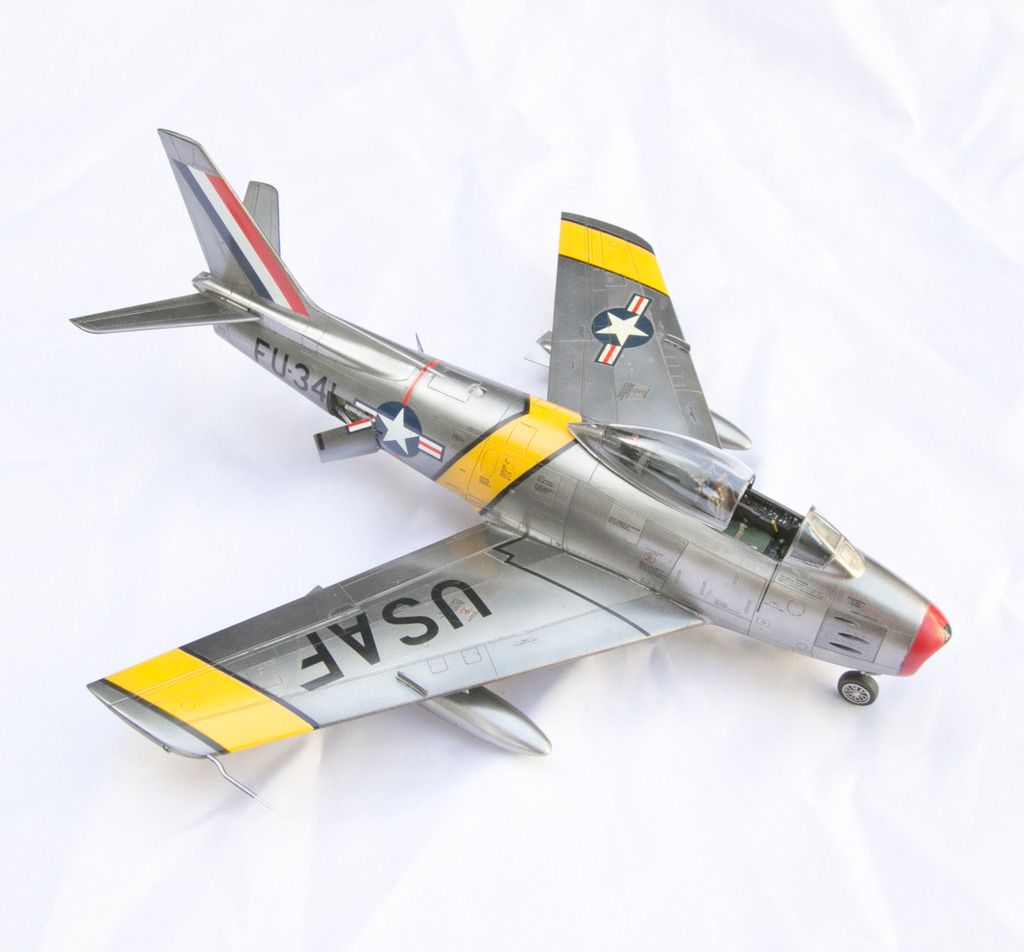
To achieve the different shades of metal, I sprayed more or less Alclad Airframe Aluminum on the plane. So the gun panels got the least spray, and the tops of the wings got the most, since spraing increasing coats tones down the shine and gives more metal color.
-BD-