Hello Everybody,
I picked up Tamiya's 1/48 F4F-4 Wildcat from a vendor table at a local show, and I was very excited to build it. The reviews were very consistent, and most reviewers liked the kit. Each reviewer did mention the very thick decals.
I didn't want to spend any money on aftermarket stuff for this project. I've been doing that too much lately, but I did want to make some improvements.
One thing that I missed is the cockpit floor of the kit isn't correct. It should be cut out along the sides from the bases of the instrument panel and the aft bulkhead. This is to allow the pilot to be able to use the windows on the underside of the fuselage. I read about this detail too late, but I'm generally happy with the pit. The seatbelt is the only addition, and it's from an old photo etch set from another project.
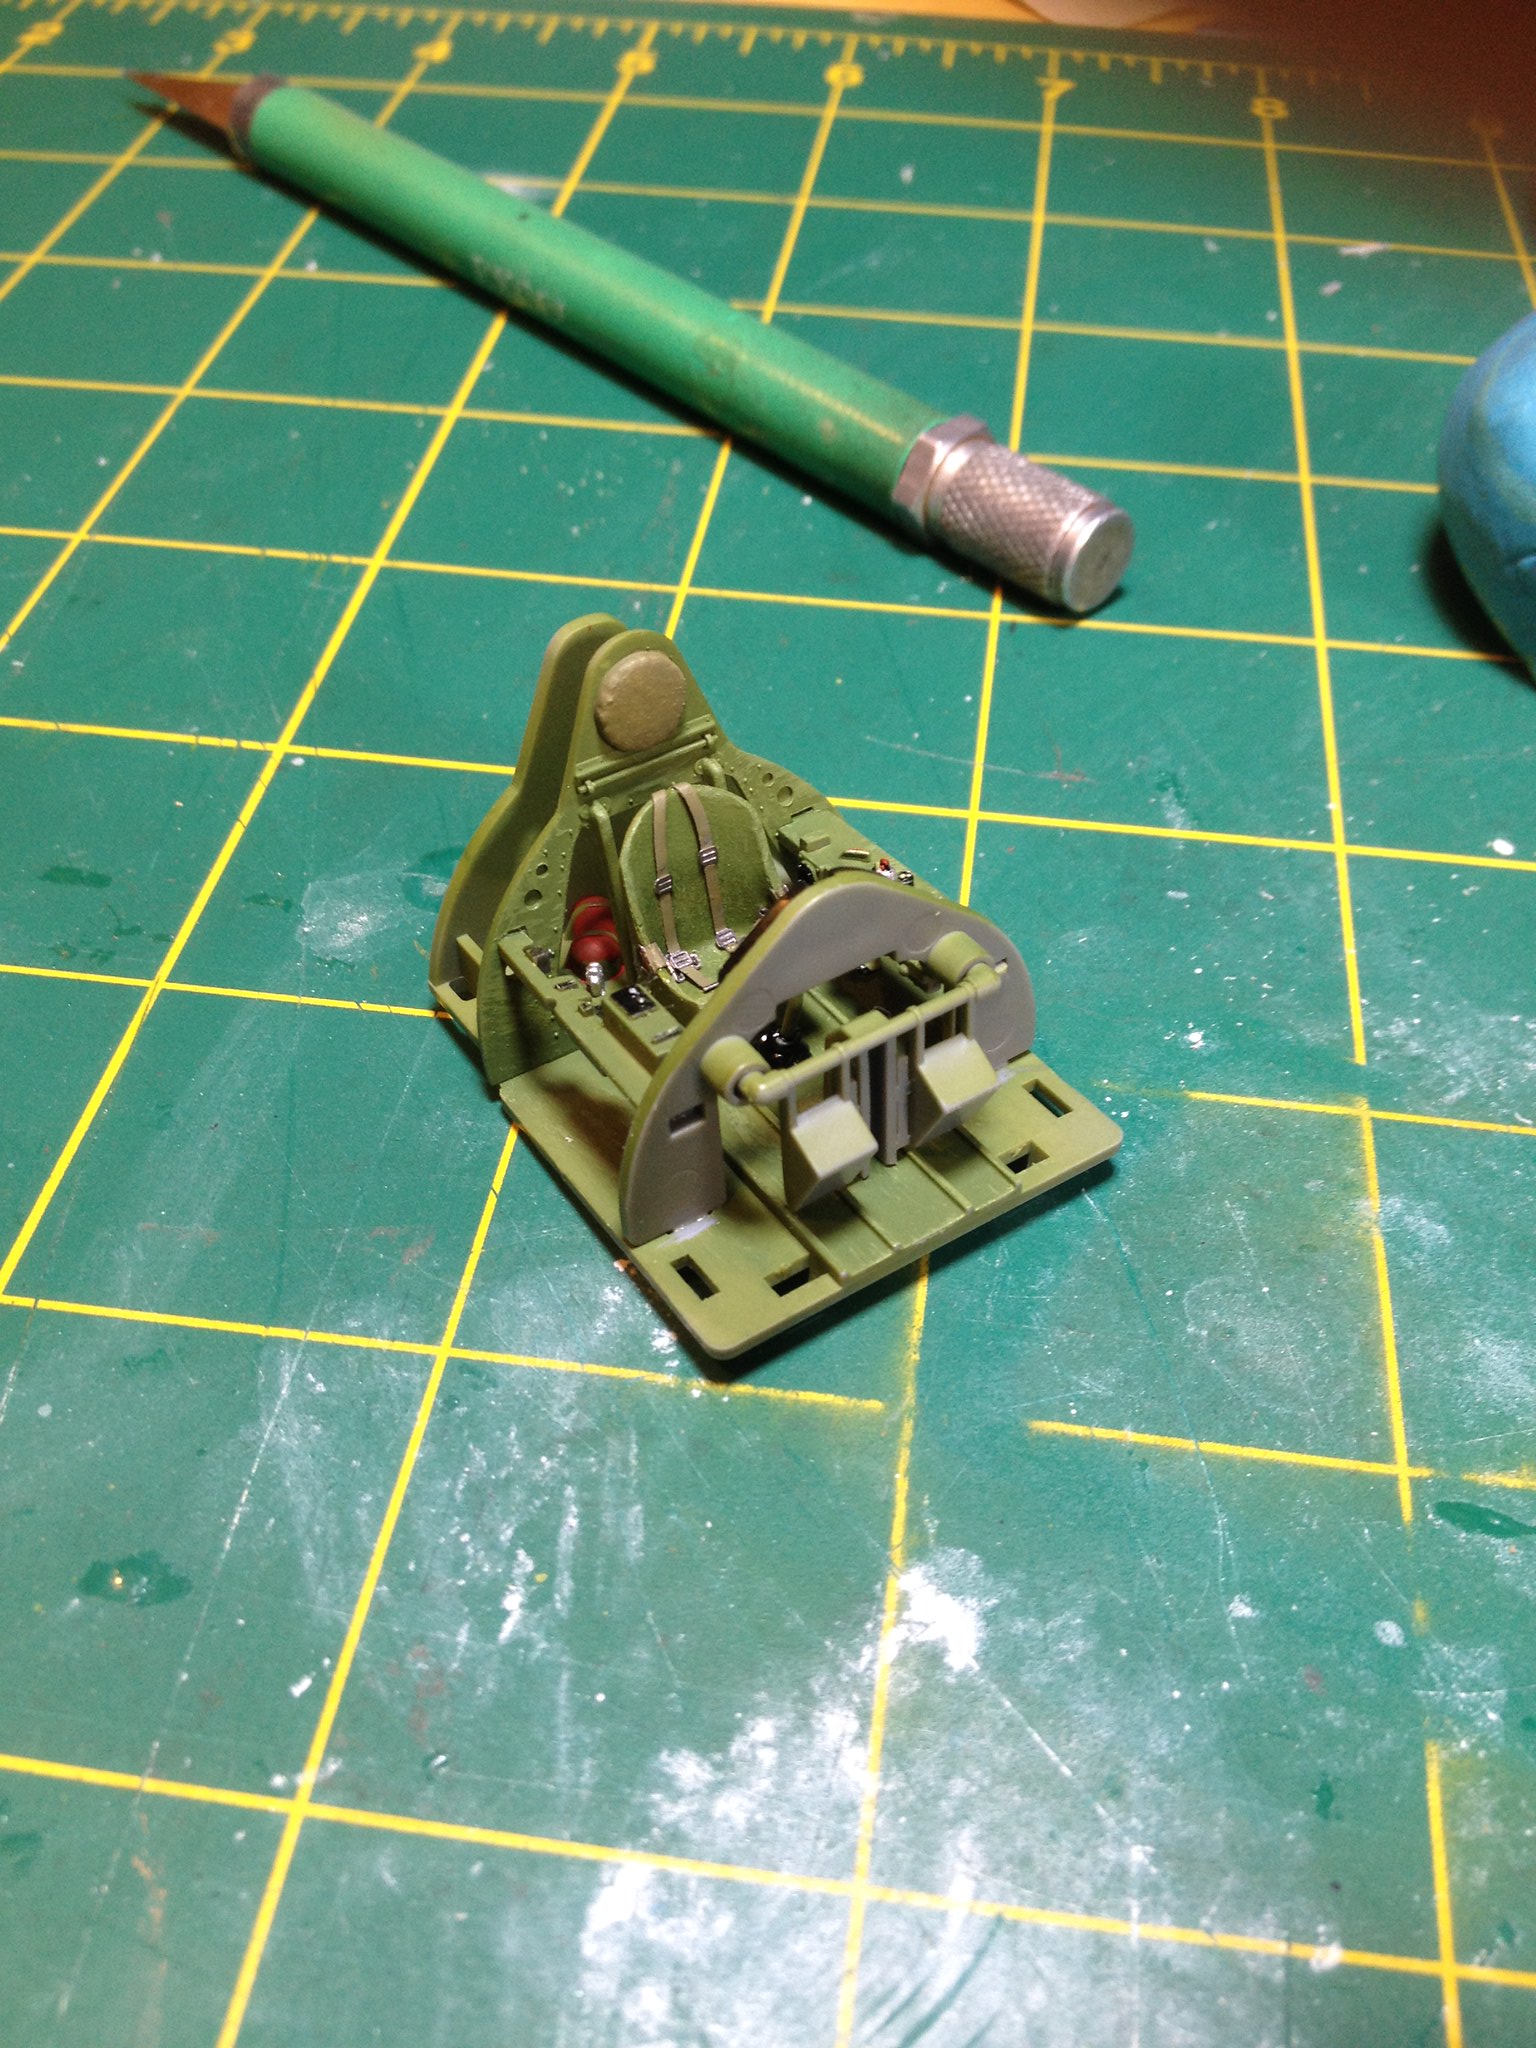 IMG_1818 by Christopher Ridle, on Flickr
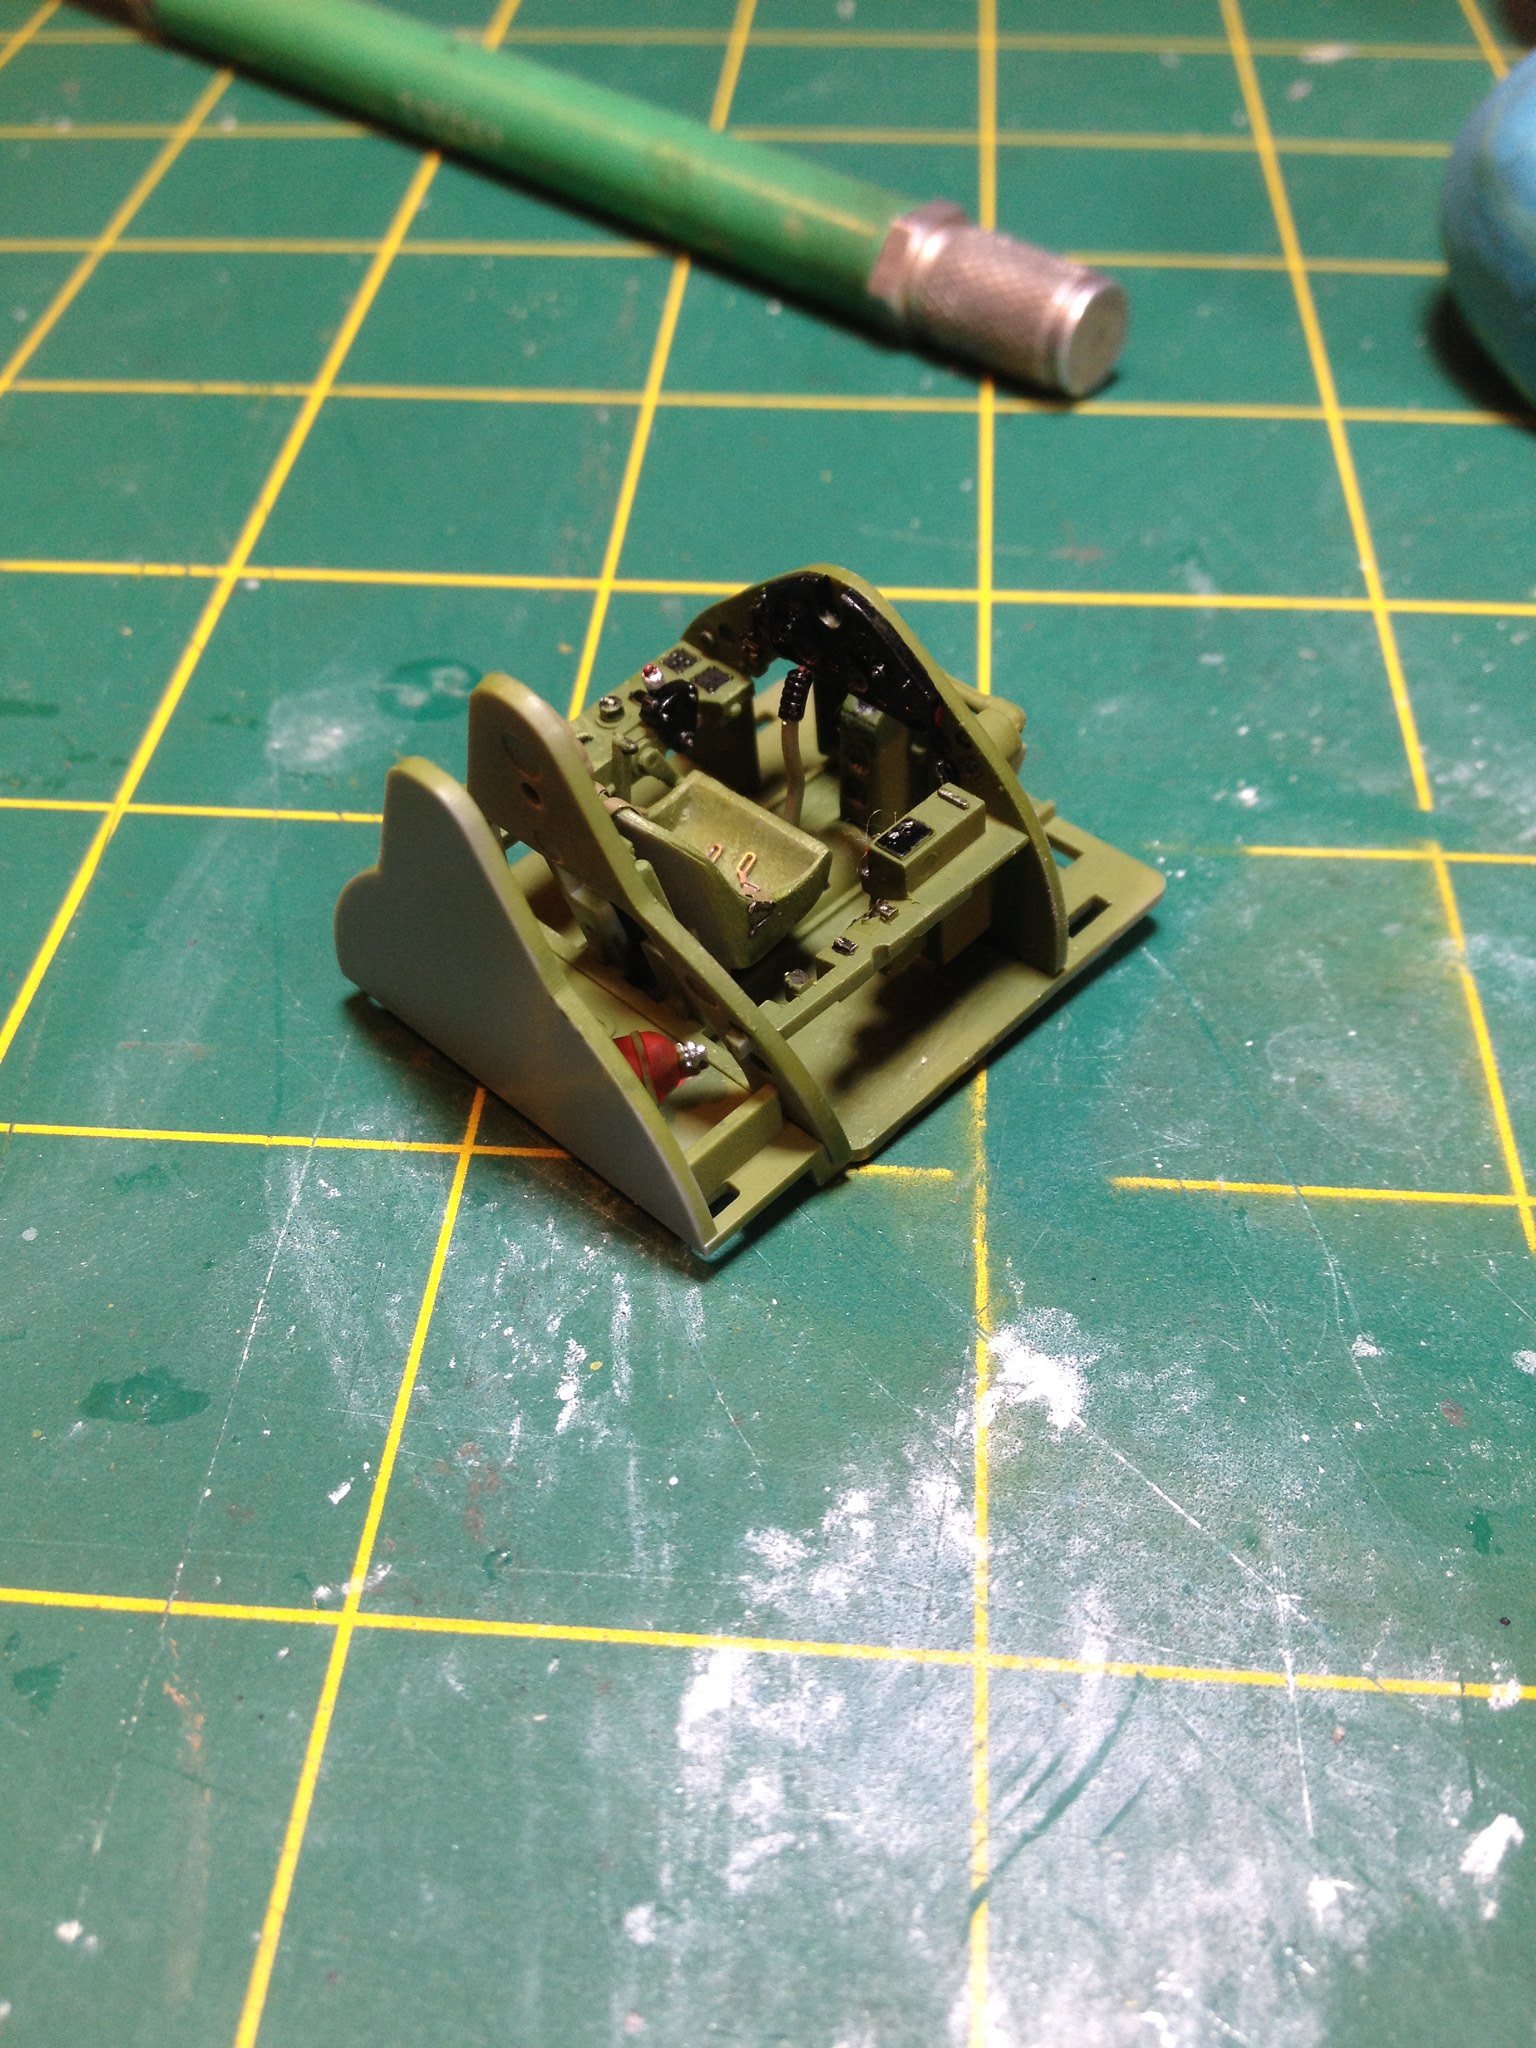 IMG_1819 by Christopher Ridle, on Flickr
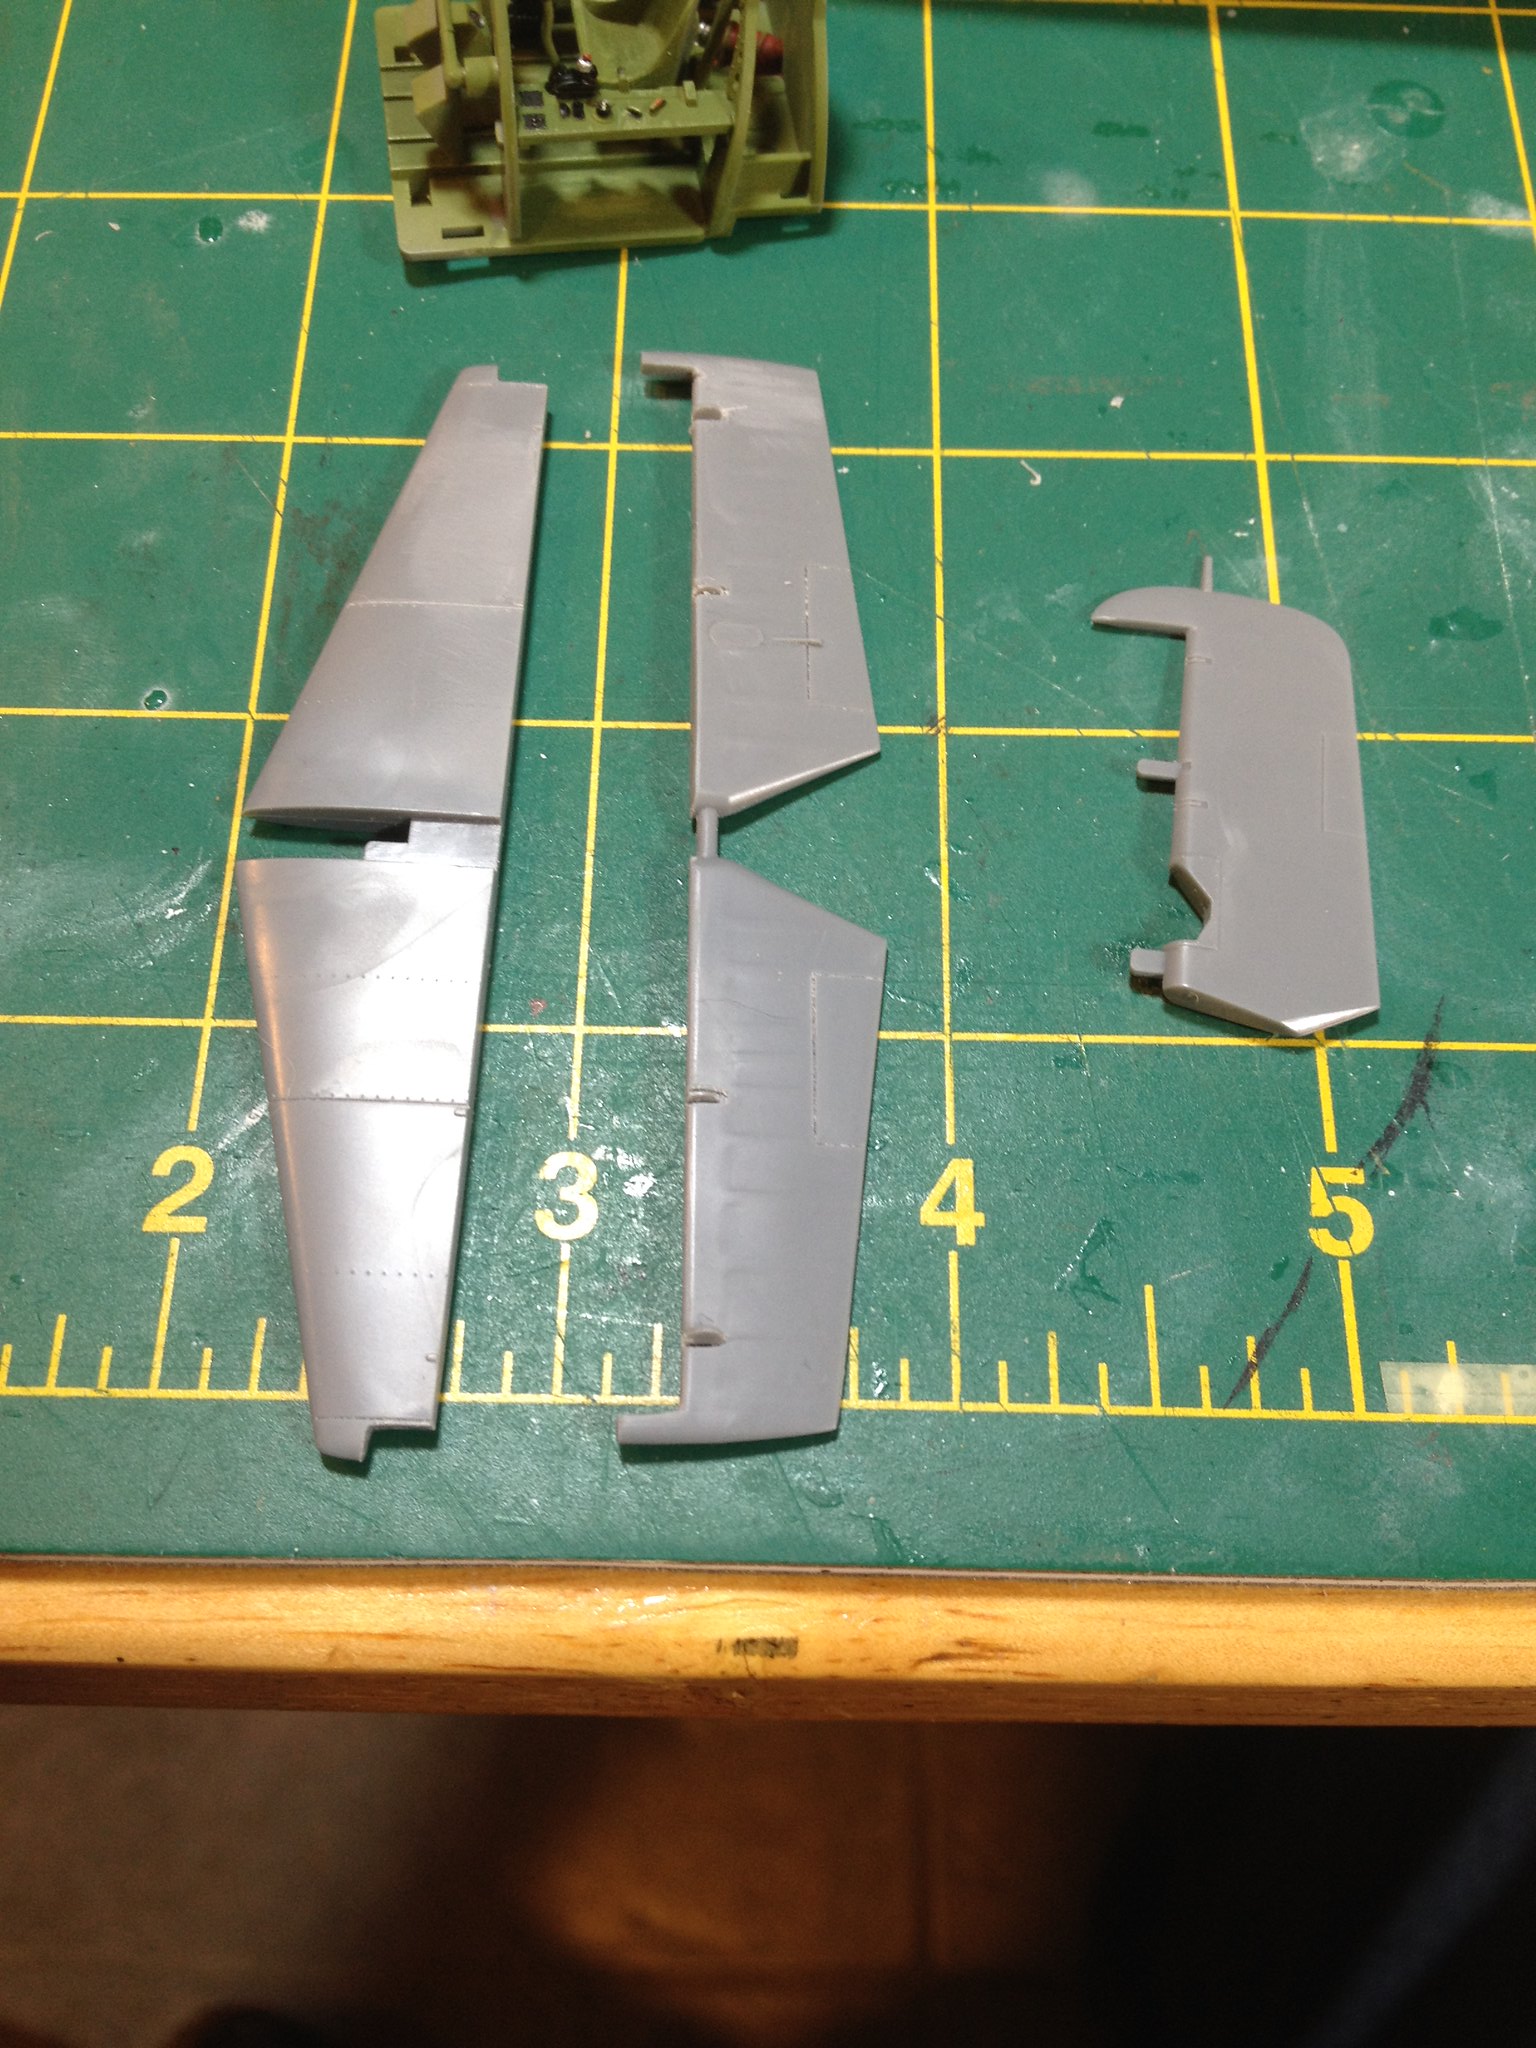
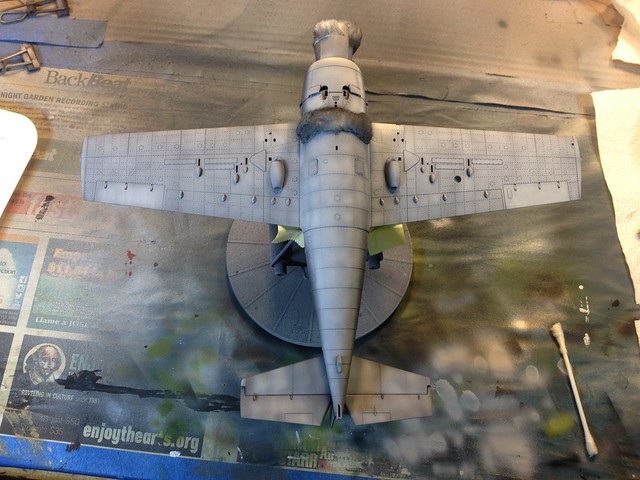
I wanted to pose the Wildcat as it would have sat on the flightline of Henderson Field on Guadalcanal in the autumn of 1942. The aircraft in the pictures tended to have off-center rudders, drooping elevators, and open cowl flaps. Cuts were made.
 IMG_1796 by Christopher Ridle, on Flickr
 IMG_1822 by Christopher Ridle, on Flickr
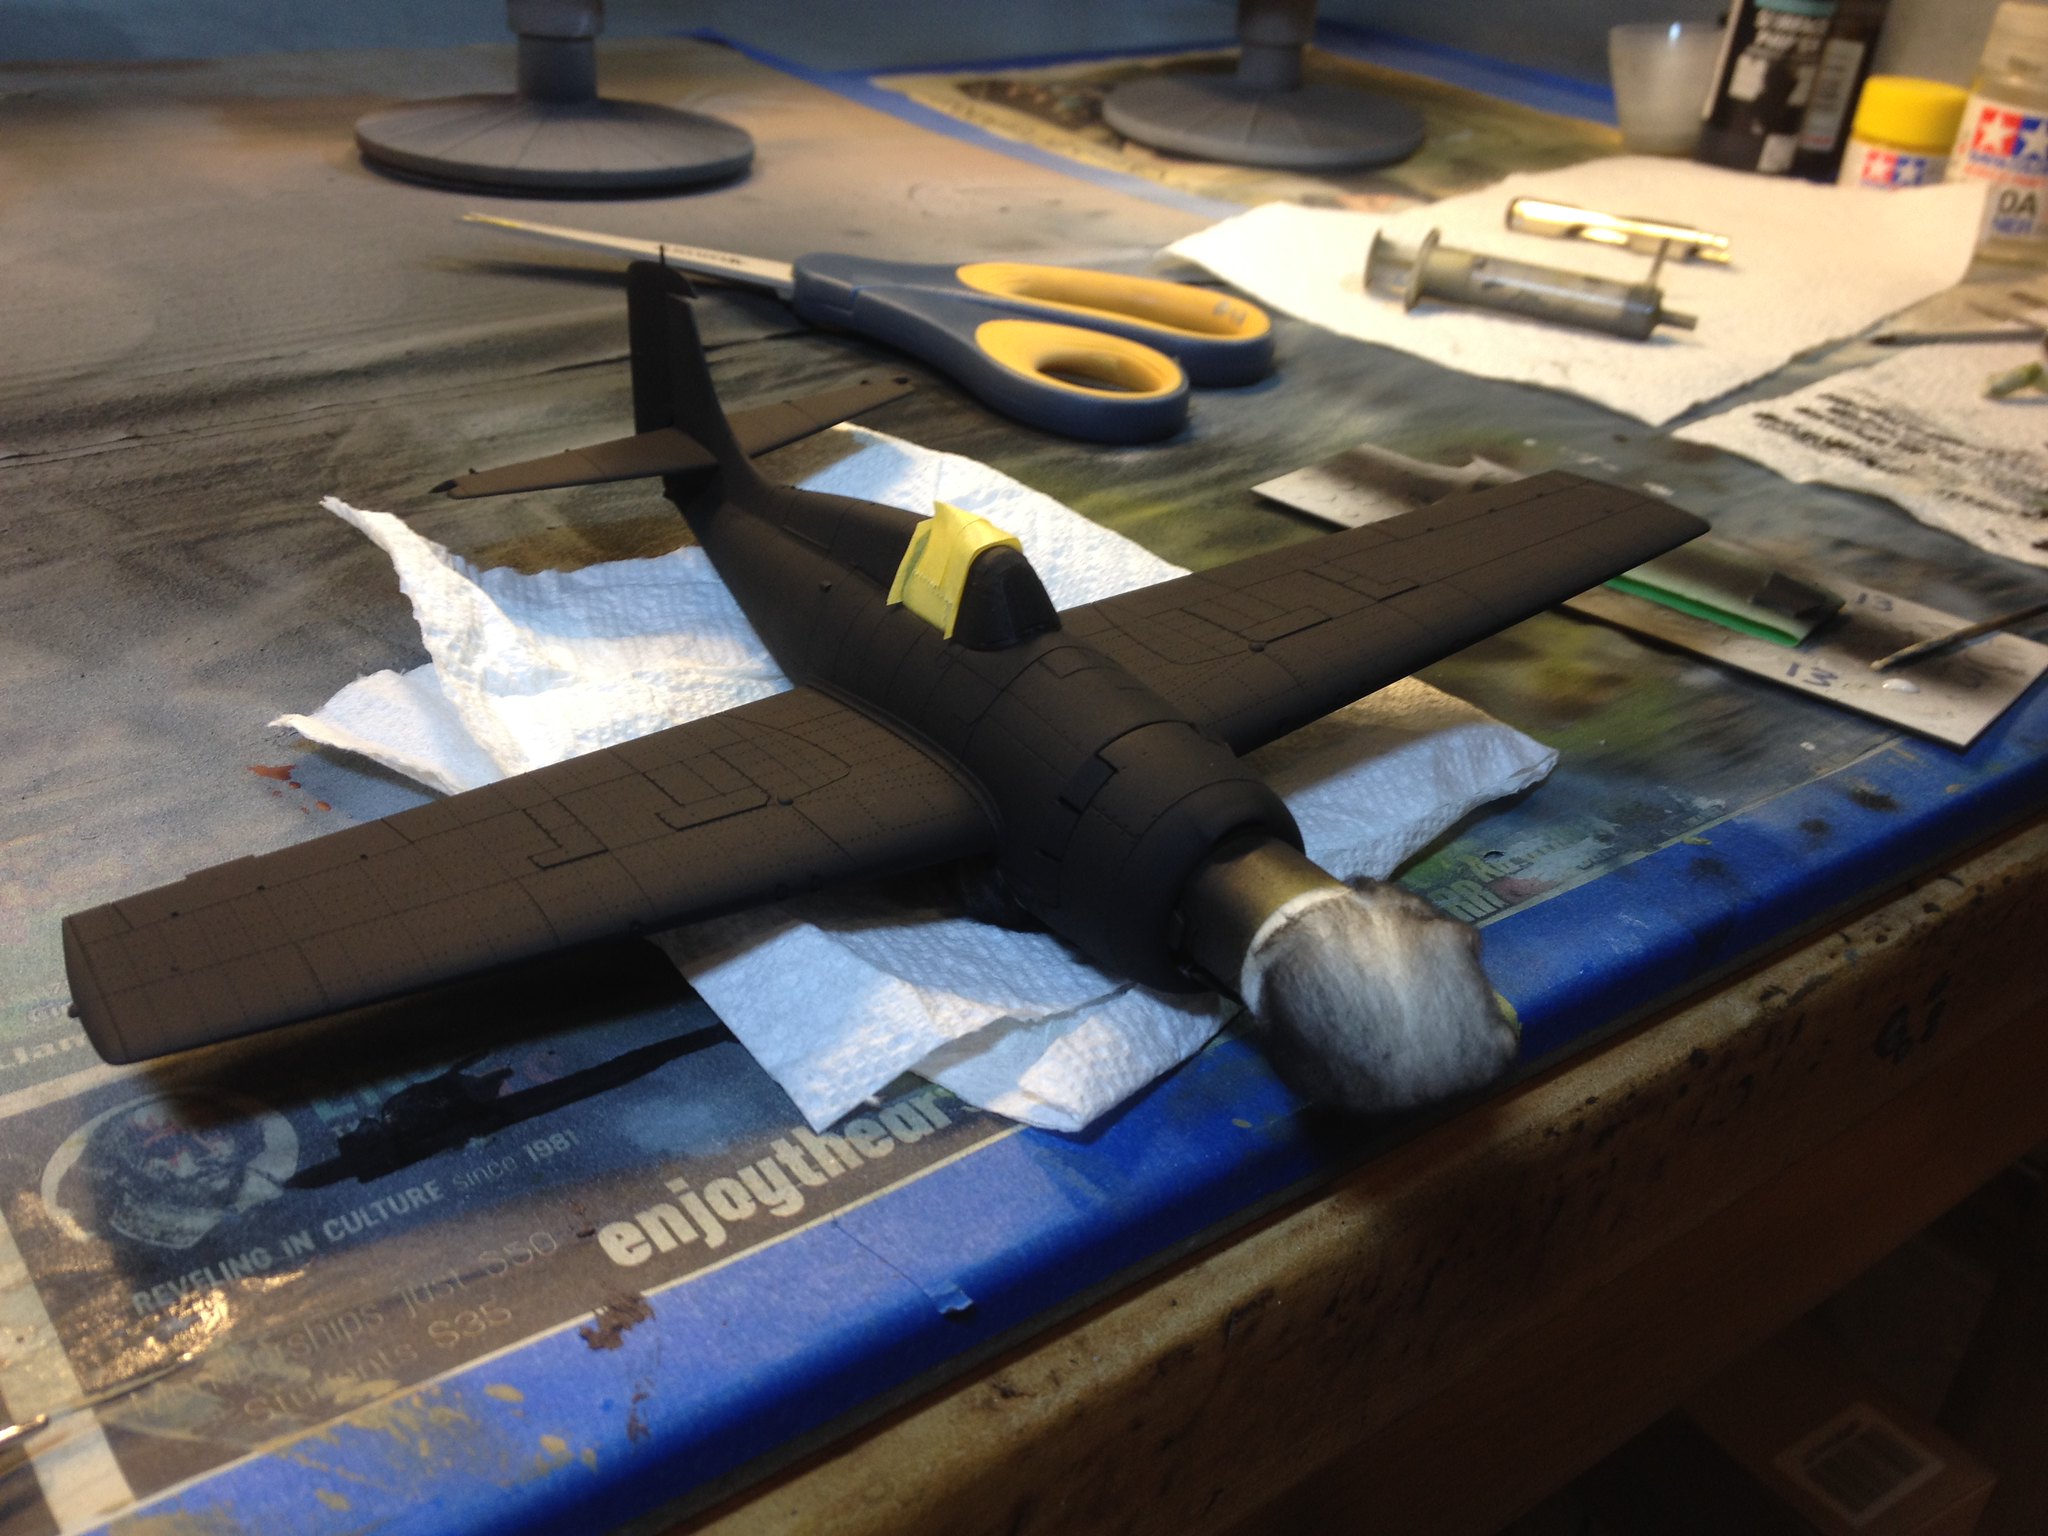
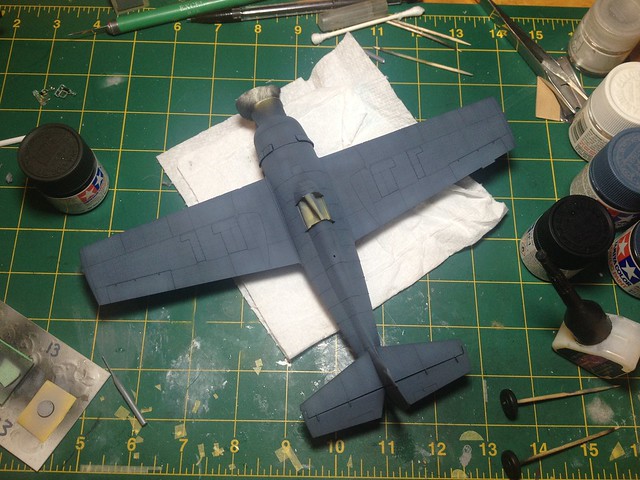
Other than the modifications, construction was straight forward. Finishing was fun. I wanted to try black basing as described by doog.
https://doogsmodels.com/2014/07/03/technique-black-basing/
 IMG_1837 by Christopher Ridle, on Flickr
I don't think I got the technique 100% correct, but I was pretty happy with the results.
 IMG_1838 by Christopher Ridle, on Flickr
 IMG_1839 by Christopher Ridle, on Flickr
Decals, I hate the decals. They're thick and they don't want to settle in. This is while using Micro Set in applying the decals, and while using Micro Sol after applying them.
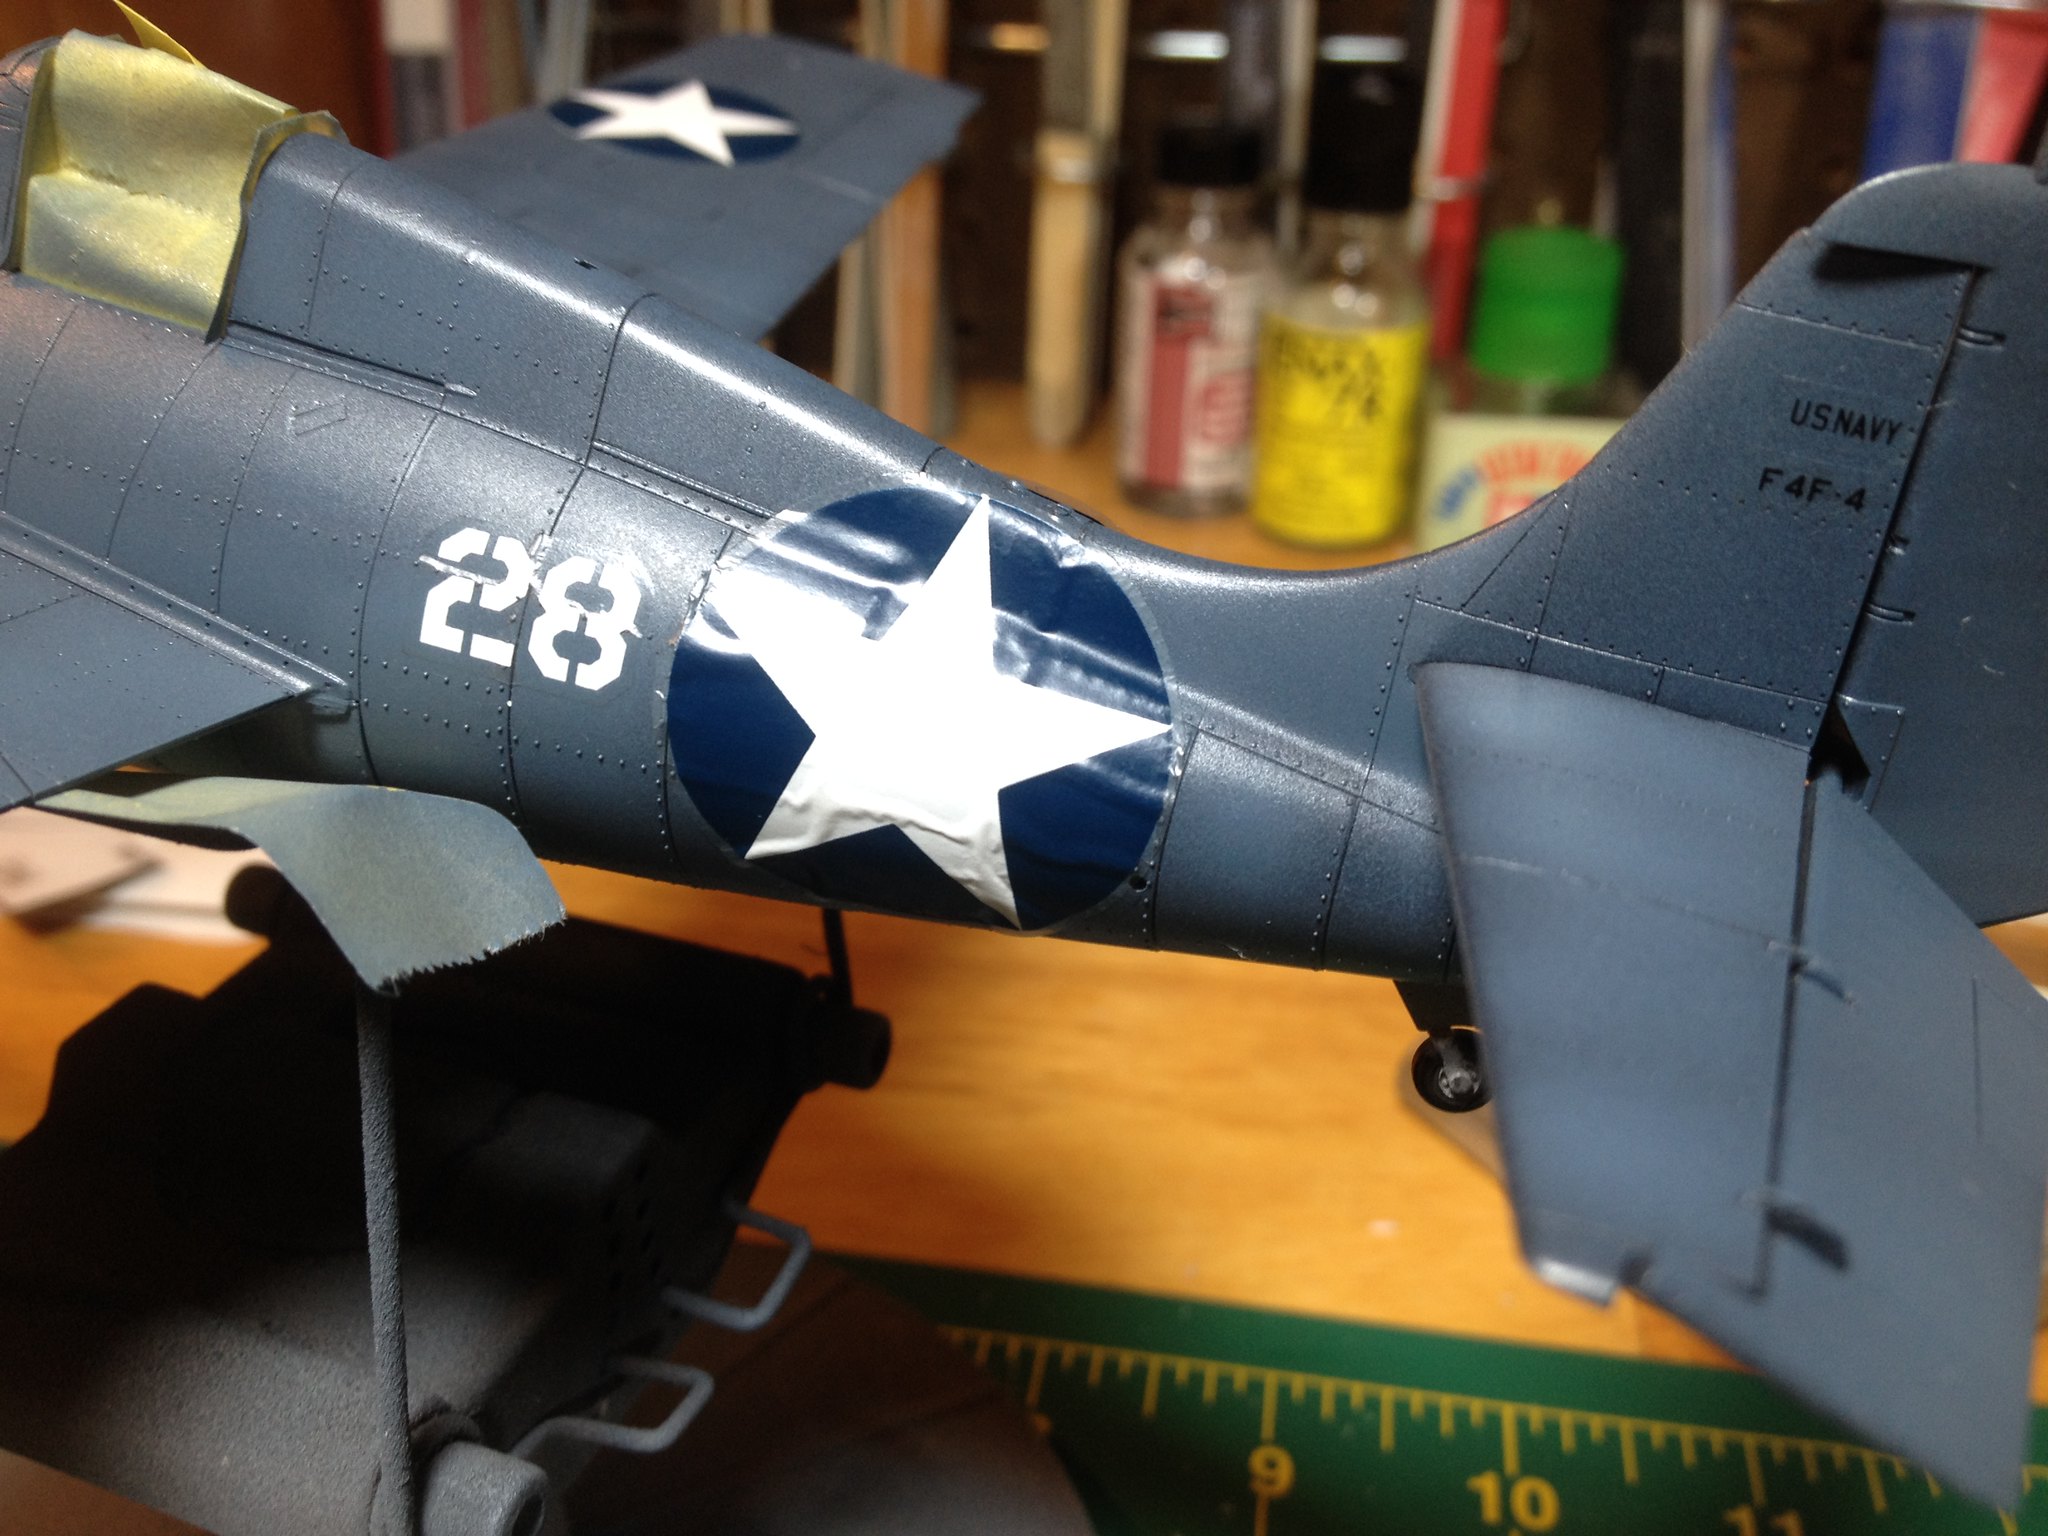 IMG_1857 by Christopher Ridle, on Flickr
And, notice the white edges of the upper wing star decals.
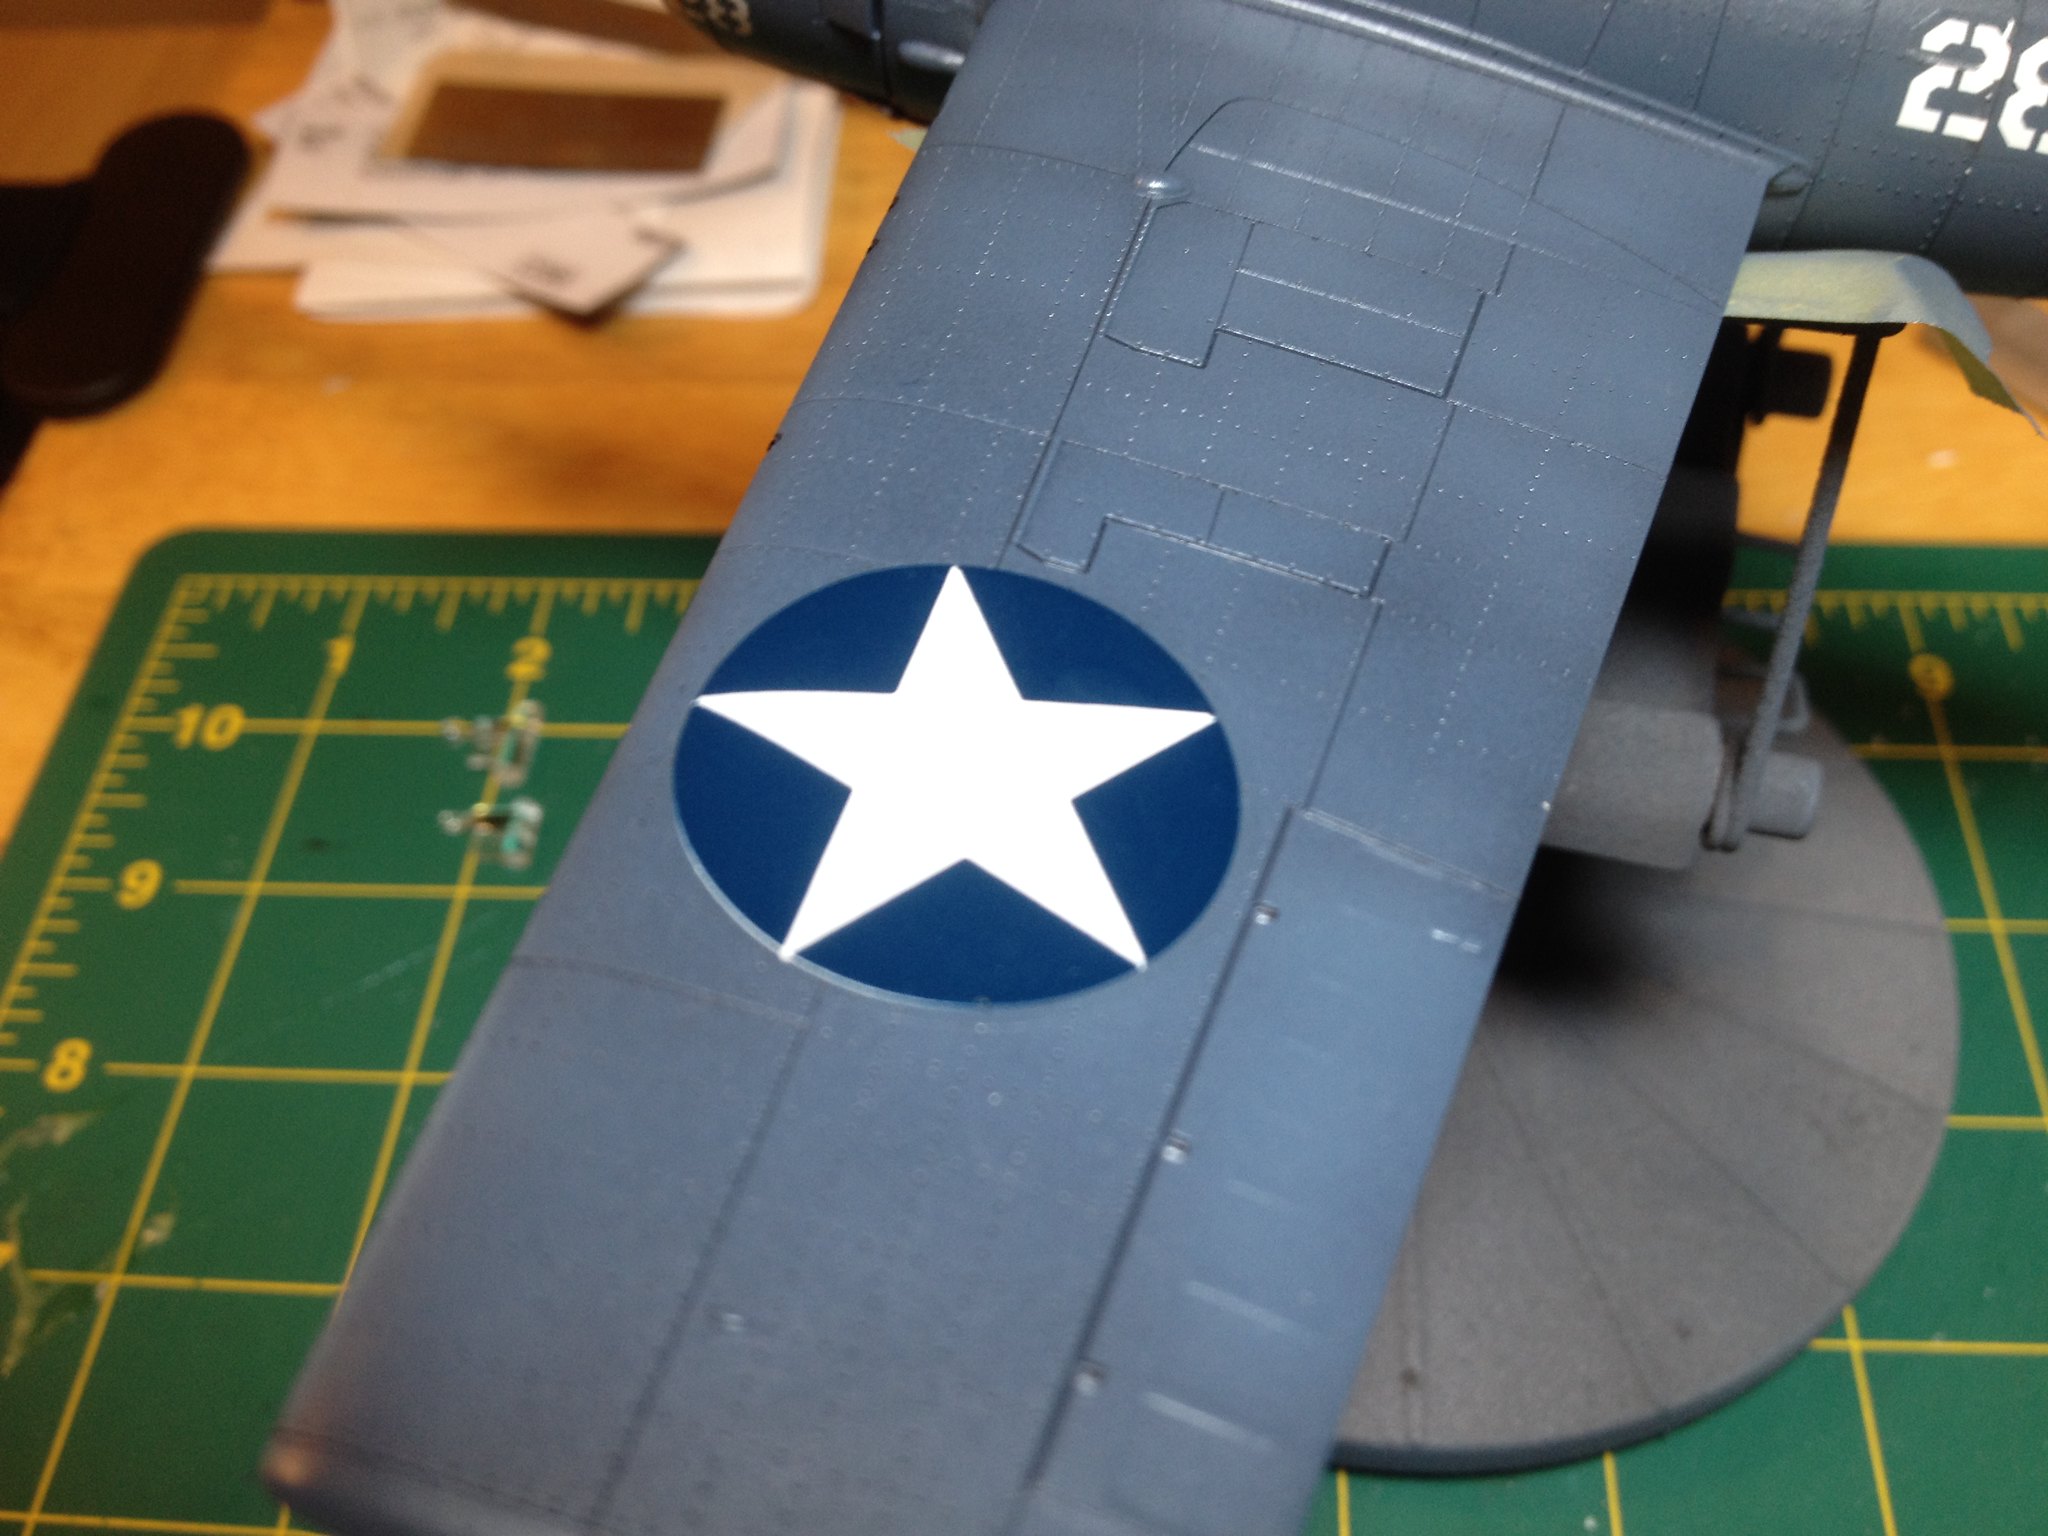 IMG_1858 by Christopher Ridle, on Flickr
I've decided that I don't like these decals enough to try any harder to save them. I just ordered a set for Marine Corps birds at Guadalcanal. I hope to update this thread soon with a nice completed model.
Thank you for looking,
Chris