SEARCH FINESCALE.COM

Enter keywords or a search phrase below:

WIP GF's Tamiya 1/48 P-51D (3/3/18)

2884 views
27 replies
1 rating 2 rating 3 rating 4 rating 5 rating
  • Member since
    December 2002
Posted by 7474 on Saturday, March 3, 2018 8:31 AM

An update, started with the metallic paints (Alclad) and am having problems. Made a post trying to get advice for corrective actions in the "painting and airbrushing" section, so rather than redo everything here, I'll attach the link for those curious. Thanks everyone.


http://cs.finescale.com/fsm/tools_techniques_and_reference_materials/f/18/t/178211.aspx

  • Member since
    December 2002
Posted by 7474 on Sunday, February 18, 2018 9:12 AM
Thanks for that tutorial Mike, I switched from Photobucket.
  • Member since
    December 2010
  • From: Salem, Oregon
Posted by 1943Mike on Saturday, February 17, 2018 10:17 PM

7474,

Check out my little screen shot tutorial. It may or may not help.


http://cs.finescale.com/fsm/feedback_help_and_testing/f/43/t/173158.aspx


I hope it makes it a little clearer but I tend to run off at the mouth, computer keyboard, etc., etc. so who knows.

Mike

"Le temps est un grand maître, mais malheureusement, il tue tous ses élèves."

Hector Berlioz

  • Member since
    February 2012
  • From: Olmsted Township, Ohio
Posted by lawdog114 on Saturday, February 17, 2018 4:41 AM
Coming along nice. Gear bay looks great. Some were painted ZC in the field, so you could get away with it. Reference grainy texture, it's drying before it hits the surface. Try getting in closer and dropping the pressure. Works for me. 2000 grit paper should smooth out what you have sprayed.

 "Can you fly this plane and land it?...Surely you can't be serious....I am serious, and don't call me Shirley"


  • Member since
    December 2002
Posted by 7474 on Thursday, February 15, 2018 5:54 PM

Thanks Fermis for the help to post photos, and thanks Toshi for the compliment. I appreciate it.

  • Member since
    March 2015
  • From: Streetsboro, Ohio
Posted by Toshi on Saturday, February 10, 2018 11:56 AM

Nice start, I like the AM items.

Your friend, Toshi

On The Bench: Revell 1/48 B-25 Mitchell


Married to the most caring, loving, understanding, and beautiful wife in the world.  Mrs. Toshi


  • Member since
    January 2009
  • From: hamburg michigan
Posted by fermis on Saturday, February 10, 2018 11:39 AM

For Flickr...

select your image, click the download icon on lower right..."view all sizes"...right click on image..."copy image address"...then "paste" into "source" back here as you normally would.


  • Member since
    December 2002
Posted by 7474 on Saturday, February 10, 2018 10:42 AM

A bit of an update. And as always, comments, critiques, and anything else is welcomed. Trying Flickr but cant get imbed the images.

Drilled out the exhausts, and fitted them to see how they look


Drilled the coolers (?) The right side undrilled vs. the left


Drilled the blast tubes


Assembeled and polished the airplane using the Micromesh set


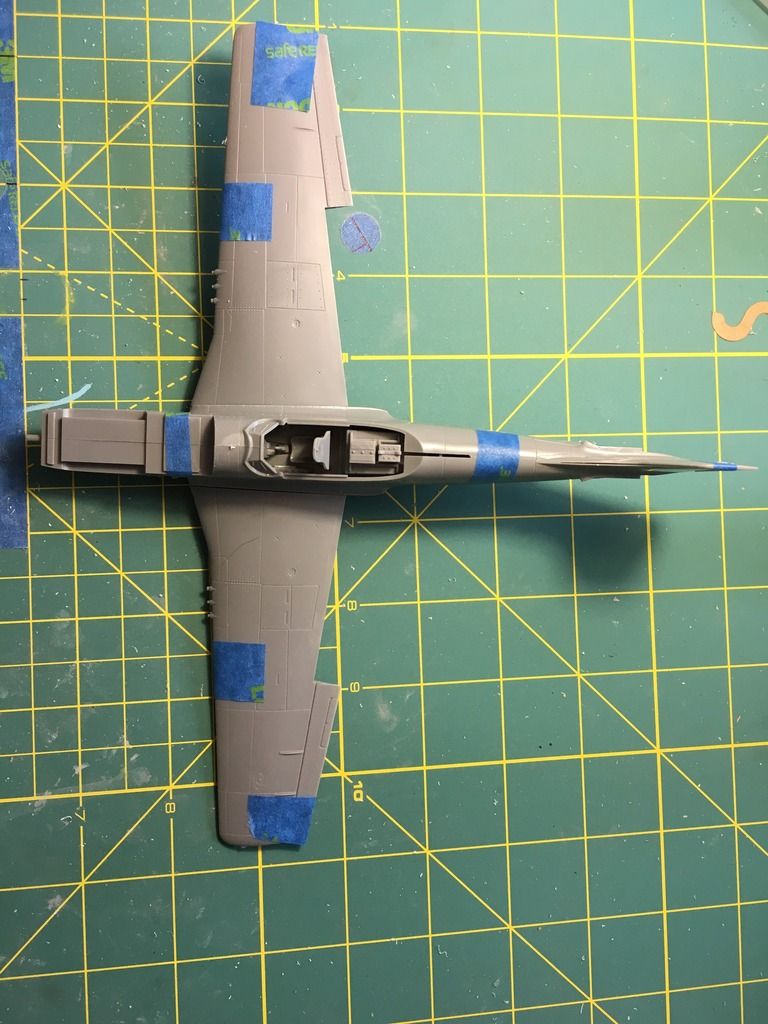
Couldn’t resist doing a dry fitting of the whole thing and putting it on the base


Applied Alclad II black primer and micro filler, I sprayed my Iwata Neo gravity fed airbrush at 18 PSI but it came out really grainy. Any idea what went wrong and how I can fix it? I will fix the blemishes, respray and polish the primer, add rivets then will spray Alclads gloss black primer (or maybe Tamiya’s gloss black from the spray can) and hopefully it’ll be ready for the real painting. I’m going with Tamiya chrome silver (bottle) as the base metal. I’m going for a look in which the pilot and his crew took a lot of pride in keeping their airplane as clean as possible, minimal weathering. 


I painted and weathered the gear bay, but realized it’s not accurate so I’ll correct it.


  • Member since
    September 2017
  • From: HTX
Posted by Kien on Thursday, September 28, 2017 8:52 AM

7474

That's not a bad idea, I'll run it by the woman. I bring the ideas and she picks as it will be hers. I would stil do the anti-glare panel OD. I don't want to use decals so that's why i was thinking of the schemes I proposed, simple to paint. 


BTW Semper Fi to you guys. USMC '00-'04 then Army until '12. 


Hey, 

There is actually is simple way to get the checkered pattern without a decal. First you paint the whole nose with yellow (lightest color first so easier to cover). Next, using some tamiya masking tape, cut little squares with the xacto knife. You will probably have to cut 40-60 or so, and the way to cut them in consistent size is just to use a cutting board and cut at the same line. Then take these little squares and put them over the nose in a checkered pattern. This ends up creating a checkered pattern between the tamiya masking tape squares you made, and the yellow paint. Then airbrush red paint onto the nose to over the exposed yellow paint. Lastly remove the masking tape squares and you will have a nice checkered pattern of red and yellow. You may want to place masking squares on nose as you go, just so that they don't lose their tack while being stuck to the table. From their you can go ahead and put the lettering on the nose and outline with black. This is just a suggestion, go your own way and see what works for you. 

Kien

 Youtube Channel:                                                       https://www.youtube.com/channel/UCkcc2P3-PluSdehvVCEKLdw

  • Member since
    December 2002
Posted by 7474 on Wednesday, September 27, 2017 6:39 PM

That's not a bad idea, I'll run it by the woman. I bring the ideas and she picks as it will be hers. I would stil do the anti-glare panel OD. I don't want to use decals so that's why i was thinking of the schemes I proposed, simple to paint. 


BTW Semper Fi to you guys. USMC '00-'04 then Army until '12. 

  • Member since
    December 2002
Posted by 7474 on Wednesday, September 27, 2017 6:36 PM

That's not a bad idea, I'll run it by the woman. I bring the ideas and she picks as it will be hers. I would stil do the anti-glare panel OD

  • Member since
    March 2005
  • From: Lancaster, South Carolina
Posted by Devil Dawg on Wednesday, September 27, 2017 2:10 PM

Kien

I know this might be a little bit too late, but if you haven't painted yet, wouldn't a checkered pattern look nice on the nose of the plane? Like the nose pattern on some p47s, but instead do the checker with red and yellow (the same red as on the rudder). You can then have the writing on the nose written in white and outlined with a thin black line. I think the checkered pattern would look nice, and white text with a thin black outline would really stand out. 

Kien


Got to agree - that's a good idea.

Devil Dawg

On The Bench: Tamiya 1/32nd Mitsubishi A6M5 Model 52 Zeke For Japanese Group Build

Build one at a time? Hah! That'll be the day!!

  • Member since
    June 2013
Posted by bvallot on Wednesday, September 20, 2017 2:43 PM

Nice start. I really enjoy the Tamiya Mustang. Engineered like a dream! =]

Keep 'em comin'.

On the bench:  

Tamiya F4U-1  Kenneth Walsh


  • Member since
    September 2017
  • From: HTX
Posted by Kien on Tuesday, September 19, 2017 8:48 AM

I know this might be a little bit too late, but if you haven't painted yet, wouldn't a checkered pattern look nice on the nose of the plane? Like the nose pattern on some p47s, but instead do the checker with red and yellow (the same red as on the rudder). You can then have the writing on the nose written in white and outlined with a thin black line. I think the checkered pattern would look nice, and white text with a thin black outline would really stand out. 

Kien

 Youtube Channel:                                                       https://www.youtube.com/channel/UCkcc2P3-PluSdehvVCEKLdw

  • Member since
    December 2002
Posted by 7474 on Monday, September 18, 2017 7:42 PM

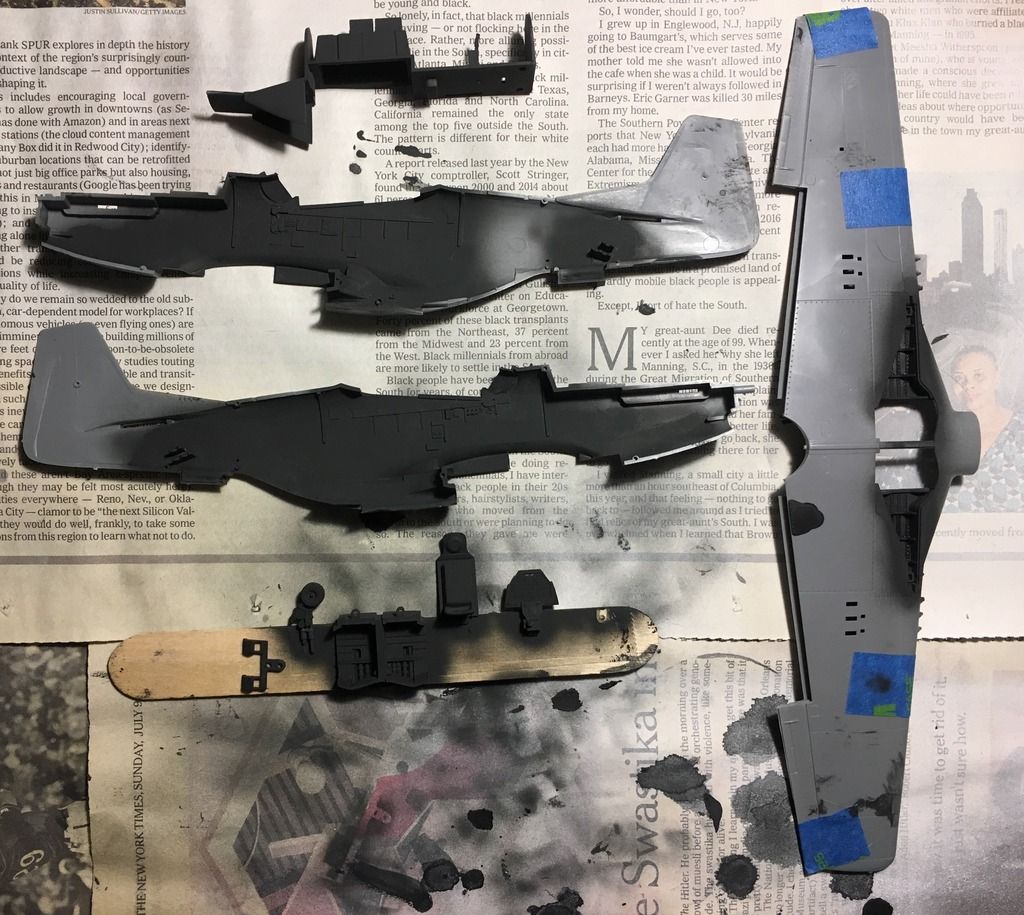
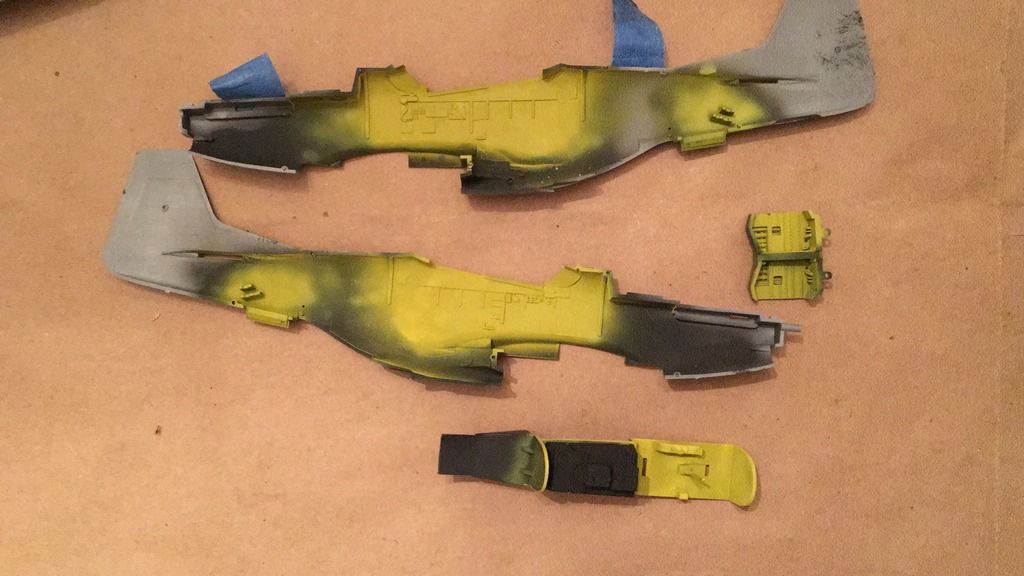
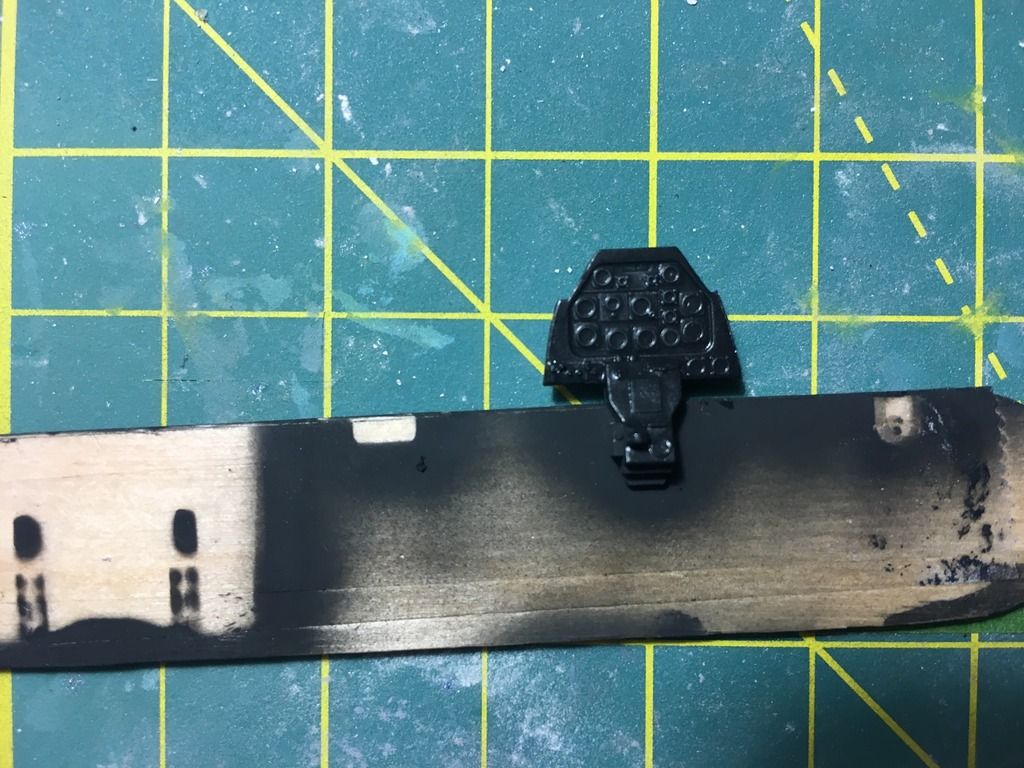
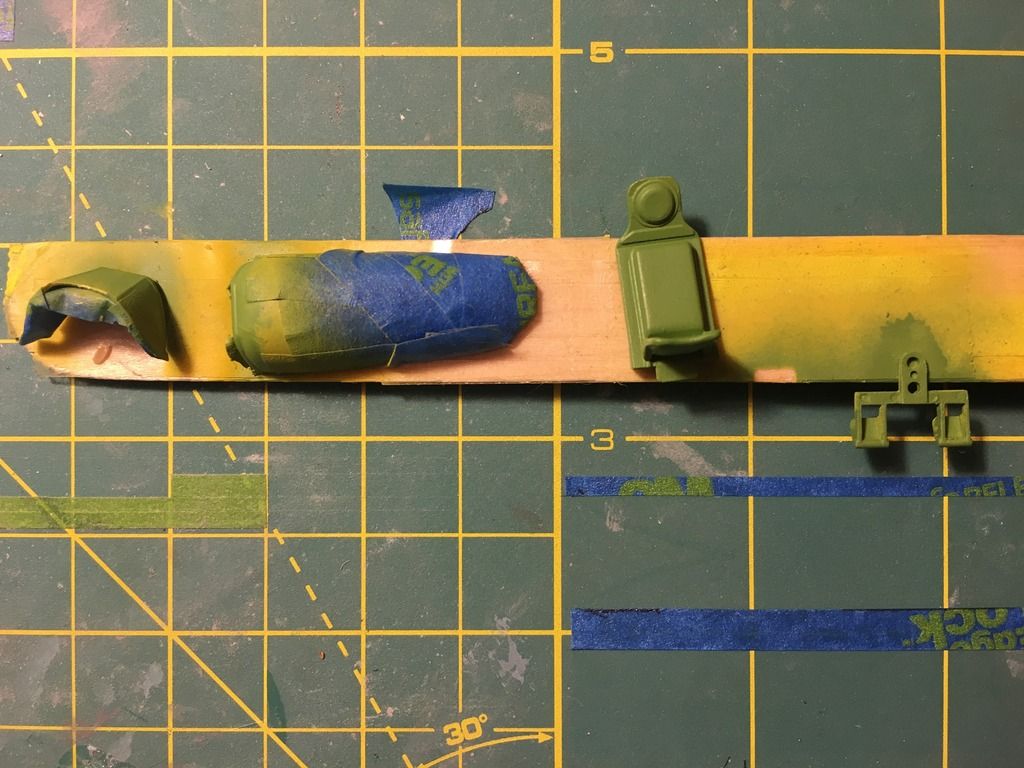
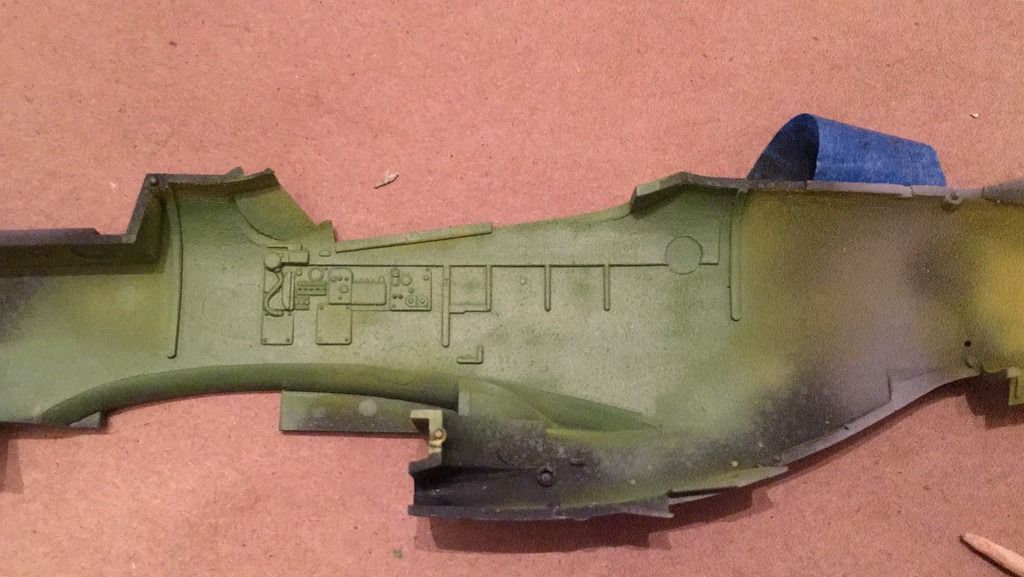
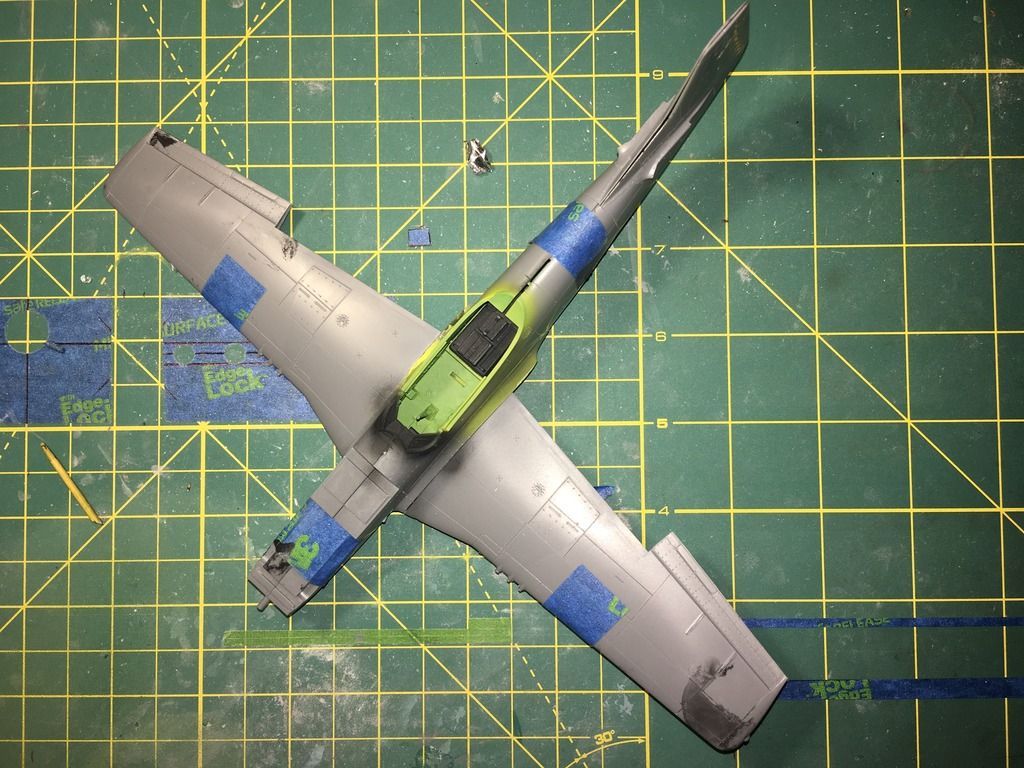
I started on the Mustang before I went to work and have been REALLY impressed with the parts fit, the wing just clicked into the fuselage. Parts were cleaned up and built into subassemblies. I attempted to use Lawdawgs cockpit painting tutorial, the cockpit didn't work out, just for the wheel wells. I started out using Tamiya Rubber Black, then Mr Color Cockpit Interior, then Model Master Green Zinc Cromate. I get back home on Friday, so I can try to get the fuselage assembled after I do some detail painting and washes. I masked the windscreen and canopy with Bare Metal Foil, but again the initial color was the Yellow Cromate from Mr. Color. The Instrument panel is ready for the gauge decals. I'm also doing a video build of this, so I'll post it after I'm done with this and the video. 


I was wondering if there are machines to cut out stensils or if any one can print the decals out for me? 


Parts before painting 
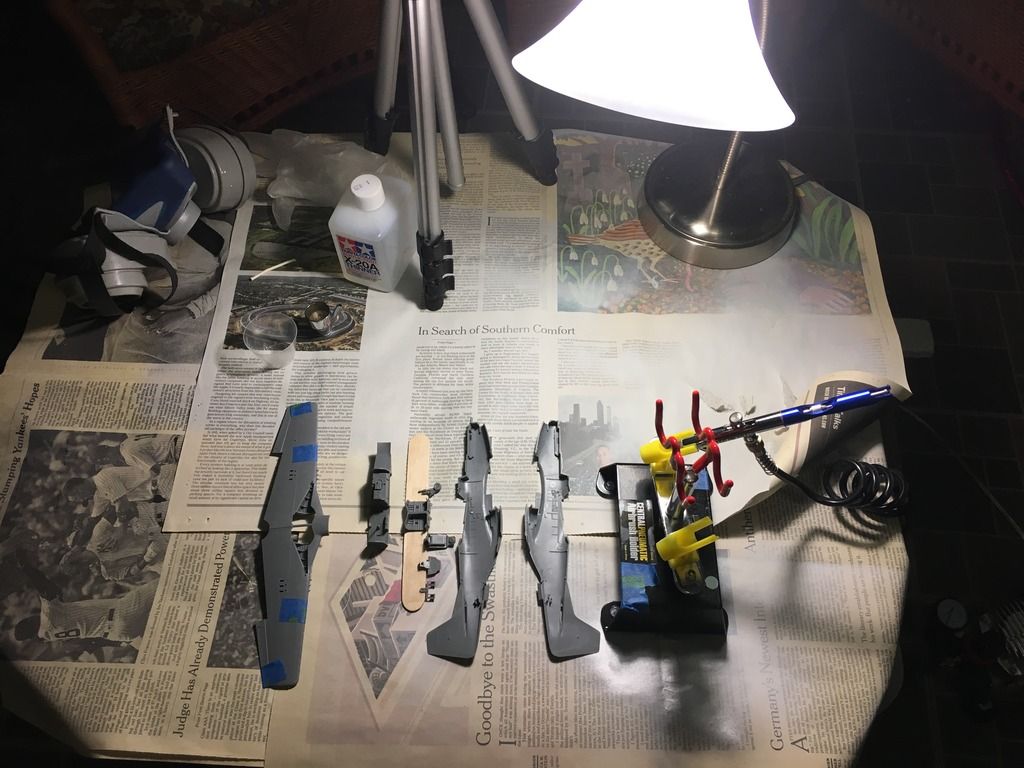
 

Everything test fitted before painting 
 

After Tamiya Rubber Black
 

With Mr Color Interior, masked off the radio prior to painting 
 

Instrument panel ready for decals
 

After repainitng the cockpit bits Green Zinc Chromate 
 

Cockpit looks better to me. I'm trying to make it somewhat accurate.
 

Test fit after painting, the main wheel weel looks good with the Tamiya Rubber Black base coat and Mr Color Yellow Zinc. I'll do some detail painting and washes.
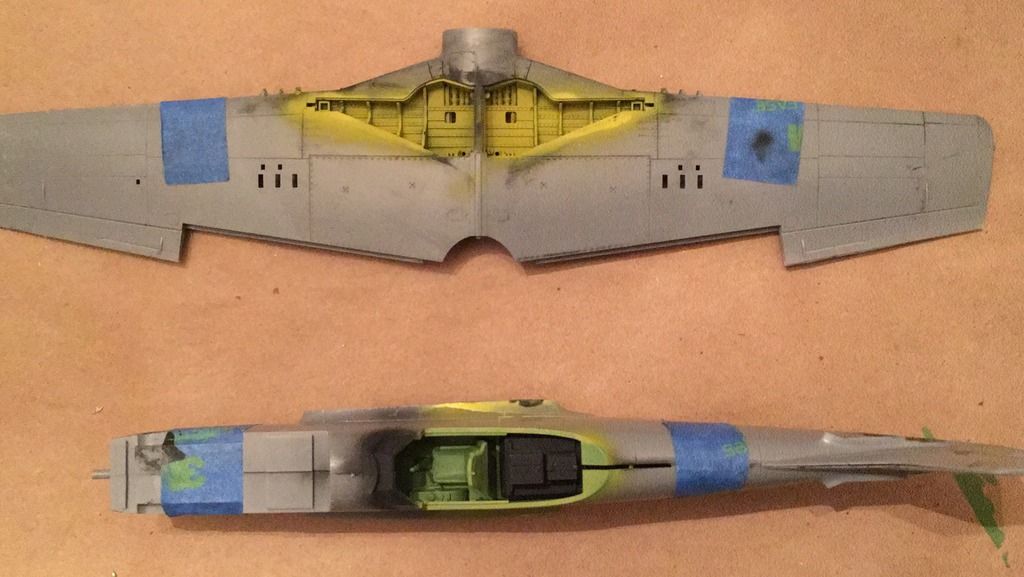
 

I think it's looking halfway decent. Just want to get the details to stand out, and glued up with the few days I have at home before my next work trip patrolling the (un)friendly skies. 


  • Member since
    July 2003
  • From: Cincinnati, Ohio
Posted by ridleusmc on Tuesday, August 29, 2017 7:50 PM

I like the purple nose art lettering, and I like the black letter squadron codes with the red outlines.  

It's a very cool build.  It's not the usual mustang.  

  • Member since
    February 2012
  • From: Olmsted Township, Ohio
Posted by lawdog114 on Tuesday, August 29, 2017 7:43 PM
I think I'm digging the red border...I like the yellow nose too.

 "Can you fly this plane and land it?...Surely you can't be serious....I am serious, and don't call me Shirley"


  • Member since
    July 2012
  • From: Douglas AZ
Posted by littletimmy on Tuesday, August 29, 2017 6:35 PM

The green lettering with the black boarders looks best on the yellow.

Just my 2 cents.

 Dont worry about the thumbprint, paint it Rust , and call it "Battle Damage"

  • Member since
    August 2014
  • From: Willamette Valley, Oregon
Posted by goldhammer on Tuesday, August 29, 2017 6:34 PM

I like your lady already, anyone who comes running to the sound of a Merlin at full song is my kind of person.

I'll be watching this one with interest, and love your ideas to personalize it to her.

  • Member since
    June 2013
Posted by bvallot on Tuesday, August 29, 2017 6:22 PM

Very nice! I'm a bigger fan of the first one. I'm also a Louisiana boy so you can call me a tiny bit baised to the Purple and Gold. =] This all looks very nice. Can't wait to see what's next. 

On the bench:  

Tamiya F4U-1  Kenneth Walsh


  • Member since
    December 2002
Posted by 7474 on Tuesday, August 29, 2017 12:51 PM

The kit and the goodies I ordered arrived the day before I left to go back to work, so it'll have to wait until I get back home. I ordered Eduard 1/48 USAAF Steel seat belts (I'll get 4 kits out of it), Brassin resin P-51 wheels, Quickboost flaps (which I didn't need as the kit comes with separate flaps), and Airscale instrument decals for the panel. I wasn't flying over the weekend, and being in a hotel in Louisiana I decided to do some concept art work of how it would look with the different letterings for the codes, I sortta like the red with the black outline. I didn't like the green lettering for "Chanel's Chariot" on the yellow nose, so I changed it to purple. Purple is a complimentary color to yellow. I revised the decal sheet to show the new nose art, different codes and using the decal sheet from the Tamiya kit I was able to set the height of things in GIMP. Also redid the lettering with the USAAF font I found. What do you guys think?


  • Member since
    December 2002
Posted by 7474 on Sunday, August 20, 2017 10:23 AM

Thanks guys, especially bvallo. It's just the rough idea for the decals, so I can change things up, I'll try to get the heart centered, and maybe increase the circle size. I keep thinking about it, and I really like the name with the black outline just to be able to read it. I'm trying to find more authentic font for the codes and production number.

The kit will be here Tuesday, and tomorrow will be a hobby shop run to get some extra things I need. This is also my first NMF, so a lot of firsts for this that I'm looking forward to diving into. 

  • Member since
    June 2013
Posted by bvallot on Sunday, August 20, 2017 7:03 AM

Joe is right and I'm pretty sure we're all thinking the sane thing. You'd better not do anything to screw that up! =] 

Critiques are no stranger to me. My first degree is in Fine Arts. I'd be happy to share some thoughts. Making my own decals is a venture I gave up on after my Corsair. So I'll be happy to learn more on how you go about that. As far as you colors go on your selections so far, I would sit on it for now. There's no real rush. The black border reads well on it own. Without seeing the red border on the plane itself, it's a bit difficult to tell which would come off better. That red is going to vibrate more with that tone of green. And maybe that's okay for you. It's just something to recognize and be okay with. If you're looking to keep all the same red on the plane, then maybe look at some different  greens. There's a couple of ways to go about a change like that. For the victory flags, there may be no easy change about it. Just from eyeballing it, the heart appears to be sitting higher due to the curve of the heart. It seems to be centered based on the crease at the top and point at the bottom. Perhaps dropping it down a bit would help to shift it to a more centered looking position. I think it's fine as is, but perhaps down the road you'll look at it and wished you changed something...about it who knows. So unless you've already settled on it, fooling with it now might help you put that to rest.

Half of what I do for a living is critiquing what I see. So if you're happy to hear from me, then I'm happy to share. 

I'm willing to bet a handful of guys on this forum will be living vicariously through this post. =]  I'll be one of them. Good luck!

On the bench:  

Tamiya F4U-1  Kenneth Walsh


  • Member since
    March 2015
  • From: Streetsboro, Ohio
Posted by Toshi on Sunday, August 20, 2017 5:53 AM

This will be an excellent gift for your GF!  

Toshi

On The Bench: Revell 1/48 B-25 Mitchell


Married to the most caring, loving, understanding, and beautiful wife in the world.  Mrs. Toshi


  • Member since
    September 2014
Posted by rooster513 on Saturday, August 19, 2017 6:09 AM

I like all the thought you are putting into this. Looking forward to seeing it come together.

-Andy

  • Member since
    December 2002
  • From: Bury St Edmunds, Suffolk, England
Posted by Bish on Saturday, August 19, 2017 5:30 AM

Nice idea, this is going to be nice to watch.

I am a Norfolk man and i glory in being so


On the bench: Airfix 1/72nd Harrier GR.3/Fujimi 1/72nd Ju 87D-3

  • Member since
    February 2012
  • From: Olmsted Township, Ohio
Posted by lawdog114 on Friday, August 18, 2017 11:00 PM
Your a lucky guy. This should be interesting. I look forward to your progress.

 "Can you fly this plane and land it?...Surely you can't be serious....I am serious, and don't call me Shirley"


  • Member since
    December 2002
WIP GF's Tamiya 1/48 P-51D (3/3/18)
Posted by 7474 on Friday, August 18, 2017 9:20 PM

So this project started out when I was watching Spitfire/Hurricane/P-51 videos on Youtube and my GF (who's a budding aviation nut, she did go to an airshow on her own) walked in because of the sounds of those Merlins roaring. She saw the P-51 and was in love, knowing that I build models, she asked that I build her one. Although I have other projects to finish (2 1/200 767s for friends at Atlas Air & 1 1/200 747-400 for my dad who's a captain on those with Kalitta Air), and I agreed. I spent nearly a week contemplating how hers would look. I'm still waiting on the kit to arrive, along with some other goodies for it, and tonight finally finished the rough design for the various markings, nose art, serial number and little victory markings.

Once I have the kit, tamiya's 1/48 P-51D, I'll resize each piece as needed, but here's the design to start with. CTS are her initials with black letters and red outlines (I think I've seen them on 78th FG P-51s), 405187 for her birthday and each Mustang's production number started with 4. I even desinged little victory markings based on the Nazi flag, but with hearts instead, gave her 5 because she needs to be an ace. Not sure if having 5 hearts would be a good thing lol. The lettering for "Chanel's Chariot" is green, one of her favorite colors, but since red is a complimentry color and one of her favorites, I went with that, and also trying one with a black border. I couldn't decide between the two. The nose will be yellow, OD on the top of the nose for the anti-glare panel, and a red rudder. She likes yellow, red, and green, think I got all of them covered. This is my first attempt at designing and making custom decals. So thanks to her, I'm going out of my comfort zone. 


Comments, critiques, questons are welcome. The only part I have now is the art work for the decal sheet. I've attached a larger image of the victory markings. 


JOIN OUR COMMUNITY!

Our community is FREE to join. To participate you must either login or register for an account.

SEARCH FORUMS
FREE NEWSLETTER
By signing up you may also receive reader surveys and occasional special offers. We do not sell, rent or trade our email lists. View our Privacy Policy.